
Got a pile of glass jars taking over your kitchen cabinet? Same. Before you toss that mismatched china or those old tin cans, let’s turn them into something you’ll actually want to display. These DIY recycled crafts for adults are cheap, beginner-friendly, and weirdly satisfying. Grab a glue gun and your favorite playlist — we’re making trash look expensive.
Why Recycled Crafts Are Having a Moment
Here’s the thing: craft supplies are pricey. Recycled crafts flip that script by using stuff you already own. You save money, keep things out of landfills, and get a one-of-a-kind piece nobody else has.
Plus, there’s a certain smug satisfaction in saying, “Oh, this old thing? I made it from a pickle jar.” Trust me, it never gets old.
IMO, the best part is the creative constraint. When you can’t just buy the perfect material, you get scrappier — and scrappy is where the good ideas live.
Project 1: Glass Jar Lanterns That Look Boutique
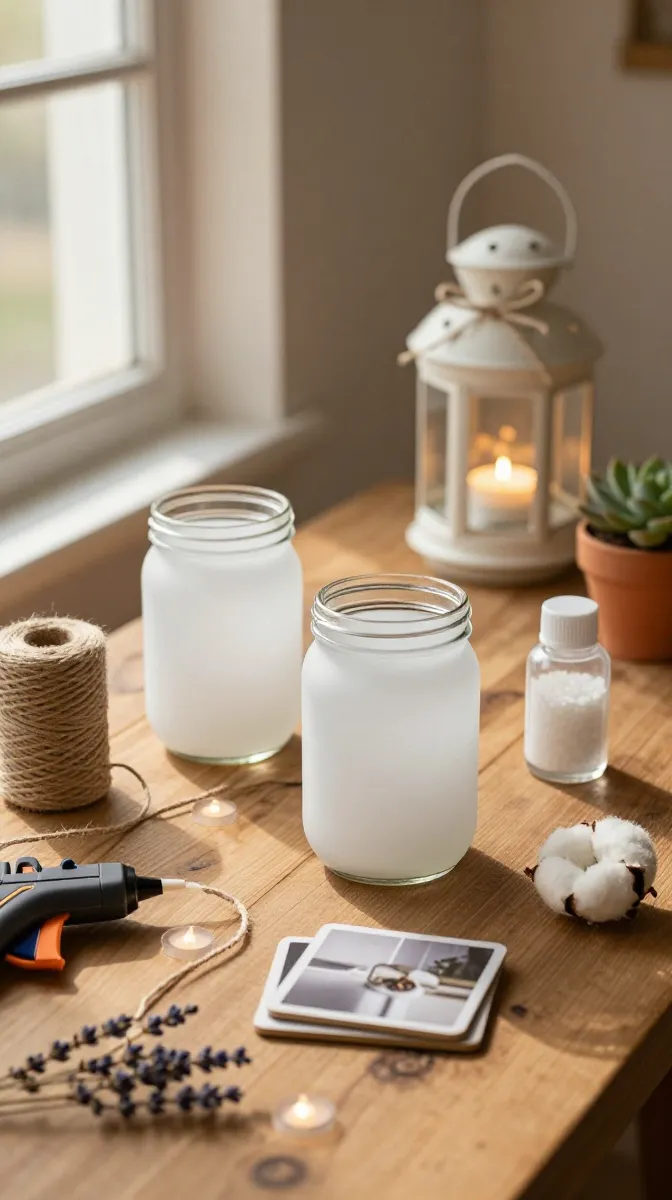
Empty pasta sauce jars are the workhorses of recycled crafting. With a little patience, they become warm, glowing lanterns you’d pay $25 for at a home goods store.
Materials and Tools
- Clean glass jars with labels removed (any size works)
- Rubbing alcohol and a cotton ball for degreasing
- Frosted glass spray paint — or white school glue as a cheap substitute
- Twine, jute rope, or thin leather cord
- Small LED tea lights (never real candles — more on that below)
- Hot glue gun
- Optional: lace ribbon, dried flowers, or gold leaf flakes
Step-by-Step Instructions
- Soak the jars in warm, soapy water, then scrub off every bit of label and adhesive. Any residue will show through the finish.
- Wipe the outside with rubbing alcohol and let it dry completely. This helps the paint grip.
- In a well-ventilated area, spray a thin, even coat of frosted paint. Do two or three light coats instead of one heavy one — heavy coats drip and look lumpy.
- Let the jars cure for at least an hour. Don’t poke them. I know you want to.
- Wrap twine around the neck of the jar several times, securing the start and end with hot glue.
- Add a decorative bow, a strip of lace, or a few dried flowers just below the twine.
- Drop in an LED tea light and switch it on. Instant cozy.
Safety Tip You Shouldn’t Skip
Use LED tea lights only. Real candles can crack glass jars as they heat up, and frosted spray paint is flammable. Not the vibe we’re going for.
Customization Ideas
Try seasonal versions: orange and black twine for Halloween, gold leaf for the holidays, or pastel ribbon for spring. You can also paint only the bottom half of the jar for a dipped effect.
Project 2: Tin Can Desk Organizers
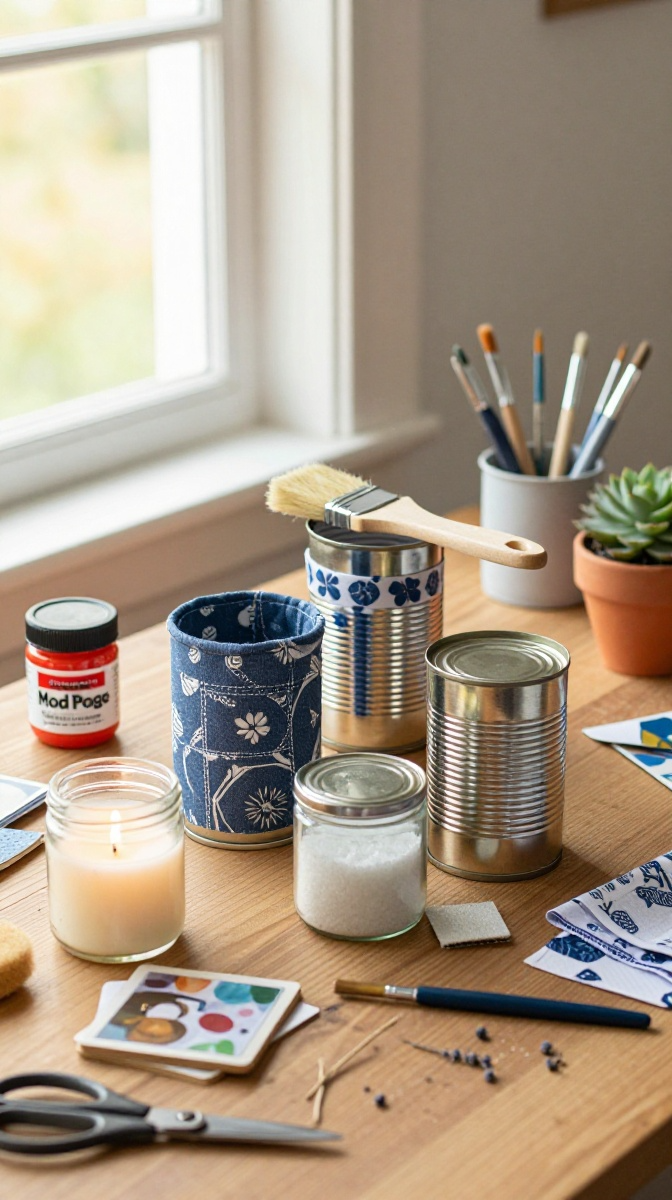
Those baked bean and soup cans are begging for a second life. Grouped and wrapped in fabric or paper, they make a chic desk organizer for pens, brushes, and the mysterious cables that multiply overnight.
Materials and Tools
- Clean tin cans in a few different heights
- Scrap fabric, wallpaper samples, or thick wrapping paper
- Mod Podge or a homemade mix of white glue and water
- Foam brush
- Fine sandpaper for smoothing sharp edges
- Strong glue for attaching cans
Step-by-Step Instructions
- Remove labels and wash the cans thoroughly. Dry them completely.
- Sand the top rim of each can until it’s smooth to the touch. Cuts from tin cans are no joke.
- Measure your fabric or paper against the can, adding about half an inch of overlap.
- Brush a thin layer of Mod Podge onto the can, then press the fabric on, smoothing out bubbles as you go.
- Brush another layer of Mod Podge over the top of the fabric to seal it. This also gives it a wipeable finish.
- Let everything dry, then glue the cans together in a cluster — tall ones in back, short ones up front.
- Fill with pens, scissors, paintbrushes, or whatever chaos needs containing.
Troubleshooting Common Mistakes
If your fabric wrinkles, you used too much glue. Pull it off while it’s still wet and start over. If the edges lift, add a dab of extra Mod Podge and press them down firmly.
FYI, patterned fabric hides imperfections way better than solid colors. Keep that in mind if this is your first rodeo.
Project 3: Upcycled Book Page Wall Art
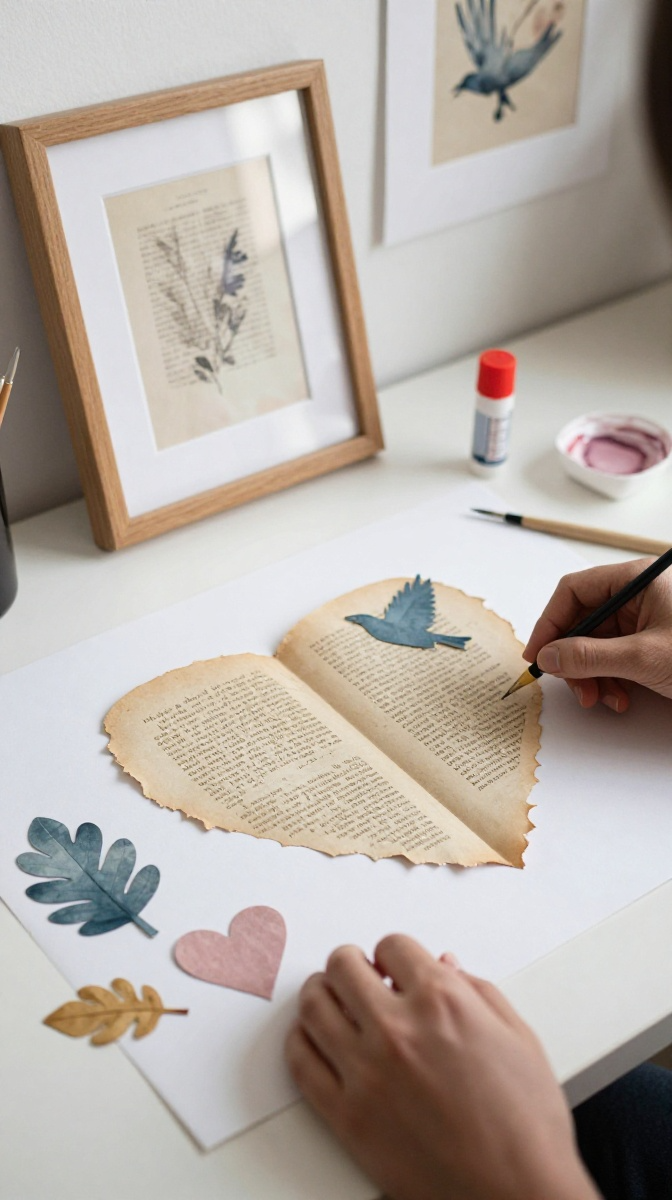
Got a damaged paperback or an old atlas nobody’s reading? Rip it up — with purpose. Book page art is one of the easiest recycled crafts for adults, and it looks surprisingly elegant in a plain frame.
Materials and Tools
- Old book pages or sheet music
- Plain picture frame with a mat
- Cardstock or watercolor paper as a base
- Glue stick or double-sided tape
- Scissors or a craft knife
- Optional: watercolor paints or a fine-tip marker
Step-by-Step Instructions
- Cut a heart, leaf, animal silhouette, or abstract shape from your book pages. Freehand it or trace a template.
- Arrange the cutouts on your cardstock base until you like the layout. Don’t glue yet.
- Snap a phone photo of the arrangement so you can recreate it later.
- Glue each piece down, starting from the bottom layer and working up.
- Add a light watercolor wash around the edges for a soft, artsy look — optional but pretty.
- Frame it and hang it up. Done in under 30 minutes.
Design Variations
Try a monogram letter for a personalized gift, or layer pages in different fonts for texture. Sheet music works beautifully for music lovers, and map pages are perfect for travel-themed rooms.
Project 4: Wine Bottle Vases With a Twist
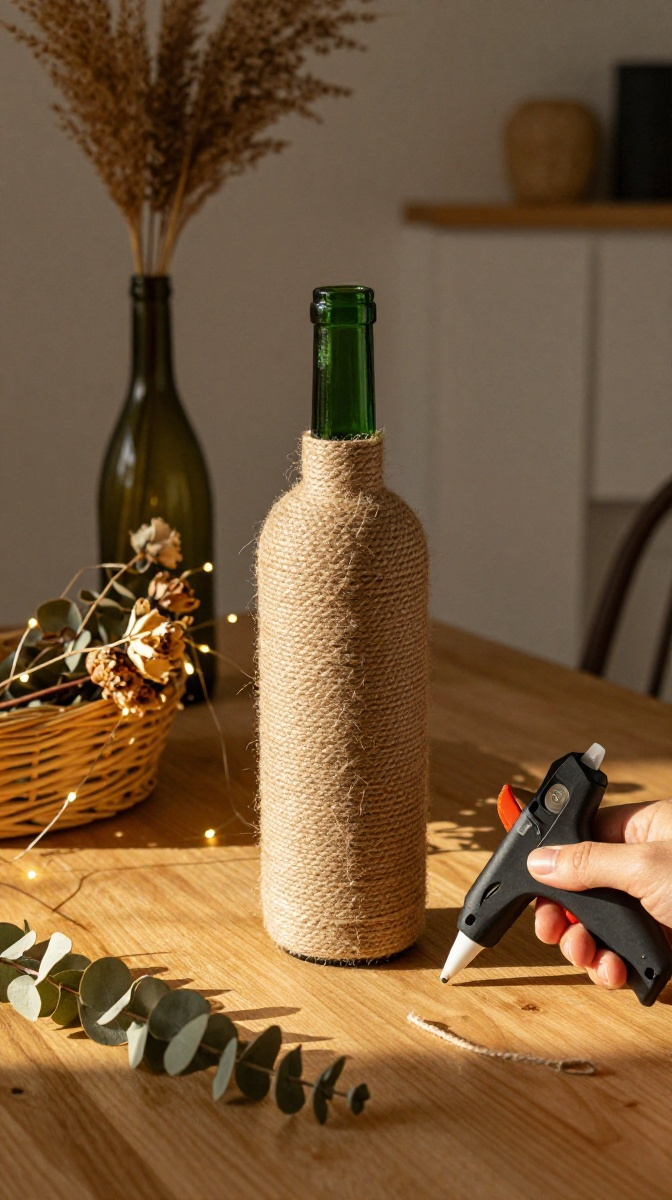
Wine bottles are tricky to cut, so let’s skip the glass cutting entirely. Instead, wrap them in twine and turn them into rustic vases. No power tools required — always a win.
Materials and Tools
- Empty wine bottles, labels removed
- Jute twine or colored yarn
- Hot glue gun
- Dried flowers, faux stems, or fairy lights
Step-by-Step Instructions
- Wash the bottles and remove labels with warm water and dish soap.
- Add a dot of hot glue near the bottom of the bottle and press the twine end into it.
- Wrap the twine around the bottle in tight, even rows, adding a small glue dot every few wraps.
- Keep going until you reach the neck, or stop partway for a dipped look.
- Secure the end with glue and tuck it under the last wrap.
- Add dried flowers or a string of fairy lights inside.
Display and Gift Ideas
These make great housewarming gifts, especially in a set of three at different heights. Group them on a mantel, a bathroom shelf, or a dinner table centerpiece.
Practical Tips for Recycled Crafting
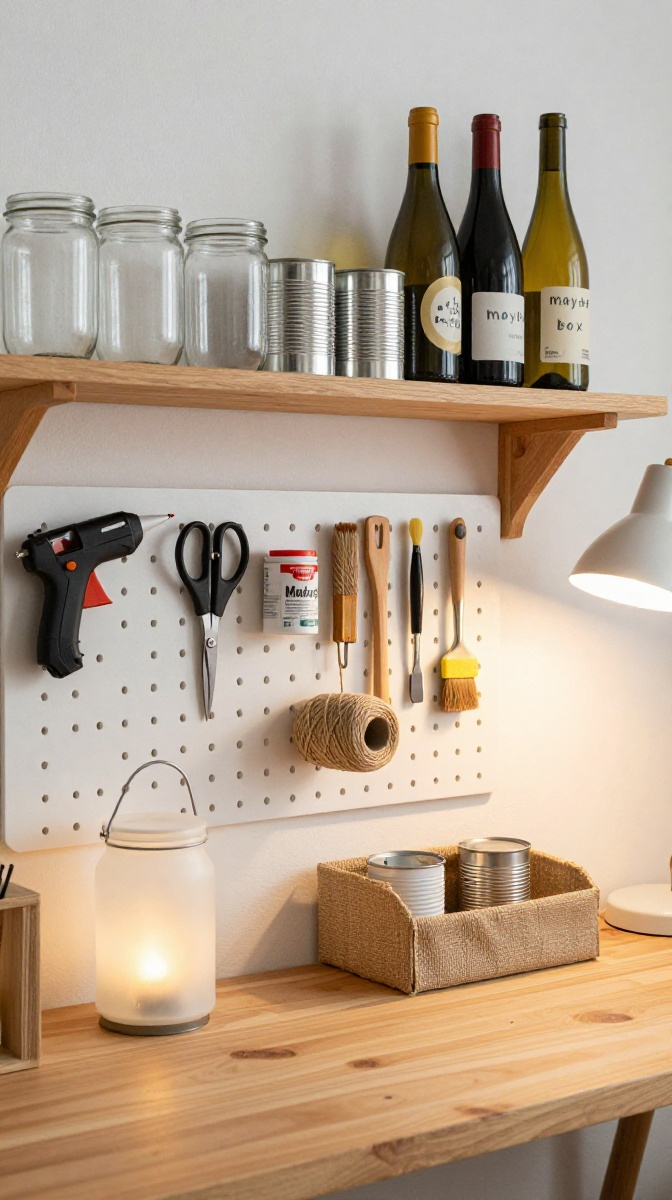
- Clean everything first. Residue ruins finishes and attracts bugs.
- Test on a spare. Always try your paint or glue on one piece before committing.
- Let layers dry fully. Impatience is the number one craft killer.
- Keep a “maybe” box. Store promising recyclables for future projects instead of tossing them.
- Skip anything that held chemicals, motor oil, or cleaners. Not worth the risk.
FAQ’s
What’s the easiest recycled craft for total beginners?
The wine bottle vase. Wrapping twine is forgiving, and you can’t really mess it up. If a row looks off, just unwrap and redo it.
Do I need special tools?
Nope. A glue gun, scissors, and Mod Podge cover most projects. You can substitute white glue mixed with water for Mod Podge in a pinch.
How do I remove sticky label residue?
Rub it with a cotton ball soaked in rubbing alcohol or a dab of cooking oil. Let it sit for a minute, then scrub with a sponge.
Can I use real candles in my jar lanterns?
Please don’t. Glass can crack from heat, and spray paint is flammable. LED tea lights give the same glow with zero drama.
Are these crafts safe for kids to help with?
Some are, with supervision. Skip the hot glue and spray paint for young kids. They can help with wrapping twine, arranging book pages, or picking out colors.
How long do these projects take?
Most take 30 minutes to an hour, plus drying time. The jar lanterns need the longest cure, so start those first.
Get Crafting, Already
Your recycling bin is basically a free craft store at this point. Pick one project, gather your supplies, and give it a shot this weekend. If it turns out perfectly, amazing. If it turns out a little wonky, even better — that’s character. Now go rescue something from the trash and make it beautiful.