
Want to give a gift that actually means something? Store-bought is fine, but handmade hits different. These easy DIY handmade gift ideas take an afternoon, not a month, and they won’t require a craft room full of expensive tools. Grab a coffee, clear the kitchen table, and let’s make something people will genuinely keep.
Why Handmade Gifts Win Every Time
Handmade gifts carry a little piece of you in them. That sounds cheesy, but it’s true — someone spent time thinking about you instead of just tapping “add to cart.”
They’re also budget-friendly. A few dollars of supplies can turn into a gift that looks like it came from a boutique. And honestly? Most people remember the homemade candle way longer than another gift card.
Plus, you get to customize everything. Colors, scents, sizes, names — you’re the boss. No fighting a store return line, no guessing if they already own it.
Project 1: Layered Mason Jar Candles
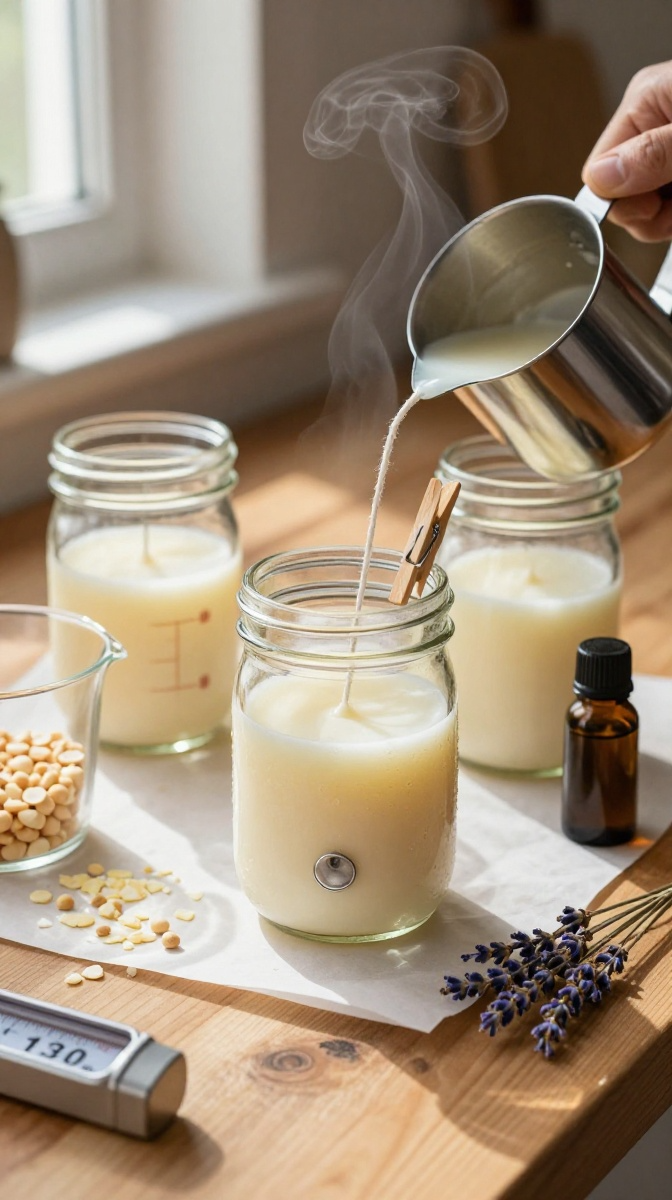
These look fancy and smell amazing, but they’re stupidly simple. If you can melt butter, you can make these candles.
Materials and Tools
- Soy wax flakes — about 1 cup per jar (paraffin works too, but soy burns cleaner)
- Mason jars — 8 oz size is perfect; thrift stores sell them for a dollar
- Cotton wicks with metal tabs — or use a pencil to hold a loose wick upright
- Fragrance oil — 1 teaspoon per jar; skip if you want unscented
- Candle dye — optional, and a little goes a long way
- A double boiler or a heat-safe bowl over a pot
- A candy thermometer — helpful but not mandatory
Step-by-Step Instructions
- Wash and fully dry your jars. Any water left inside will make the wax sputter.
- Glue the wick tab to the bottom center of each jar. A dab of hot glue works great.
- Melt the soy wax in your double boiler over medium heat. Stir gently — don’t walk away, wax overheats fast.
- Once the wax is fully liquid, remove it from heat and let it cool to about 130°F (54°C).
- Stir in your fragrance oil and dye. Stir for a full 30 seconds so it blends evenly.
- Pour the wax slowly into each jar, leaving about half an inch at the top.
- Hold the wick upright with a pencil or clothespin across the jar rim.
- Let them cure for 24 to 48 hours before burning. Yes, you have to wait. Sorry.
Common Mistakes to Avoid
Pouring wax too hot causes cracks and sinkholes. Pouring too cold gives you lumpy tops that look like a science experiment gone wrong.
Also, don’t skip the cure time. The scent needs those two days to really settle into the wax. Trust the process.
Decorating and Gifting Ideas
Tie a piece of twine around the jar with a small dried flower sprig. Add a handwritten tag that says “light me when you need a minute.” Instant favorite gift.
You can also layer two colors by letting the first pour set slightly, then adding a second colored layer on top. It looks way harder than it is.
Project 2: Custom Photo Coasters
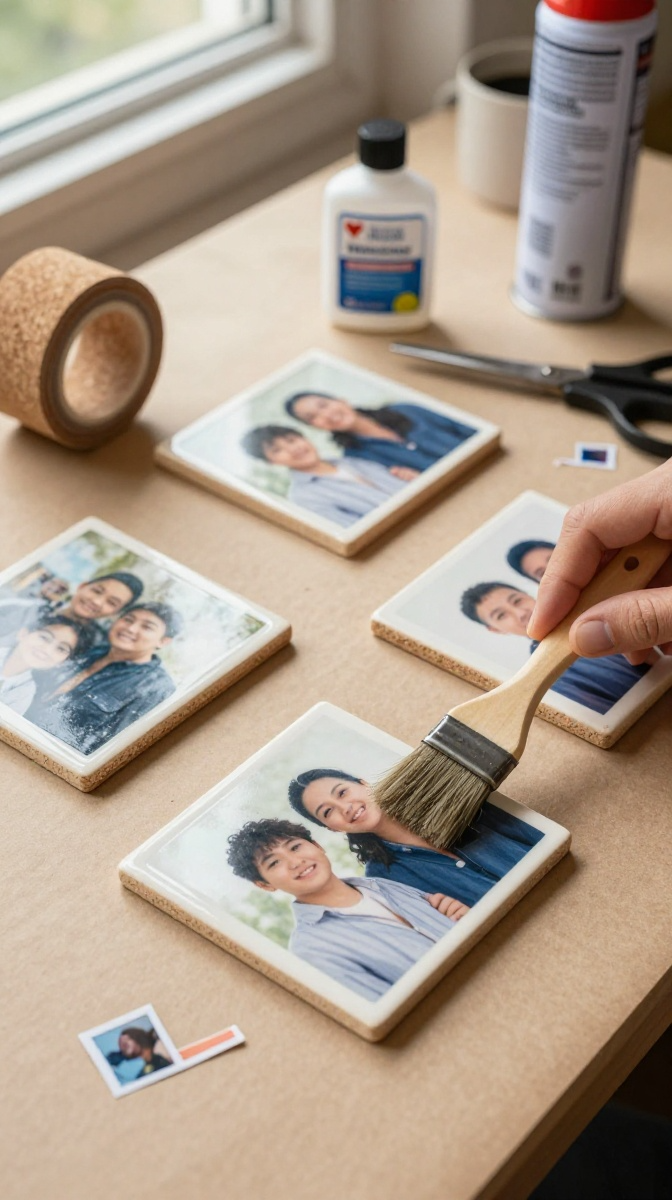
Photo coasters are the “I forgot to shop early” gift that still looks thoughtful. They take about an hour plus drying time, and people genuinely love them.
Materials and Tools
- Ceramic or wood square tiles — 4×4 inch, sold cheaply at hardware stores
- Printed photos — laser prints work best; inkjet can smear
- Mod Podge — matte or gloss, your call
- Foam brush
- Cork backing sheets — or felt squares as a substitute
- Scissors and a craft knife
- Acrylic sealer spray — optional but makes them water-resistant
Step-by-Step Instructions
- Cut your photos to fit the tile face, leaving a small border if you like that look.
- Brush a thin layer of Mod Podge onto the tile.
- Press the photo down, smoothing from the center outward to push out air bubbles.
- Let it dry for 15 minutes, then brush a coat of Mod Podge over the top of the photo.
- Add two or three more coats, letting each one dry in between.
- Cut cork backing to size and glue it to the bottom of the tile.
- Spray with acrylic sealer once everything is fully dry.
Troubleshooting Tips
Bubbles are the enemy. If you see one forming, smooth it out immediately with your finger or a credit card edge. Once it dries, it’s stuck there forever.
If your photo wrinkles, you used too much Mod Podge underneath. Less is more, IMO.
Project 3: Bath Salt Jars with Free Printable Tags
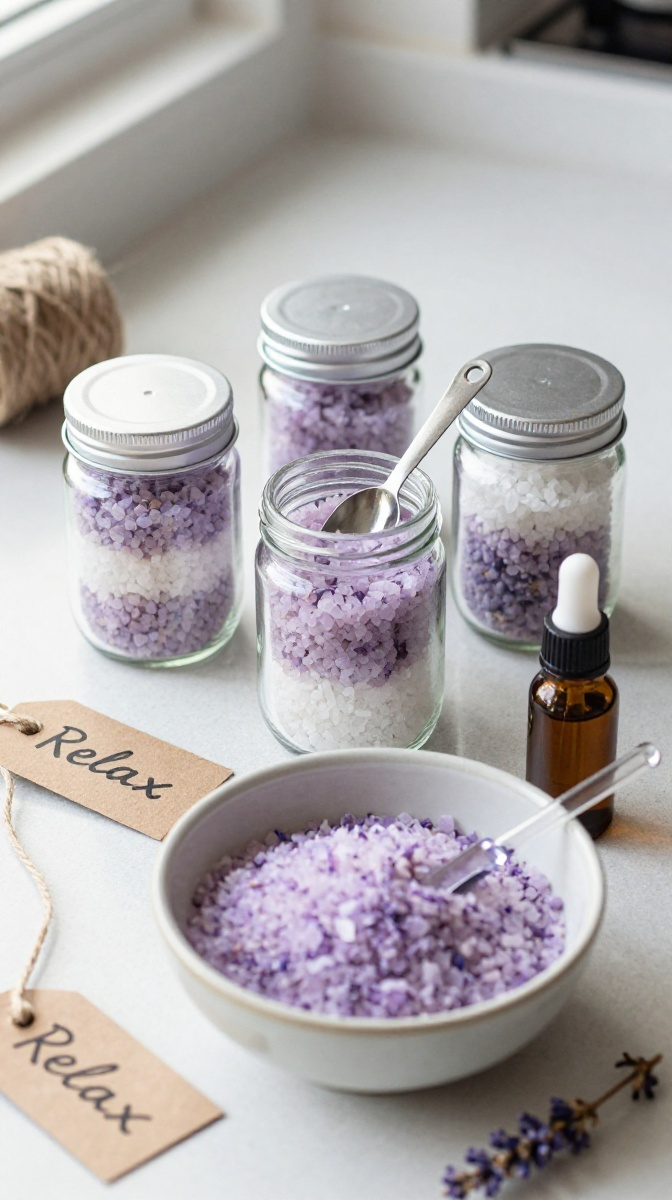
This one is almost embarrassingly easy. Mix, pour, tie a tag, done. It’s a great gift for teachers, coworkers, or anyone who deserves a long bath and a locked door.
Materials and Tools
- Epsom salt — 2 cups
- Coarse sea salt — 1 cup
- Baking soda — 1/2 cup, softens skin
- Essential oils — lavender, eucalyptus, or peppermint
- Small glass jars with lids
- Food coloring — optional, one drop max
- Twine and gift tags
Step-by-Step Instructions
- Mix the Epsom salt, sea salt, and baking soda in a large bowl.
- Add 10 to 15 drops of essential oil and stir well.
- If you want color, add one drop of food coloring and mix until it’s even.
- Scoop into jars, leaving a little headspace.
- Seal tightly and tie a tag around the neck with twine.
Safety Notes
Skip essential oils if the recipient is pregnant, has sensitive skin, or has pets. Some oils are not pet-safe, especially citrus and tea tree.
Label the jar clearly so nobody mistakes it for something edible. It happens more than you’d think.
Project 4: Hand-Painted Terracotta Pots
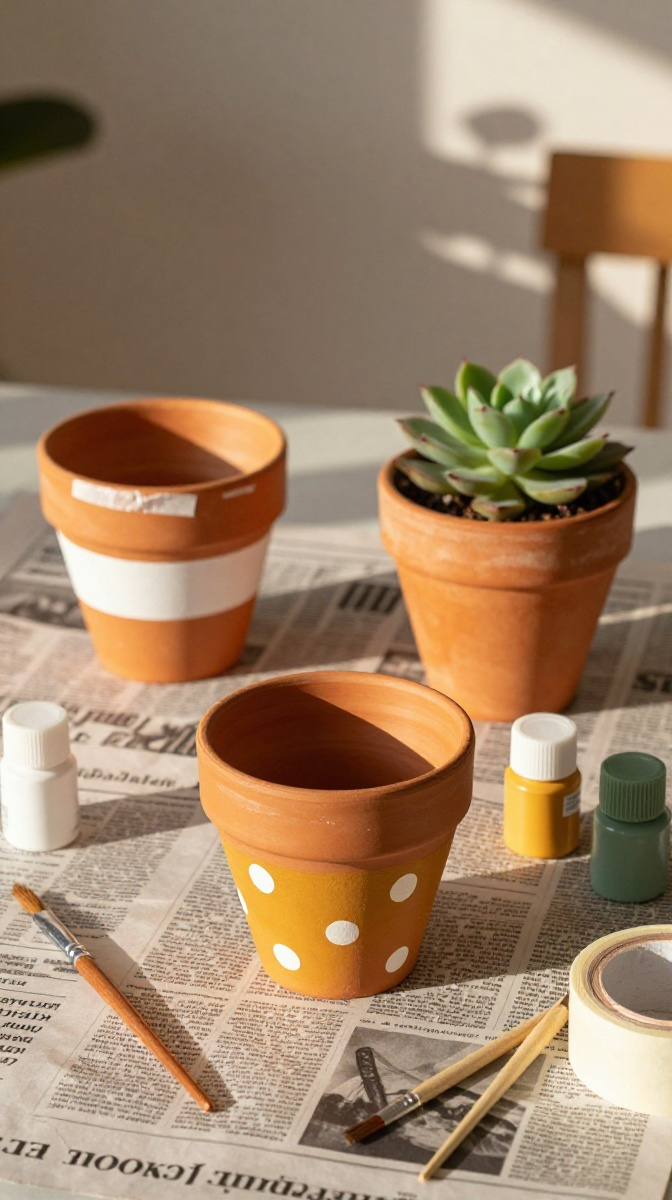
Plants are a solid gift, but a plain pot is boring. Ten minutes of painting turns a $2 pot into something that looks custom-made.
Materials and Tools
- Terracotta pots — any size
- Acrylic paint — outdoor or multi-surface if the pot lives outside
- Paintbrushes — one flat, one detail
- Painter’s tape for clean lines
- Clear sealant spray
- A small succulent or herb to plant inside
Step-by-Step Instructions
- Wipe the pot clean and let it dry completely.
- Use painter’s tape to block off stripes or shapes if you want clean edges.
- Paint in thin coats. Two thin coats beat one gloppy coat every single time.
- Let each coat dry before adding the next.
- Peel the tape off while the paint is slightly tacky, not fully dry.
- Seal with a clear spray once everything is cured.
Design Variations
Go minimalist with one stripe. Go bold with polka dots. Or write a name or short word on the pot for a personal touch.
If you’re not confident with freehand, use stencils. Nobody has to know.
Quick Tips for Stress-Free Crafting
Set up everything before you start. Hunting for scissors mid-project kills the vibe.
Work on a surface you don’t care about, or lay down parchment paper. Glitter and wax have a talent for finding furniture.
Make a test version if you’re trying something new. One ruined coaster is way better than five.
And if something goes wrong? Most craft fails can be fixed, covered up, or rebranded as “rustic.”
FAQ’s
How far in advance should I make these gifts?
Most of these take an afternoon. Just add drying time — 48 hours for candles, 24 for coasters. Make them the week before you need them, and you’re fine.
What if I don’t have a double boiler for the candles?
Use a heat-safe glass bowl over a pot of simmering water. It works the same. Just don’t let the bowl touch the water directly.
Are these gifts safe for kids to help with?
Bath salts and painted pots are kid-friendly with supervision. Candles involve hot wax, so keep little hands back for that one.
Can I use inkjet photos for the coasters?
You can, but they may smear when you brush on the Mod Podge. Laser prints hold up much better. If inkjet is all you have, spray the photo with sealer first.
How long do handmade candles last?
Stored in a cool, dark spot, soy candles last about a year. Once burned, they’re best used within a few months for the strongest scent.
What’s the cheapest gift on this list?
Bath salts, hands down. You can make four jars for under ten dollars if you buy salts in bulk.
Go Make Something Already
You don’t need a fancy craft room or professional skills to make a gift someone will love. Pick one project, grab your supplies, and give it a shot. Worst case, you make a mess. Best case, you make someone’s whole day.
So which one are you trying first? Grab the glue gun and find out.