
Got a pile of empty jars, old T-shirts, and cardboard boxes taking over your space? Don’t toss them yet. You’re about to turn that “trash” into something people will actually ask to buy. Grab your glue gun and let’s get messy.
Why Bother Crafting With Recycled Materials?
Look, I get it. Buying new craft supplies is tempting. But recycling what you already own saves money and keeps stuff out of landfills. Plus, there’s a weird thrill in making something cool from garbage. Think of it as treasure hunting, except the treasure smells like old pasta sauce.
Your wallet stays happy, the planet stays a little cleaner, and you get bragging rights. That’s a triple win, IMO.
Project 1: Glass Jar Lanterns That Look Expensive
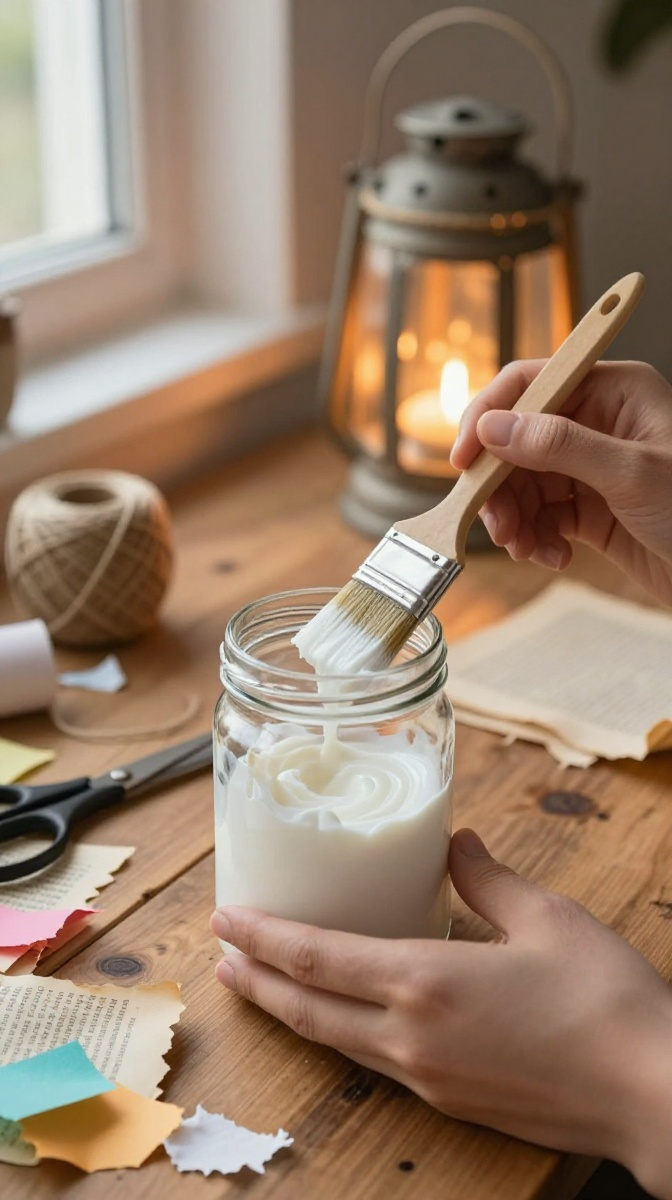
Empty pasta sauce or pickle jars are perfect for this. You’ll create a cozy lantern that costs almost nothing.
Materials and Tools
- Clean glass jars with labels removed
- Mod Podge or white school glue mixed with water
- Tissue paper, old book pages, or fabric scraps
- Twine or wire for the handle
- Small tea light or LED candle
- Paintbrush and scissors
No Mod Podge? Mix equal parts white glue and water. Works just as well.
Step-by-Step Instructions
- Tear your paper or fabric into small pieces. Jagged edges look better than clean cuts, honestly.
- Brush a thin layer of glue onto a section of the jar.
- Press a piece of paper onto the glue. Smooth it down with your fingers.
- Brush more glue over the top of the paper to seal it.
- Repeat until the jar is covered. Leave small gaps if you want light to peek through.
- Let it dry completely, about two hours.
- Wrap twine around the neck and tie a handle.
- Drop in a candle and light it up.
Pro tip: Don’t soak the paper in glue. It’ll wrinkle and tear. Thin layers are your friend.
Project 2: No-Sew T-Shirt Tote Bag
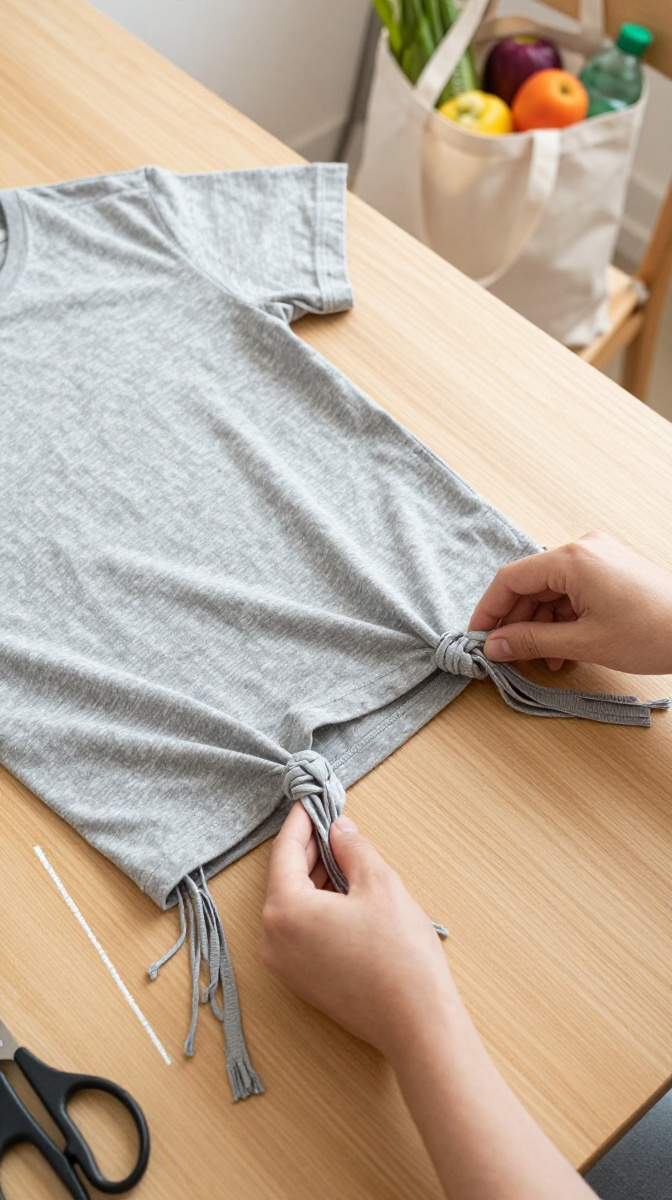
That old band tee you never wear? It’s begging for a second life as a grocery bag. No sewing machine required.
Materials and Tools
- An old T-shirt
- Scissors
- Chalk or a marker
- Optional: fabric paint or patches
Step-by-Step Instructions
- Lay the shirt flat. Cut off the sleeves and the neckline.
- Turn it inside out.
- Cut fringe strips along the bottom hem, about one inch wide.
- Tie each pair of fringe strips together in double knots.
- Keep tying until the bottom is sealed.
- Turn it right side out. Done.
Stretchy shirts work best. If the fabric is stiff, the knots might slip. Test it with a heavy book before trusting it with groceries.
Project 3: Cardboard Box Organizers
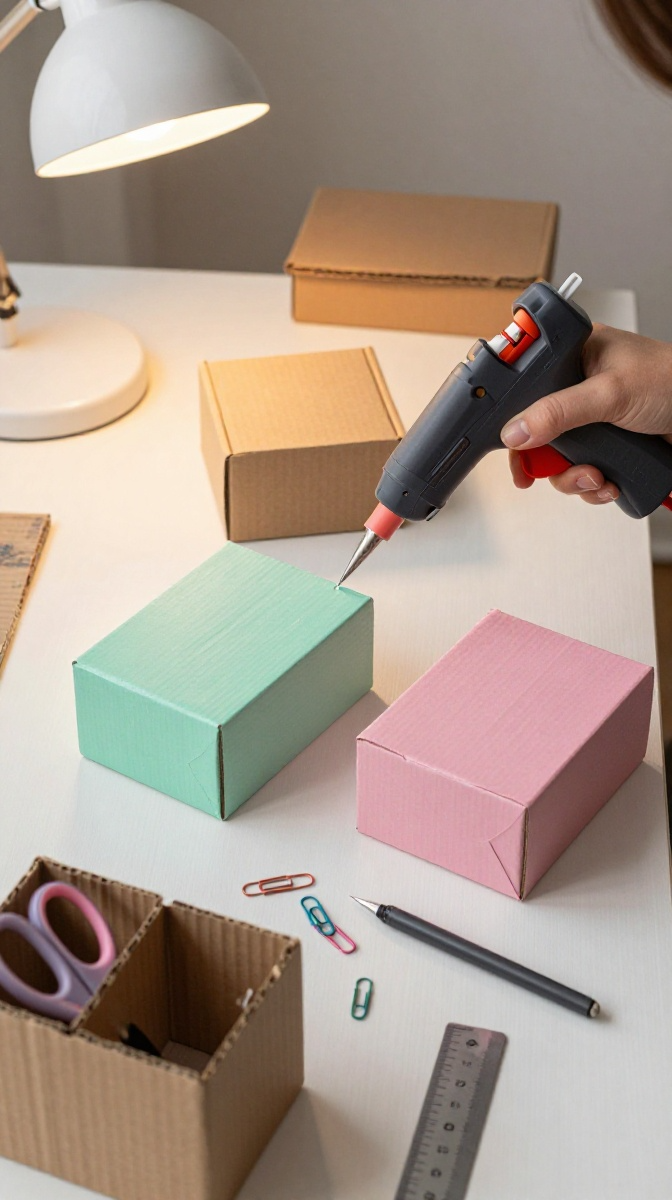
Amazon boxes multiply like rabbits, right? Turn them into desk organizers instead of recycling them.
Materials and Tools
- Cardboard boxes of various sizes
- Wrapping paper, contact paper, or paint
- Hot glue gun
- Scissors or craft knife
- Ruler
Step-by-Step Instructions
- Cut the box flaps off and trim the sides to your desired height.
- Arrange boxes in a cluster that fits your desk.
- Glue the boxes together side by side.
- Cover the outside with paper or paint.
- Let everything dry, then fill with pens, clips, and random junk.
Common mistake: Using too much glue. It melts the cardboard and makes a mess. A little goes a long way.
Project 4: Plastic Bottle Planters
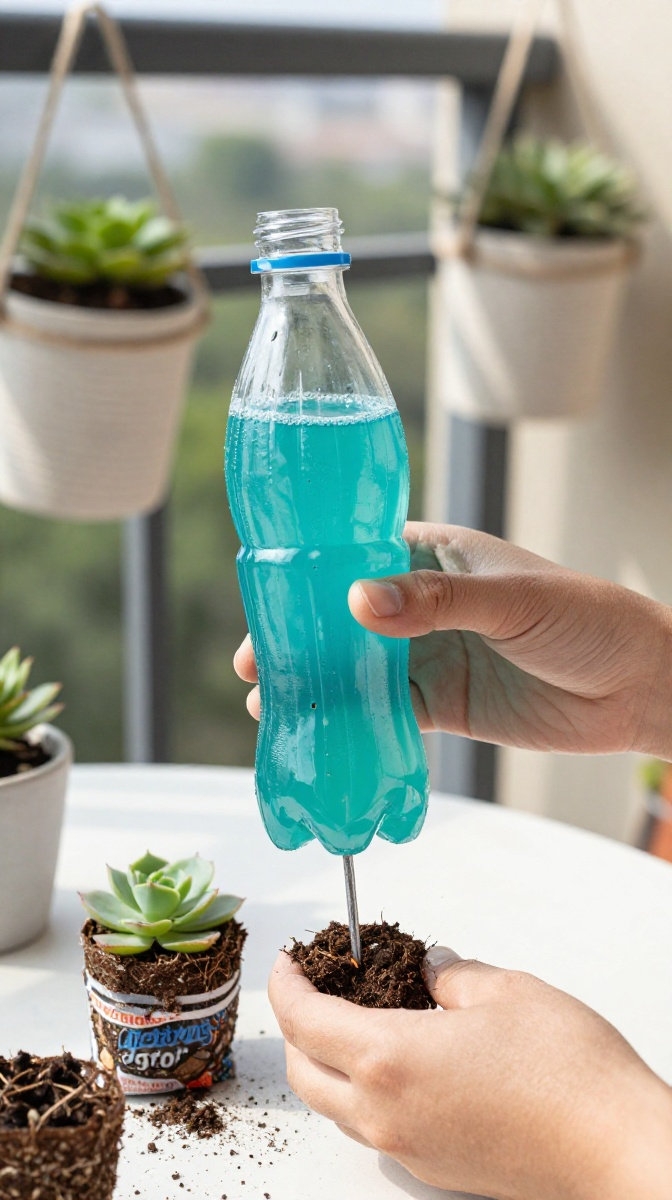
Soda bottles are ugly. But cut them up, and they become cute little planters. Perfect for herbs or succulents.
Materials and Tools
- Clean plastic bottles
- Acrylic paint
- Sharp scissors or craft knife
- Nail for drainage holes
- Potting soil and small plants
Step-by-Step Instructions
- Cut the bottle in half horizontally.
- Poke a few drainage holes in the bottom of the lower half.
- Paint the outside with two coats of acrylic paint.
- Let it dry completely.
- Fill with soil and plant your herb or succulent.
Want a hanging version? Poke holes on opposite sides near the rim and thread twine through. Instant vertical garden.
Tips, Tricks, and Common Disasters
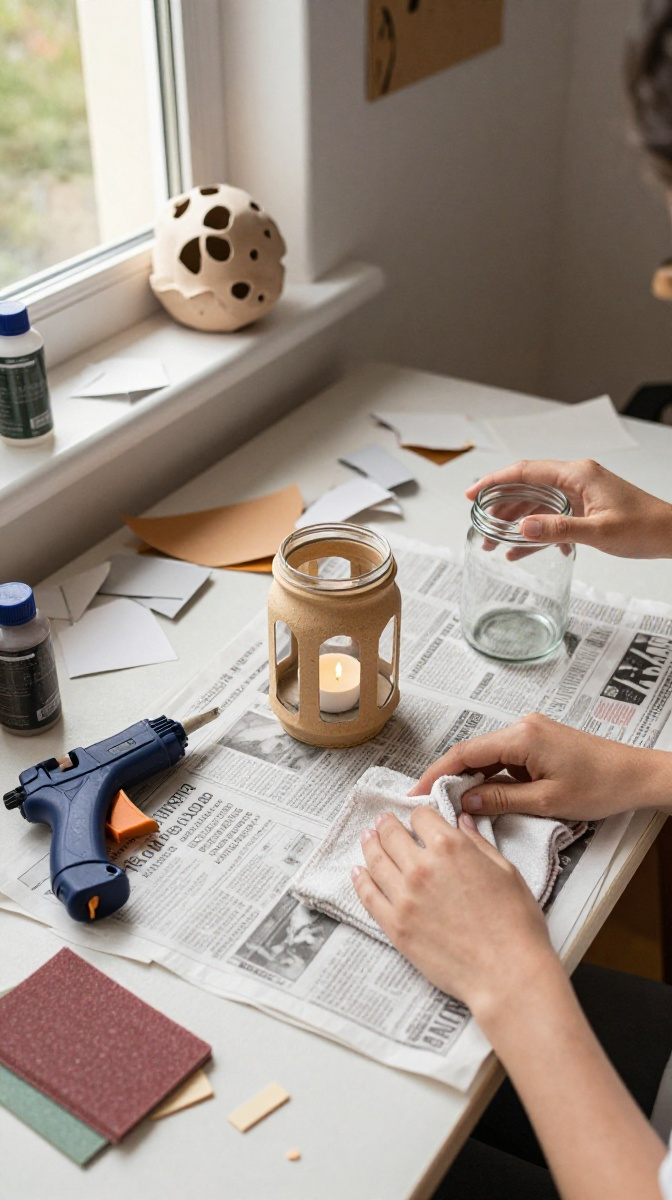
Crafting with recycled stuff is messy. Embrace it. Here are a few things I’ve learned the hard way.
- Clean everything first. Old food residue ruins projects and smells gross.
- Test your glue. Not all adhesives stick to plastic or glass.
- Let things dry fully. Patience is boring but necessary.
- Sand rough edges. Cut plastic and cardboard can slice fingers.
If something flops, laugh it off. My first jar lantern looked like a papier-mâché blob. The second one? Gorgeous.
Ways to Use or Gift Your Creations
These crafts make great gifts. Fill a jar lantern with a candle and give it to a friend. Stuff a t-shirt tote with snacks for a housewarming present. Box organizers work for anyone with a messy desk, which is basically everyone.
You can also sell them at craft fairs or online. People love eco-friendly handmade goods. Just don’t quit your day job yet.
FAQ’s
What if I don’t have Mod Podge?
Mix white school glue with water in a 1:1 ratio. It works for most paper crafts.
Can I use hot glue on plastic bottles?
Yes, but it can melt thin plastic. Use low-temp glue or craft glue instead.
How do I remove labels from jars?
Soak them in warm soapy water for 20 minutes. Baking soda paste helps with stubborn residue.
Are these crafts safe for kids?
Mostly, but supervise cutting and hot glue. Younger kids can help with painting and tying knots.
How long do these projects take?
Most take 30 minutes to an hour, plus drying time. Jar lanterns need a couple hours to dry.
Can I paint cardboard without it warping?
Use acrylic paint sparingly or spray paint. Too much moisture makes cardboard bend.
Ready to Raid Your Recycling Bin?
Stop looking at your trash as trash. Grab a jar, an old shirt, or that stack of boxes and make something. Your home gets a little greener, your wallet stays happy, and you get to brag about your DIY skills. Now go forth and craft.