
Got a pile of stuff you keep meaning to deal with? Same. Instead of tossing it, let’s turn that “junk” into something you’ll actually want to show off. These five upcycling projects are beginner-friendly, cheap, and take an afternoon at most. Grab your glue gun and let’s make your home look like you spent way more than you did.
1. Turn Old Jars into Glowing Lanterns
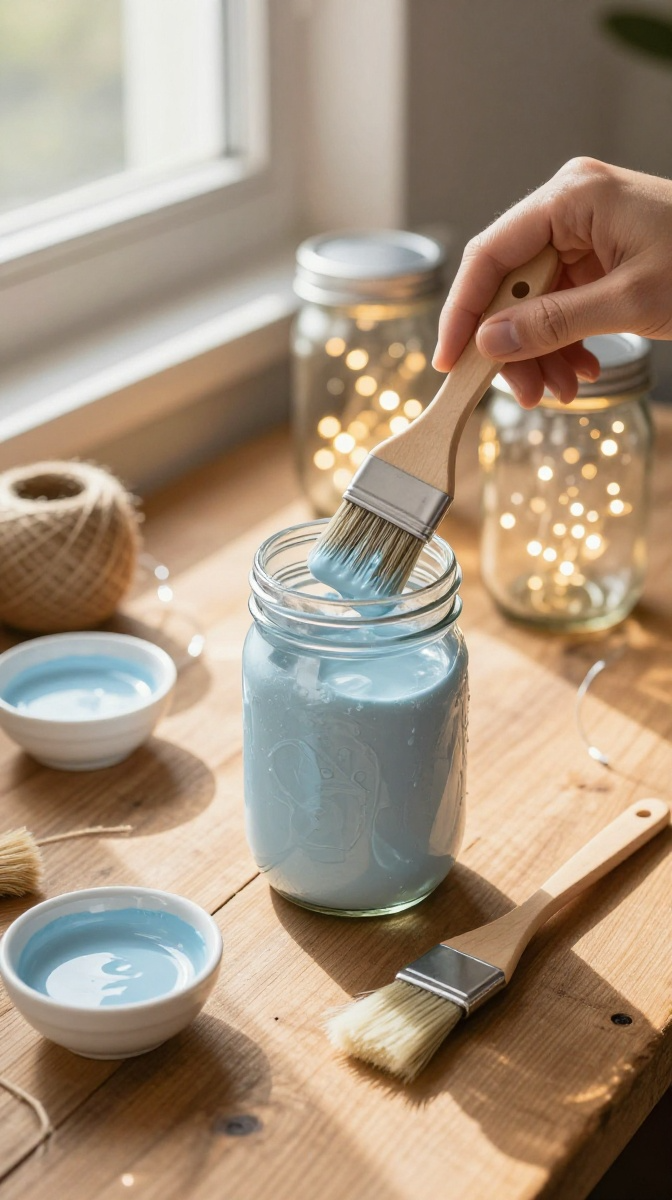
Mason jars, pasta sauce jars, pickle jars — they all work. This is the project I recommend for total beginners because it’s nearly impossible to mess up. Even if you do, you just grab another jar.
Materials and Tools
- Clean glass jars with labels removed
- Mod Podge or plain white school glue
- Food coloring or acrylic paint
- Paintbrush or foam brush
- Twine, lace, or ribbon
- Tea light candles or battery-powered fairy lights
- Rubbing alcohol for cleaning the glass
Budget swap: Skip the Mod Podge and mix school glue with a little water. It works fine, IMO.
Step-by-Step Instructions
- Wash and dry your jars, then wipe them down with rubbing alcohol so the coating sticks.
- Mix a few drops of food coloring into about two tablespoons of Mod Podge.
- Brush the mixture onto the outside of the jar in thin, even strokes.
- Let it dry for 20 minutes, then add a second coat if you want deeper color.
- Wrap twine or lace around the neck of the jar and tie a bow.
- Drop in a tea light or fairy lights and let it glow.
Common Mistakes to Avoid
Don’t glop the Mod Podge on thick — it dries streaky and cloudy. Thin coats are your friend. Also, if you’re using real candles, keep the coating on the outside only and never leave flames unattended.
2. Transform an Old T-Shirt into a Tote Bag
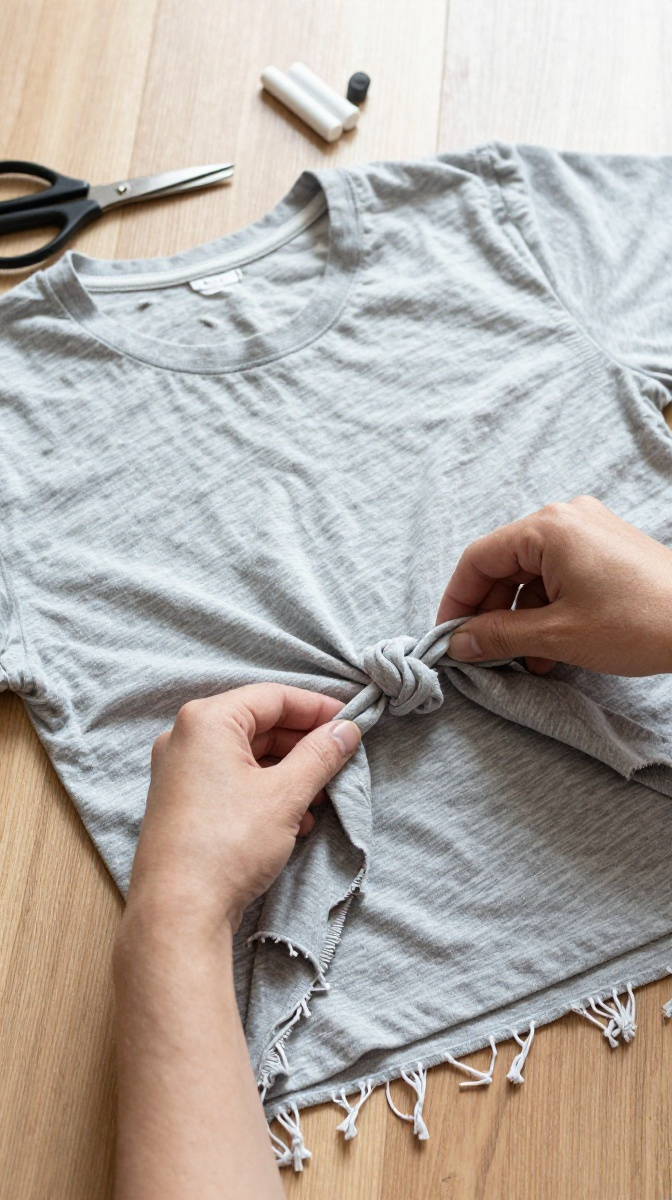
That concert tee you never wear? It deserves a second life as a grocery bag. No sewing machine required, which is great news for those of us who own a sewing machine and still can’t thread it.
Materials and Tools
- An old T-shirt (the bigger, the better)
- Fabric scissors
- Fabric marker or chalk
- Pins (optional)
- Iron for pressing edges
Step-by-Step Instructions
- Lay the shirt flat and cut off both sleeves, following the seam line.
- Cut a wide scoop out of the neckline to create your bag opening.
- Turn the shirt inside out and pin the bottom hem closed.
- Cut fringe strips about an inch wide along the bottom edge, front and back.
- Tie each front fringe strip to the matching back strip in double knots.
- Turn it right side out and press the knots flat with an iron.
Design Variations
Add a pocket using a sleeve you cut off. Bleach-dye it for a tie-dye look. Or stitch on patches if you want to get fancy. For a sturdier bag, use a heavyweight tee and double-knot everything.
3. Make a Wine Cork Bulletin Board
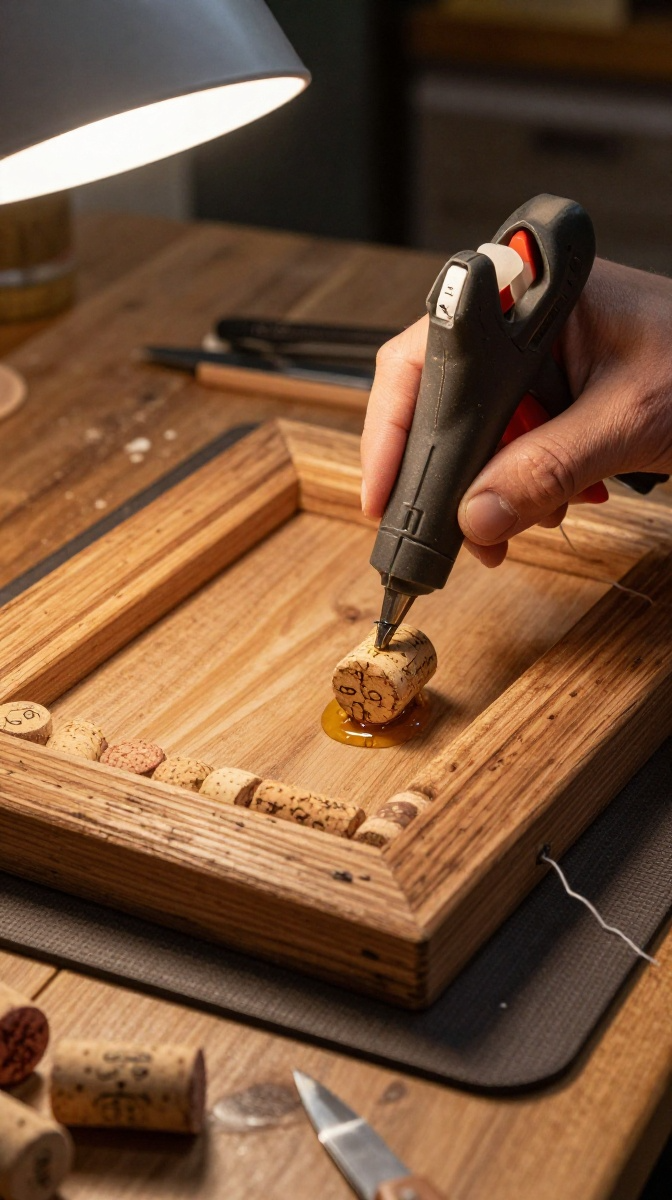
Been saving corks “just in case” for three years? Congrats, your hoarding finally pays off. This board looks rustic and expensive, but it’s basically a frame plus a lot of glue.
Materials and Tools
- 30–50 wine corks (ask friends, they’ll happily donate)
- An old picture frame or a wooden tray
- Hot glue gun and sticks
- Craft knife
- Thumbtacks or push pins
Substitute: No frame? Use a sturdy cardboard base and wrap the edges with burlap.
Step-by-Step Instructions
- Clean the frame and remove any glass or backing you don’t need.
- Cut some corks in half lengthwise with the craft knife so the surface sits flatter.
- Lay out your corks in a pattern before gluing anything. Trust me on this one.
- Glue each cork down one at a time, pressing firmly for a few seconds.
- Fill in gaps with cut cork pieces until the surface is covered.
- Let it cure for an hour, then hang it and start pinning notes.
Safety Tips
Hot glue guns are no joke. Keep your fingers clear of the nozzle and work on a protected surface. If you’re using a craft knife, always cut away from your body.
4. Repurpose Old Sweaters into Cozy Pillow Covers
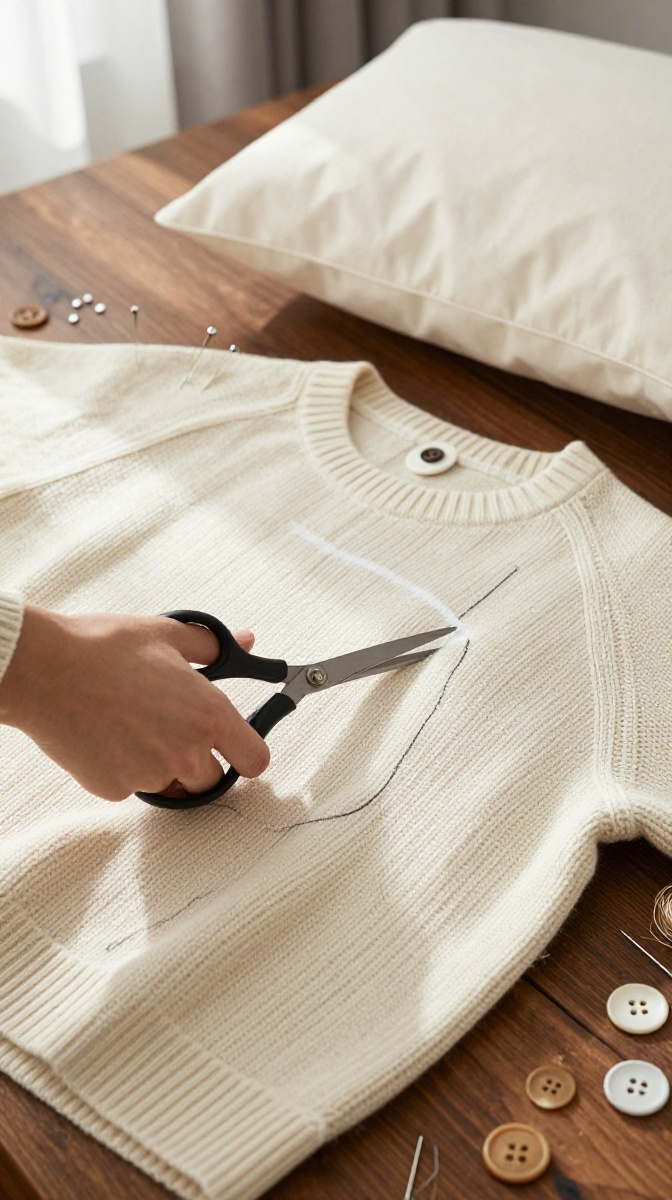
That sweater that shrunk in the wash? It’s now a pillow cover. This is a great project for anyone who wants a cozy, cabin-style look without buying new decor.
Materials and Tools
- An old sweater (wool or knit works best)
- A pillow insert
- Scissors and pins
- Needle and thread, or a sewing machine
- Buttons (optional)
Step-by-Step Instructions
- Lay the sweater flat and place your pillow insert on top as a guide.
- Cut through both layers, leaving about an inch of seam allowance.
- Pin the edges together, right sides facing in.
- Sew around three sides, leaving one side open.
- Turn it right side out and slide in the pillow insert.
- Hand-sew the open side closed, or add buttons for a removable closure.
Troubleshooting
Knit fabric can unravel, so use a zigzag stitch if you have a machine. If you’re hand-sewing, a blanket stitch along the raw edges keeps things tidy. Felted sweaters are the easiest to work with because they don’t fray much.
5. Build a Pallet Herb Garden
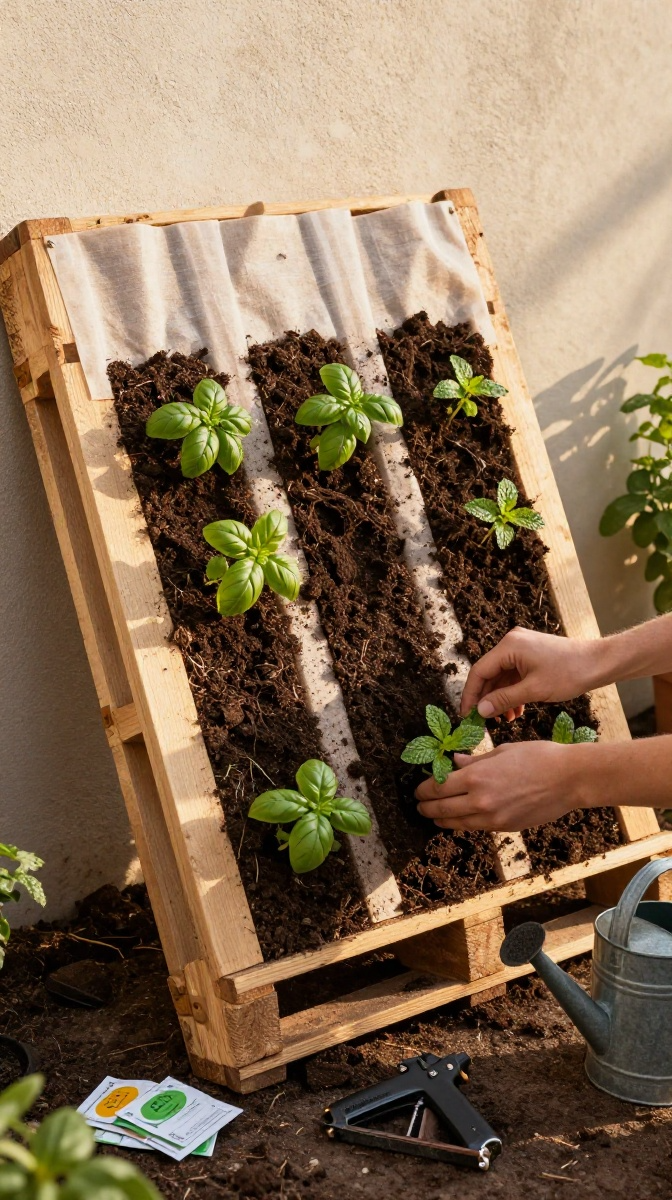
If you’ve got a wooden pallet sitting around, you’ve got a vertical garden waiting to happen. This one takes a bit more effort, but the payoff is fresh basil all summer.
Materials and Tools
- A wooden pallet (look for the “HT” stamp, meaning heat-treated and safe)
- Landscape fabric or weed barrier
- Staples and a staple gun
- Potting soil
- Herb seedlings or seeds
- Sandpaper and paint (optional)
Step-by-Step Instructions
- Sand the pallet down to avoid splinters, then paint it if you like.
- Staple landscape fabric across the back and bottom openings.
- Fill each row with potting soil, packing it gently.
- Plant your herbs, spacing them a few inches apart.
- Water thoroughly and let it drain before hanging or leaning it.
- Place it against a sunny wall and water every couple of days.
Display and Gift Ideas
Lean it against a fence, hang it on a patio wall, or lay it flat as a low garden bed. These also make great gifts for friends who love cooking — just add a cute tag and a packet of seeds.
FAQ’s
Do I need special tools for upcycling?
Nope. Scissors, glue, and a bit of patience cover most projects. A hot glue gun and a staple gun help, but you can borrow those or grab cheap ones.
How do I clean upcycled items?
It depends on the material. Glass lanterns wipe clean with a damp cloth. Fabric bags and pillow covers can usually be hand-washed. Avoid soaking anything with glue or paint.
Where can I find free materials?
Ask friends, check community groups, or browse thrift stores. Pallet piles behind stores are gold mines, but always ask permission first.
Are upcycled gifts tacky?
Only if you do them badly. A well-made cork board or a cozy sweater pillow looks store-bought. Presentation matters more than the price tag.
How long do these projects take?
Most take one to two hours. The pallet garden takes an afternoon, mostly because of drying time.
What if my project turns out ugly?
Been there. Paint over it, add ribbon, or repurpose it again. Upcycling is forgiving — that’s the whole point.
Give It a Try This Weekend
You don’t need a craft room or a big budget to make your space feel personal. Pick one project, raid your recycling bin, and see what happens. Worst case, you make a mess and learn something. Best case, you end up with decor you actually love and a story about the time you turned trash into treasure. Grab a jar and get started.