
There’s something about cheesecake that makes an ordinary dessert feel like a small celebration.
I learned that after one particularly chaotic dinner when I had planned an elaborate dessert, ran out of time, and ended up making a simple cheesecake instead. I expected everyone to politely take a slice. Instead, people went back for seconds before I had even finished clearing the plates.
That moment permanently changed how I think about cheesecake.
I don’t believe you need complicated techniques, expensive ingredients, or a water bath every time you want something delicious. These easy cheesecake dessert recipes focus on creamy fillings, buttery crusts, simple toppings, and methods that actually work in a home kitchen.
I’ve made plenty of cheesecakes since then, including a few that cracked, one that refused to set properly, and another that somehow disappeared before I photographed it. Honestly, those mistakes taught me more than any perfect cheesecake ever could.
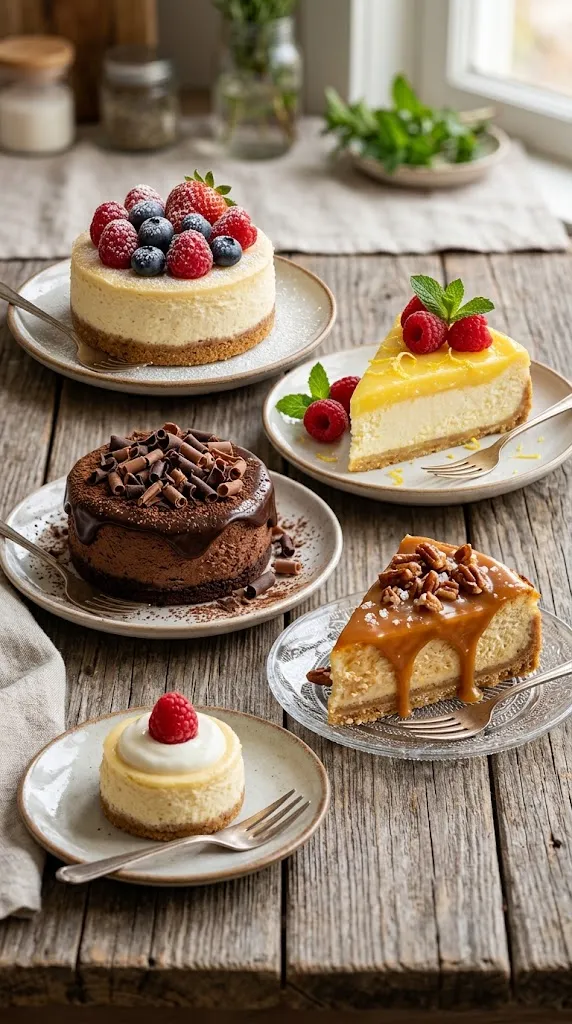
This collection gives you several easy directions to take: classic baked cheesecake, no-bake cheesecake cups, berry cheesecake, chocolate cheesecake, lemon cheesecake, and more.
So grab your cream cheese and let’s make dessert.
Why You’ll Love These
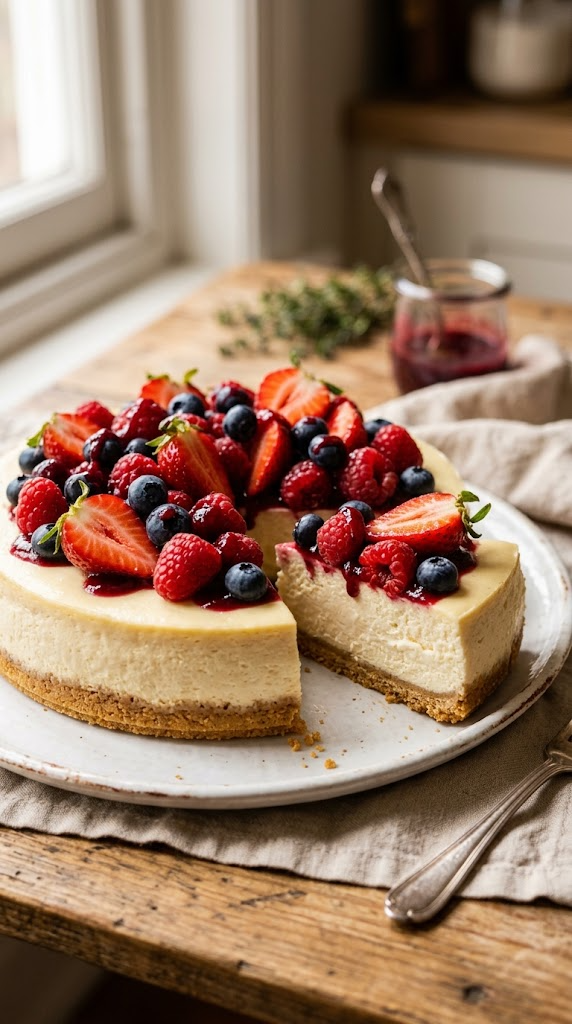
- Beginner-friendly: You don’t need pastry-school skills to make a creamy cheesecake.
- Flexible: Change the crust, topping, fruit, or chocolate depending on what you have.
- Great for parties: Cheesecake looks impressive without requiring complicated decoration.
- Make-ahead friendly: Most versions taste even better after several hours in the refrigerator.
- Easy to customize: You can make individual cups, bars, mini cheesecakes, or one beautiful large dessert.
And perhaps my favorite part? Cheesecake gives you plenty of room for little imperfections. A berry topping can hide a tiny crack like it was never there. Very convenient.
Ingredients You’ll Need
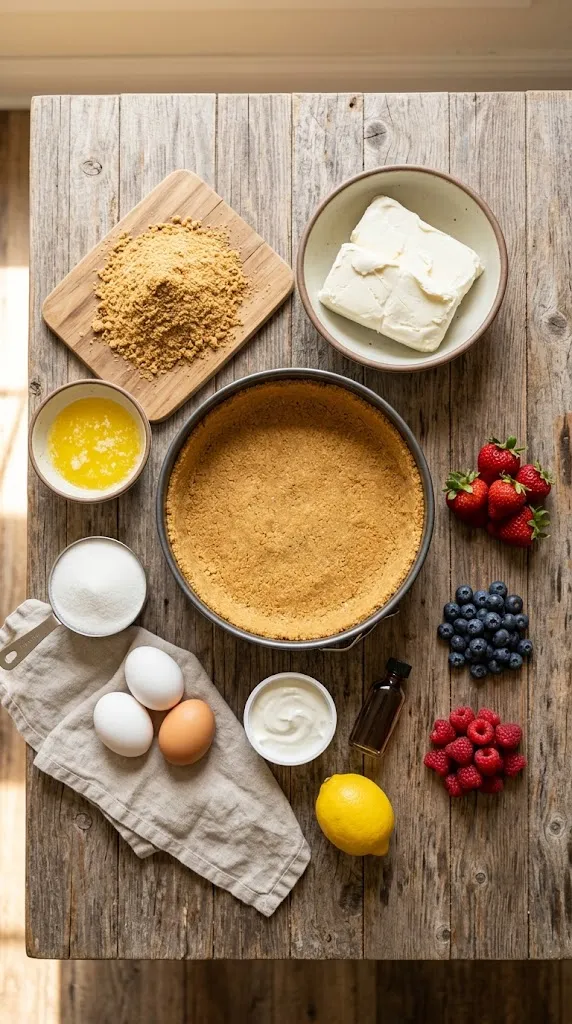
The exact ingredients depend on which cheesecake variation you choose, but this basic combination works beautifully for a classic creamy cheesecake.
For the Crust
- 2 cups graham cracker crumbs – These create that sweet, buttery base.
- 5 tablespoons unsalted butter, melted – Helps the crumbs hold together.
- 2 tablespoons granulated sugar – Adds a little extra sweetness.
- Pinch of salt – Keeps the crust from tasting flat.
You can replace graham crackers with digestive biscuits, vanilla cookies, chocolate wafer cookies, or another crisp cookie you enjoy.
For the Cheesecake Filling
- 24 ounces cream cheese, softened – Use full-fat cream cheese for the creamiest texture.
- ¾ cup granulated sugar – Gives the filling balanced sweetness.
- 3 large eggs – Eggs help the baked cheesecake set.
- 1 teaspoon vanilla extract – Adds warmth and rounds out the flavor.
- ½ cup sour cream – Keeps the filling creamy and adds a gentle tang.
- 1 tablespoon lemon juice – Brightens the flavor without making the cheesecake taste strongly of lemon.
For the smoothest filling, let the cream cheese reach room temperature before mixing.
Cold cream cheese tends to leave little lumps behind, and nobody wants to discover cream cheese pebbles in an otherwise silky dessert.
Easy Topping Ideas
Choose whatever sounds good:
- Fresh strawberries
- Blueberries or raspberries
- Strawberry or raspberry sauce
- Lemon curd
- Chocolate ganache
- Caramel sauce
- Whipped cream
- Chopped nuts
- Shaved chocolate
- Fresh sliced peaches
You can even combine two or three toppings. Cheesecake rarely complains.
Step-by-Step Instructions
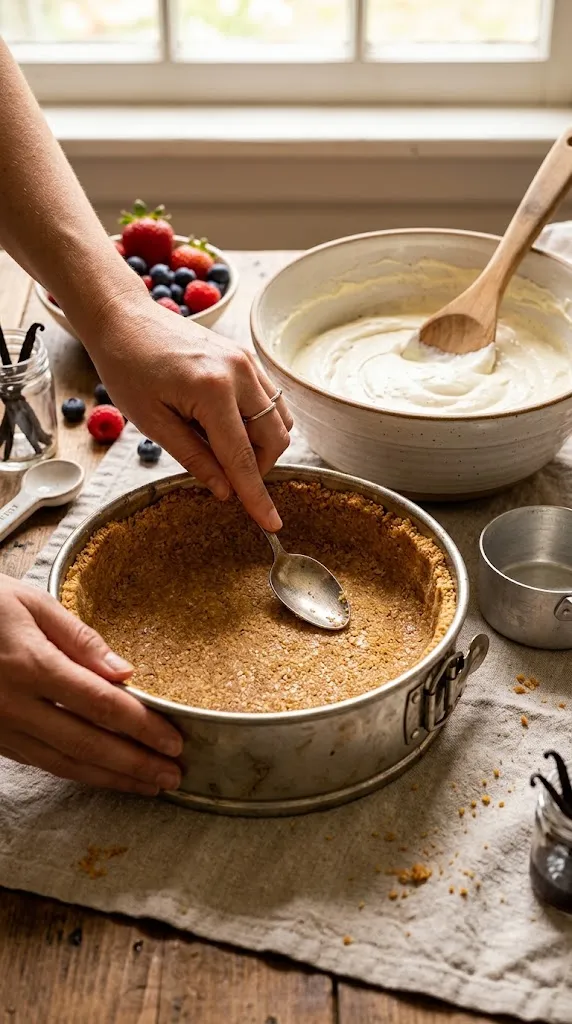
1. Prepare Your Pan
Start by heating your oven to 325°F (165°C).
Grease a 9-inch springform pan lightly with butter or nonstick spray. If you have parchment paper, line the bottom as well.
A springform pan makes removing cheesecake much easier because you can release the sides instead of trying to wrestle the cake out of a regular pan.
I learned that lesson the hard way.
2. Make the Crust
Add the graham cracker crumbs, sugar, salt, and melted butter to a mixing bowl.
Stir until the crumbs look evenly moistened. The mixture should resemble damp sand and hold together when you squeeze it between your fingers.
Press the mixture firmly into the bottom of the prepared pan.
Use the bottom of a measuring cup to create an even surface. Spend a little extra time pressing the edges because loose crumbs can crumble when you slice the finished cheesecake.
Bake the crust for 8–10 minutes.
Let it cool for a few minutes while you prepare the filling.
3. Beat the Cream Cheese
Place the softened cream cheese in a large mixing bowl.
Using a hand mixer or stand mixer, beat it on low to medium speed until smooth.
Add the sugar gradually and mix until combined.
Try not to whip the mixture aggressively. Too much air can create bubbles in the filling, and those bubbles can contribute to cracks as the cheesecake bakes.
This isn’t a race. Cheesecake appreciates patience.
4. Add the Remaining Filling Ingredients
Add the sour cream, vanilla extract, and lemon juice.
Mix gently until everything looks smooth.
Add the eggs one at a time, mixing just until each egg disappears into the batter.
Stop mixing as soon as the filling looks uniform.
Scrape the sides and bottom of the bowl with a spatula so you don’t leave pockets of cream cheese behind.
The finished batter should look thick, glossy, and completely smooth.
5. Pour the Filling Over the Crust
Pour the cheesecake mixture over the cooled crust.
Gently tap the pan against the countertop once or twice to encourage large air bubbles to rise.
Don’t go wild with the tapping. You’re making cheesecake, not testing the structural integrity of your kitchen counter.
Smooth the top with a spatula.
6. Bake the Cheesecake
Place the pan in the preheated oven.
Bake for approximately 50–65 minutes.
The edges should look set while the center should still have a gentle wobble when you carefully move the pan.
That little jiggle matters.
You don’t want the center to look completely liquid, but you also don’t want the entire cheesecake to look firm and dry.
Turn off the oven and leave the cheesecake inside with the door slightly open for about 30 minutes.
This gradual cooling can help reduce sudden temperature changes.
7. Cool Completely
Remove the cheesecake from the oven and let it cool at room temperature for about 1 hour.
Then cover it and refrigerate it for at least 4 hours, although overnight works even better.
I know waiting feels cruel when you can smell cheesecake sitting right there.
Trust me.
The refrigerator does important work. It allows the filling to fully set and gives the flavors time to settle.
8. Add Your Favorite Topping
Once the cheesecake has chilled, carefully release it from the springform pan.
Add fresh berries, fruit sauce, chocolate, caramel, whipped cream, or whatever topping makes you happy.
For a simple berry topping, spoon 1½ cups fresh berries over the cheesecake and drizzle with a few tablespoons of berry sauce.
For chocolate lovers, drizzle melted chocolate over the top and add a handful of chocolate shavings.
For lemon cheesecake, add thin lemon slices and a little lemon curd.
9. Slice and Serve
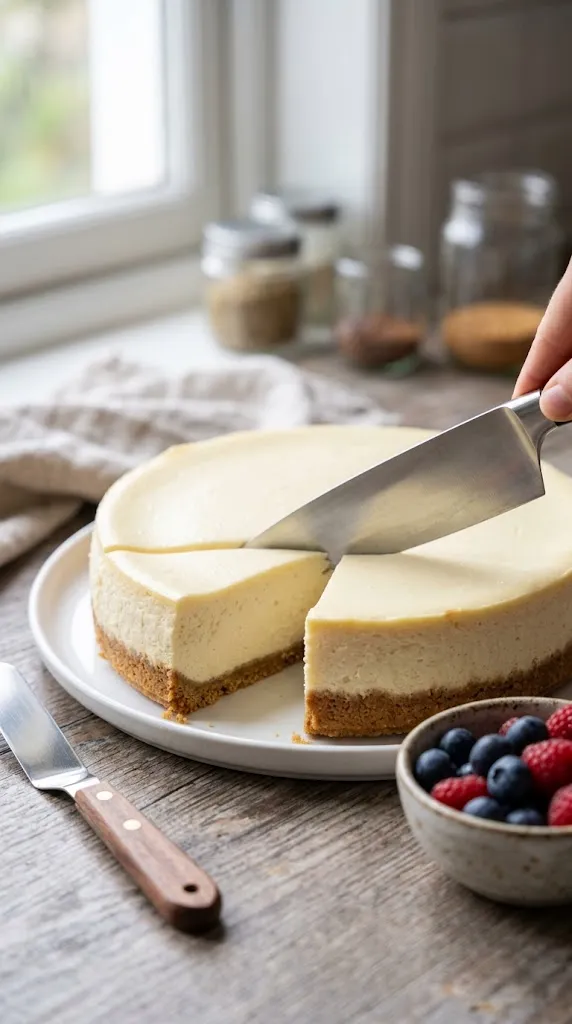
Use a sharp knife to cut the cheesecake.
For cleaner slices, dip the knife into hot water, wipe it dry, and then slice. Repeat between cuts.
The result looks much neater, especially when you’re serving guests.
And yes, you absolutely deserve the first slice.
Pro Tips & Tricks
Use Room-Temperature Cream Cheese
This might sound like a tiny detail, but it makes a big difference.
Softened cream cheese blends much more smoothly and reduces the chance of lumps.
Set the cream cheese on the counter for about 45–60 minutes before mixing.
Don’t Overmix the Eggs
Once you add the eggs, mix only until they combine.
Overmixing adds unnecessary air to the batter, which can cause the cheesecake to puff dramatically and then sink or crack as it cools.
Don’t Bake Until the Center Looks Completely Firm
A cheesecake should have a slight wobble in the middle when you remove it from the oven.
It will continue setting as it cools.
If you wait until the center looks completely firm, you risk ending up with a drier texture.
Give It Plenty of Chilling Time
Four hours works, but overnight chilling gives you an even better texture.
If you’re making cheesecake for a party, I recommend preparing it the day before.
That way, dessert doesn’t become another thing you need to worry about while guests are arriving.
Store It Properly
Keep cheesecake covered in the refrigerator.
A properly stored cheesecake generally keeps well for about 4–5 days in the refrigerator.
Keep toppings such as fresh fruit separate when possible if you want the crust and surface to stay neat.
Freeze Extra Cheesecake
Cheesecake freezes surprisingly well.
Cut it into individual slices, wrap each slice tightly, and place the wrapped pieces in a freezer-safe container.
Freeze for up to about 2 months for the best quality.
Thaw individual slices overnight in the refrigerator.
Variations & Substitutions
Make an Easy No-Bake Cheesecake
If you don’t want to turn on the oven, make a no-bake version.
Beat 16 ounces softened cream cheese with ½ cup powdered sugar and 1 teaspoon vanilla.
Fold in 1½ cups whipped cream, then spread the mixture over a prepared cookie crust.
Refrigerate for at least 6 hours before serving.
The texture will feel lighter and softer than baked cheesecake, but it makes a fantastic warm-weather dessert.
Try a Chocolate Cheesecake
For a chocolate version, add about ½ cup melted and cooled semisweet chocolate to the filling.
You can also replace part of the graham cracker crumbs with chocolate cookie crumbs.
Top it with chocolate ganache and a few chocolate curls.
This version rarely survives long at my house.
Make It Gluten-Free
Use certified gluten-free cookies or gluten-free graham-style crackers for the crust.
Check your other packaged ingredients as needed, especially if you’re cooking for someone with a diagnosed gluten-related condition.
The creamy filling itself works beautifully with a gluten-free crust.
Turn It Into Mini Cheesecakes
Instead of using a springform pan, divide the crust mixture among a 12-cup muffin pan lined with paper liners.
Add the cheesecake filling and bake for approximately 18–24 minutes, watching for set edges and slightly jiggly centers.
Mini cheesecakes make parties much easier because everyone gets an individual portion.
Serving Suggestions
Cheesecake already brings plenty of richness, so I like pairing it with something fresh.
Fresh strawberries, raspberries, blueberries, peaches, or cherries work beautifully.
A small spoonful of fruit sauce adds color and acidity without making the dessert complicated.
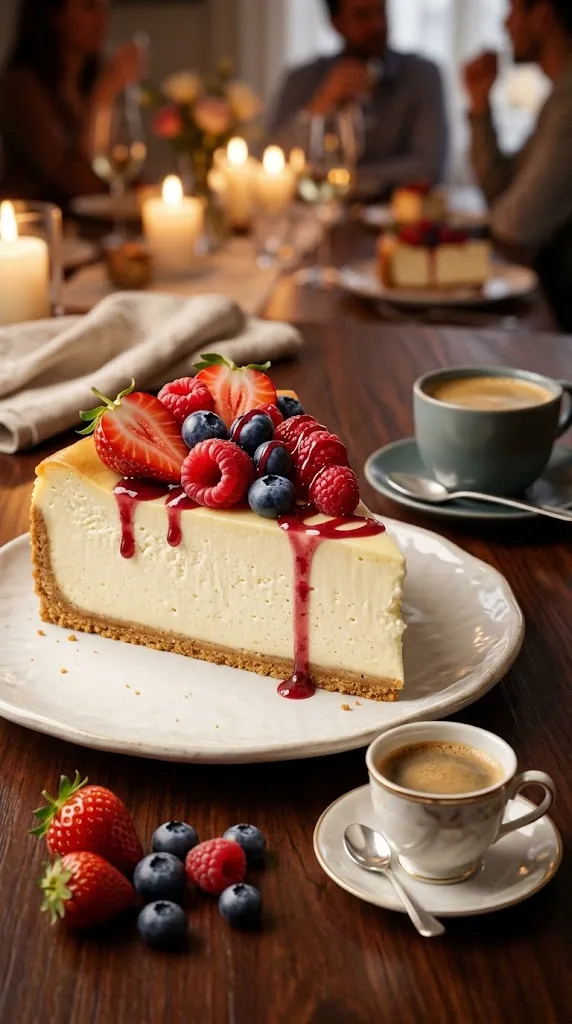
For a cozy dinner, serve cheesecake with coffee, espresso, or tea.
For a summer gathering, pair chilled cheesecake with fresh berries and lemonade.
For birthdays and celebrations, add whipped cream, chocolate curls, sprinkles, or a drizzle of caramel.
If you’re serving several dessert options, cut the cheesecake into smaller slices. That way everyone can grab a piece without feeling like they need to choose cheesecake or every other dessert on the table.
Of course, choosing both remains completely reasonable.
Easy Cheesecake Dessert Recipes You Can Try
Once you have the basic method down, you can turn it into several different desserts.
Classic Berry Cheesecake
Keep the filling simple and pile the finished cheesecake with strawberries, blueberries, and raspberries.
The colorful fruit makes this version especially pretty for brunches, birthdays, and family dinners.
Lemon Cheesecake
Increase the lemon flavor by adding 1 tablespoon lemon zest to the filling.
Top each slice with a small spoonful of lemon curd and fresh berries.
The bright citrus flavor balances the richness beautifully.
Chocolate Cookie Cheesecake
Use crushed chocolate sandwich cookies for the crust.
Add melted semisweet chocolate to the filling and finish with chocolate curls.
This one definitely belongs on the table when serious chocolate cravings show up.
Caramel Pecan Cheesecake
Drizzle chilled cheesecake with caramel sauce and sprinkle toasted chopped pecans over each slice.
The crunchy nuts add a lovely contrast to the creamy filling.
Strawberry Cheesecake Cups
For a shortcut dessert, layer crushed cookies, cheesecake filling, and chopped strawberries in small glasses.
Chill them for at least 2 hours.
You get all the fun of cheesecake without worrying about perfectly clean slices.
FAQ’s
How long does cheesecake last in the refrigerator?
Homemade cheesecake usually keeps well for about 4–5 days when covered and refrigerated properly.
Keep it away from strong-smelling foods because cheesecake can pick up refrigerator odors surprisingly easily.
Can I make cheesecake the day before?
Absolutely.
Making cheesecake the day before often makes things easier because the dessert gets plenty of time to chill and set.
I actually prefer overnight chilling when I’m serving cheesecake to guests.
Why did my cheesecake crack?
Cracks can happen when you overmix the batter, bake the cheesecake too long, or expose it to a sudden temperature change.
Don’t panic if it happens.
Add fruit, whipped cream, chocolate, or caramel on top and serve it proudly. Nobody needs to know your cheesecake had a dramatic moment.
Can I freeze cheesecake?
Yes.
Wrap individual slices tightly and place them in an airtight freezer-safe container.
Thaw them in the refrigerator overnight for the best texture.
Can I substitute sour cream?
You can use plain Greek yogurt as a substitute.
The flavor may change slightly, but the cheesecake will still have a creamy, tangy character.
Why does my cheesecake look soft after baking?
That’s usually normal.
The center should still have a gentle wobble when you remove the cheesecake from the oven.
The filling firms considerably as it cools and chills.
If the center looks genuinely liquid rather than softly set, give it additional baking time.
Final Thoughts
Cheesecake has a funny way of making people think you spent hours in the kitchen.
I’m perfectly happy to let them believe that.
The truth is, once you understand a few simple tricks—softened cream cheese, gentle mixing, careful baking, and plenty of chilling time—you can make easy cheesecake dessert recipes that feel special without turning dessert into an all-day project.
Start with the classic version, then play around with berries, chocolate, lemon, caramel, or whatever happens to be waiting in your kitchen.
And if your first cheesecake develops a crack?
Congratulations. You’ve officially made a homemade cheesecake.
Slice it, add something delicious on top, and enjoy it anyway. That’s exactly what I would do.