
Got a pile of cardboard boxes taking over your garage? Before you toss them in the recycling bin, hear me out. Cardboard is basically free craft material that’s begging for a second life. Grab a box cutter, some glue, and let’s turn that “trash” into something you’ll actually want to show off.
I’ve made plenty of cardboard creations over the years, and yes, some were total disasters. But the projects below? They’re the keepers. Let’s get crafting.
Why Cardboard Deserves a Spot in Your Craft Stash
Cardboard is sturdy, easy to cut, and costs absolutely nothing. You can shape it, paint it, stack it, and bend it without worrying about ruining expensive supplies. Mess up? Grab another Amazon box. No guilt, no waste.
It also takes paint, glue, and tape like a champ. The corrugated kind is especially great for projects that need structure, like organizers and shelves. FYI, the thicker the cardboard, the stronger your finished piece will be.
Which Type of Cardboard Works Best?
- Corrugated boxes — strongest option, perfect for furniture and organizers
- Cereal boxes — thin and flexible, great for small decorations
- Shipping boxes — the heavyweight champ for anything load-bearing
- Paper towel rolls — awesome for tubes, legs, and tiny details
Project 1: Cardboard Desk Organizer
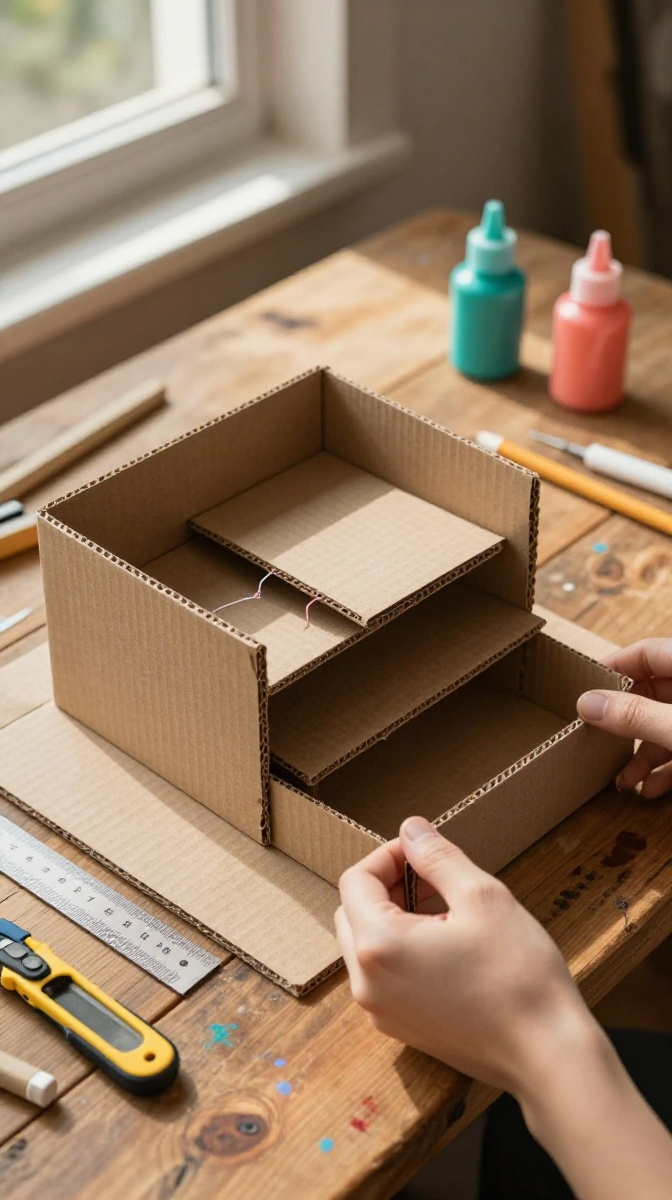
Desk looking like a tornado hit it? This organizer fixes that in about an hour. It’s simple, useful, and way cheaper than those fancy store-bought ones.
Materials and Tools
- Two or three sturdy cardboard boxes
- Box cutter or craft knife
- Ruler and pencil
- Hot glue gun (white school glue works but takes longer to dry)
- Acrylic paint or spray paint
- Decorative paper or washi tape (optional)
Step-by-Step Instructions
- Measure and cut your cardboard into rectangles for the base and dividers.
- Decide how many compartments you want — three to five works well for most desks.
- Glue the dividers onto the base, holding each one steady for a few seconds.
- Add outer walls to keep everything contained.
- Let it dry completely, then paint or cover it with decorative paper.
- Fill it with pens, scissors, sticky notes, and all that desk chaos.
Common Mistakes to Avoid
Don’t skip measuring. Eyeballing it usually leads to wobbly dividers that look drunk. Also, use a sharp blade — a dull one tears the cardboard and makes a mess.
Project 2: Cardboard Picture Frame
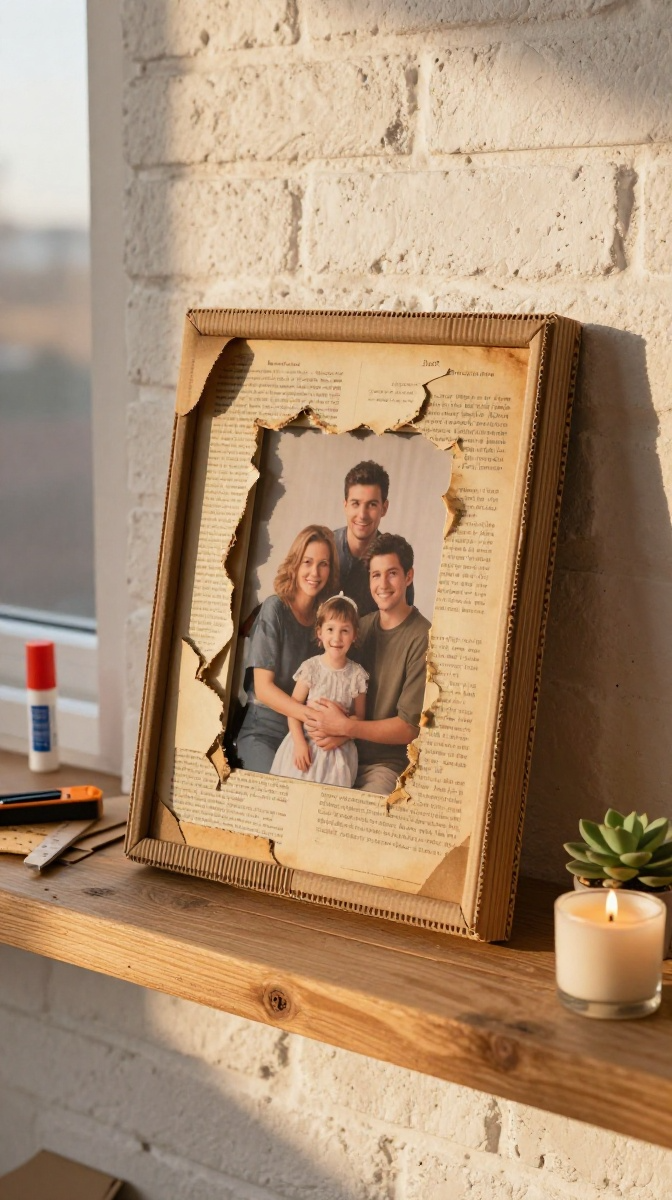
Want a custom frame without paying custom prices? Cardboard to the rescue. You can make it as chunky or as minimal as you like.
Materials and Tools
- Thick cardboard
- Box cutter
- Ruler and pencil
- Glue
- Paint, fabric, or old book pages for covering
- Small magnets or a picture stand
Step-by-Step Instructions
- Cut two identical rectangles slightly larger than your photo.
- Cut a window in one rectangle for the picture to show through.
- Stack and glue layers around the window to create depth.
- Decorate the front with paint, fabric, or torn paper.
- Attach a stand or magnets to the back.
- Slide your photo in and admire your handiwork.
Project 3: Cardboard Storage Bins
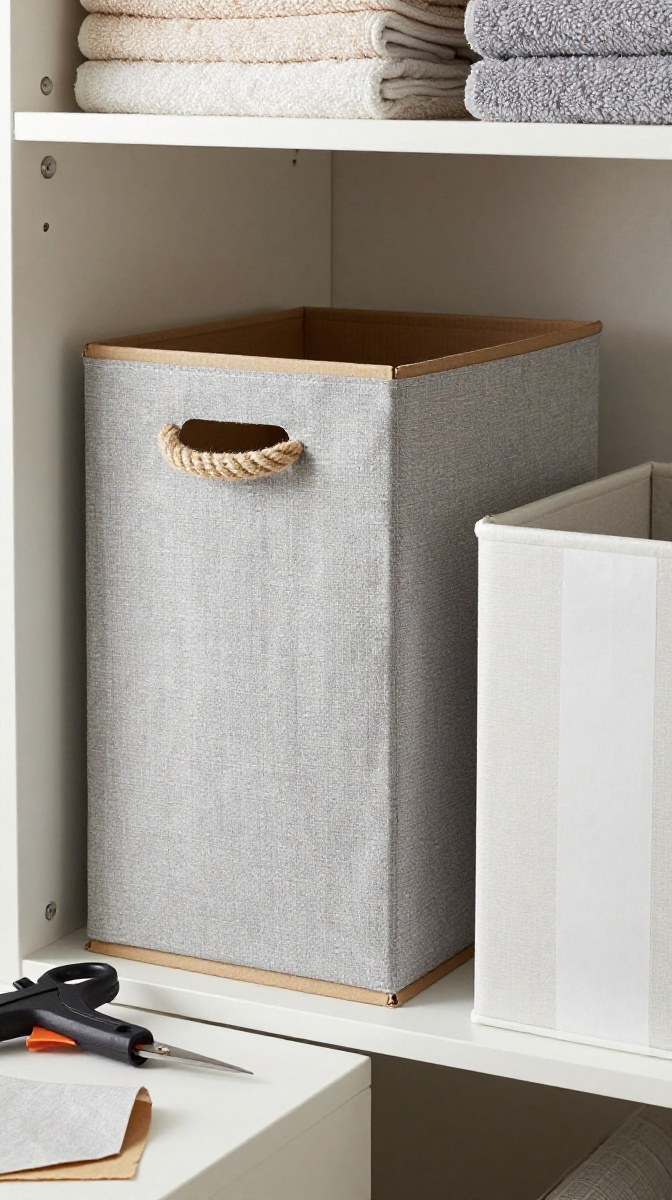
Closet chaos? These bins handle toys, towels, and random junk with style. Make them as big or small as you need.
Materials and Tools
- Large cardboard boxes
- Box cutter
- Strong glue or packing tape
- Fabric or contact paper
- Fabric handles or rope
Step-by-Step Instructions
- Cut the box down to your desired height.
- Fold the flaps inward and glue them for extra strength.
- Cover the outside with fabric or contact paper.
- Punch holes on two sides and thread rope through for handles.
- Let everything set, then fill it up.
Decorating Ideas
Try color-coding bins for each family member. Add labels with chalkboard paint so you can rename them later. IMO, fabric-covered bins look surprisingly classy for something that started as a shipping box.
Project 4: Cardboard Castle or Playhouse
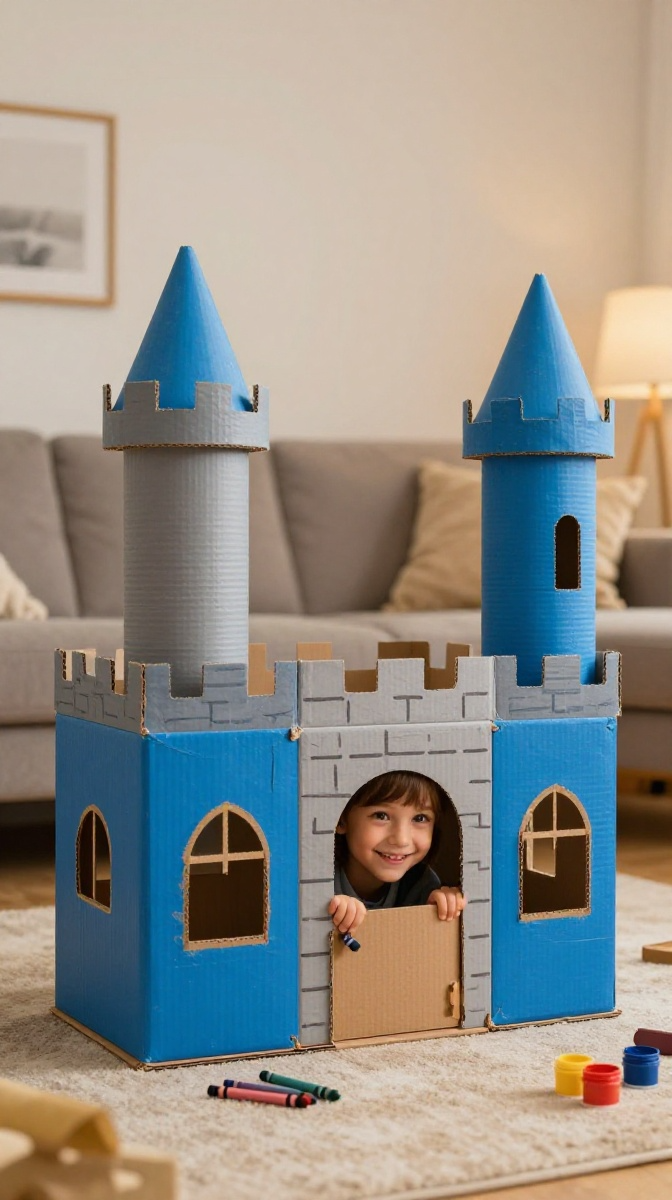
Got kids? This one’s a crowd-pleaser. It’s big, it’s messy, and it’ll keep them busy for hours. Honestly, you might have fun too.
Materials and Tools
- Several large boxes
- Box cutter and scissors
- Packing tape
- Paint and markers
- Optional: cardboard tubes for towers
Step-by-Step Instructions
- Tape boxes together to form walls and a roof.
- Cut out windows and a door.
- Add towers using paper towel rolls or rolled cardboard.
- Paint the whole thing — this is the fun part.
- Let it dry, then hand it over to the kids.
Safety Tips
Always cut away from your body. Keep small children away while you’re using sharp tools. Tape over any rough edges so little hands don’t get scratched.
Project 5: Cardboard Jewelry Holder
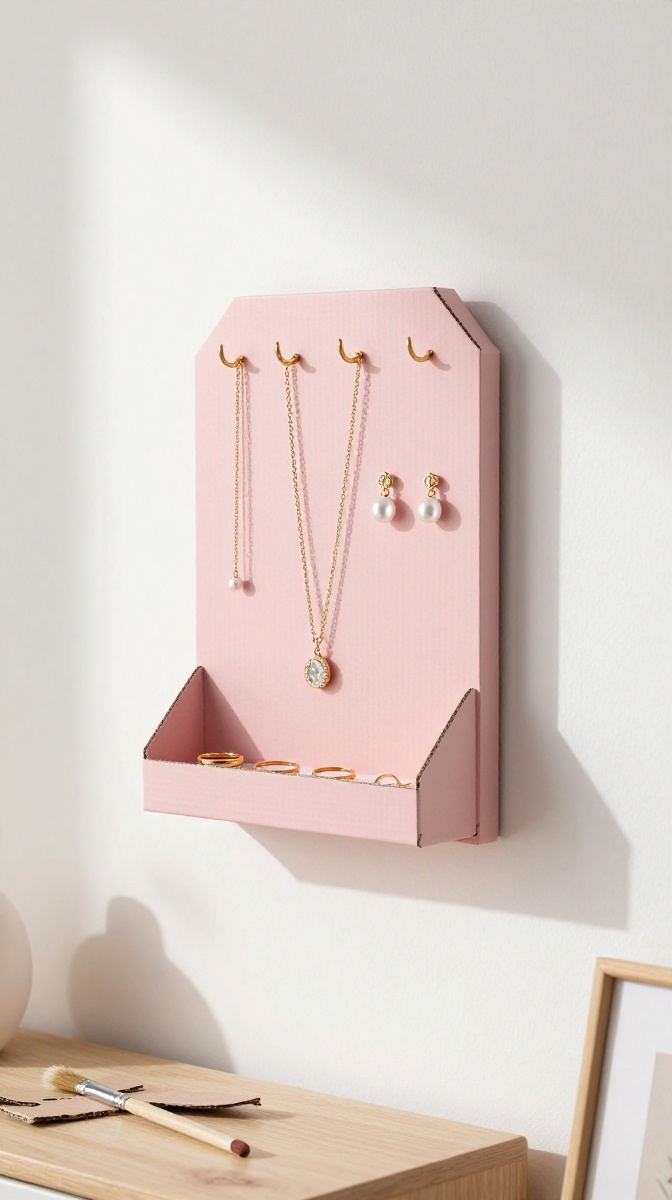
Necklaces tangled in a knot again? This holder keeps everything visible and untangled. It’s a quick project that looks way more expensive than it is.
Materials and Tools
- Thin cardboard
- Box cutter
- Glue
- Paint or decorative paper
- Small hooks or pins
Step-by-Step Instructions
- Cut a rectangle for the back panel.
- Cut small strips for the shelf at the bottom.
- Glue the shelf to the back panel.
- Add small hooks along the top for necklaces.
- Paint or cover it, then let it dry.
- Hang it on your wall and organize that jewelry chaos.
Project 6: Cardboard Wall Art
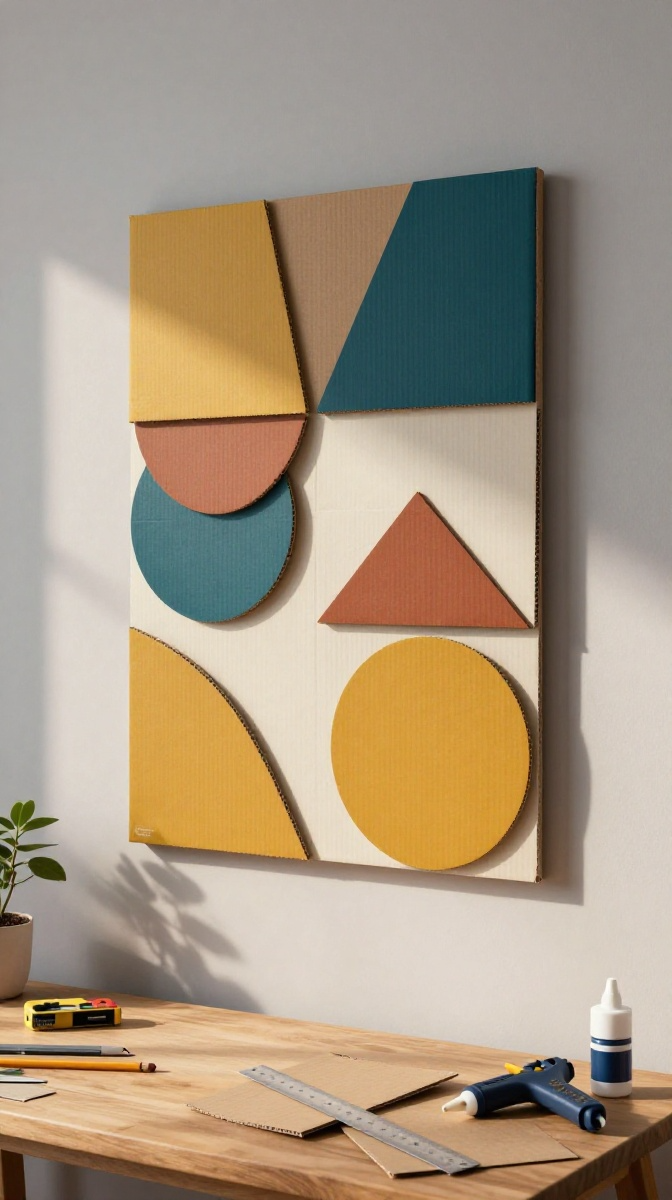
Blank walls bugging you? Cardboard art is cheap, customizable, and surprisingly chic. Cut shapes, layer them, and paint a masterpiece.
Step-by-Step Instructions
- Sketch your design on paper first.
- Cut cardboard shapes to match.
- Layer and glue pieces for a 3D effect.
- Paint the whole piece in your chosen colors.
- Mount it on a frame or hang it directly.
Customization Ideas
Go abstract with geometric shapes. Try a silhouette of your pet. Or spell out a word in chunky cardboard letters. The options are endless.
FAQ’s
Is cardboard strong enough for furniture?
Layered and glued properly, yes. Corrugated cardboard can hold surprising weight, especially when you stack multiple layers.
How do I stop cardboard from getting moldy?
Keep it dry. Paint or seal it with a waterproof coating if it’ll be near moisture. For plant pots, always use a plastic liner.
What’s the best glue for cardboard crafts?
Hot glue is fast and strong. White school glue works but needs longer drying time. For heavy-duty projects, wood glue is a solid pick.
Can I paint cardboard without it warping?
Use light coats and let each one dry. Heavy layers of paint can cause warping, especially on thin cardboard.
How do I cut cardboard cleanly?
Use a sharp blade and make multiple passes instead of one hard press. A metal ruler helps you get straight lines.
Final Thoughts: Grab a Box and Start Creating
Cardboard crafts are cheap, fun, and weirdly satisfying. You’re turning trash into something useful, and that feels pretty great. So don’t toss those boxes — grab your glue gun and make something awesome. Worst case? You mess up and try again. That’s half the fun.
Now go raid that recycling pile. Your next craft project is waiting.