
Making your own gifts beats fighting crowds at the mall. You get to skip the stress, save some cash, and hand over something that actually means something. Plus, nothing says “I care” like a slightly crooked handmade candle. Let’s dive into five projects that even total beginners can pull off.
Why DIY Gifts Win Every Time
Store-bought gifts are fine. Handmade gifts are memorable. When you make something yourself, you’re basically wrapping up your time and effort in a bow.
You also get full control over colors, scents, and sizes. Can’t find a gift for your picky cousin? Make one that fits her exact vibe. Problem solved.
And here’s the bonus: crafting is cheaper than you think. Most of these projects cost under $15 per gift. That’s less than a decent bouquet that dies in three days.
Project 1: Layered Mason Jar Candles
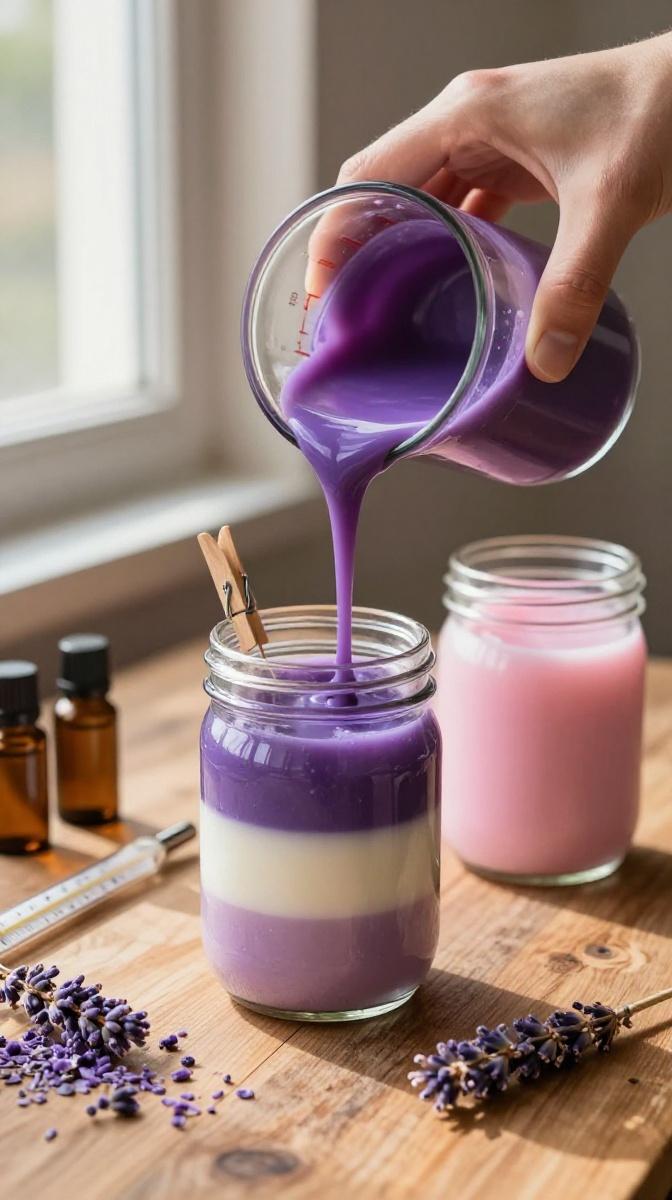
Candles look fancy in stores. They’re surprisingly easy to make at home. Layered colors make them look like you spent hours on them. You didn’t.
Materials and Tools
- Mason jars (any size, thrift stores sell them cheap)
- Soy wax flakes (substitute: old candle stubs, chopped fine)
- Candle wicks with metal tabs
- Candle dye chips or crayon pieces
- Essential oils or fragrance oils
- A heat-safe pitcher or double boiler
- Wooden skewers or pencils
Step-by-Step Instructions
- Glue one wick to the bottom center of each jar. Wrap the top of the wick around a pencil to hold it upright.
- Melt your wax in a double boiler. Never melt wax directly over a flame. Trust me on this one.
- Stir in dye and fragrance once the wax is fully liquid. Use about 1 oz of fragrance per pound of wax.
- Pour the first color layer. Let it cool for 20 to 30 minutes until it forms a skin.
- Repeat with a second and third color. Let each layer firm up before adding the next.
- Trim the wick to 1/4 inch once everything sets. Wait 24 hours before lighting.
Common Mistakes to Avoid
Don’t pour hot wax into cold jars. They can crack. Warm the jars with a hair dryer first.
Also, don’t skip the cooling time between layers. If you rush it, the colors bleed together, and you get mud instead of stripes.
Project 2: Personalized Photo Coasters
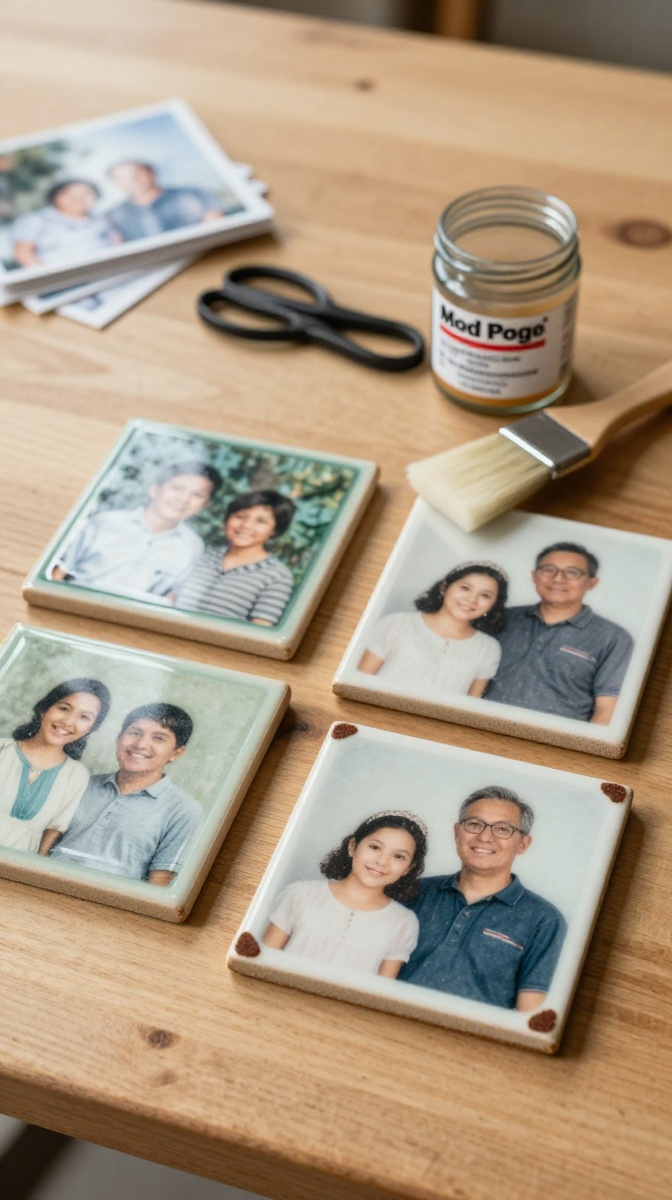
Coasters are the perfect gift for people who “have everything.” They’re useful, personal, and take about an hour to make.
Materials and Tools
- Plain ceramic tiles (home improvement stores sell them for under a dollar)
- Mod Podge or clear craft glue
- Printed photos on regular paper or thin cardstock
- Foam brush
- Acrylic sealer spray
- Self-adhesive felt pads
Step-by-Step Instructions
- Cut your photos to fit the tile face. Leave a small border for a clean look.
- Brush a thin layer of Mod Podge onto the tile.
- Press the photo down, smoothing out bubbles with your fingers or a credit card.
- Seal the top with two more coats of Mod Podge, letting each dry for 15 minutes.
- Spray with acrylic sealer outdoors. This makes them waterproof.
- Stick felt pads on the bottom corners so they don’t scratch tables.
Design Variations
Use maps of a favorite city, song lyrics, or inside jokes instead of photos. You can also add glitter to the sealer layer if you’re feeling extra.
For a rustic look, sand the tile edges before starting. For a modern look, use black and white photos on white tiles.
Project 3: Custom Scented Bath Salts
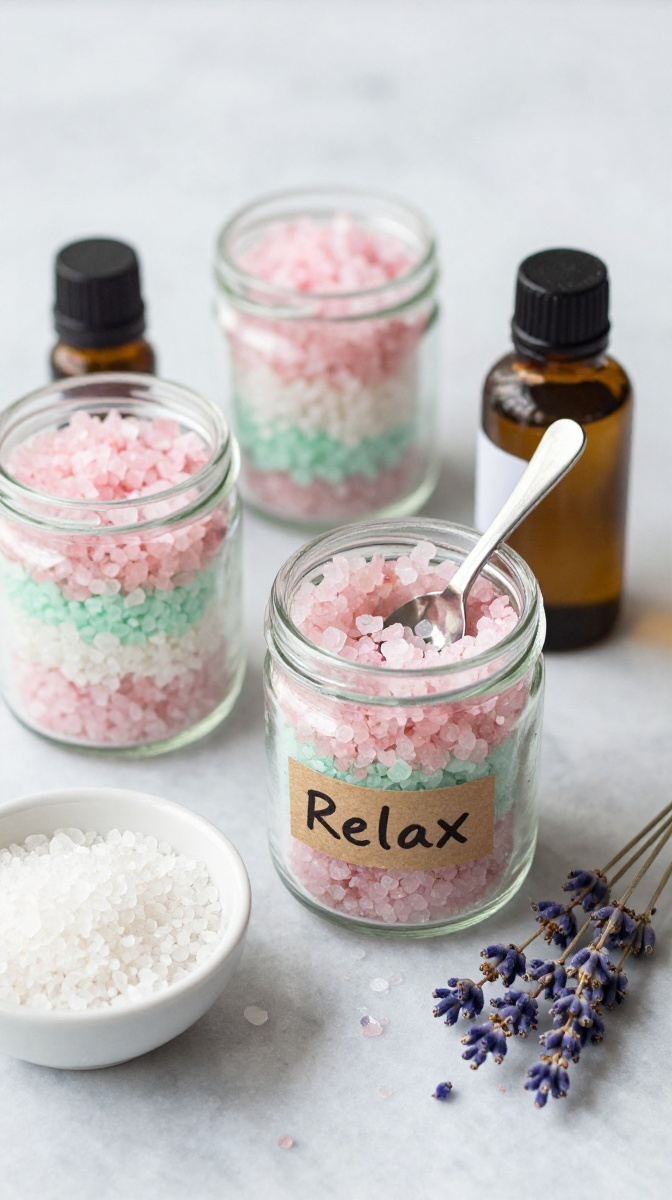
Bath salts sound luxurious. They cost pennies to make. This is the gift you bring when you forgot someone’s birthday. Nobody has to know.
Materials and Tools
- Epsom salt (the cheap kind from the grocery store)
- Coarse sea salt or pink Himalayan salt
- Baking soda
- Essential oils (lavender, eucalyptus, or citrus work great)
- Glass jars with airtight lids
- Food coloring (optional)
- Small scoop or spoon
Step-by-Step Instructions
- Mix 2 cups Epsom salt, 1 cup sea salt, and 1/2 cup baking soda in a big bowl.
- Add 10 to 15 drops of essential oil. Stir well.
- Add one or two drops of food coloring if you want color. Mix until it’s even.
- Scoop into jars and seal tightly.
- Add a label with the scent and date. Use within six months.
Safety Tips
Skip essential oils like cinnamon or peppermint in large amounts. They can irritate sensitive skin. Stick with lavender or chamomile for a soothing blend.
Always label the jar. Someone might mistake it for sugar. That would be a bad morning.
Project 4: Hand-Painted Terracotta Pots
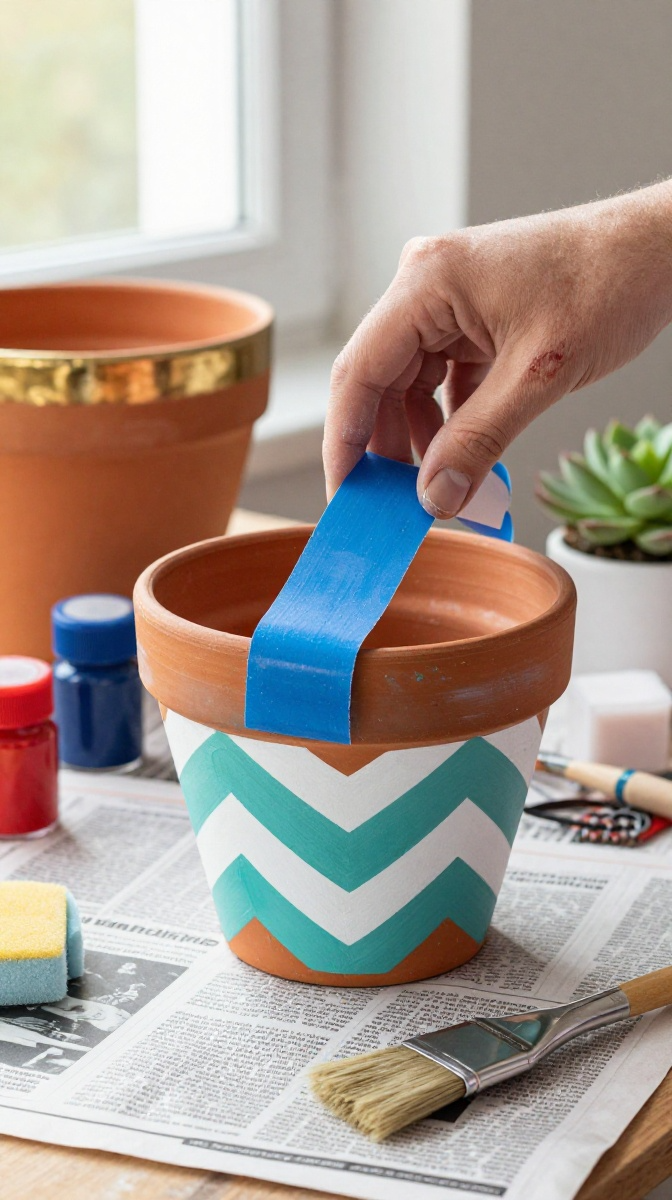
Plants are great gifts. Plants in a hand-painted pot? Even better. This project works for birthdays, housewarmings, or a random Tuesday.
Materials and Tools
- Terracotta pots (any size)
- Acrylic paint in your chosen colors
- Paintbrushes (foam brushes work for base coats)
- Painter’s tape for patterns
- Clear acrylic sealer
- A small succulent or herb to plant inside
Step-by-Step Instructions
- Wipe the pot clean with a damp cloth. Let it dry completely.
- Paint a base coat. Two thin coats beat one thick, drippy coat every time.
- Use painter’s tape to create stripes, triangles, or chevrons. Press the edges down firmly.
- Paint over the tape with a second color. Peel the tape off while the paint is still slightly wet.
- Let everything dry for an hour. Seal with two coats of acrylic sealer.
- Plant your succulent or herb. Add a gift tag if you’re feeling crafty.
Troubleshooting Tips
If your lines look messy, you probably peeled the tape too late. Wet paint gives clean edges. Dry paint gives jagged ones.
If the paint chips, you skipped the sealer. Don’t skip the sealer.
Project 5: No-Sew Fleece Hand Warmers
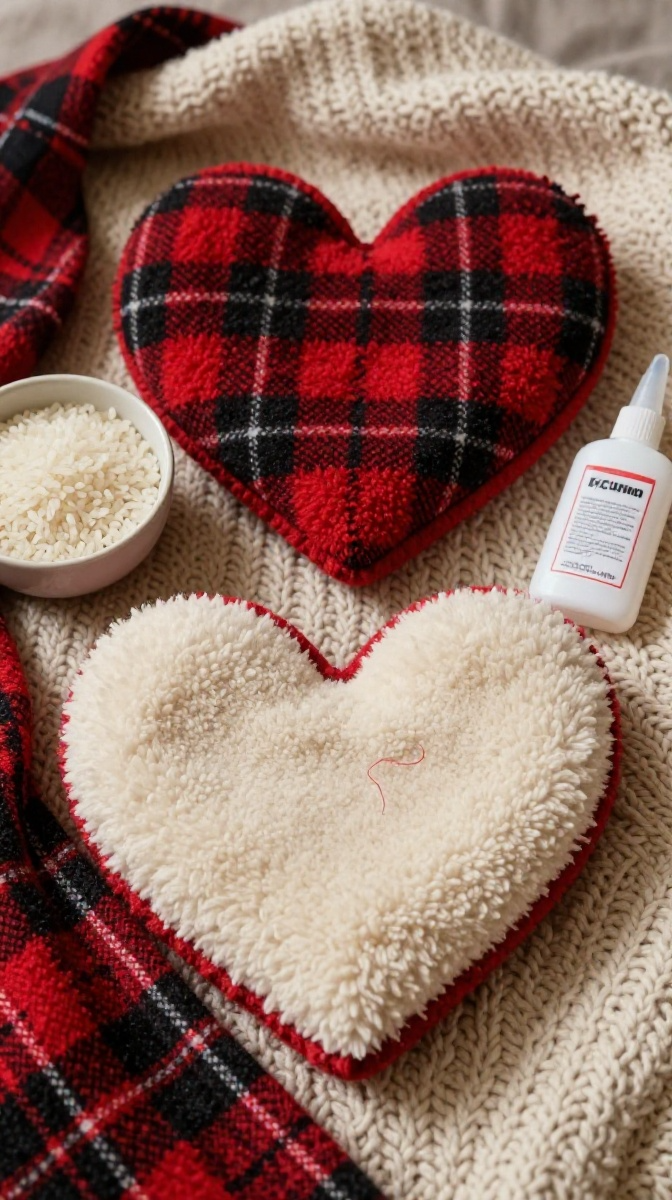
These are perfect for winter gifts. They take 15 minutes each. You don’t even need a sewing machine.
Materials and Tools
- Fleece fabric scraps (any color or pattern)
- Rice or dried beans
- Fabric scissors
- Fabric glue or a needle and thread if you want extra security
- Essential oils (optional)
Step-by-Step Instructions
- Cut two matching rectangles of fleece, about 4 by 5 inches.
- Place them together with the pretty sides facing out.
- Glue or stitch around three edges. Leave one short side open.
- Fill with 1/3 cup of rice. Add a few drops of essential oil if you like.
- Seal the open edge. Let the glue dry completely.
- Microwave for 20 to 30 seconds before use. Don’t overheat them.
Customization Ideas
Use heart shapes for Valentine’s Day. Use plaid fleece for a cozy winter vibe. Add a monogram with fabric markers.
You can also make a matching set and tie them together with ribbon. Instant gift bundle.
FAQ’s
How long do these DIY gifts take to make?
Most take under an hour. The candles need extra cooling time, but the hands-on work is about 30 minutes.
What’s the cheapest project on this list?
The bath salts. You can make a full jar for under $5 if you buy ingredients in bulk.
Can I make these gifts with kids?
Yes, with supervision. The bath salts and fleece warmers are great for kids. Save the candle melting for adults.
Do I need fancy craft supplies?
Nope. Most of these use stuff from grocery stores or dollar stores. Skip the specialty shops unless you want to splurge.
How should I wrap handmade gifts?
Kraft paper, twine, and a handwritten tag look great. Reuse glass jars or fabric scraps instead of buying gift wrap.
What if my project turns out ugly?
It probably won’t. But if it does, call it “rustic” and hand it over with confidence. Handmade gifts are about effort, not perfection.
Final Thoughts :
You don’t need a craft room or a ton of skill to make gifts people actually love. Pick one project from this list and give it a shot. Start with the bath salts if you’re nervous. They’re almost impossible to mess up.
So what are you waiting for? Grab some jars, fire up that glue gun, and make something weird and wonderful. Your friends and family will thank you. Probably.