
Got a birthday, holiday, or just-because occasion creeping up? Skip the generic store-bought stuff and make something with your own two hands. These easy DIY handmade gift ideas are beginner-friendly, budget-friendly, and way more thoughtful than a gift card. Grab your glue gun and let’s get crafting.
Why Handmade Gifts Beat Store-Bought Every Time
Let’s be honest: nobody remembers the third scented candle you gave them. But they absolutely remember the mug you painted with their dog’s face on it. Handmade gifts carry a little piece of you, and that’s what makes them stick.
Plus, you control the quality, the colors, and the budget. No more wandering the mall for two hours hoping inspiration strikes. You’ve got this.
Project 1: Custom Photo Coasters (Under 30 Minutes)
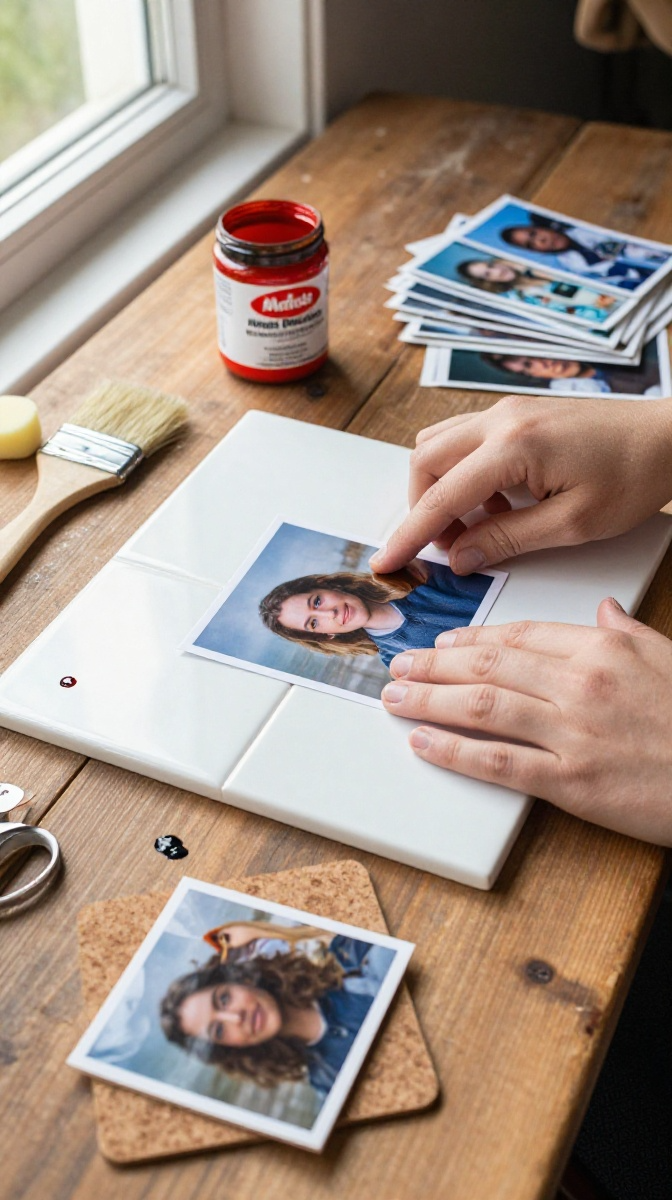
These are my go-to gift when I’ve procrastinated and need something impressive fast. They look store-bought but cost almost nothing.
Materials and Tools
- Plain ceramic tiles (4×4 inch — grab them at any hardware store for under a dollar each)
- Mod Podge (matte or glossy, your call)
- Printed photos (laser prints work best; inkjet can smear)
- Foam brush
- Self-adhesive cork backing pads
- Acrylic sealer spray
- Scissors or a paper trimmer
No Mod Podge? White school glue diluted with a little water works in a pinch. It’s not perfect, but it gets the job done.
Step-by-Step Instructions
- Trim your photos to fit the tile face. Leave a tiny border if you like the framed look.
- Brush a thin layer of Mod Podge onto the tile.
- Press the photo down, smoothing out bubbles with your fingers or a credit card.
- Apply two more coats of Mod Podge over the top, letting each dry about 15 minutes.
- Once fully dry, spray with acrylic sealer for moisture protection.
- Stick cork pads on the back and you’re done.
Common Mistakes to Avoid
Don’t slather on thick layers of Mod Podge — it’ll look cloudy and take forever to dry. Also, always seal the top if these will hold drinks. Sweaty glasses and unsealed photos are not friends.
Project 2: Lavender Bath Salts in a Jar
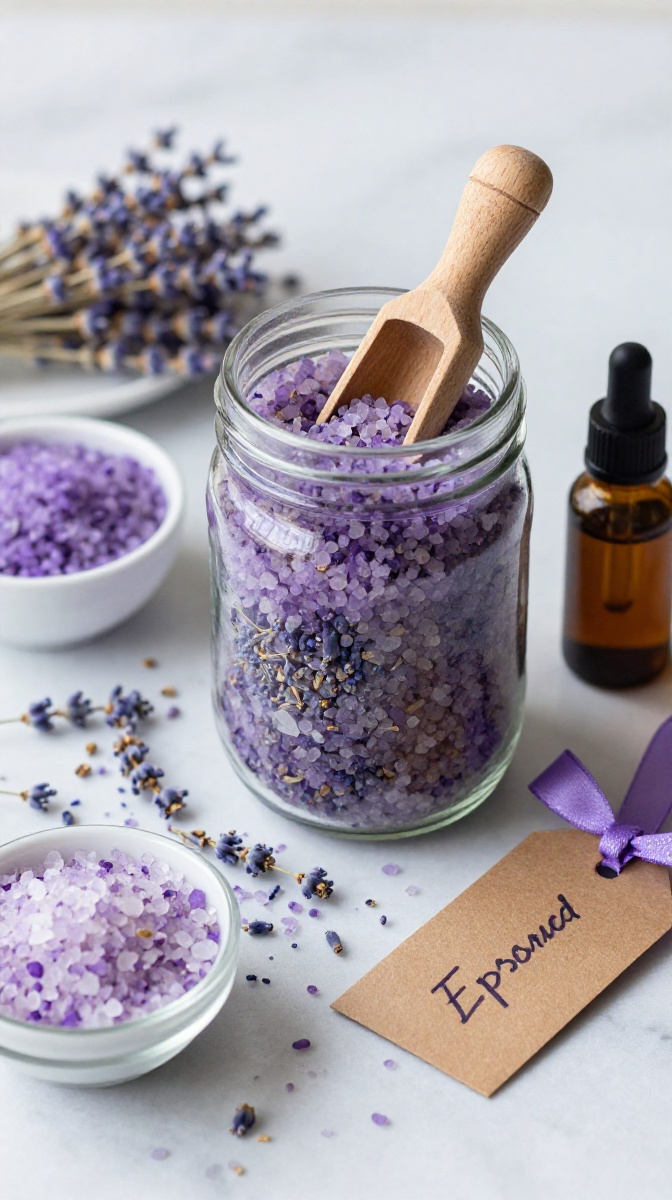
This one feels fancy but takes about ten minutes. It’s perfect for teachers, coworkers, or anyone who deserves a spa day.
Materials and Tools
- Epsom salt (2 cups)
- Coarse sea salt (1 cup)
- Dried lavender buds (2 tablespoons)
- Lavender essential oil (10–15 drops)
- Mason jar or pretty glass container
- Ribbon and a gift tag
Not a lavender fan? Swap in peppermint or eucalyptus oil. Same cozy vibes, different smell.
Step-by-Step Instructions
- Mix both salts in a large bowl.
- Add essential oil and stir until evenly distributed.
- Fold in the dried lavender buds.
- Spoon the mixture into your jar.
- Tie a ribbon around the neck and add a tag that says “Add 1/2 cup to warm bath.”
Decorating Ideas
Layer the salts with dried flowers for a pretty striped effect. You can also add a tiny wooden scoop tied to the ribbon — it’s a small touch that makes the gift feel premium.
Project 3: Hand-Painted Terracotta Pots
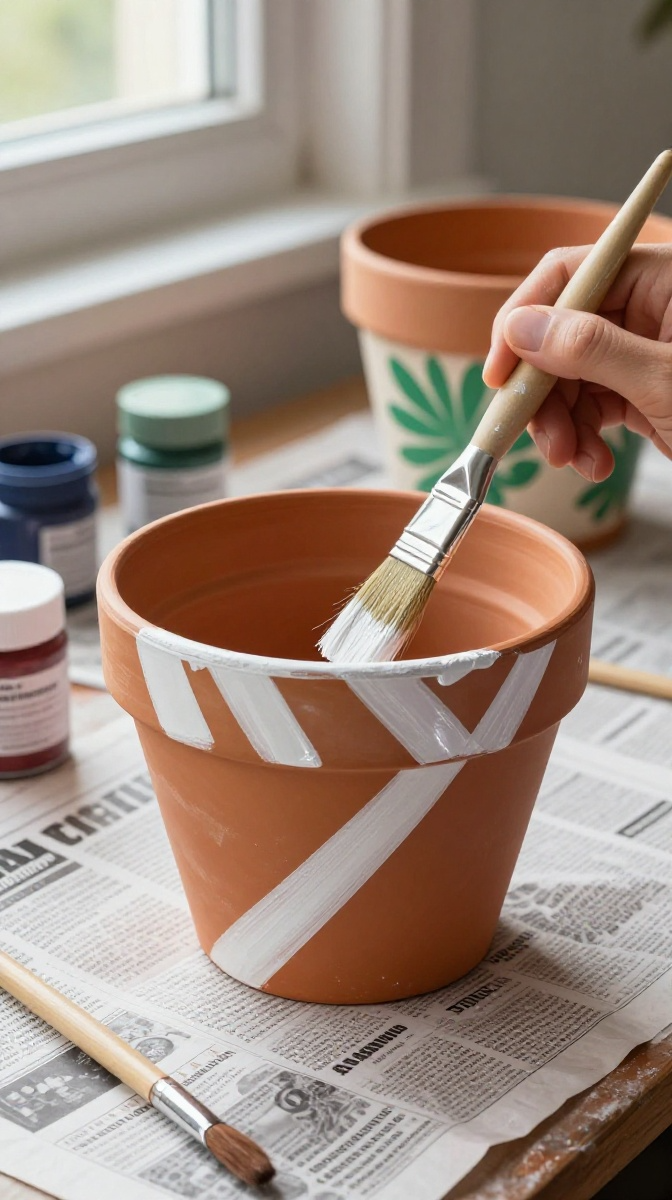
Plants are great gifts, but plain pots are boring. A little paint turns a $2 pot into something people actually want to display.
Materials and Tools
- Terracotta pots (any size)
- Acrylic paint in your chosen colors
- Paintbrushes (flat and fine-tip)
- Painter’s tape
- Clear sealant spray
Step-by-Step Instructions
- Wipe the pot clean and let it dry completely.
- Use painter’s tape to create stripes, chevrons, or geometric shapes.
- Paint the exposed areas with two thin coats.
- Peel the tape off while the paint is still slightly tacky for clean lines.
- Add details like dots or leaves with a fine brush.
- Seal with a clear spray once dry.
Troubleshooting Tips
If your lines bleed under the tape, you pressed too hard or painted too wet. Press the tape edges down firmly and use light coats. Also, seal the inside rim if the pot will hold a real plant — moisture ruins paint fast.
Project 4: Friendship Bracelet Keychains
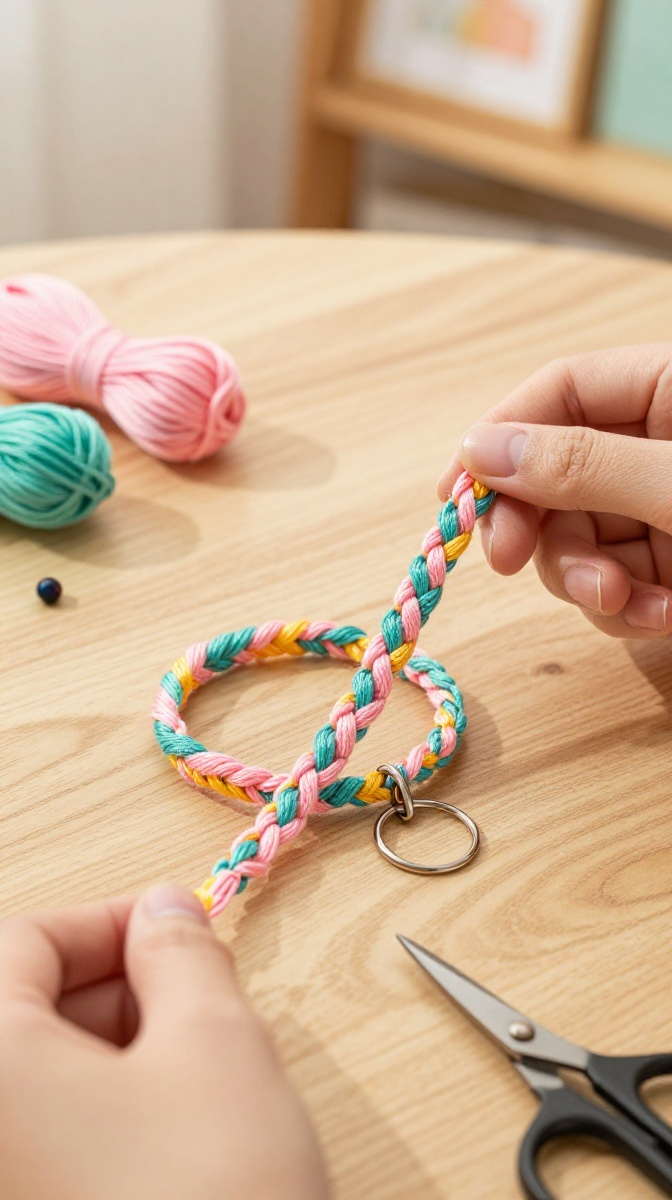
Remember making these at summer camp? They’re back, and they make adorable gifts for friends, teens, or anyone who loves a nostalgic vibe.
Materials and Tools
- Embroidery floss in 2–3 colors
- Split ring keychain
- Scissors
- Tape or a clipboard to hold the strands
Step-by-Step Instructions
- Cut three strands of floss, each about 30 inches long.
- Knot them together at one end, leaving a small tail.
- Tape the knot to a table or clip it down.
- Braid the strands tightly until you reach your desired length (about 4 inches).
- Knot the end and trim the excess.
- Loop through the split ring and tie securely.
Want to level up? Add a tiny charm or bead in the middle. It takes ten seconds and makes it look way more custom.
Project 5: Scented Soy Candles in Vintage Teacups
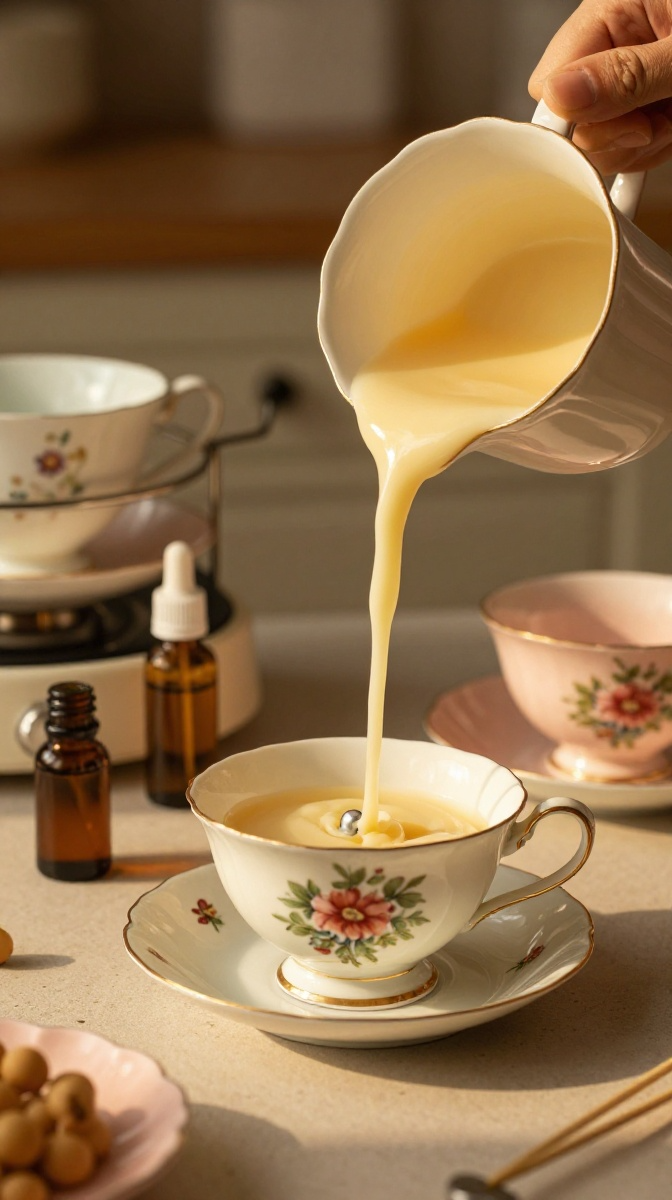
Thrift store teacups + soy wax = the coziest gift ever. It’s a little more involved, but the payoff is huge.
Materials and Tools
- Soy wax flakes (1 cup per candle)
- Candle wicks with metal tabs
- Fragrance oil (your favorite scent)
- Vintage teacups or small jars
- Double boiler or a heat-safe bowl over a pot
- Wooden skewer or pencil
Step-by-Step Instructions
- Melt the soy wax in your double boiler over medium heat.
- Once melted, remove from heat and stir in fragrance oil (about 1 oz per cup of wax).
- Place a wick in the center of each teacup, holding it upright with a skewer across the rim.
- Pour the wax slowly into each cup.
- Let them cool completely (about 2 hours).
- Trim the wick to 1/4 inch before gifting.
Safety Tips
Never leave candles unattended, and always place them on a heat-safe surface. Also, don’t use teacups with cracks — hot wax finds every weak spot. Trust me on this one.
Quick Tips for Gifting Your Handmade Creations
- Wrap gifts in kraft paper and twine for a rustic look.
- Add a handwritten note explaining what inspired the gift.
- Bundle related items — like a candle with a bath salt jar.
- Take a photo before gifting; you’ll want it for your craft portfolio.
FAQ’s
What’s the easiest DIY gift for total beginners?
Photo coasters or bath salts. Both take under 30 minutes and require zero special skills. If you can stir and press, you’re qualified.
How do I make handmade gifts look professional?
Presentation is everything. Clean edges, neat wrapping, and a handwritten tag make even simple crafts look boutique-level. Also, take your time — rushing shows.
Can I make these gifts ahead of time?
Yes! Bath salts and candles last for months if stored properly. Coasters and painted pots are fine too, as long as they’re sealed. Bracelets are the only ones you might want to make closer to gifting day.
What if I’m not crafty at all?
Start with the bath salts. There’s literally no way to mess them up. Once you nail that, move on to coasters. Confidence builds fast.
Where can I buy affordable craft supplies?
Dollar stores, thrift shops, and online bulk retailers are your best friends. Also check clearance aisles after holidays — that’s where the deals hide.
How do I personalize these gifts?
Add names, dates, inside jokes, or favorite colors. The more specific it is to the person, the more they’ll love it. Generic gifts are forgettable; personal ones aren’t.
Ready to Get Crafting?
You don’t need a Pinterest-perfect setup or a craft room to make something meaningful. Pick one project, grab your supplies, and give it a shot. Worst case? You make a mess and learn something. Best case? You create a gift someone treasures for years.
So what are you waiting for? Go make something awesome — and maybe vacuum up the glitter afterward.