
Got a gift-giving occasion coming up and a wallet that’s looking a little sad? Same. But here’s the thing: some of the best presents aren’t bought; they’re made. These five easy DIY gifts cost next to nothing, take an afternoon, and look like you spent way more than you did. Let’s get crafting.
1. Custom Photo Coasters That Actually Look Store-Bought
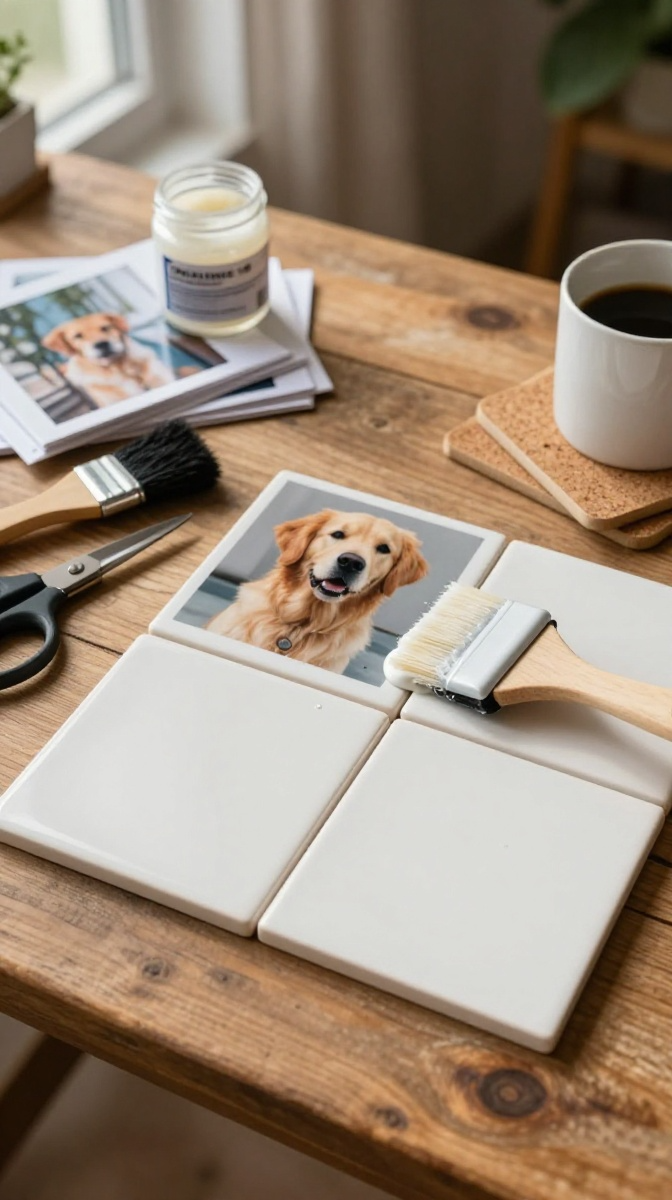
Coasters are one of those gifts that people never think to buy for themselves, which makes them weirdly perfect. Add a favorite photo, and suddenly you’ve got a present that’s personal, useful, and cheap. Win-win-win.
Materials and Tools
- Plain ceramic tiles (4×4 inch, about $0.30 each at hardware stores)
- Mod Podge or any decoupage glue (substitute: watered-down white school glue)
- Printed photos on regular paper or thin cardstock
- Foam brush or cheap paintbrush
- Acrylic sealer spray or clear nail polish
- Self-adhesive cork pads or felt circles for the bottom
Step-by-Step Instructions
- Print your photos at coaster size — roughly 3.5 x 3.5 inches works best. Trim them neatly.
- Brush a thin layer of Mod Podge onto the tile, then press the photo down flat. Smooth out bubbles with your fingers.
- Apply two or three more coats of Mod Podge over the top, letting each coat dry about 20 minutes.
- Once fully dry, spray with acrylic sealer (or brush on clear nail polish) to make them water-resistant.
- Stick cork or felt pads on the back so they don’t scratch furniture.
Common mistake to avoid: using thick photo paper. It wrinkles and peels. Thin paper hugs the tile way better.
Customization Ideas
Use song lyrics, inside jokes, or pet photos. You can also tint the Mod Podge with a drop of food coloring for a subtle background wash.
2. Layered Bath Salts in a Mason Jar
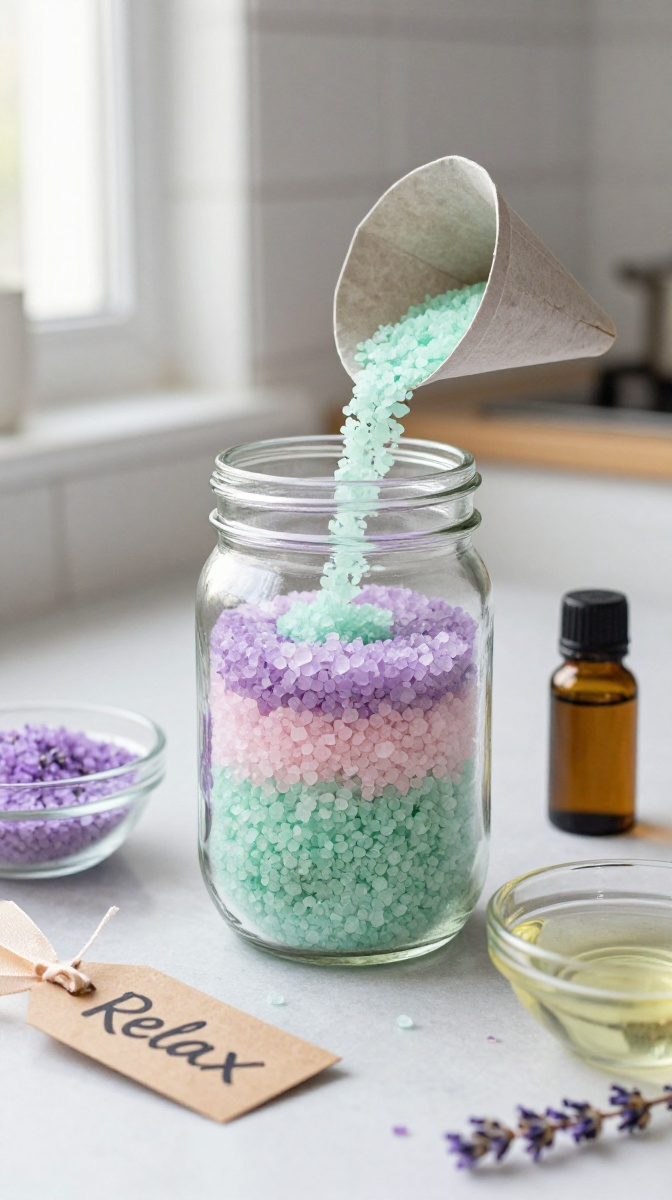
This one looks fancy enough to sell at a boutique, but it’s basically scented salt in a jar. Don’t tell anyone. Just accept the compliments.
Materials and Tools
- Epsom salt and coarse sea salt (cheap in bulk)
- Food coloring
- Essential oils (lavender, peppermint, or eucalyptus)
- Clean mason jars or any glass jar with a lid
- Small funnel or folded paper
- Ribbon and a gift tag
Step-by-Step Instructions
- Divide your salts into bowls — one bowl per color you want.
- Add a few drops of food coloring and 5–10 drops of essential oil to each bowl. Mix well until the color is even.
- Let the colored salts dry on a baking sheet for an hour or two so they don’t clump.
- Layer the colors into your jar using the funnel. Tilt the jar slightly for angled layers.
- Seal, tie with ribbon, and attach a tag with use instructions.
Pro tip: Add a tablespoon of coconut oil to the mix for a moisturizing bath soak. Just warn the recipient — oily tubs are slippery.
Troubleshooting
If your salts turn sticky, you added too much oil or coloring. Spread them out and let them air-dry longer. Also, skip liquid food coloring if you can — gel coloring gives richer hues without the moisture.
3. Hand-Painted Mug With a Sharpie (Yes, Really)
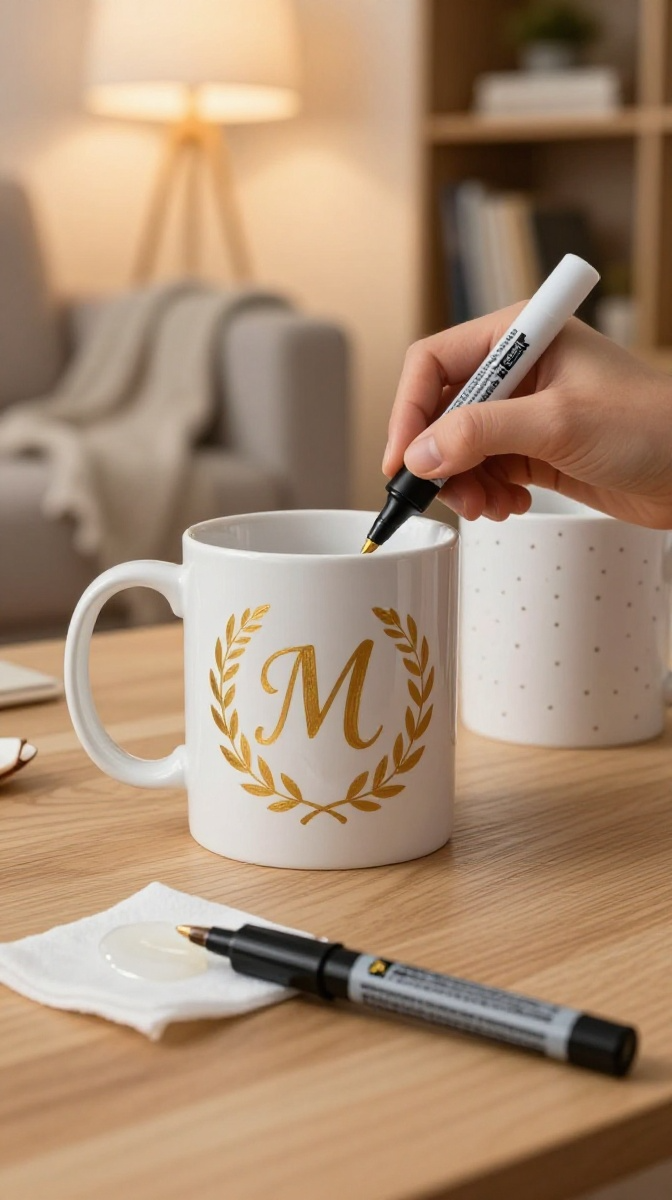
Sharpie mugs are a classic Pinterest project, and for good reason. They’re cheap, fast, and look adorable. The catch? You have to bake them properly or your design washes off. Let’s do it right.
Materials and Tools
- Plain white ceramic mug (dollar store finds work great)
- Oil-based paint markers (Sharpie Oil-Based Paint Markers are the reliable choice)
- Oven
- Rubbing alcohol and a cotton pad
Step-by-Step Instructions
- Wipe the mug with rubbing alcohol to remove oils and dust.
- Draw your design. Keep it simple — dots, lines, initials, or a tiny doodle.
- Let the ink dry for 24 hours.
- Place the mug in a cold oven, then set it to 350°F (175°C). Bake for 30 minutes once it reaches temperature.
- Turn the oven off and let the mug cool inside. Sudden temperature changes can crack it.
- Hand-wash only. Dishwashers are the enemy here.
Heads up: regular Sharpies don’t hold up. Spend the extra couple bucks on oil-based markers. Future you will be grateful.
Design Variations
Try gold metallic markers for a minimal look, or draw a monogram with a laurel wreath. You can also use stencils if freehand drawing isn’t your thing.
4. No-Sew Fleece Knot Pillow
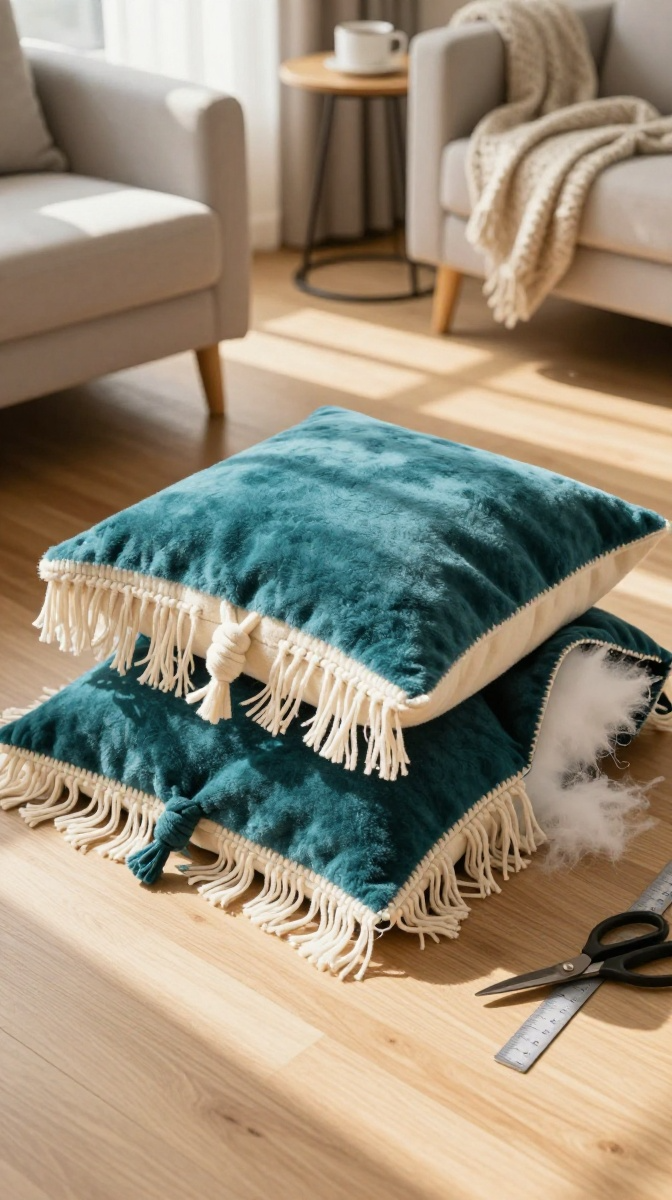
Can’t sew? No problem. This pillow comes together with scissors and knots. It’s cozy, customizable, and takes under an hour once you get the rhythm down.
Materials and Tools
- Two squares of fleece fabric, about 18 x 18 inches each (contrasting colors look great)
- Fabric scissors
- Polyester stuffing or an old pillow you don’t mind sacrificing
- Ruler and marker (optional)
Step-by-Step Instructions
- Stack the two fleece squares on top of each other, right sides facing out.
- Cut 3-inch fringe strips around all four edges, about 1 inch wide.
- Cut out the four corner squares (about 3 x 3 inches) so the corners don’t get bulky.
- Tie the top and bottom fringe pieces together in double knots all the way around, leaving a gap on one side.
- Stuff the pillow through the gap until it’s as plump as you like.
- Knot the remaining fringe to close it up.
Tip: Don’t stuff it too full or the knots will strain and pop open. Aim for squishy, not overstuffed sausage.
Safety and Comfort Notes
Double-knot everything if the pillow is for a kid. Loose fringe can be a choking hazard for little ones, so consider this gift for older kids and adults.
5. DIY Sugar Scrub in a Pretty Jar
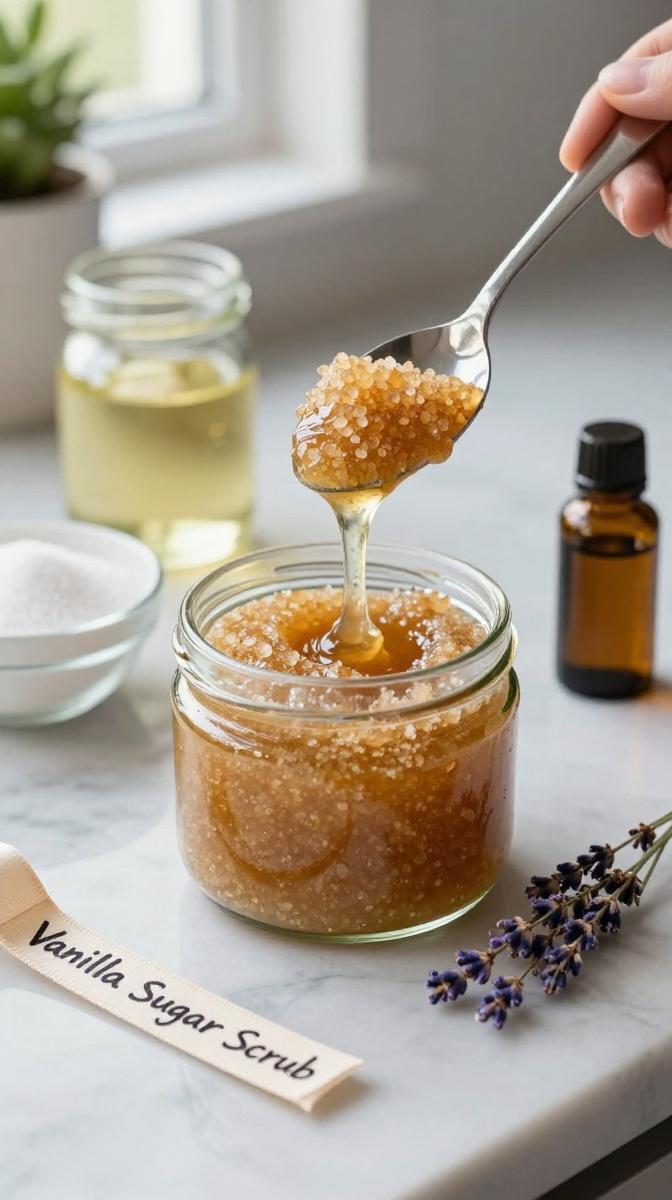
Three ingredients. Five minutes. A gift that makes people’s skin soft and smells like a bakery. What’s not to love?
Materials and Tools
- 1 cup white or brown sugar
- 1/2 cup coconut oil or olive oil
- 10–15 drops essential oil (vanilla, orange, or lavender)
- Small glass jar with a lid
- Ribbon and label
Step-by-Step Instructions
- Melt the coconut oil in the microwave for 15–20 seconds if it’s solid.
- Mix the sugar and oil in a bowl until it forms a sandy paste.
- Add essential oils and stir.
- Spoon into a clean jar and seal.
- Add a label: “Massage onto wet skin, rinse well. Use within 2 months.”
Common mistake: using too much oil. If your scrub looks soupy, add more sugar a tablespoon at a time.
Gifting and Display Ideas
Pair the scrub with a loofah or a fancy hand towel for a mini spa kit. Stack a few jars in a basket with ribbon for a bigger gift.
FAQ’s
How much do these gifts cost per person?
Most of these land between $2 and $6 per gift if you buy materials in bulk. The fleece pillow is the priciest, but you can often find fleece on sale for a few dollars a yard.
Are these gifts okay for people with sensitive skin?
For bath salts and sugar scrubs, yes — just skip essential oils and food coloring. Plain Epsom salt and unscented oil are the safest bet.
Can I make these gifts ahead of time?
Absolutely. Bath salts and sugar scrubs last weeks if stored in a sealed jar. Coasters and mugs are fine indefinitely. The fleece pillow holds up too — just fluff it before gifting.
What if I’m not crafty at all?
The sugar scrub and bath salts require zero artistic skill. Start there. The mug is next easiest. Honestly, if you can stir and pour, you’re qualified.
Do I need special tools?
Nope. Scissors, a bowl, and an oven cover do almost everything here. No glue guns, no sewing machines, no fancy equipment.
Final Thoughts:
DIY gifts don’t have to be perfect — they have to be thoughtful. A slightly crooked coaster or a lumpy pillow still beats a gift card you grabbed at the checkout line. So grab your supplies, put on a show, and make something. Your people will love it, imperfections and all.