
Need a gift, but your wallet is giving side-eye? Same. Making something by hand beats another generic gift card, and it doesn’t require a craft room full of fancy tools. Below are five beginner-friendly DIY gifts you can finish in an afternoon — plus plenty of ways to mess them up so you can avoid it. Let’s get crafty.
Why Handmade Gifts Win Every Time
Handmade gifts hit different. They show you actually thought about the person instead of panic-buying at the checkout line.
They’re also cheaper, more personal, and honestly more fun to give. Plus, you get bragging rights. “Oh, this? I made it.” Chef’s kiss.
Project 1: Custom Scented Candles in Upcycled Jars
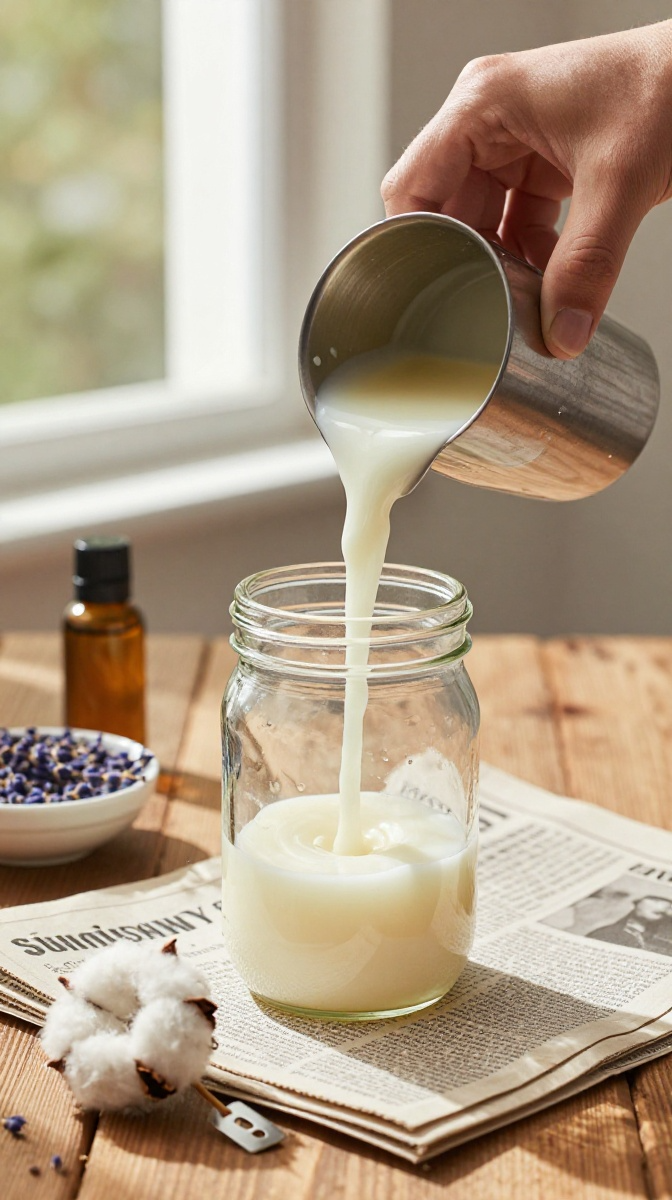
This is the classic “I’m thoughtful but also broke” move. It looks expensive, costs almost nothing, and smells amazing.
Materials and Tools
- Soy wax flakes — about 1 cup per jar (paraffin works too, but soy burns cleaner)
- Old glass jars, teacups, or tin cans — clean and dry
- Cotton wicks with tabs (or thick cotton string and a paperclip)
- Fragrance oil or essential oil
- A heat-safe pouring jug or a clean tin can
- Double boiler or a pot with a metal bowl
- Wooden skewers or pencils for holding wicks
- Scissors
Step-by-Step Instructions
- Clean your jars thoroughly and dry them. Any moisture will wreck your wax.
- Glue or press a wick tab to the bottom center of each jar.
- Melt your wax in a double boiler over medium heat. Stir gently and don’t walk away.
- Once melted, remove from heat and let it cool for two minutes.
- Add fragrance oil — about 1 tablespoon per cup of wax. Stir for 30 seconds.
- Pour the wax slowly into your jars, leaving a bit of space at the top.
- Wrap the wick around a skewer or pencil to keep it upright and centered.
- Let them set for 3–4 hours. Trim the wick to about 1/4 inch before gifting.
Customization Ideas
Add dried lavender, cinnamon sticks, or a few drops of vanilla for a spa vibe. You can also layer two colors of wax for a marbled look.
Common Mistakes to Avoid
Don’t pour wax down the sink — it will clog your pipes and ruin your day. Also, skip the cheap dollar-store fragrance oils; they smell like a car air freshener from 2007.
Project 2: Personalized Photo Coasters
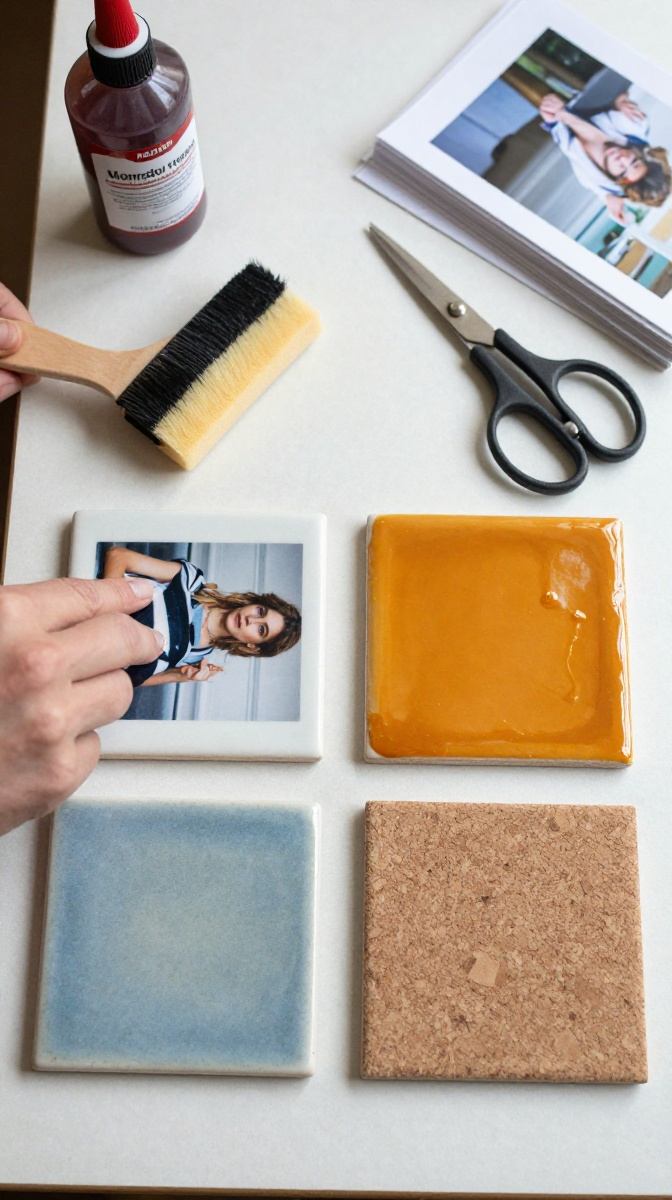
These are stupidly easy and look like you bought them at a boutique. Perfect for grandparents, best friends, or anyone who loves a nostalgic throwback.
Materials and Tools
- Plain ceramic tiles — 4×4 inch works great (hardware store, super cheap)
- Mod Podge or any decoupage glue
- Printed photos on regular paper or thin cardstock
- Foam brush
- Clear acrylic sealer spray
- Felt pads or cork backing
- Scissors
Step-by-Step Instructions
- Cut your photos to fit the tiles. Leave a small border for a clean look.
- Brush a thin layer of Mod Podge onto the tile.
- Press the photo down, smoothing out bubbles with your fingers or a credit card.
- Apply two more coats of Mod Podge over the top, letting each dry for 20 minutes.
- Once fully dry, spray with clear acrylic sealer in a well-ventilated area.
- Stick felt pads or cork to the bottom so they don’t scratch furniture.
Troubleshooting Tips
If your photo wrinkles, you used too much glue. If it bubbles, press harder next time. Inkjet prints can smudge, so seal gently.
Project 3: Sugar Scrub in a Pretty Jar
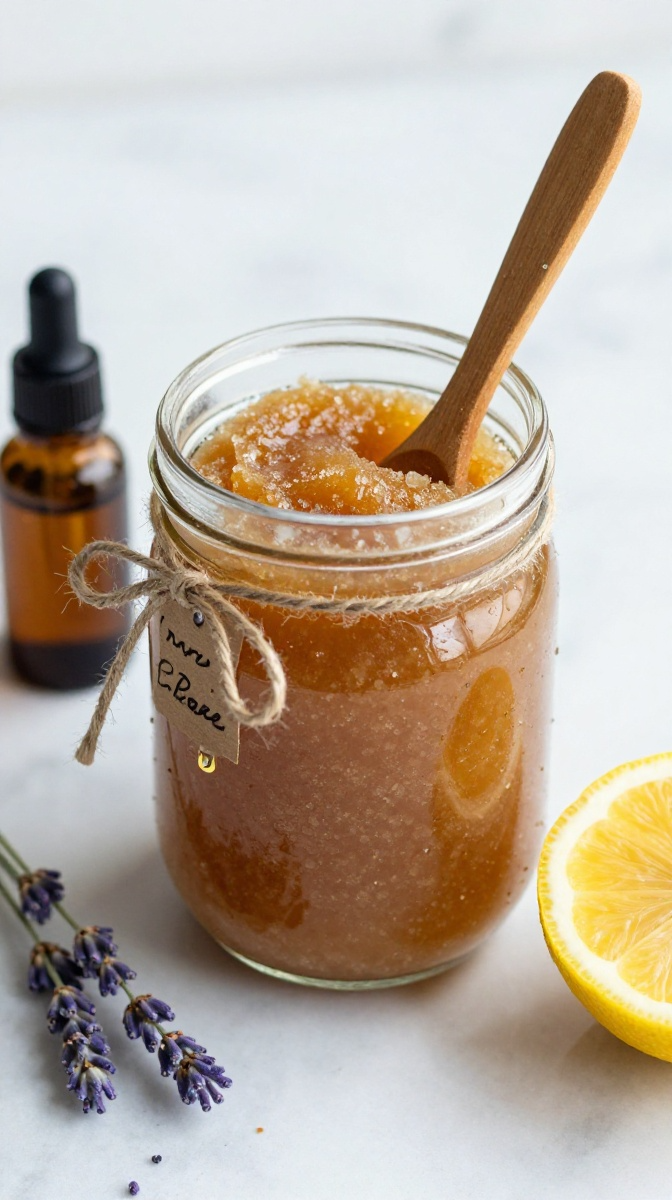
This one takes five minutes. Five. You can make it while your coffee brews.
Materials and Tools
- 1 cup white or brown sugar
- 1/2 cup coconut oil or olive oil
- 10–15 drops essential oil (lavender, peppermint, or lemon)
- Mason jar or recycled glass jar with lid
- Spoon and small bowl
- Ribbon or twine for decoration
Step-by-Step Instructions
- Mix sugar and oil in a bowl until it looks like wet sand.
- Add essential oils and stir well.
- Spoon into your jar and seal tightly.
- Decorate with ribbon, a handwritten label, or a tiny spoon tied on top.
Variations to Try
Add a teaspoon of vanilla extract for a cookie scent. Use brown sugar for a rougher scrub. Add dried citrus zest for color and freshness.
Project 4: Hand-Painted Terracotta Pots
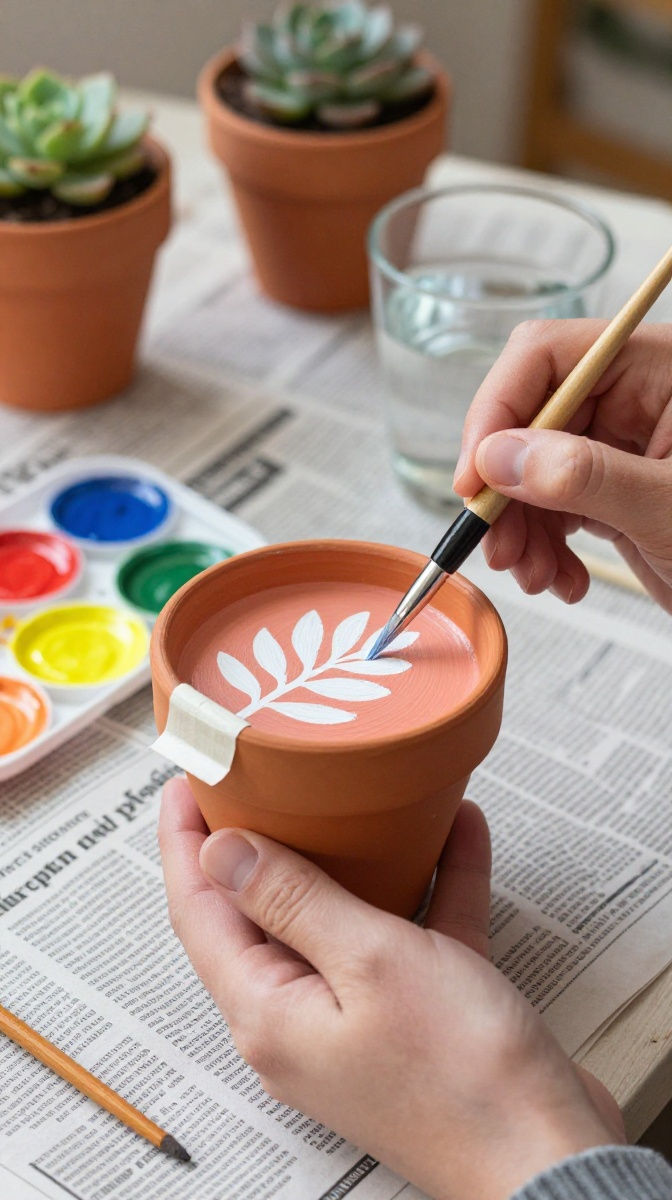
Plants are great gifts. Plants in a pot you painted yourself? Even better.
Materials and Tools
- Small terracotta pots
- Acrylic paint in your chosen colors
- Paintbrushes — flat and fine-tip
- Painter’s tape for stripes or patterns
- Clear sealant spray
- Newspaper or a drop cloth
Step-by-Step Instructions
- Wipe the pot clean and let it dry completely.
- Use painter’s tape to block off stripes or geometric shapes.
- Paint in thin layers. Let each layer dry before adding the next.
- Peel off the tape while the paint is slightly tacky for crisp lines.
- Seal with a clear spray once fully dry.
- Add a small plant or succulent and tie a ribbon around the rim.
Decorating Ideas
Try polka dots, ombre gradients, or simple leaf designs. You can also write the recipient’s name or a short quote on the pot.
Project 5: No-Sew Fleece Blanket
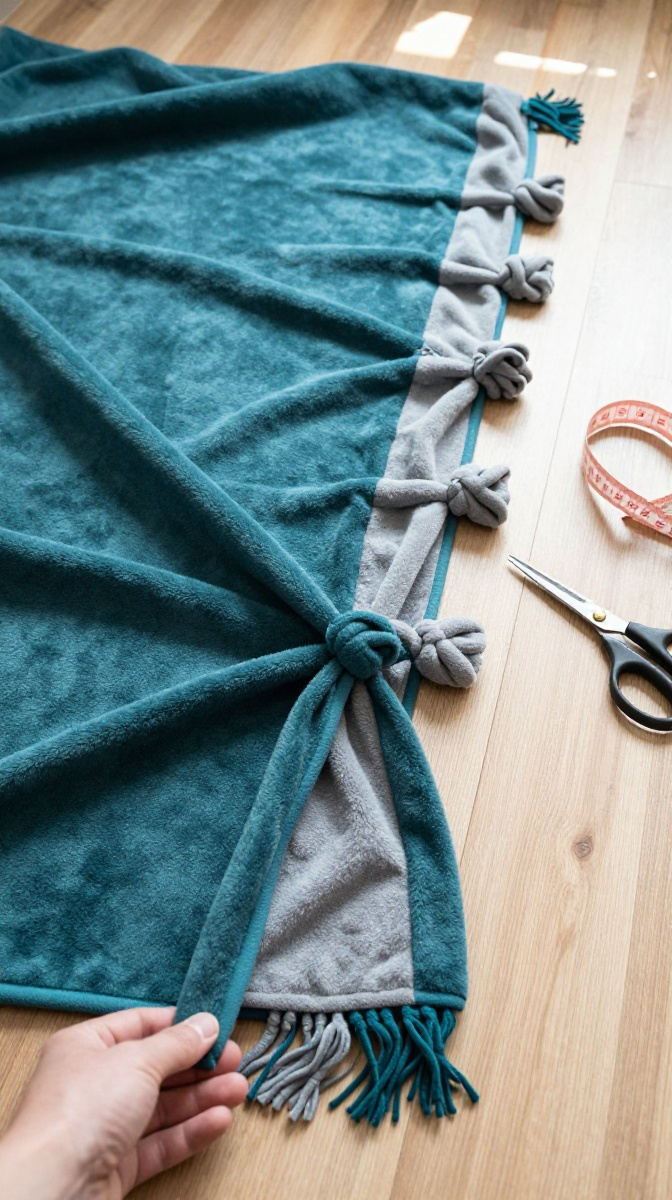
No sewing machine? No problem. This blanket comes together with just scissors and a little patience.
Materials and Tools
- Two pieces of fleece fabric, same size (1.5 yards each works for a throw)
- Sharp fabric scissors
- Ruler or measuring tape
- Masking tape (optional)
Step-by-Step Instructions
- Lay both fleece pieces on top of each other, right sides facing out.
- Trim the edges so they line up neatly.
- Cut 4-inch squares from each corner.
- Cut 1-inch-wide strips along all four sides, about 4 inches deep.
- Tie the top and bottom strips together in double knots.
- Work your way around the entire blanket.
Safety and Comfort Tips
Keep cuts even for a cleaner look. Don’t tie too tightly or the blanket will pucker. Wash on cold and air dry to keep it soft.
FAQ’s
What’s the easiest DIY gift for total beginners?
The sugar scrub. If you can stir, you can make it. No heat, no drying time, no drama.
Can I make these gifts ahead of time?
Yes. Candles and scrubs last for weeks. Coasters and pots are fine once sealed. The fleece blanket stays good indefinitely.
How do I package handmade gifts?
Kraft paper, twine, and a handwritten tag go a long way. Thrift stores are goldmines for cheap baskets and tins.
What if my DIY gift turns out ugly?
Own it. Call it “rustic.” Or keep it for yourself and buy a backup gift. We’ve all been there.
Are these gifts good for guys too?
Absolutely. Skip the floral scents and go for cedar, mint, or unscented. Photo coasters and fleece blankets work for anyone.
Final Thoughts:
You don’t need perfect skills or a fancy setup. You need a little time, a few supplies, and the willingness to try. Worst case, you make a mess and laugh about it. Best case, you give someone a gift they actually keep.
So pick one project, grab your supplies, and start crafting. Your future gift-receiving friends will thank you.