
Summer is here, and the kids are already chanting the two words you dread most: “I’m bored.” Before you hand over the tablet again, let’s make something together. These easy summer DIY crafts use cheap supplies you probably already own, take an afternoon at most, and look genuinely cute when you’re done. Grab a cold drink, roll up your sleeves, and let’s make a mess — the good kind.
Why Summer Crafts Are the Ultimate Boredom Buster
Summer crafts hit different. They’re messy, they’re colorful, and they give everyone something to do besides melting on the couch. FYI, crafting also sneaks in fine motor skills, patience, and problem-solving without anyone noticing.
The best part? You don’t need fancy supplies. A glue gun, some paint, and a pile of stuff from the dollar store will carry you through June, July, and August. Let’s dive into six projects that actually work.
Project 1: Painted Seashell Wind Chimes
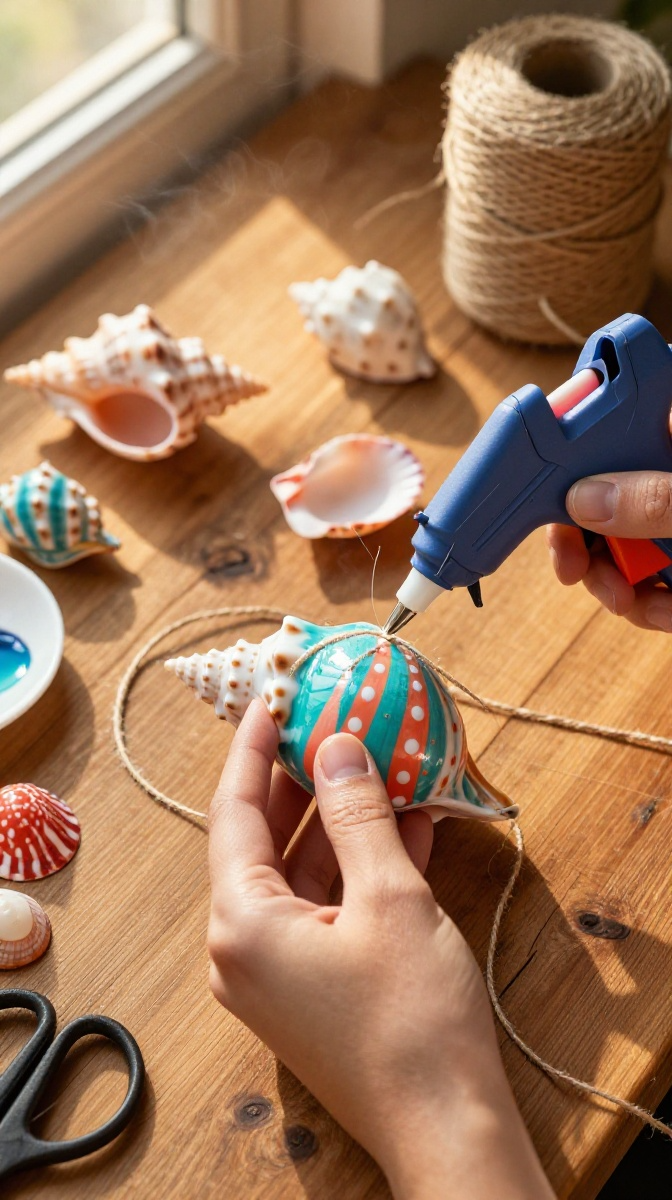
Got a bucket of shells from your beach trip just sitting in the garage? Turn those dusty souvenirs into a wind chime that sounds like vacation every time a breeze rolls through.
Materials and Tools
- 10–15 clean seashells (any size works, but flat ones are easiest)
- Acrylic craft paint in bright summer colors
- Paintbrushes, including one small detail brush
- Twine, jute string, or fishing line
- A sturdy stick, driftwood piece, or embroidery hoop
- Hot glue gun and glue sticks
- Scissors
- Optional: clear sealant spray
No seashells? Use air-dry clay pressed into shell shapes, or grab a bag of pasta shells and paint those instead. Honestly, no one will know the difference from the patio.
Step-by-Step Instructions
- Wash your shells in warm, soapy water and let them dry completely. Wet shells and paint do not mix.
- Paint each shell with a base color. Let them dry for about 20 minutes, then add stripes, dots, or tiny flowers with your detail brush.
- Once the paint is fully dry, spray on a clear sealant if you want them to survive rain and sprinklers.
- Cut twine into 6–8 pieces of varying lengths, from about 6 to 12 inches.
- Hot glue one end of each string to the back of a shell. Hold it for 10 seconds so it sets.
- Tie the other ends to your stick or hoop, spacing them out so the shells don’t tangle.
- Add a top loop of twine for hanging, then find a breezy spot and listen.
Common Mistakes to Avoid
The biggest mistake is skipping the sealant and then watching your masterpiece wash away in the first rainstorm. Also, don’t glue shells while they’re still wet. Trust me, I learned that one the hard way.
Customization Ideas
Try a color theme like ocean blues and sandy whites, or let each kid pick their own palette. You can also add beads, bells, or tiny sea glass between the shells for extra sparkle and sound.
Project 2: Tie-Dye T-Shirts (Without the Giant Mess)
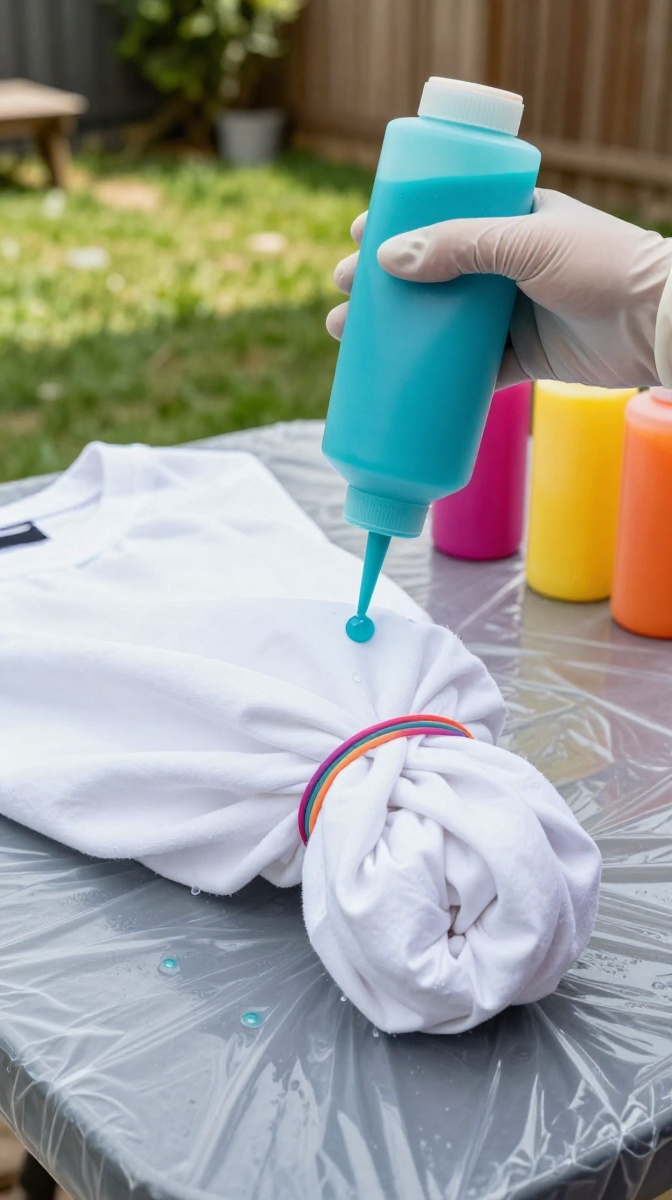
Tie-dye is a summer classic, but the traditional bucket method can turn your backyard into a crime scene. This squeeze-bottle version keeps things contained and gives you way more control over your design.
Materials and Tools
- White cotton t-shirts, pre-washed
- Tie-dye kit with squeeze bottles, or fabric dye and squeeze bottles
- Rubber bands
- Plastic wrap or zip-top bags
- Disposable gloves
- An old plastic tablecloth or trash bags
No kit? Mix fabric dye with water in squeeze bottles. Just follow the dye package ratios so your colors stay bold.
Step-by-Step Instructions
- Wash shirts without fabric softener, then leave them damp. Damp fabric absorbs dye better.
- Twist, fold, or scrunch your shirt into a shape, then wrap rubber bands tightly around it. Spiral, stripes, and bullseye are all beginner-friendly.
- Put on gloves and lay the shirt on your plastic-covered table.
- Squeeze dye onto different sections. Flip the shirt and repeat so dye soaks through both sides.
- Wrap the shirt in plastic wrap or seal it in a bag. Let it sit for 6–24 hours. Longer equals brighter.
- Rinse under cold water until it runs clear, then remove the rubber bands.
- Wash alone in cold water, then tumble dry low or hang it up.
Safety Tips for Kids
Dye stains skin and counters, so gloves and old clothes are non-negotiable. Keep little ones away from the dye bottles and let them handle the rubber band twisting instead.
Project 3: Mason Jar Lanterns for Warm Nights
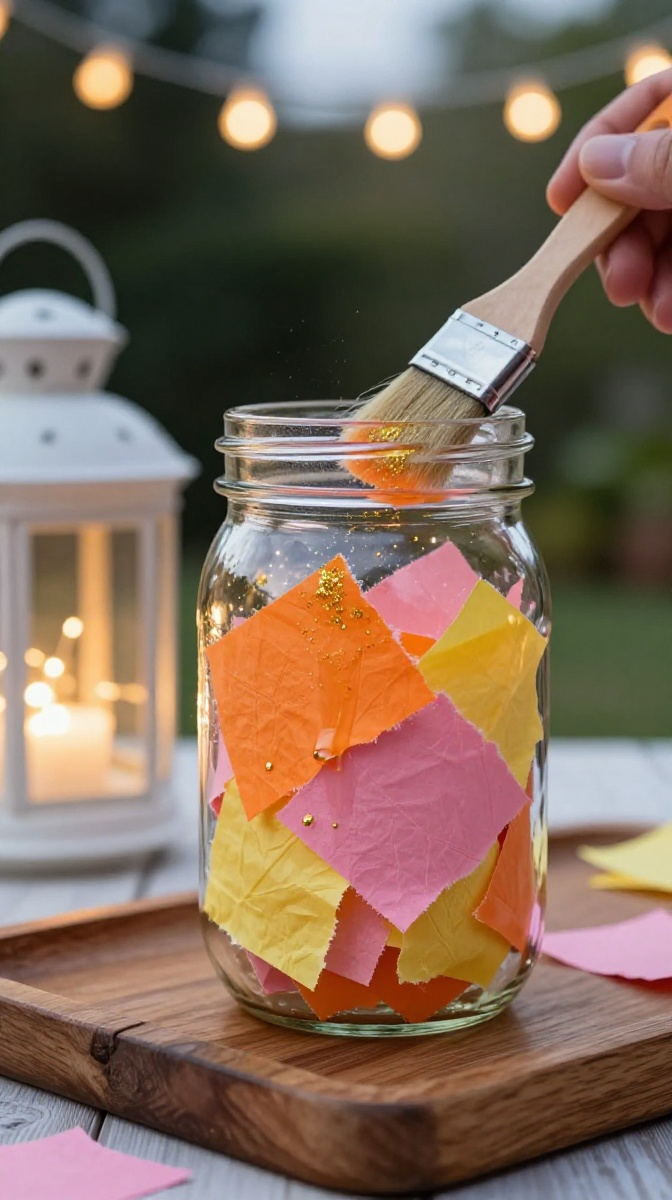
Nothing says summer evening like twinkly lights on the patio. These mason jar lanterns cost almost nothing and make your backyard look like a fairy tale.
Materials and Tools
- Clean glass mason jars with lids
- Mod Podge or white school glue
- Tissue paper in sunset colors
- Foam brush
- Fine glitter (optional but fun)
- Twine or wire for a handle
- Tea lights or small LED fairy lights
Step-by-Step Instructions
- Tear tissue paper into small squares. Torn edges blend better than cut ones.
- Brush a thin layer of Mod Podge onto a small section of the jar.
- Press tissue squares onto the glue, overlapping colors as you go.
- Brush another layer of Mod Podge over the top to seal everything down.
- Sprinkle glitter on while the glue is still wet, if you’re using it.
- Let the jar dry completely, about an hour.
- Wrap twine around the rim for a handle, then drop in a tea light or fairy lights.
Use LED lights instead of real candles if kids are involved or if the jars will sit near curtains.
Troubleshooting Tips
If the tissue bubbles up, smooth it down with your fingers while the glue is wet. If colors look muddy, use fewer overlapping layers and stick to two or three shades.
Project 4: Pressed Flower Bookmarks
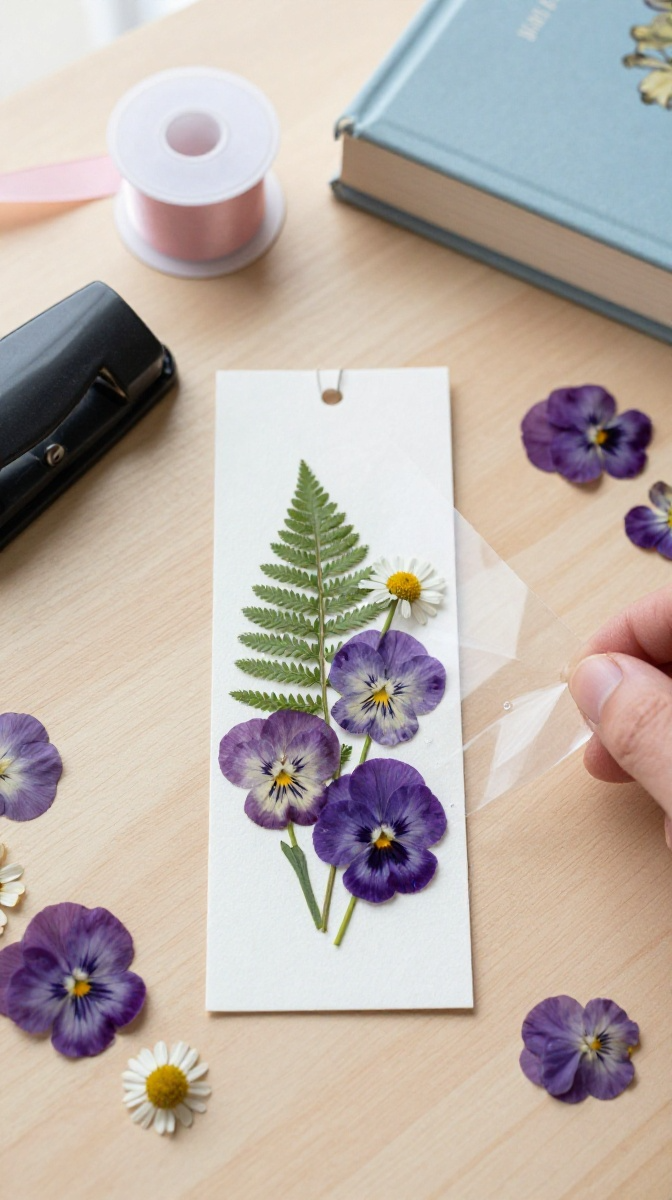
Flowers are everywhere in summer, so why not save a little piece of them? These bookmarks are perfect for lazy reading afternoons and make sweet gifts for friends.
Materials and Tools
- Fresh flowers and leaves (flat ones work best)
- Heavy books or a flower press
- Parchment paper
- Cardstock or blank bookmark blanks
- Clear contact paper or laminating sheets
- Hole punch and ribbon
Step-by-Step Instructions
- Place flowers between two sheets of parchment paper, then inside a heavy book.
- Stack more books on top and wait 7–10 days. Patience is the hard part.
- Arrange your pressed flowers on a cardstock bookmark.
- Cover with clear contact paper on both sides, pressing out air bubbles.
- Trim the edges, punch a hole at the top, and tie on a ribbon.
Best Flowers for Pressing
Pansies, daisies, violets, and ferns press beautifully. Skip thick, juicy flowers like roses — they just turn brown and sad.
Project 5: DIY Citronella Candles
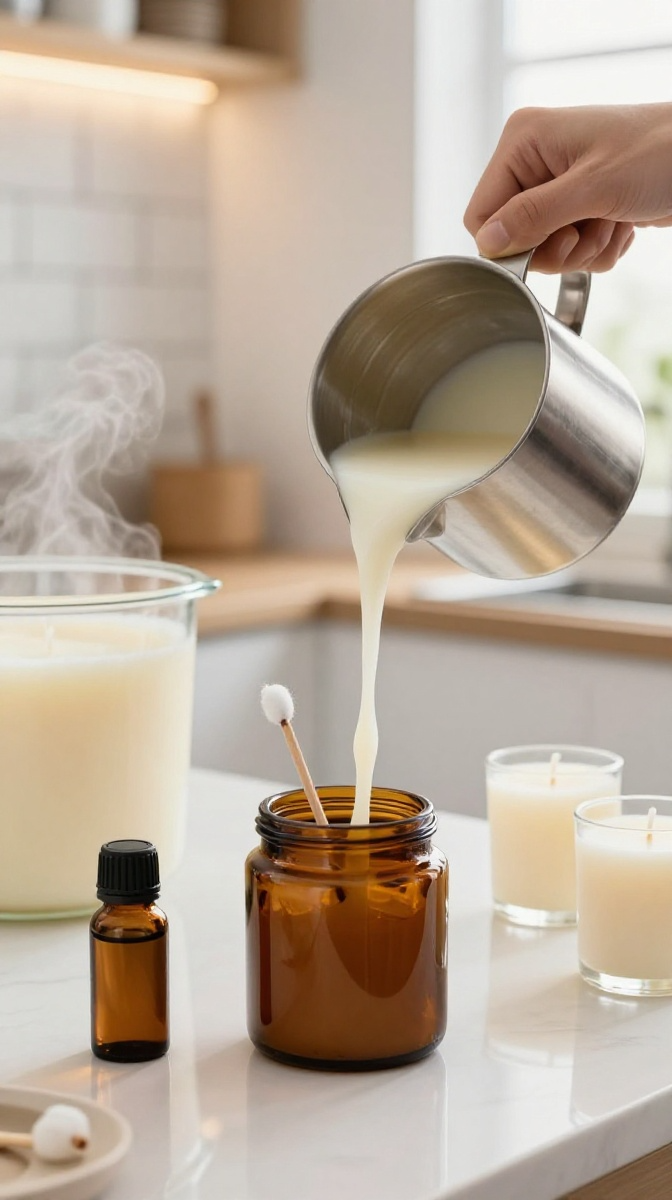
Mosquitoes love summer as much as you do. These citronella candles keep the bugs away and look adorable on your picnic table.
Materials and Tools
- Soy wax flakes or old candle stubs
- Citronella essential oil
- Small heat-safe jars or tins
- Cotton wicks with metal tabs
- Double boiler or a heat-safe bowl over a pot
- Popsicle sticks for holding wicks
Step-by-Step Instructions
- Glue a wick tab to the bottom of each jar.
- Melt wax in a double boiler over medium heat. Never melt wax directly over a flame.
- Once melted, stir in citronella oil — about 30 drops per cup of wax.
- Pour wax into jars, leaving a half-inch at the top.
- Hold the wick upright with two popsicle sticks, then let the candles cool for 3–4 hours.
- Trim the wick to a quarter inch before lighting.
Never leave burning candles unattended, and keep them away from kids, pets, and dry grass.
FAQ’s
What crafts can I make with kids under 5?
Rock painting, mason jar lanterns, and pressed flower bookmarks are all toddler-friendly with a little help. Skip the hot glue and candles for the littlest crafters.
How do I keep craft supplies organized all summer?
Use a plastic caddy or a shoe organizer hung on a door. Group supplies by project so kids can grab and go without digging through a disaster zone.
Do I really need to seal outdoor crafts?
Yes, unless you enjoy watching your hard work fade and crumble. A clear outdoor sealant adds maybe five minutes and saves your project for the whole season.
What’s the cheapest craft on this list?
Rock painting wins by a mile. Rocks are free, and a basic acrylic paint set costs a few dollars. Everything else is optional.
Can I do these crafts indoors on rainy days?
Absolutely. Tie-dye and candle-making get messy, so save those for the garage or a covered porch. Bookmarks and rock painting are perfect indoor projects.
How long do these projects take from start to finish?
Most take under an hour of active crafting time. Tie-dye and pressed flowers need waiting time, so plan those as two-day projects.
Ready, Set, Craft
Summer is too short to spend it staring at screens or complaining about the heat. Pick one project, raid your craft bin, and make something you’re proud of — even if it turns out a little crooked. The memories (and the mess) are worth it.
So which one are you trying first? Grab the glue gun and find out.