
Want to make something cute without needing a craft degree? Good news: you can. These five seasonal crafts use cheap supplies, take an afternoon, and forgive mistakes. Grab a glue gun and let’s make something you’ll actually want to keep.
Fall Craft: Mason Jar Leaf Lanterns
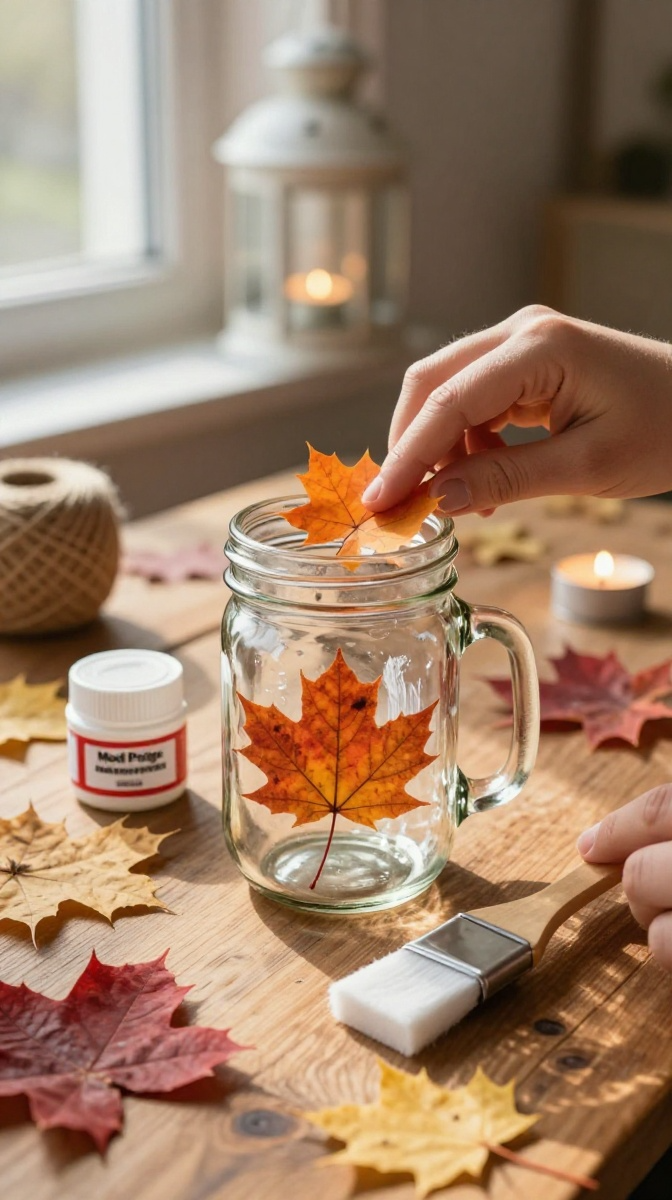
This is the project I recommend to every total beginner. It looks fancy, costs almost nothing, and takes about 30 minutes. Plus, you get to go outside and collect free supplies, which is my favorite kind of shopping.
Materials and Tools
- Clean mason jars (any size; pasta sauce jars work great as substitutes)
- Mod Podge (or watered-down white school glue, about 1 part water to 2 parts glue)
- Pressed or fresh fall leaves
- A foam brush or an old paintbrush
- Twine or ribbon
- A battery-operated tea light (skip real candles, seriously)
- Optional: gold or copper acrylic paint for the jar rim
Step-by-Step Instructions
- Wipe your jar clean and dry it completely. Any grease or dust means your leaves will peel off later, and nobody wants that.
- Brush a thin layer of Mod Podge onto a small section of the jar.
- Press a leaf onto the sticky spot and smooth it down with your fingers. Work in small sections so the glue doesn’t dry before you get there.
- Brush another layer of Mod Podge right over the top of the leaf. Yes, over it. This seals everything in.
- Repeat around the jar, leaving small gaps between leaves. Overlapping looks nice too, so do whatever feels right.
- Let it dry for about an hour, then add a second coat over the whole decorated area.
- Wrap twine around the rim, drop in a battery tea light, and you’re done.
Common Mistakes to Avoid
Don’t slather on thick layers of glue. It dries cloudy and takes forever. Also, fresh leaves may curl as they dry, so press them between books for a day first if you have the patience. I usually don’t, and my lanterns look slightly rustic because of it. We call that character.
Customization Ideas
Swap leaves for dried flowers in spring, or use evergreen sprigs for winter. You can also tint the Mod Podge with a drop of food coloring for a soft glow. FYI, a little color goes a long way.
Winter Craft: No-Sew Fleece Hand Warmers
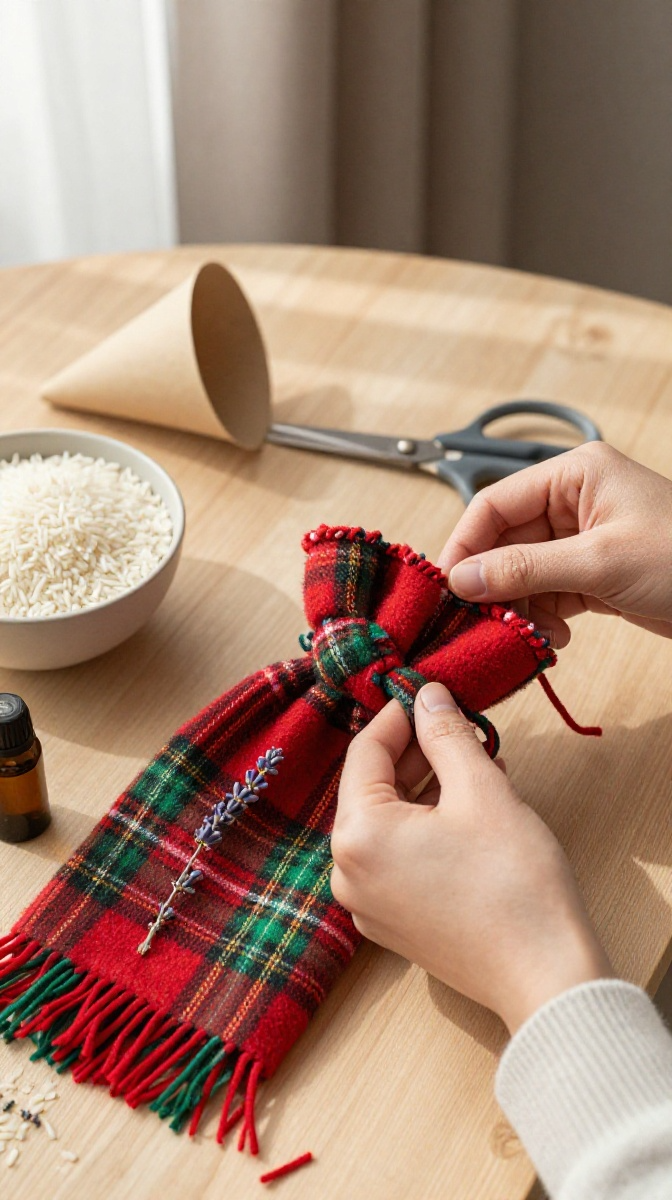
These take maybe 15 minutes and make excellent gifts. They’re also the perfect project if you hate sewing, because there is zero sewing involved. Just cutting and filling.
Materials and Tools
- Fleece fabric (a quarter yard makes several pairs; old fleece blankets work too)
- Uncooked rice or dried beans
- Fabric scissors
- A funnel or a rolled piece of paper
- Optional: essential oil like lavender or peppermint
Step-by-Step Instructions
- Cut two matching rectangles of fleece, about 4 by 5 inches each.
- Stack them together and cut 1-inch strips along three of the edges, snipping about an inch deep.
- Tie the top and bottom strips together in double knots, creating a little pocket. Leave one side open.
- Fill the pocket about two-thirds full with rice using your funnel.
- Tie the remaining strips closed with double knots.
- Add a drop or two of essential oil to the fabric if you like.
- Microwave for 30 seconds, check the heat, then add 15-second bursts until warm.
Safety Tips
Never microwave them longer than a minute at a time. Rice can scorch, and scorched rice smells like regret. Let them cool completely before reheating, and don’t use them on bare skin right out of the microwave.
Ways to Gift Them
Stack a pair in a mug with a hot cocoa packet and you have a cozy gift for under five dollars. Tie them with ribbon and a handwritten tag. IMO, handmade gifts beat gift cards every single time.
Spring Craft: Painted Rock Garden Markers
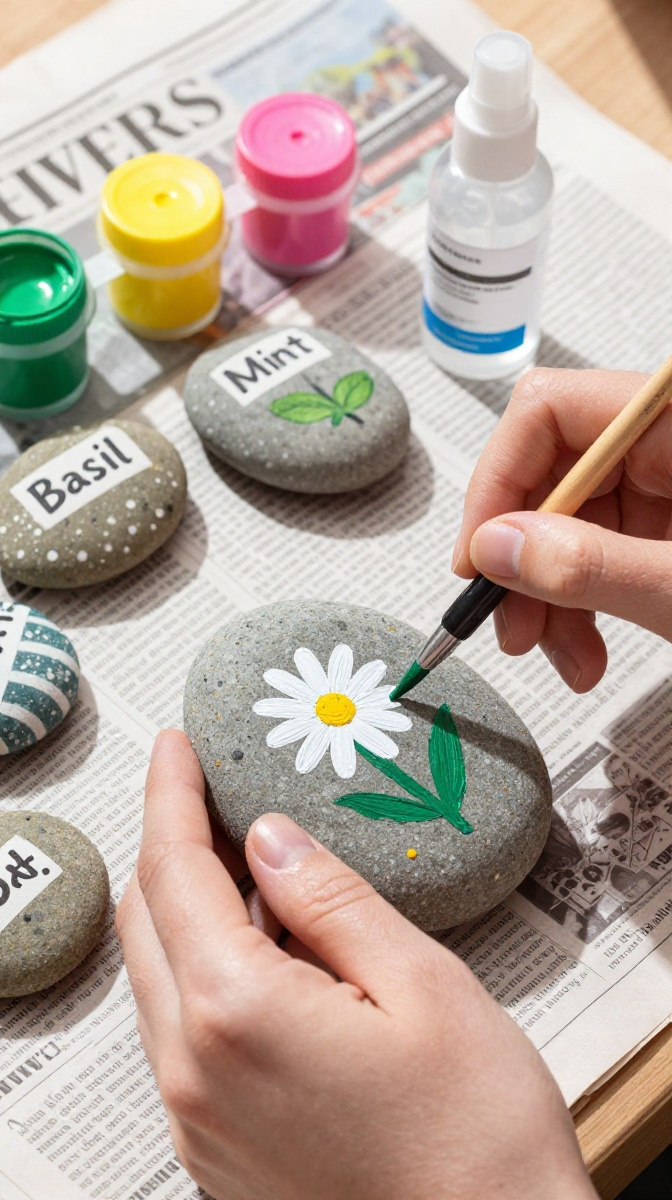
Got a garden? Got a windowsill? Then you need these. They’re cheap, cheerful, and a great project for kids or for adults who just want to paint something without pressure.
Materials and Tools
- Smooth river rocks (free from the beach, or a bag from the dollar store)
- Acrylic paint in bright colors
- Fine-tip paintbrushes
- Outdoor Mod Podge or clear spray sealer
- Optional: paint pens for writing labels
Step-by-Step Instructions
- Wash and dry your rocks. Dry means dry, so give them an hour.
- Paint a base color and let it dry completely.
- Add your design. Simple dots, stripes, or little flowers look great and take seconds.
- Write the plant name with a paint pen once the base is dry.
- Seal with two coats of outdoor sealer, letting each coat dry in between.
- Place them in your garden or in potted plants.
Troubleshooting
If your paint beads up, your rock still has oils on it. Wash it again with dish soap. If your design smears, you’re painting over wet paint, so slow down and let layers dry.
Summer Craft: Seashell Wind Chimes
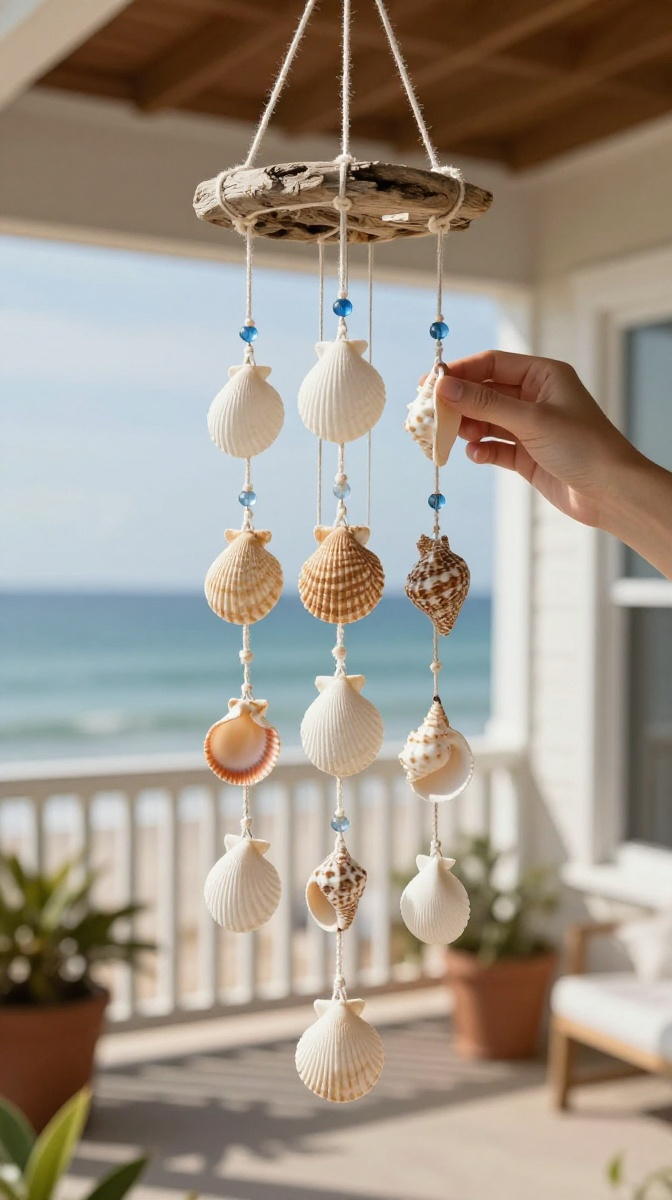
Bring the beach home without the sand in your car. This project takes about 45 minutes and looks genuinely lovely on a porch or balcony.
Materials and Tools
- Seashells with natural holes (or drill small holes carefully)
- Twine or fishing line
- A driftwood stick or an embroidery hoop
- Scissors
- Optional: beads for spacing
Step-by-Step Instructions
- Cut five to seven lengths of twine, each about 18 inches long.
- Tie a shell to the bottom of each string with a secure double knot.
- Add beads above the shell if you want a little sparkle.
- Tie each string to your driftwood or hoop, spacing them evenly.
- Adjust the lengths so the shells hang at slightly different heights.
- Add a top loop of twine for hanging.
- Hang it up and listen. If it’s silent, move the shells closer together.
Display Ideas
Hang them near a window where a breeze comes through. On a covered porch works best, since direct rain will wear down the twine over time. Bring them inside during storms, and they’ll last for years.
Anytime Craft: Seasonal Wreath From Scratch
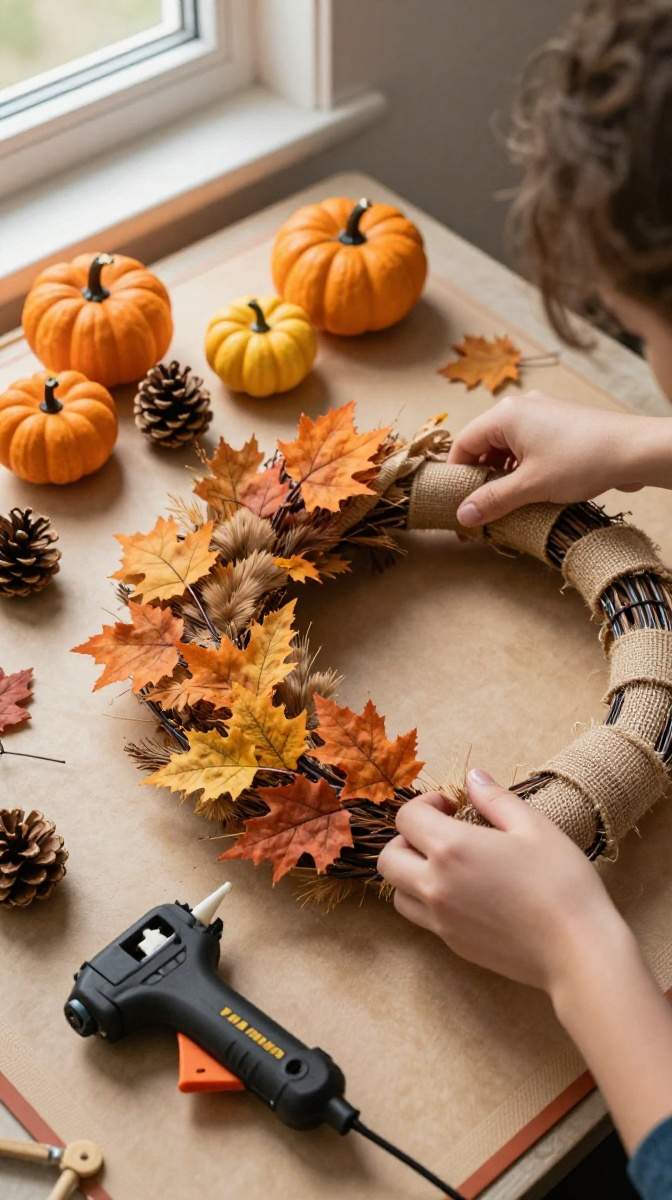
Wreaths sound intimidating, but a basic one is just wrapping and gluing. You can make a fall version, a holiday version, or a spring version with the same technique. This one’s the most flexible project on the list.
Materials and Tools
- A wire wreath frame or a grapevine wreath base
- Burlap ribbon or wide fabric strips
- Faux flowers, leaves, or mini ornaments
- Hot glue gun and glue sticks
- Floral wire
Step-by-Step Instructions
- Wrap the ribbon around the frame, overlapping slightly as you go.
- Secure the ends with hot glue and press firmly for a few seconds.
- Lay out your flowers and decorations on the wreath before gluing anything. Trust me on this one.
- Glue the largest pieces down first, then fill gaps with smaller ones.
- Use floral wire for anything heavy, since glue alone may not hold.
- Add a hanging loop of ribbon at the top and fluff everything into shape.
Decorating Variations
Fall: orange and rust leaves with mini pumpkins. Winter: pinecones and red berries. Spring: pastel flowers and a burlap bow. Summer: sunflowers and raffia. One technique, four seasons, endless bragging rights.
FAQ’s
What if I’m not crafty at all?
Start with the mason jar lanterns or the hand warmers. Both are nearly impossible to mess up, and both look like you tried harder than you did.
How much do these projects cost?
Most of them come in under ten dollars if you shop at dollar stores or use supplies you already own. The wreath is the priciest, mostly because of the glue sticks.
Can kids help with these crafts?
Yes, with supervision. Skip the hot glue gun for young kids and use school glue or tape instead. The rock painting and leaf lanterns are the most kid-friendly.
How do I store handmade decor between seasons?
Wrap wreaths in a trash bag and hang them in a closet. Store small items in labeled bins. Keep pressed-leaf crafts flat and away from damp basements.
Do I really need Mod Podge?
No. Watered-down school glue works fine for most paper and leaf projects. Mod Podge just dries clearer and faster.
What’s the easiest craft for a total beginner?
The fleece hand warmers. No paint, no drying time, no measuring. Just cut, tie, fill, and you’re finished before your coffee gets cold.
Go Make Something Already
Pick one project, grab your supplies, and give it a shot this weekend. These crafts are cheap, forgiving, and genuinely fun, even when they turn out a little wonky. Your first attempt might not be perfect, and that’s completely fine. Make it, tweak it, and show it off. Then come back and try the next season.