
Ready to make something cool without losing your mind? These five beginner crafts need minimal supplies, zero fancy skills, and about an hour of your time. We’re talking mason jar lanterns, painted rocks, macramé keychains, no-sew pillow covers, and washi tape phone stands. Pick one, raid your junk drawer, and let’s get messy.
Mason Jar Lanterns That Actually Look Store-Bought
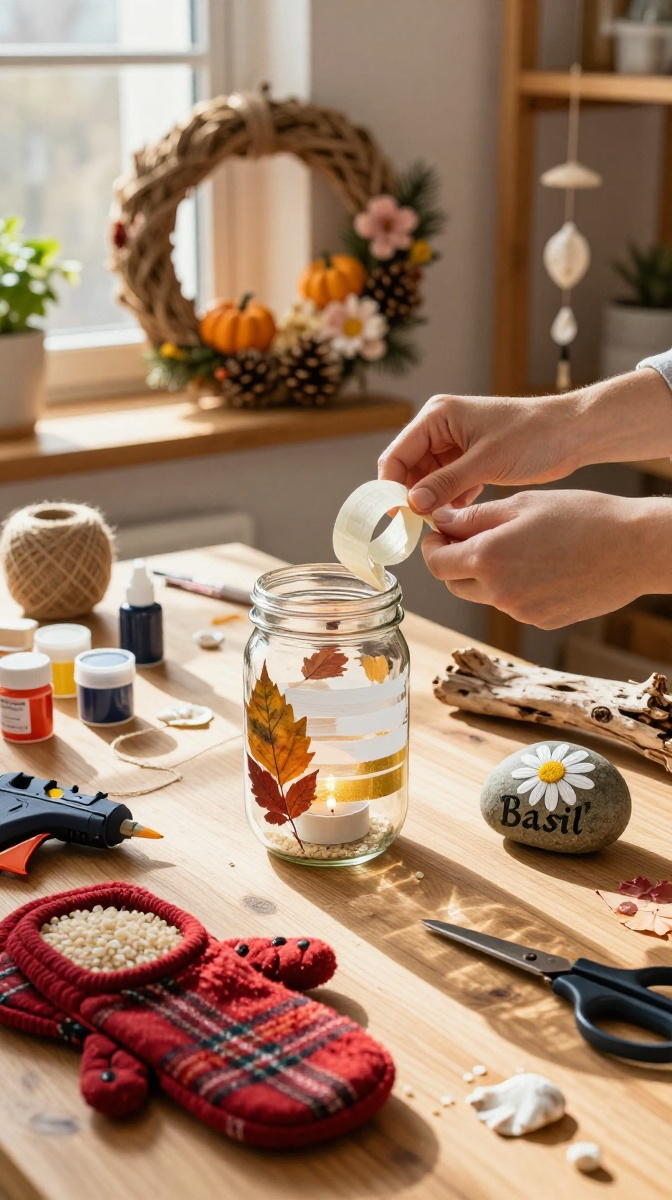
Mason jar lanterns are the unofficial starter pack of DIY crafts. They’re cheap, forgiving, and somehow always look like you tried harder than you did. Bonus: if you mess up, you just peel off the paint and start over.
Materials and Tools
- Mason jars (any size; thrift stores sell them for a dollar)
- Glass paint or acrylic paint (acrylic works fine and costs less)
- Paintbrushes (foam brushes give smoother coverage)
- Painter’s tape (for stripes and patterns)
- Twine or jute rope
- Tea light candles or fairy lights
- Rubbing alcohol and cotton balls
No glass paint? Acrylic plus a clear sealant spray does the job. No twine? Ribbon, yarn, or even shoelaces work in a pinch.
Step-by-Step Instructions
- Wipe the jar with rubbing alcohol to remove oils and dust. Skip this, and your paint will flake off like bad sunscreen.
- Use painter’s tape to block off stripes, shapes, or a window for the light to shine through.
- Paint the jar in thin coats. Let each coat dry for about 15 minutes before adding another.
- Peel off the tape while the paint is slightly tacky for clean edges.
- Wrap twine around the neck and tie a bow. Add a small loop for hanging if you want.
- Drop in a tea light or fairy lights. Light it up and admire your handiwork.
Common Mistakes to Avoid
Thick paint globs crack as they dry, so keep coats thin. Don’t paint the inside of the jar if you’re using real candles. And never leave a burning candle unattended—yes, that’s obvious, but people still do it.
Painted Rocks: Tiny Canvases, Big Personality
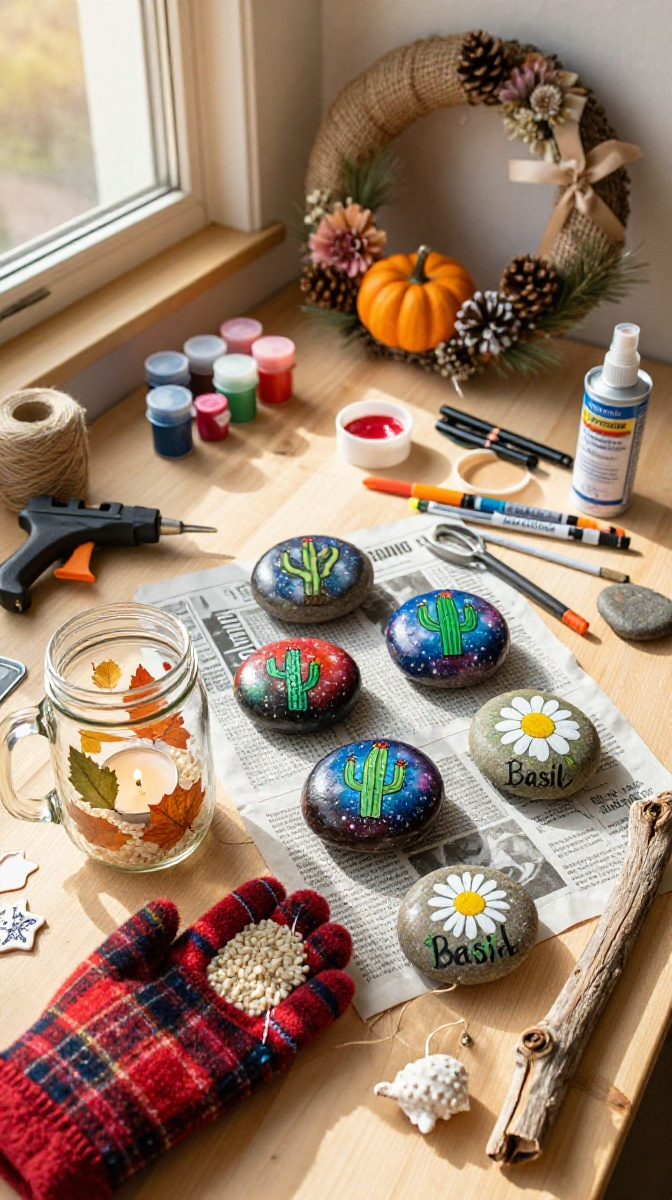
Rock painting is basically meditation with a paintbrush. You can leave them in parks for strangers to find, or hoard them on your windowsill like a friendly dragon. Either way, it’s a win.
Best Rocks and Paints
- Smooth river rocks (avoid crumbly ones)
- Acrylic paint pens (easier than brushes for beginners)
- Acrylic paint and small brushes for backgrounds
- Clear sealant spray (matte or glossy)
- Old newspaper for your workspace
No paint pens? Fine-tip brushes work. No sealant? Clear nail polish is a solid backup.
How to Paint Rocks That Don’t Look Sad
- Wash and dry your rocks completely. Damp rocks repel paint.
- Paint a base color and let it dry fully.
- Sketch your design with a pencil first if you’re nervous.
- Paint your design in layers, letting each color dry before adding the next.
- Add outlines with a black paint pen for that clean, cartoonish look.
- Seal with two light coats of spray sealant outdoors.
Design Ideas and Display Tips
Cactus rocks, galaxy rocks, and tiny motivational quotes are crowd-pleasers. Hide them around your neighborhood, gift them in a small bowl, or use them as paperweights. FYI, sealing them properly means they survive rain.
Macramé Keychains: Knots for People Who Can’t Knot
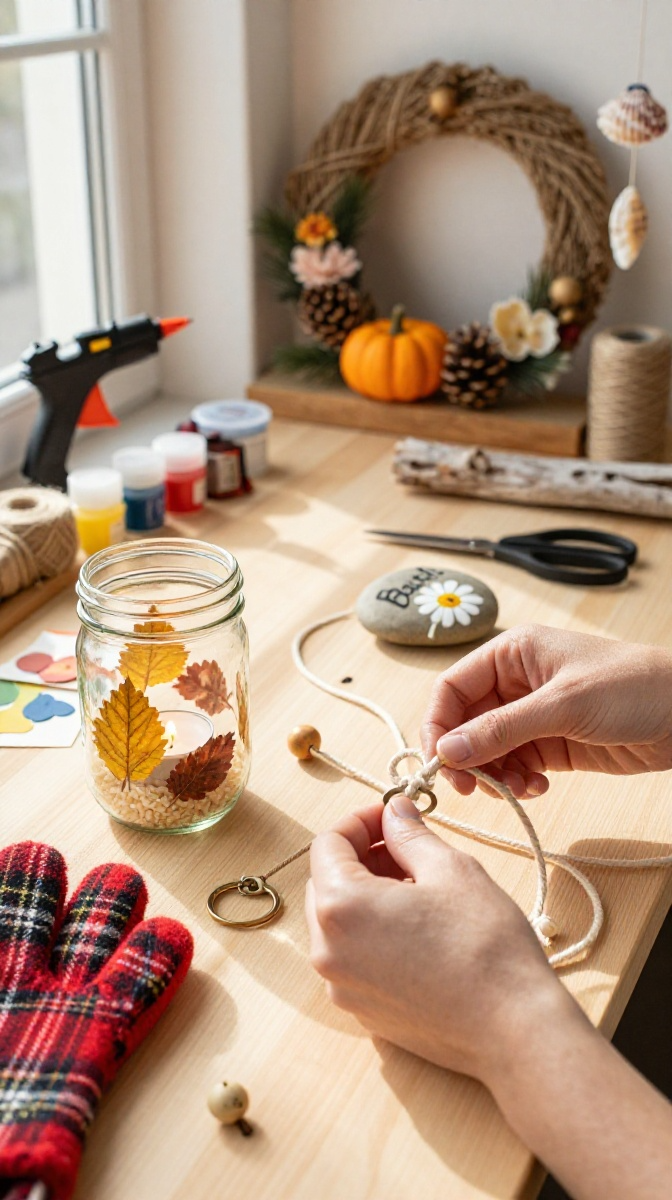
Macramé sounds intimidating until you realize it’s just repeating two knots. A keychain takes about 15 minutes, making it the perfect craft for impatient people. That includes me.
Supplies You Need
- 3mm cotton cord (or any thin rope)
- Scissors
- Keychain ring
- Wooden bead (optional)
- Tape or a clipboard to hold the cord steady
No cotton cord? Try embroidery floss, leather strips, or paracord.
Step-by-Step Instructions
- Cut two cords about 24 inches long and fold them in half.
- Loop the folded center through the keychain ring and pull the ends through to secure it.
- Tape the ring to your table so the cords stay put.
- Tie a square knot: cross the right cord over the middle, then the left over that, and pull tight.
- Repeat the square knot about 10 to 15 times, or until you like the length.
- Slide a bead onto the cords, tie an overhand knot at the bottom, and trim the ends.
Troubleshooting Tangles
Uneven knots mean uneven tension—pull both sides with equal pressure. If your keychain twists, you’re probably tying the same knot twice instead of alternating directions. IMO, practice with scrap cord first.
No-Sew Pillow Covers: Fabric Glue Is Your Friend
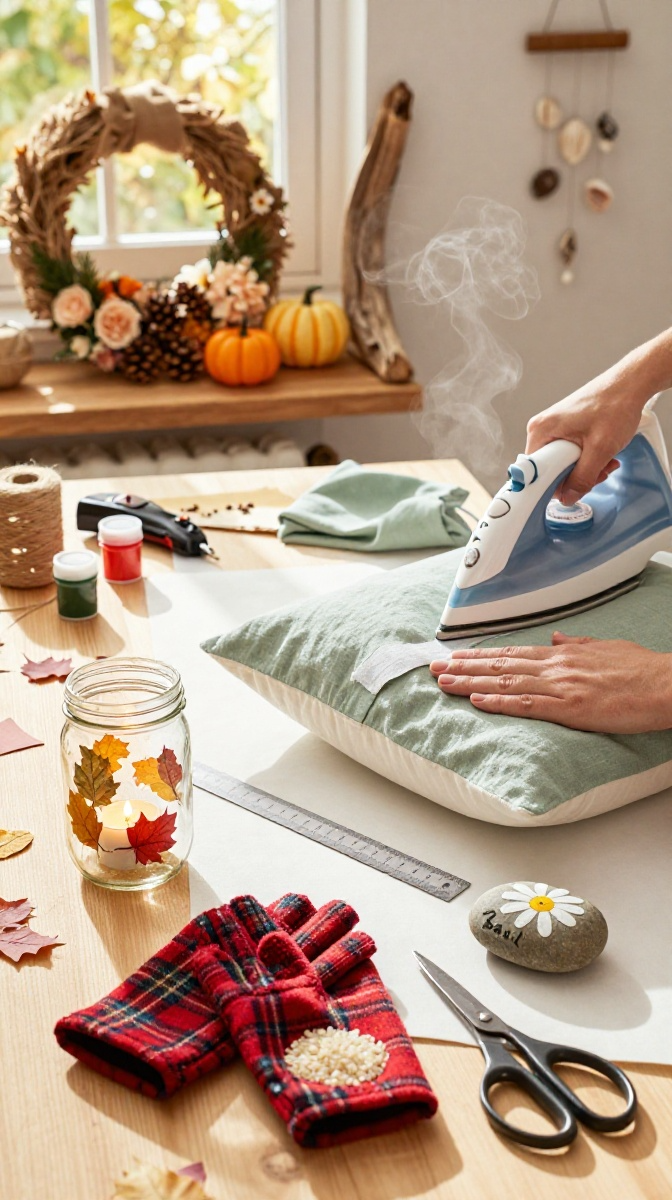
Can’t sew? Same. Fabric glue and iron-on hem tape have your back. These pillow covers take under 30 minutes and look like you actually know your way around a sewing machine.
Materials and Tools
- Fabric (cotton or linen, about 1 yard)
- Fabric glue or iron-on hem tape
- Pillow insert
- Scissors and a ruler
- Iron
- Pins or clips
Old bedsheets and curtains make free fabric. No iron? Fabric glue alone works, it just takes longer to dry.
Step-by-Step Instructions
- Measure your pillow insert and cut fabric two inches wider on each side.
- Fold and iron a one-inch hem on all four edges.
- Apply fabric glue or hem tape along the folded edges and press firmly.
- Let it dry completely, usually a few hours.
- Slide the insert inside and hand-stitch or glue the opening shut.
Customization Ideas
Add fabric paint, stencils, or iron-on patches before assembling. Mix two contrasting fabrics for a color-block look. These also make great gifts—just say you sewed them. We won’t tell.
Washi Tape Phone Stands: Zero Skill Required
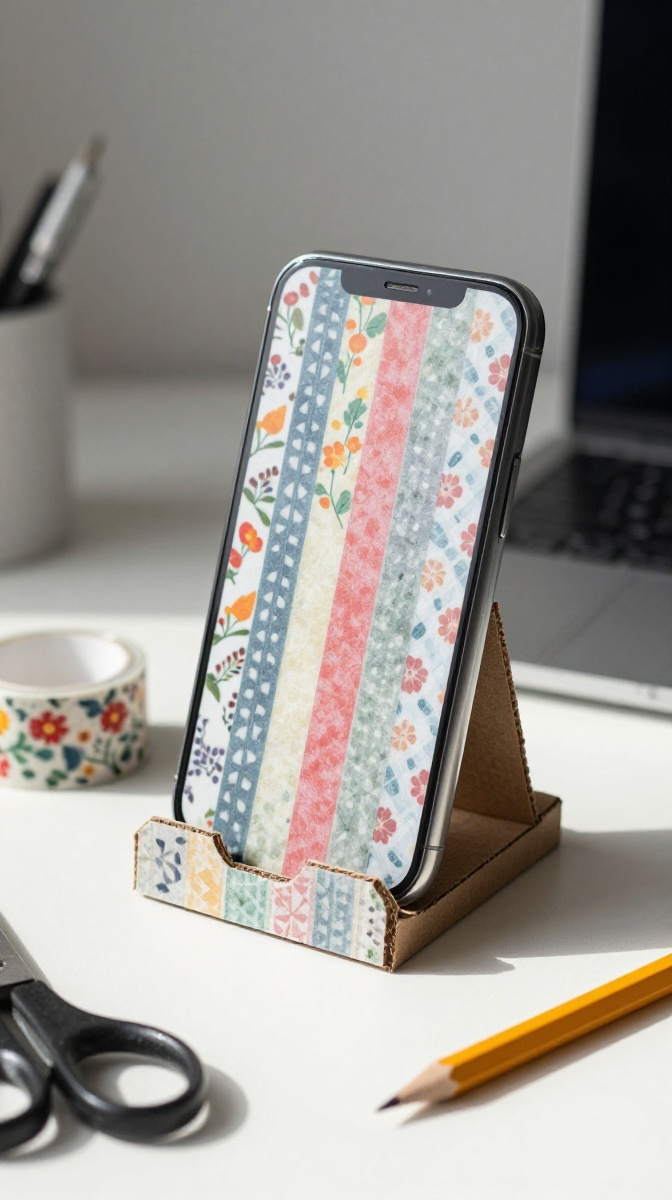
This one is so easy it barely counts as a craft, but it’s weirdly satisfying. All you need is a sturdy piece of cardboard and washi tape. Ten minutes, tops.
What You’ll Need
- Sturdy cardboard (a shipping box works great)
- Washi tape
- Scissors
- Ruler and pencil
No washi tape? Duct tape, contact paper, or leftover wrapping paper and glue all work.
Step-by-Step Instructions
- Cut a cardboard rectangle about 4 inches by 6 inches.
- Fold it into a triangle stand shape and tape the edges.
- Cut a small notch at the top for your phone to rest in.
- Cover the whole thing in washi tape, overlapping strips neatly.
- Trim the edges and reinforce the notch with extra tape.
Decorating and Durability Tips
Double up the cardboard for sturdiness. Mix tape patterns for a patchwork vibe. Avoid flimsy cereal boxes—they collapse under a phone’s weight. Ask me how I know.
FAQ’s
What’s the easiest craft for total beginners?
Painted rocks and washi tape phone stands are the most forgiving. There’s no measuring, no sewing, and mistakes wipe off easily.
How much should I spend on beginner craft supplies?
Start with $10 to $15. Thrift stores, dollar stores, and your own junk drawer cover most of it.
Do I need special tools for these projects?
Nope. Scissors, tape, glue, and paint handle all five crafts. Anything fancier is optional.
How do I keep paint from chipping off my crafts?
Always seal painted projects with a clear sealant spray. Two thin coats beat one thick coat every time.
Can I do these crafts with kids?
Yes, except for the candle-lit lantern and anything involving a hot iron. Supervise the scissors and glue.
Go Make Something Already
Pick one project, gather your supplies, and give it a shot. Nobody’s first macramé keychain looks perfect, and that’s fine. The whole point is to have fun, learn a little, and end up with something you actually want to keep. Grab your glue stick and get crafting.