
Grab your glue gun and your favorite snack, because we’re making something cool today. These easy crafts for adults at home need zero fancy skills and very little money. If you can cut, glue, and follow a few simple steps, you’re already qualified. Let’s turn a boring afternoon into a mini craft session you’ll actually want to show off.
Why Adults Need Craft Time (Yes, Really)
Crafting isn’t just for kids or Pinterest influencers with perfect lighting. It’s a genuine stress reliever, and it gives you something tangible to show for your time. Plus, it beats scrolling your phone for three hours straight.
Here’s the best part: you don’t need talent, just patience and a little mess tolerance. Most of these projects cost under $15 and use stuff you may already own. Ready to pick your first project?
Project 1: Painted Terracotta Pot Planters
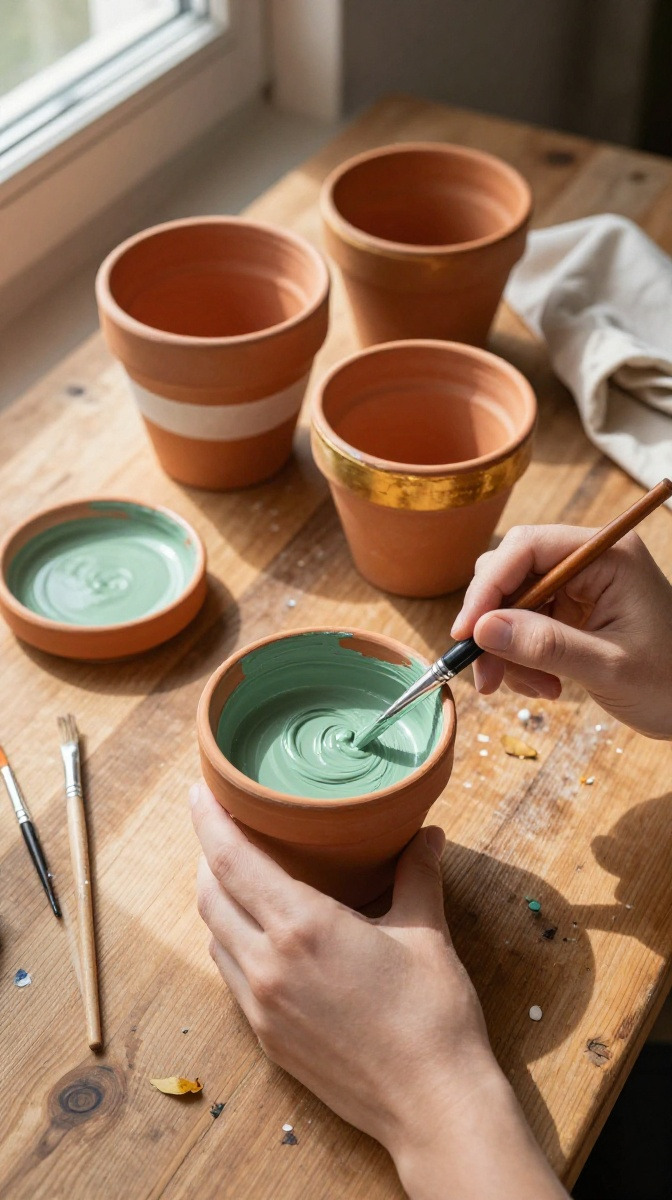
This one is my go-to when I want instant gratification. A plain terracotta pot costs about two dollars, and you probably already have acrylic paint somewhere.
Materials and Tools
- Terracotta pots (any size, but 4–6 inches is easiest)
- Acrylic paint in 2–3 colors (cheap craft paint works great)
- Paintbrushes, including one small detail brush
- Painter’s tape or masking tape
- Clear acrylic sealer spray
- Newspaper or a cardboard box to protect your table
Affordable substitute: Use old nail polish for tiny accent details. It seals itself and comes in great colors.
Step-by-Step Instructions
- Wipe your pot with a damp cloth and let it dry completely.
- Paint a base coat in your main color. Two thin coats look better than one thick, gloppy one.
- Let the base dry for about 30 minutes.
- Use tape to create stripes or geometric shapes, then paint over the taped areas.
- Peel the tape off while the paint is still slightly tacky for cleaner lines.
- Add small dots, leaves, or squiggles with your detail brush.
- Let everything dry for a full hour, then spray with sealer outside or in a ventilated space.
Common Mistakes to Avoid
Don’t skip the sealer, unless you enjoy watching your masterpiece wash away when you water the plant. Also, avoid painting the inside rim where soil sits, since moisture will ruin it fast.
Want a designer look? Paint the top rim a metallic gold or copper. It reads “expensive boutique” while costing basically nothing.
Project 2: DIY Candle Jars from Old Glass Containers
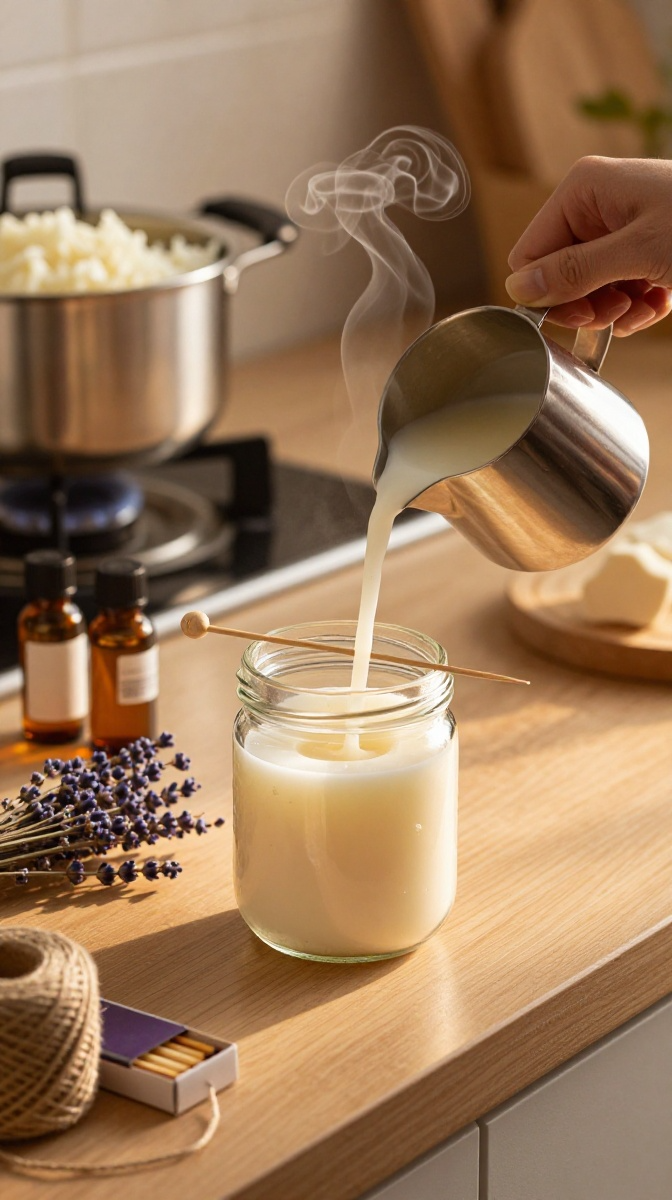
Stop throwing away those empty jam jars. They’re begging to become candles, and this project takes about 20 minutes of actual work.
Materials and Tools
- Clean glass jars with labels removed
- Soy wax flakes or old candle stubs
- Cotton wicks with metal tabs
- A heat-safe pouring pitcher or a clean tin can
- Wooden skewers or pencils
- Fragrance oil (optional)
- Double boiler or a pot with simmering water
Step-by-Step Instructions
- Glue the wick tab to the bottom center of your jar.
- Wrap the wick top around a skewer laid across the jar’s rim to keep it straight.
- Melt your wax in a double boiler. Never melt wax directly over a flame.
- Once melted, stir in fragrance oil, about 1 ounce per pound of wax.
- Pour the wax slowly into the jar, leaving an inch of space at the top.
- Let it cool for 2–3 hours. Trim the wick to a quarter inch before lighting.
Safety tip: Always place candles on a heat-safe surface and never leave them burning unattended. Yes, this is the boring part, but house fires are worse than boring.
Decorating Ideas
Wrap twine around the jar’s neck, add a dried lavender sprig, or paint the outside with frosted glass spray. These make fantastic gifts, especially in a little basket with a matchbox.
Project 3: Macrame Keychains for Beginners
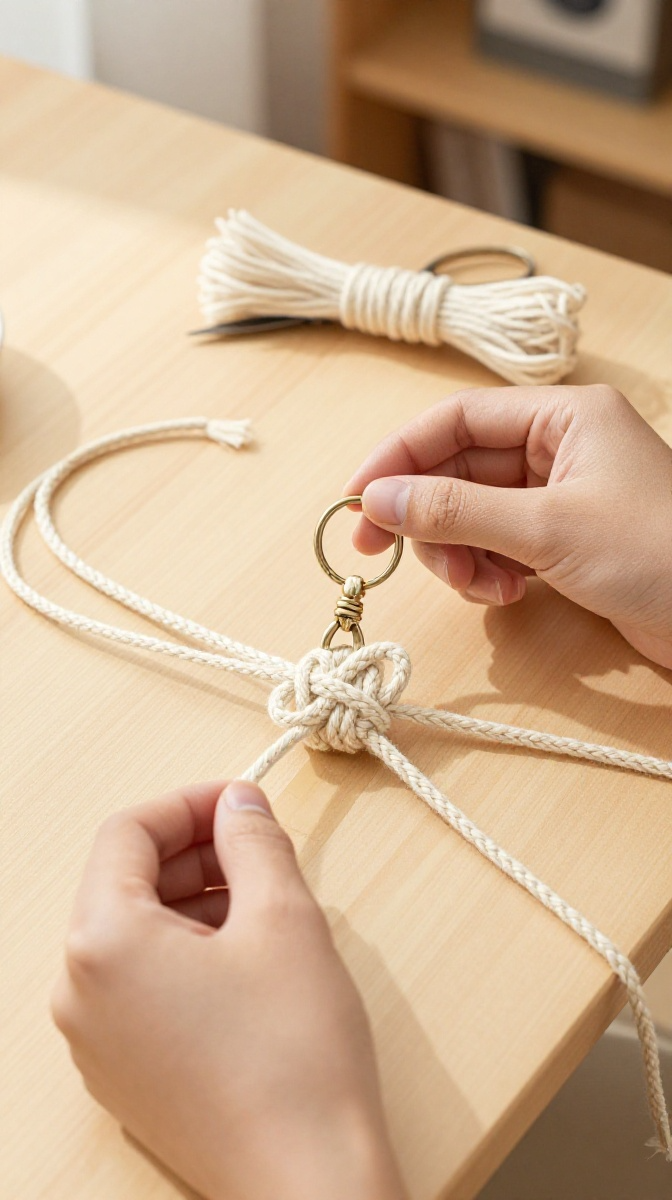
Macrame sounds intimidating until you realize it’s just fancy knotting. A keychain is the perfect starter size, and you’ll finish it during one episode of your favorite show.
Materials and Tools
- 3mm cotton cord, cut into four 3-foot strands
- A keyring or lobster clasp
- Scissors
- Masking tape or a clipboard
Step-by-Step Instructions
- Fold all four strands in half and loop them through the keyring.
- Tape the keyring to your table so the cords stay steady.
- Separate into four pairs and tie a simple square knot: left over middle, right over left, then reverse.
- Repeat square knots until you’ve got about 2 inches of knotting.
- Tie an overhand knot at the bottom to lock everything in place.
- Trim the ends to your preferred length and fray them with your fingers.
That’s it. You just learned a real macrame skill, and nobody needs to know it took you ten minutes.
Project 4: Pressed Flower Wall Art
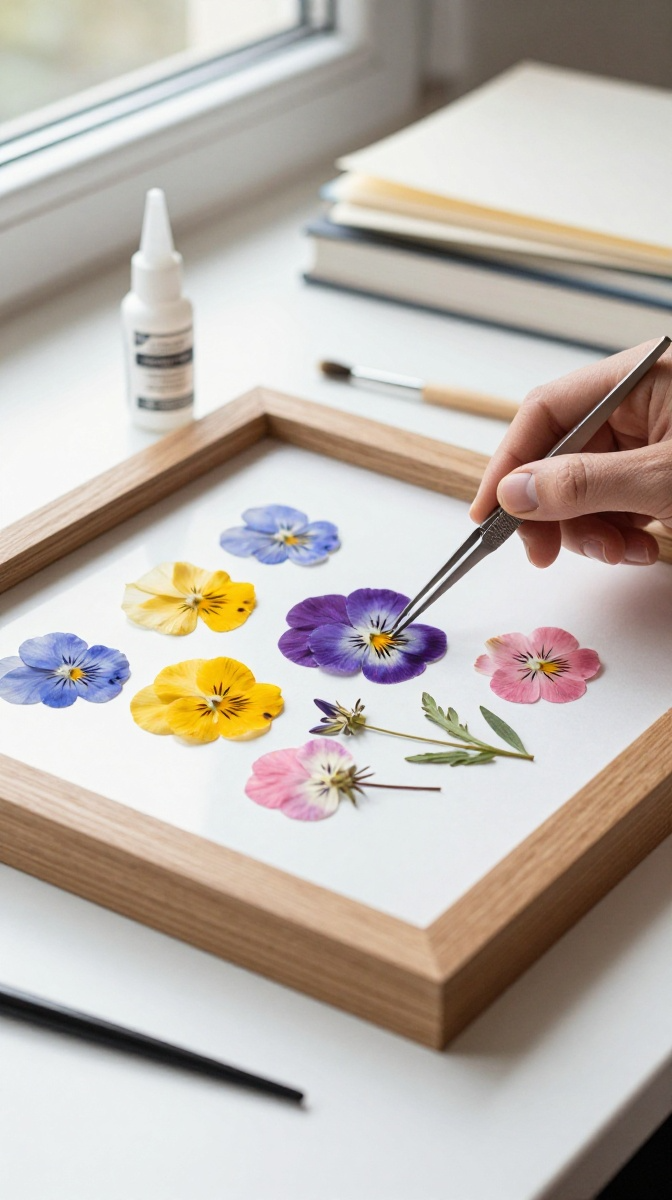
This one feels fancy but costs almost nothing if you pick flowers from your own yard or a farmers market.
Materials and Tools
- Fresh flowers with flat blooms, like pansies or daisies
- Parchment paper or blotting paper
- Heavy books
- Picture frame with glass
- White glue or decoupage medium
- Tweezers
Step-by-Step Instructions
- Place flowers between two sheets of parchment paper.
- Slide them inside a heavy book and stack more books on top.
- Wait 7–10 days. Patience is the actual skill here.
- Arrange the dried flowers on your frame’s backing paper.
- Glue each flower down with a tiny dot of glue, using tweezers for precision.
- Let it dry, then close up the frame.
Pro tip: Work quickly with dried flowers. They get brittle fast, and one sneeze can undo your whole design.
Project 5: Upcycled T-Shirt Tote Bag
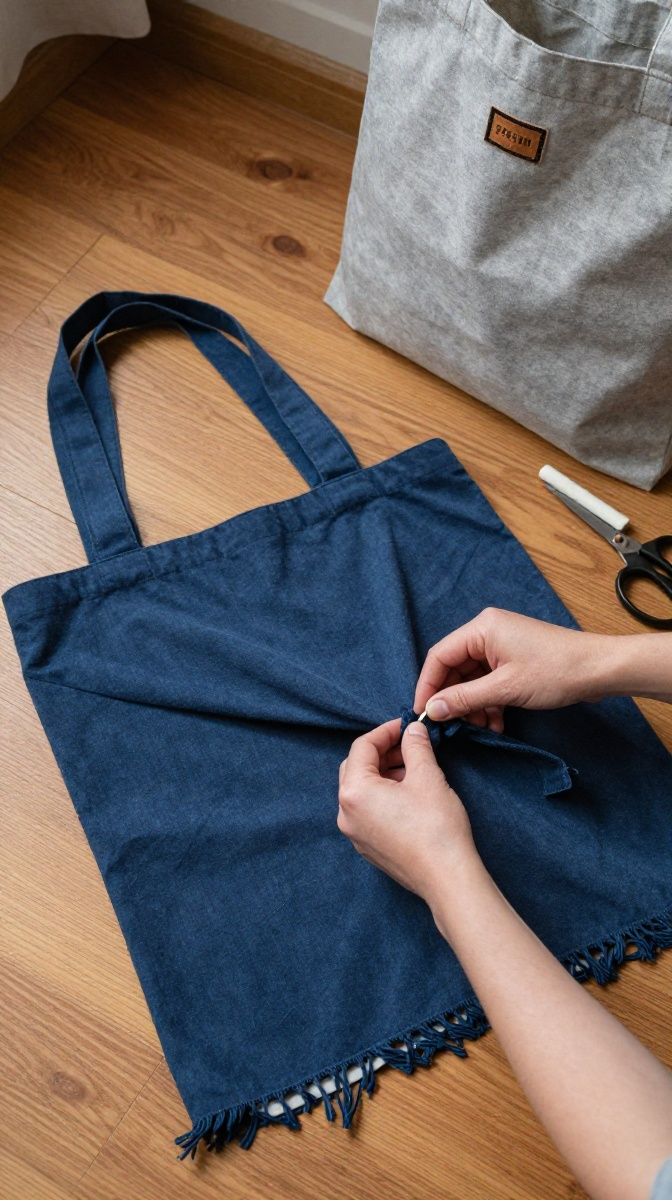
Got an old T-shirt you never wear? Congratulations, you have a tote bag. No sewing machine required.
Materials and Tools
- An old T-shirt
- Fabric scissors
- Fabric glue or a needle and thread (optional)
- Chalk or a washable marker
Step-by-Step Instructions
- Cut off the sleeves and the neckline to create your bag opening.
- Turn the shirt inside out.
- Cut fringe strips along the bottom hem, about an inch wide and three inches deep.
- Tie each pair of fringe strips together in double knots.
- Turn it right side out and stretch the bottom to tighten the knots.
- Optional: decorate with fabric paint or iron-on patches.
FYI, this bag holds way more than it looks like it should. Groceries, gym clothes, library books, you name it.
Quick Tips for Crafting at Home
Keep a dedicated “craft box” with basics like glue, scissors, and paint so you don’t hunt for supplies every time. Cover your table with a cheap plastic shower curtain instead of newspaper, since it wipes clean.
And here’s the big one: accept that your first attempt might look a little rough. That’s normal, and honestly, it’s part of the fun.
FAQ’s
How Do I Choose My First Craft Project?
Pick based on your patience level, not your Pinterest dreams. Short on time? Try the keychain or the tote bag. Want something you can display? Go with the pressed flowers or painted pots.
What If I Don’t Have All the Materials?
Substitute freely. Old candles work for wax, nail polish works for paint accents, and a cereal box works as a photo mat. Crafting is supposed to be flexible, not stressful.
How Do I Avoid a Crafting Disaster?
Protect your surface, read all the steps first, and don’t rush the drying times. Most craft fails come from impatience, not lack of skill.
Can I Do These Crafts With Kids?
Absolutely, though the candle project needs adult supervision around hot wax. The tote bag and painted pots are perfect for family crafting.
How Do I Gift These Projects?
Pair a candle with a cozy blanket, or give a painted pot with a small succulent inside. Presentation matters, so add ribbon or a handwritten tag.
Do I Need Expensive Tools?
Nope. A basic glue gun, scissors, and acrylic paint cover most beginner projects. Upgrade later only if you fall in love with a specific craft.
Go Make Something Today
Pick one project, gather your supplies, and give it a shot. You don’t need a perfect craft room or fancy equipment, just a bit of time and a willingness to make a small mess. Start with the painted pots if you want something easy and useful, then work your way up to candles and macrame. Your home will look more personal, your hands will be busy, and honestly, you’ll feel pretty proud of yourself. Now go dig out that glue gun.