
Ready to make something cute without spending a fortune or losing your mind? These beginner-friendly DIY crafts are perfect for a cozy afternoon, a girls’ night, or a solo date with your glue gun. No fancy skills required—just a little patience and a willingness to get your hands messy. Let’s dive into projects that actually look good when you’re done.
Easy DIY Mason Jar Lanterns
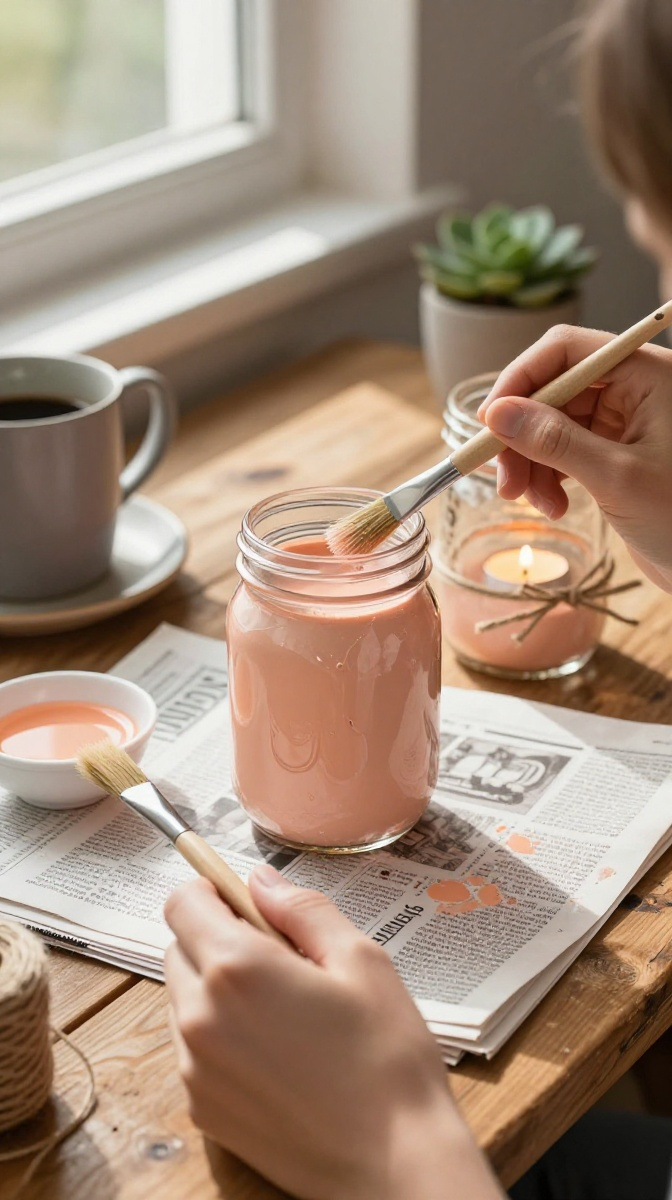
Mason jar lanterns are the ultimate beginner craft. They’re cheap, customizable, and make your space look like a Pinterest dream. Plus, if you mess up, you just peel off the paint and start over. No big deal.
Materials and Tools You’ll Need
- Mason jars (any size—thrift stores are goldmines)
- Acrylic paint in your favorite colors (craft store brand is fine)
- Paintbrushes (foam brushes work great for smooth coverage)
- Twine or ribbon
- Tea lights or fairy lights (battery-operated is safest)
- Newspaper or a drop cloth (because paint travels)
Substitute tip: No mason jars? Use clean pasta sauce jars or old jam jars. They work just as well.
Step-by-Step Instructions
- Wash and dry your jars completely. Any grease will make the paint slide right off.
- Paint the outside of the jar with a thin, even coat. Don’t glop it on—two thin coats beat one thick, drippy mess.
- Let it dry for about 30 minutes, then add a second coat if needed.
- Once dry, wrap twine around the rim or neck of the jar. Tie a bow for extra charm.
- Drop in a tea light or a small bundle of fairy lights. Voilà—instant cozy vibes.
Decorating Ideas and Variations
Try mixing metallic paint with matte colors for a modern look. You can also use stencils or painter’s tape to create stripes or shapes. For a frosted effect, use Mod Podge mixed with a tiny bit of white paint. FYI, glitter glue is fun but can look messy fast—use it sparingly.
Common Mistakes to Avoid
Don’t paint the inside of the jar unless you want a sticky mess. Also, avoid using real candles if the paint is flammable. Battery-operated lights are safer and last longer. And please, let each coat dry fully before adding more. Patience pays off.
DIY Photo Coasters That Actually Look Good
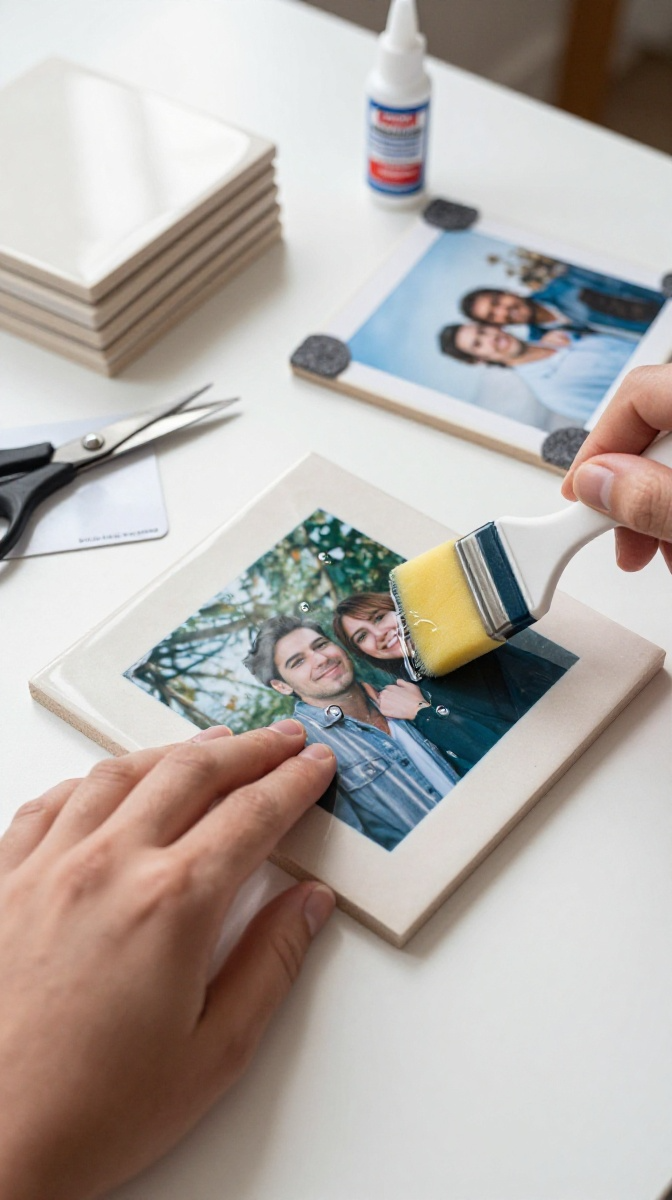
Photo coasters are personal, practical, and ridiculously easy. They make great gifts for grandparents, best friends, or anyone who puts drinks on your coffee table without a coaster. Rude.
Materials and Tools You’ll Need
- Plain ceramic tiles (4×4 inches, from hardware stores)
- Mod Podge (matte or gloss—your call)
- Printed photos (sized to fit the tiles)
- Foam brush
- Acrylic sealer spray
- Felt pads (to protect furniture)
Substitute tip: Use old book pages or scrapbook paper instead of photos for a vintage vibe.
Step-by-Step Instructions
- Cut your photos to fit the tile. Leave a tiny border if you like the tile’s natural edge.
- Apply a thin layer of Mod Podge to the tile, then press the photo down. Smooth out bubbles with your fingers or a credit card.
- Brush another layer of Mod Podge over the top of the photo. Don’t panic if it looks cloudy—it dries clear.
- Let it dry completely, then spray with acrylic sealer for extra durability.
- Stick felt pads on the bottom corners. Done!
Troubleshooting Tips
If your photo wrinkles, you used too much Mod Podge. Less is more. If the edges lift, add a little more glue and press down firmly. And always seal with a spray sealer, or your coaster will stick to glasses. Trust me, I learned the hard way.
Simple DIY Bath Bombs
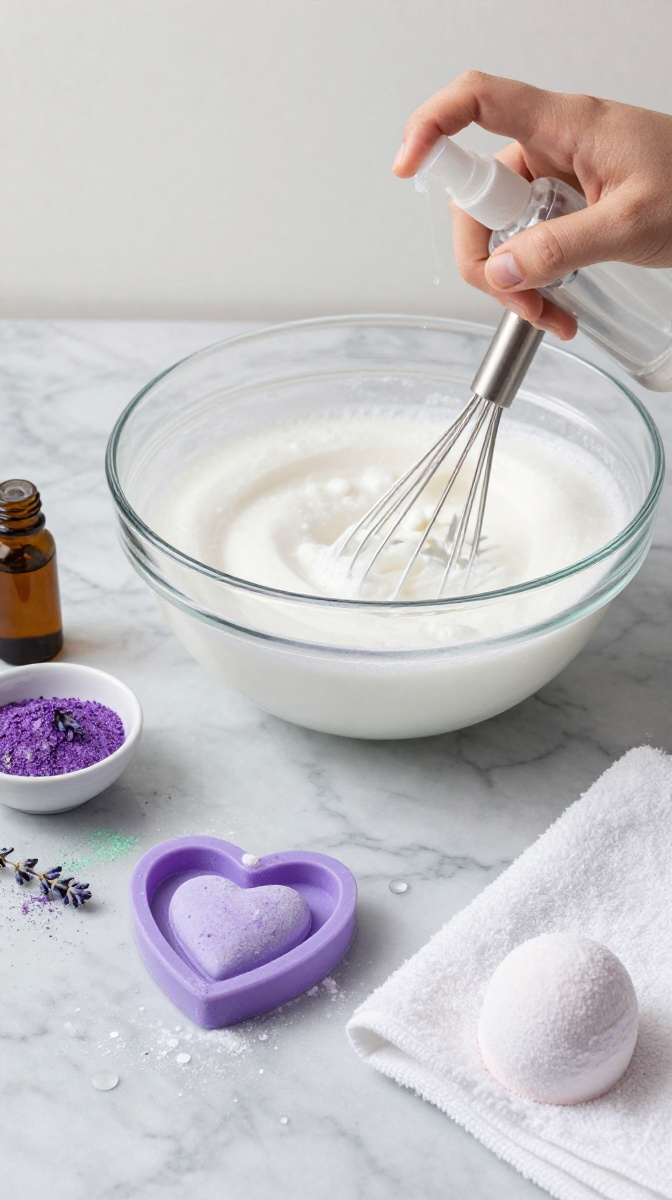
Bath bombs are like little science experiments that smell amazing. They’re perfect for beginners because you probably already have half the ingredients in your kitchen. And yes, you can customize the colors and scents however you want.
Materials and Tools You’ll Need
- Baking soda (1 cup)
- Citric acid (1/2 cup—find it near canning supplies)
- Epsom salt (1/2 cup)
- Essential oils (lavender, peppermint, eucalyptus)
- Food coloring or mica powder
- Spray bottle with water
- Bath bomb molds or silicone ice cube trays
Substitute tip: No citric acid? You can use lemon juice, but the fizz won’t be as strong. It’s a trade-off.
Step-by-Step Instructions
- Mix the baking soda, citric acid, and Epsom salt in a large bowl. Whisk until lump-free.
- Add essential oils—about 10–15 drops total. Stir well.
- Spritz the mixture with water a tiny bit at a time. Stir constantly. If it starts fizzing, you’re adding too much water.
- Add food coloring or mica powder and mix until the color is even.
- Press the mixture firmly into molds. Let them dry for 24 hours.
- Pop them out and store in an airtight container.
Safety and Storage Tips
Don’t use too much food coloring or you’ll stain your tub. Also, store bath bombs in a cool, dry place. Humidity makes them crumble. If they crack, just crumble them into a jar and use them as bath salts.
DIY Fabric Bookmark with Tassels
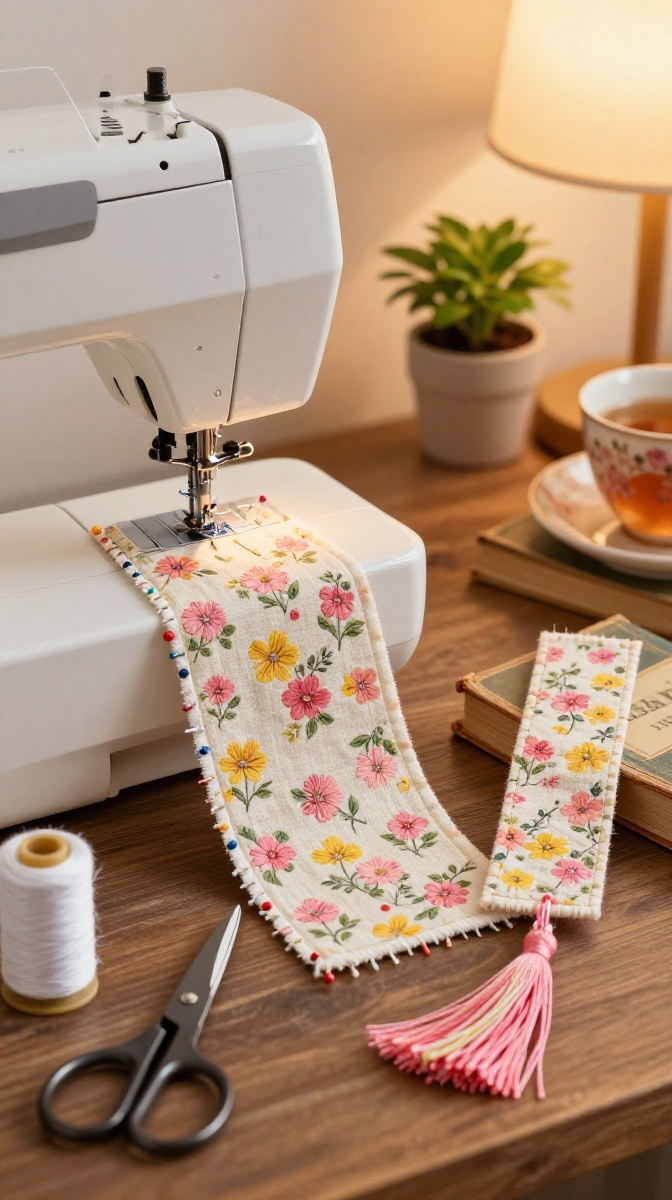
Know someone who still reads physical books? A handmade fabric bookmark is a sweet, practical gift. It takes about 15 minutes and uses up fabric scraps you’d otherwise toss.
Materials and Tools You’ll Need
- Cotton fabric scraps (two rectangles, 2×6 inches)
- Iron-on interfacing (optional but helpful)
- Sewing machine or fabric glue
- Embroidery floss for tassels
- Scissors and pins
Substitute tip: No sewing machine? Use fabric glue and press with a hot iron. It holds surprisingly well.
Step-by-Step Instructions
- Place the two fabric rectangles right sides together. Pin along the edges.
- Sew or glue around three sides, leaving one short end open.
- Turn the bookmark right side out. Press flat with an iron.
- Fold the open end inward and sew or glue it shut.
- Cut several strands of embroidery floss, fold them in half, and tie them through the top corner. Braid if you like.
Customization Ideas
Add a small charm, a button, or embroidered initials. You can also make a reversible bookmark with two different fabrics. IMO, the chunkier the tassel, the better.
DIY Painted Rock Garden Markers
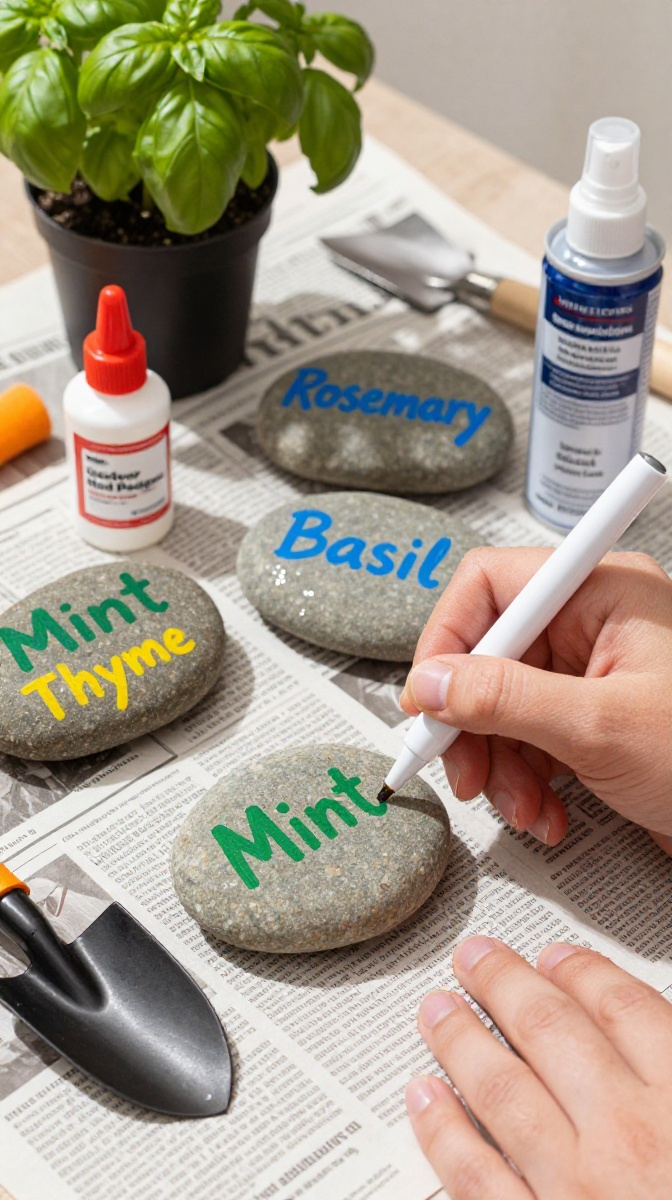
If you kill plants, at least label them beautifully. Painted rocks are therapeutic, cheap, and let you be artistic without pressure. Plus, they’re weather-resistant if you seal them properly.
Materials and Tools You’ll Need
- Smooth river rocks (craft stores sell bags of them)
- Acrylic paint pens or fine-tip brushes
- Outdoor Mod Podge or clear sealant spray
- Newspaper for your workspace
Step-by-Step Instructions
- Wash and dry the rocks. Any dirt will make the paint peel.
- Paint a base color if you want. Let it dry completely.
- Write the plant name or draw a simple icon. Acrylic paint pens are easiest for beginners.
- Let the paint dry, then seal with two coats of outdoor sealer.
- Place in your garden or in pots. Admire your handiwork.
Common Mistakes to Avoid
Don’t skip the sealer—rain will wash your art away. Also, avoid painting on wet or dusty rocks. And if you make a mistake, just paint over it. Rocks are forgiving.
FAQ’s
What’s the easiest DIY craft for total beginners?
Mason jar lanterns or painted rocks. Both need minimal supplies and zero special skills. You literally cannot mess them up beyond repair.
How do I keep my DIY projects from looking homemade in a bad way?
Take your time, use thin coats of paint or glue, and seal your finished project. Clean edges and a good seal make all the difference.
Can I make these crafts with kids?
Yes, except for the bath bombs (citric acid can irritate little hands) and anything involving a hot glue gun. Painted rocks and bookmarks are great for kids.
Where can I buy affordable craft supplies?
Dollar stores, thrift shops, and online marketplaces are your best friends. Also, check local buy-nothing groups—people give away craft supplies all the time.
Do I need a glue gun for these projects?
Nope. Fabric glue, Mod Podge, and acrylic sealers cover almost everything here. A glue gun is handy but not required.
How do I store leftover supplies?
Use clear plastic bins or mason jars. Label everything. Future you will be grateful when you’re not digging through a mystery box of dried-out paint.
Final Thoughts:
You don’t need a craft room, a Cricut, or years of experience. Pick one project, gather your supplies, and give it a shot. Worst case? You make a lopsided coaster and laugh about it. Best case? You discover a new hobby that saves you money and makes your space feel personal. So grab those mason jars and get going. You’ve got this.