
Want to make something cool without needing a workshop full of fancy tools? You’re in the right place. These beginner DIY projects use cheap materials, take an afternoon or less, and look way harder than they actually are. Pick one, grab your supplies, and let’s make something you’ll actually want to show off.
Why Start With Simple DIY Projects?
Jumping into a massive furniture build on day one is how people end up with a wobbly bookshelf and a bruised ego. Starting small builds your confidence and your skills at the same time.
Simple projects also teach you the basics: measuring, gluing, painting, and finishing. Once you nail those, bigger builds feel way less intimidating. Plus, you get a finished piece you can actually use, not just a pile of scrap wood and regret.
What Counts as Beginner-Friendly?
A good beginner project needs three things: cheap materials, minimal tools, and a forgiving design. If you mess up, you should be able to fix it or hide it. That’s it.
Project 1: DIY Painted Terracotta Pot
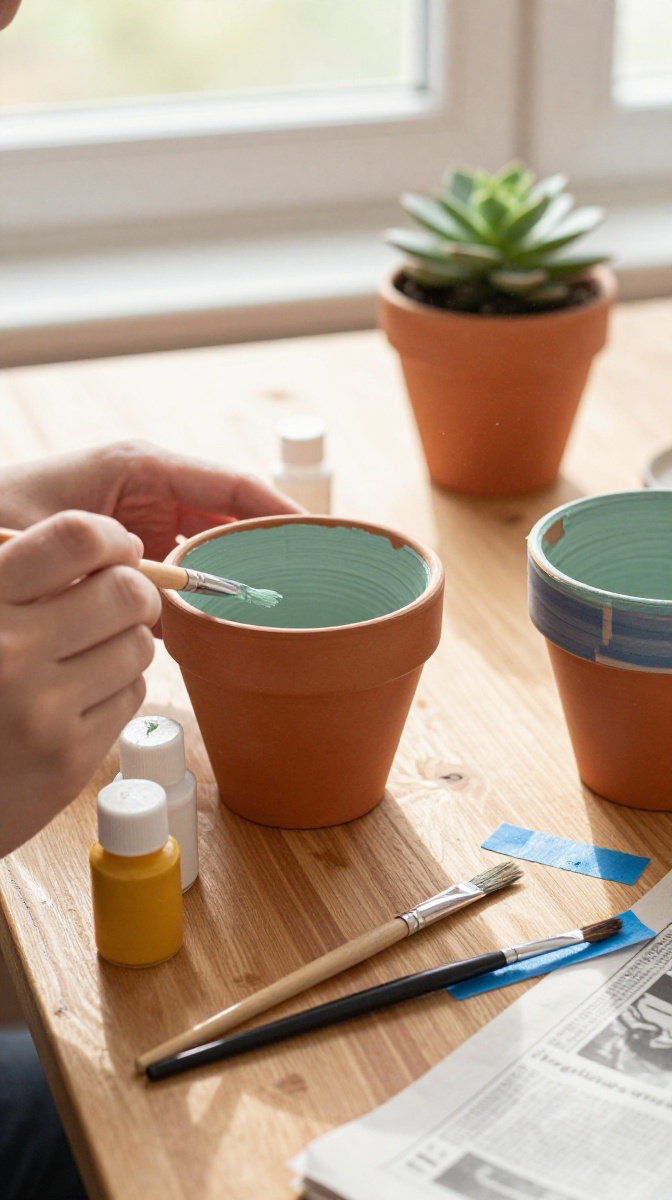
This is the perfect starter project. It’s cheap, it’s fast, and even a sloppy paint job looks kind of charming. You can finish it in under an hour, not counting drying time.
Materials and Tools
- Plain terracotta pot (any size, grab one from a garden center or dollar store)
- Acrylic paint in 2–3 colors (craft acrylics work great and cost a couple of bucks)
- Paintbrushes (a flat one and a small detail brush)
- Painter’s tape or masking tape
- Clear acrylic sealer spray
- Newspaper or cardboard to protect your table
Budget swap: No sealer? A thin coat of mod podge works in a pinch, though it’s less waterproof.
Step-by-Step Instructions
- Wipe the pot with a damp cloth and let it dry completely. Dust ruins paint jobs, FYI.
- Paint a base coat in your lightest color. Let it dry for about 30 minutes.
- Use painter’s tape to create stripes, triangles, or any geometric pattern you like.
- Paint over the tape with your second color. Two thin coats beat one gloppy coat every time.
- Peel the tape off while the paint is still slightly tacky. This gives you clean lines instead of jagged edges.
- Add small details with your fine brush, like dots or a rim stripe.
- Let everything dry fully, then spray with sealer in a well-ventilated area.
Common Mistakes to Avoid
The biggest one? Painting too thick. Thin coats dry faster and look smoother. Also, don’t skip the sealer if the pot is going outside, unless you enjoy watching your artwork wash away in the rain.
Fun Ways to Use or Gift It
Plant a succulent, use it as a pen holder, or fill it with candy for a cute gift. Honestly, a handmade painted pot beats a boring store-bought one any day.
Project 2: Easy Macrame Wall Hanging
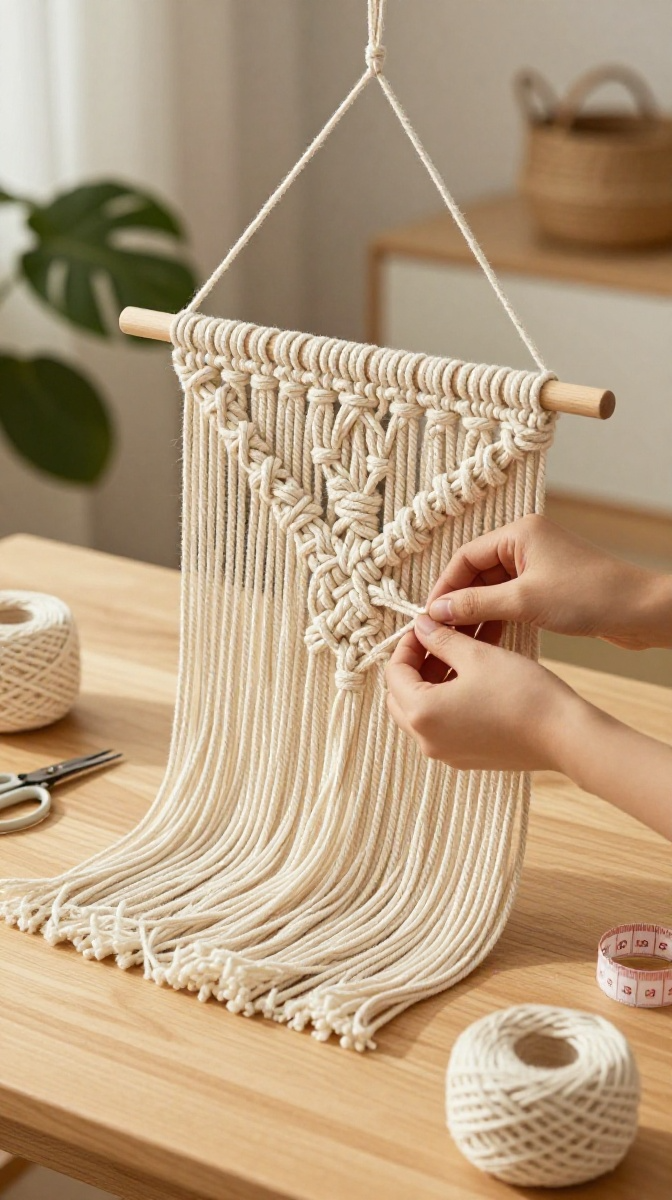
Macrame sounds intimidating, but the basic knots are basically fancy tying. If you can tie your shoes, you can do this.
Materials and Tools
- Cotton macrame cord (3mm is a good starter size)
- A wooden dowel or a smooth stick from your yard
- Scissors
- Masking tape (to hold the dowel steady)
Budget swap: Thick yarn works if you can’t find macrame cord, though it knots a little differently.
Step-by-Step Instructions
- Cut 12 strands of cord, each about 4 feet long.
- Tape the dowel to your table so it doesn’t roll around.
- Fold each strand in half and loop it over the dowel using a simple lark’s head knot.
- Separate your strands into pairs and tie a row of square knots across the width.
- Alternate the pattern on the next row by skipping the first pair and starting with the second.
- Keep going until you’re happy with the length, then trim the bottom evenly.
- Untwist the ends of the cord for a soft fringe look.
Troubleshooting Tips
If your knots look uneven, you’re probably pulling too loose on one side. Tension matters. Also, don’t cut your cord too short. You can always trim more later, but you can’t add length back.
Project 3: DIY Photo Clip String Lights
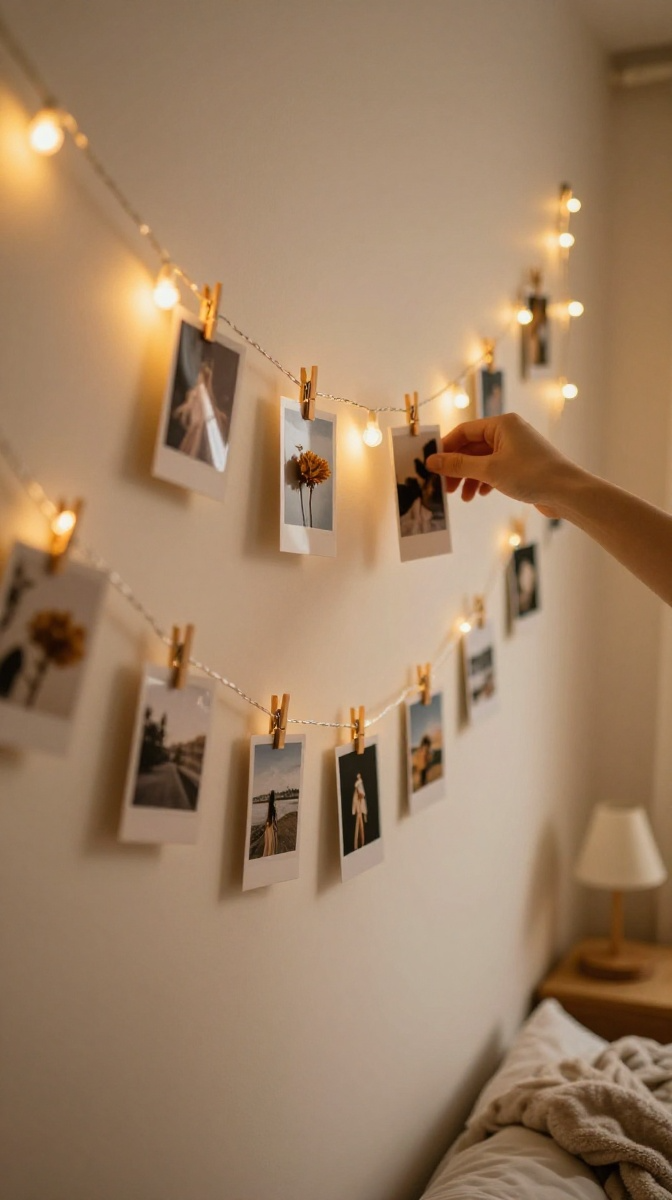
This one is stupidly easy and looks great in any room. It’s basically decorating with zero skill required, which is my kind of project.
Materials and Tools
- String lights (battery-powered ones are easiest for beginners)
- Small wooden or plastic clips
- Your favorite printed photos
- Command hooks or small nails
Step-by-Step Instructions
- Decide where you want the lights to hang, like above a desk or along a wall.
- Place your hooks or nails and string the lights between them.
- Clip your photos onto the wire at even spacing.
- Turn the lights on and admire your handiwork. That’s it. Seriously.
Customization Ideas
Swap photos for Polaroids, postcards, or even dried flowers. You can also paint the clips to match your room’s color scheme. IMO, gold clips on warm white lights look especially cozy.
Practical Tips for DIY Beginners
Start with one project, not five. Finishing something feels amazing, and half-finished craft piles just collect dust.
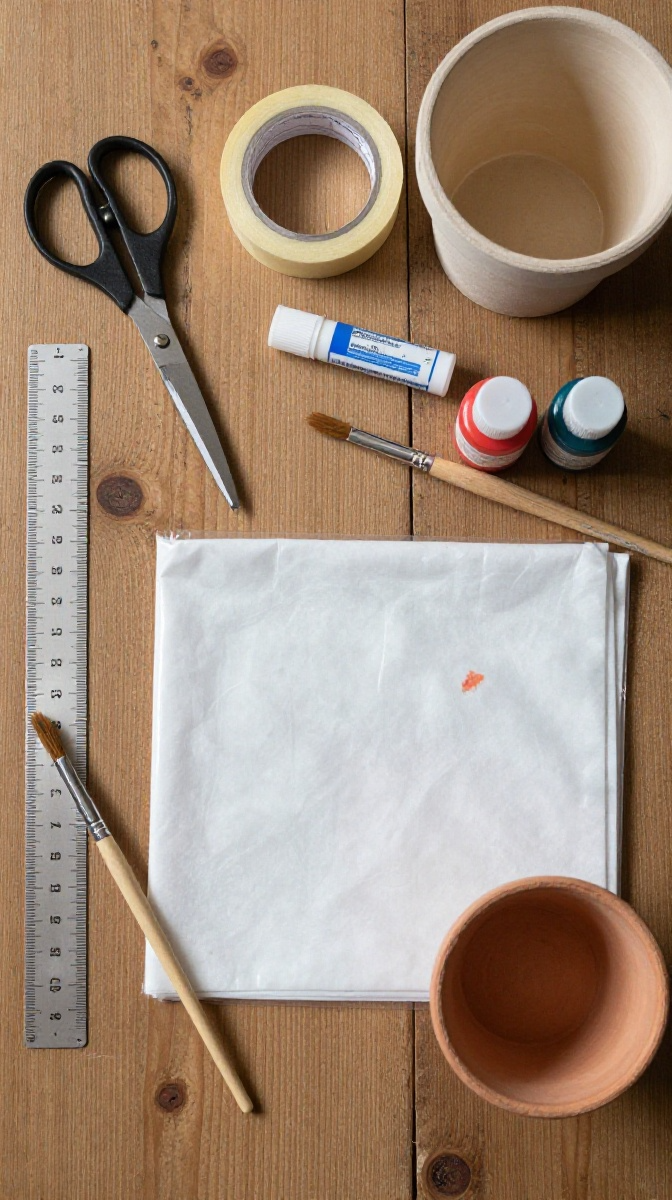
Keep a small “craft kit” with scissors, glue, tape, and a ruler. Having basics on hand means you can start a project whenever inspiration hits.
And please, protect your surfaces. A cheap plastic tablecloth has saved more tables than I can count, including mine.
FAQ’s
What’s the easiest DIY project for total beginners?
The painted terracotta pot. It needs almost no skill, dries fast, and looks cute even if your lines are a little wobbly.
How much should I spend on my first project?
Aim for under $15. That way, if it flops, you’re out a few bucks instead of a whole paycheck.
Do I need special tools?
Nope. Scissors, tape, and a paintbrush cover most beginner projects. Build your tool collection slowly as you take on bigger builds.
What if my project doesn’t look like the tutorial?
Welcome to DIY. Yours is supposed to look handmade. Small imperfections are part of the charm, and honestly, most people won’t even notice.
Where can I find cheap craft supplies?
Dollar stores, thrift shops, and clearance aisles are goldmines. Online craft stores also run frequent sales if you’re willing to wait for shipping.
Final Thoughts:
You don’t need talent or expensive gear to make something you’re proud of. Pick one project from this list, give it an afternoon, and see how it goes. Worst case, you learn something and laugh about it. Best case, you’ve got a new hobby and a handmade piece to show off. So grab those supplies and get crafting.