
Got a spare hour and a drawer full of random craft supplies? Perfect. We’re making three easy projects today, and none of them require a degree in engineering. Grab a glue gun, roll up your sleeves, and let’s turn boredom into something you’ll actually want to show off.
Why Easy Crafts Are the Best Way to Unwind
Crafting doesn’t need to be complicated to be satisfying. In fact, the easy projects are often the ones you finish, actually use, and don’t hide in a closet when guests come over.
When you keep things simple, you skip the frustration and get straight to the good part: making something with your own hands. Plus, easy crafts are forgiving. Mess up a little? Nobody notices. Mess up a lot? Congratulations, you invented a new design.
What Counts as “Easy” Anyway?
For this article, easy means three things. You can finish in under an hour, you need fewer than ten supplies, and you don’t need special skills. If you can tie a knot and use scissors, you’re qualified.
Setting Up a Tiny Craft Space
You don’t need a whole studio. A kitchen table, a tray to catch the mess, and decent lighting will do. Keep a small box for supplies so cleanup takes two minutes instead of twenty.
Project 1: Mason Jar Twine Lanterns
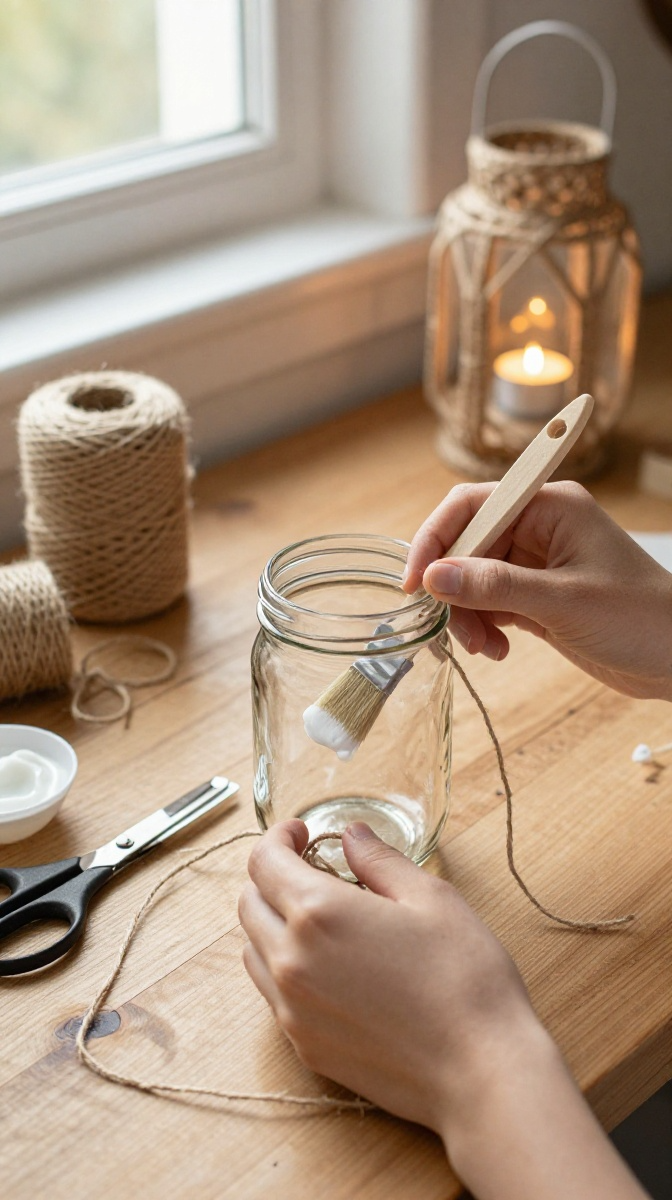
This one looks like you bought it at a boutique. You didn’t. You made it while watching TV.
Materials and Tools
- Clean glass mason jar (any size; thrift stores are goldmines here)
- Jute twine or cotton string
- Mod Podge or plain white school glue mixed with a little water
- Foam brush
- Scissors
- Small LED tea light (real candles work but get hot, so stick with LED for safety)
- Optional: lace ribbon, dried flowers, or a tiny charm
No Mod Podge? Mix equal parts white glue and water. It dries clear and works just fine.
Step-by-Step Instructions
- Wash and dry your jar completely. Any grease or dust will make the twine slide around.
- Brush a thin layer of glue over a small section of the jar.
- Press the end of your twine onto the glued area and start wrapping.
- Keep wrapping upward, adding glue as you go. Push each row close to the last one.
- Stop about an inch below the rim so you can still see the glass opening.
- Trim the twine and tuck the loose end under a previous row. Add a dab of glue to lock it.
- Let it dry for at least an hour, then drop in your LED tea light.
Common Mistakes to Avoid
Don’t soak the jar in glue. Too much makes the twine soggy and messy. Also, don’t rush the drying time, no matter how impatient you feel. Wet twine plus a tea light equals a sad, droopy lantern.
Fun Variations
Wrap only the bottom half for a dipped look. Add a strip of lace near the top. Tie a small tag around the neck with a name on it, and you’ve got a personalized gift in under an hour.
Project 2: No-Sew Fabric Bookmark Corners
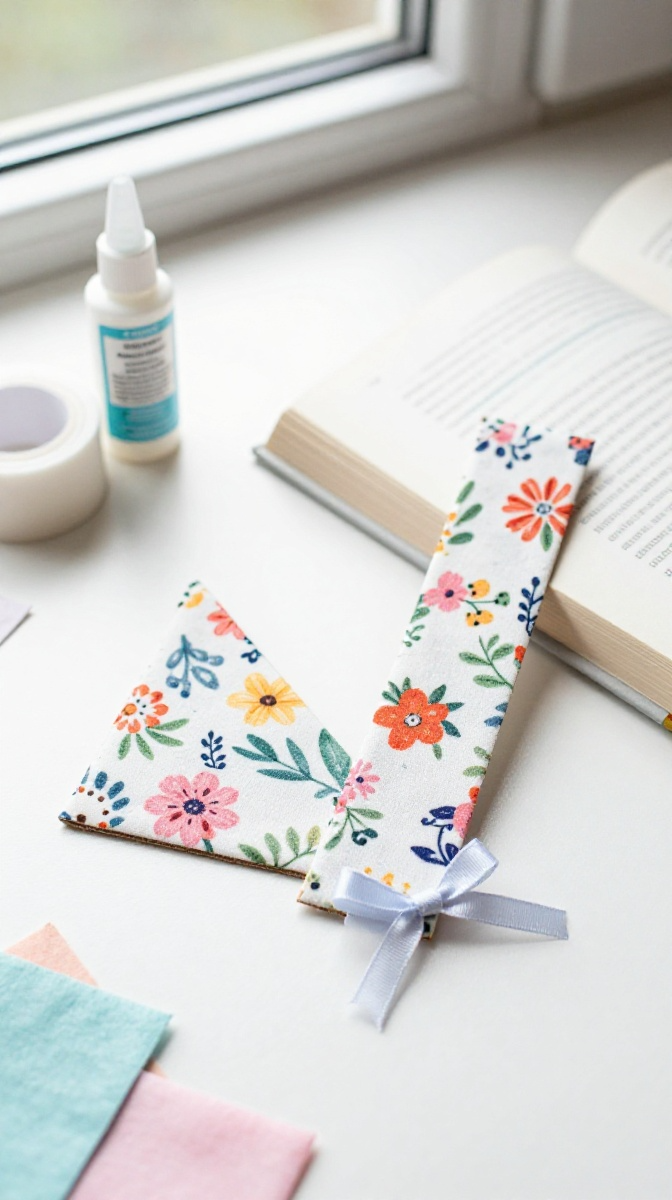
Know someone who reads? Congratulations, you now have a gift idea forever. These corner bookmarks slip over the page and never fall out.
Materials and Tools
- Cotton fabric scraps (fat quarters work great)
- Iron-on fusible webbing or fabric glue
- Cardstock or thin cardboard
- Pencil
- Scissors
- Iron (optional but helpful)
- Ribbon or felt for decoration
No fabric? Felt works beautifully and doesn’t fray. No fusible webbing? Fabric glue is slower but totally fine.
Step-by-Step Instructions
- Draw a square on cardstock, about 4 inches by 4 inches.
- Cut out the square, then cut it in half diagonally to make two triangles.
- Lay one triangle on your fabric and trace it, leaving a half-inch border.
- Cut the fabric triangle out.
- Fold the fabric edges over the cardboard and secure with fusible webbing or glue.
- Press firmly and let it dry.
- Glue a ribbon loop or small felt shape on the front for decoration.
- Slide the finished triangle over the corner of a book page.
Troubleshooting Tips
If your fabric won’t stick, you probably didn’t press hard enough or your glue needs more drying time. If the corners look bulky, trim the fabric border a little shorter next time.
Decorating Ideas
Add a tiny embroidered heart. Glue on a faux gem. Write the reader’s initials with fabric marker. Personal touches turn a five-minute craft into a keepsake.
Project 3: Painted Rock Photo Holders
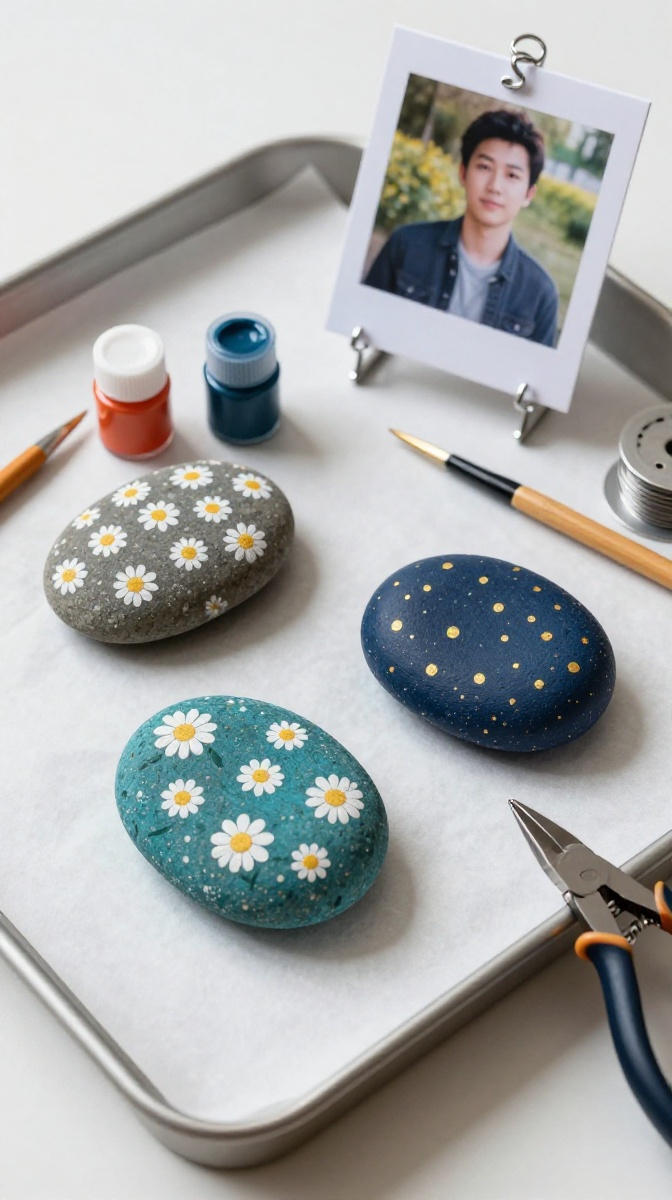
Smooth rocks plus wire equals a cute little stand for photos, notes, or recipe cards. It’s weirdly addictive once you start.
Materials and Tools
- Smooth river rocks (craft stores sell bags of them)
- Acrylic paint and small brushes
- Clear sealant spray or mod podge
- 20-gauge craft wire
- Needle-nose pliers
- Wire cutters
- Optional: googly eyes, glitter, or decoupage paper
Can’t find river rocks? Any smooth, flat stone from the garden works after a good scrub.
Step-by-Step Instructions
- Wash your rocks and let them dry fully.
- Paint a base color and let it dry.
- Add designs: dots, stripes, tiny flowers, or a simple face.
- Seal the paint with a clear spray or a coat of Mod Podge.
- Cut a piece of wire about 6 inches long.
- Wrap the wire around your finger to make a small spiral, leaving two straight ends.
- Bend the straight ends into small feet and glue them to the back of the rock.
- Let everything dry overnight, then slide a photo into the spiral.
Safety Notes
Wire ends are sharp, so bend them inward before gluing. Spray sealant needs ventilation, so do that part outside or near an open window.
Ways to Use or Gift Them
These make great desk accessories, party favors, or teacher gifts. Pair one with a printed photo, and you’ve got a present that costs almost nothing but looks thoughtful.
Quick Tips for Crafting on a Budget
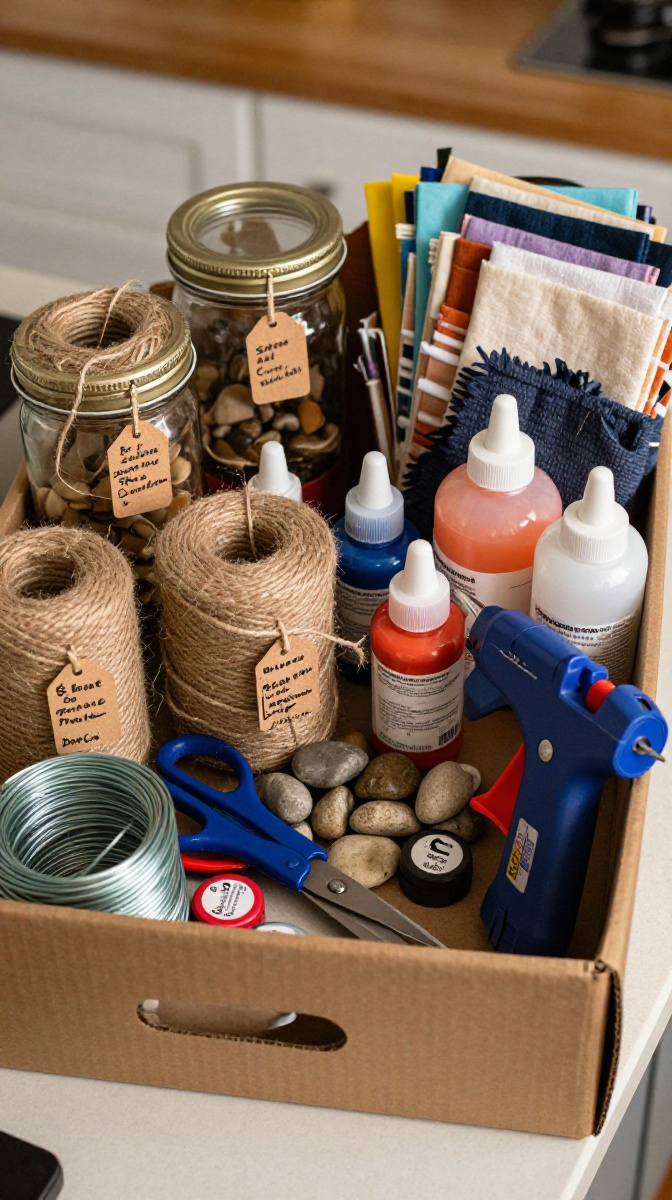
Check dollar stores before craft stores. Save jars, cardboard, and fabric scraps instead of tossing them. Trade supplies with friends so everyone gets something new without spending a dime.
FYI, a hot glue gun and a pair of sharp scissors cover about 80 percent of beginner projects.
How to Stay Motivated When Crafting Gets Messy
Your first attempt might look rough. That’s normal. Crafting is a skill, and nobody nails it on try one.
Pick projects you actually want to finish. Set a timer for 30 minutes. Put on music or a podcast. IMO, the best craft sessions are the ones where you’re half-distracted and fully relaxed.
FAQ’s
Do I need a glue gun for these projects?
No. Fabric glue, school glue, and Mod Podge handle everything here. A glue gun just speeds things up.
How long do these crafts take?
Most take 20 to 45 minutes, plus drying time. The bookmark is the fastest, and the lantern takes the longest because of glue drying.
Can kids help with these projects?
Yes, with supervision. Skip the wire and spray sealant for young kids, and let them handle the painting and wrapping steps.
What if I don’t have the exact supplies?
Substitute freely. Felt for fabric, string for twine, cardboard for cardstock. Crafting is flexible, and most swaps work fine.
How do I keep my finished crafts from falling apart?
Let glue dry fully before using the item. Seal painted surfaces. Store delicate pieces away from heat and moisture.
Where can I find cheap craft supplies?
Thrift stores, dollar stores, clearance bins, and your own recycling bin. Seriously, jars and cardboard are craft gold.
Final Thoughts:
You don’t need perfect supplies or a free weekend. Pick one project, gather what you have, and give it a shot. Worst case, you make a lopsided lantern and laugh about it. Best case, you find a new hobby that actually helps you relax.
So, which one are you trying first?