
Paper flowers are the craft project that never lets you down. They do not wilt, they do not need water, and they cost less than a fancy coffee. Grab some paper, scissors, and glue, and you can fill a room with color in under an hour. Let us make some flowers that look good enough to fool your guests.
Why Paper Flowers Are the Best Craft Project
Real flowers are lovely until they drop petals all over your table. Paper flowers stick around forever and match any color scheme you want. You can make them big, small, bright, or subtle.
They also forgive mistakes. Cut a petal wrong? Trim it. Glue in the wrong spot? Peel it off and try again. FYI, this is the perfect craft for a rainy afternoon or a movie night.
Materials and Tools You Will Need
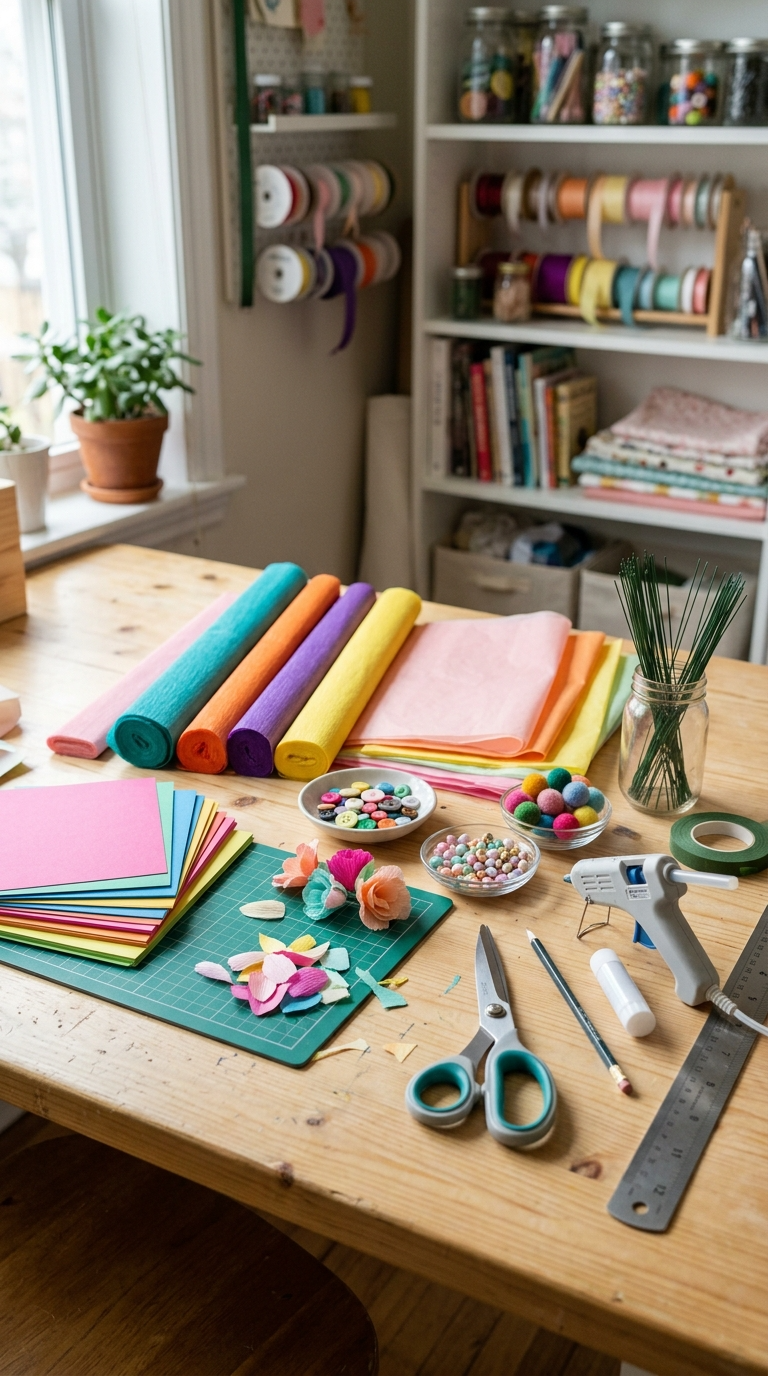
You probably already own half of this list. The rest is cheap at any craft store or dollar shop. Grab a box or tray to keep everything together.
- Cardstock or construction paper in your favorite colors
- Tissue paper for soft, fluffy petals
- Scissors (sharp ones make cleaner cuts)
- Glue stick or craft glue
- Hot glue gun for stems and heavy petals
- Floral wire or pipe cleaners for stems
- Green floral tape to wrap stems
- Pencil for curling petals
- Ruler for measuring strips
- Buttons, beads, or pom-poms for centers
Cheap Substitutes That Actually Work
No floral wire? Use paper clips or thin twigs from the yard. No floral tape? Green painter’s tape works in a pinch. No cardstock? Cereal boxes painted with acrylics look surprisingly good.
IMO, the best substitute is whatever you already have in a drawer. Do not buy fancy supplies for your first attempt.
Project 1: Simple Rolled Paper Roses
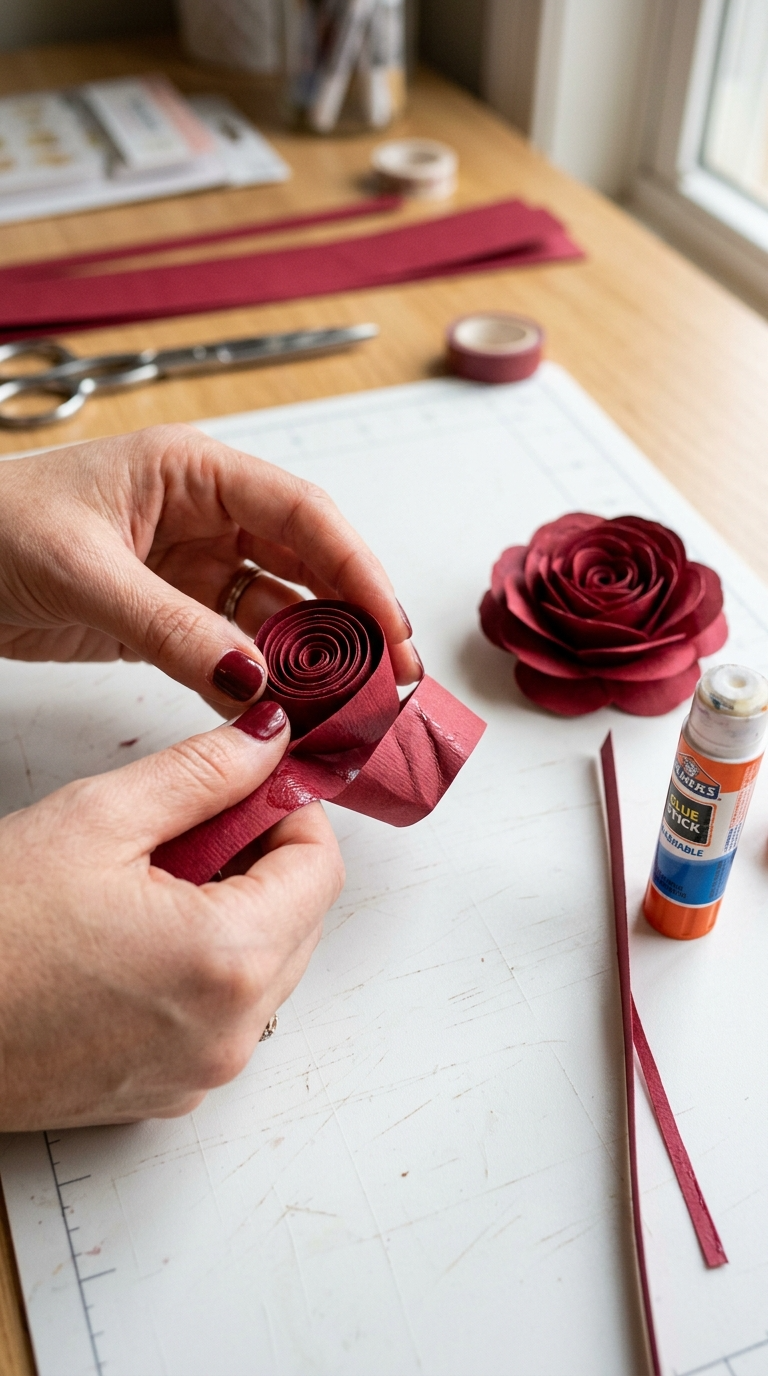
This is the easiest flower on the list. You need one strip of paper and about two minutes. Even kids can master this one.
- Cut a paper strip about 2 inches wide and 12 inches long.
- Fold the strip in half lengthwise, then unfold it to create a crease.
- Roll one end tightly to form the center bud.
- Keep rolling, but let the paper loosen slightly as you go.
- Glue the loose end down so the rose holds its shape.
- Fluff the outer layers with your fingers.
Design Variations for Rolled Roses
Use book pages for a vintage look. Use metallic paper for a glam centerpiece. Use felt instead of paper for a soft, fuzzy rose that lasts even longer.
Try mixing two colors in one strip for a two-tone bloom. It looks way more complicated than it is.
Project 2: Folded Tulips from Cardstock
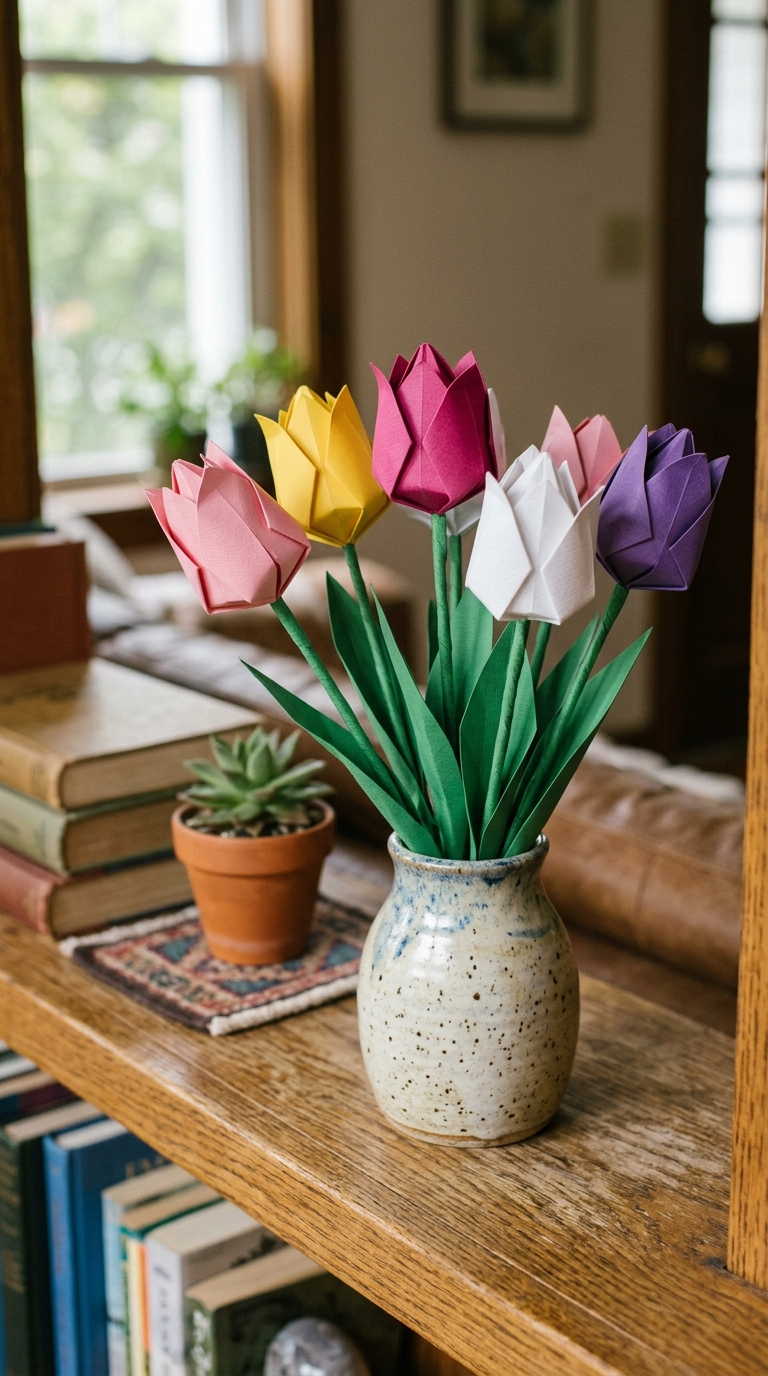
Tulips have a clean, simple shape that suits cardstock perfectly. These hold up well in a vase or a gift box.
- Cut a 4-inch square of cardstock.
- Fold it in half diagonally to make a triangle.
- Fold the two bottom corners up to meet the top point.
- Fold the side corners inward by about half an inch.
- Glue the folds down so they stay put.
- Pinch the bottom of the flower to create a narrow base.
- Attach a stem with hot glue or tape.
Common Mistakes to Avoid
Do not use thick paper for small tulips. It cracks at the folds and looks messy. Stick to cardstock under 65 lb weight.
Do not skip the pinching step. That narrow base is what makes a tulip look like a tulip instead of a random paper blob.
Also, do not rush the glue. Give each fold a few seconds to set before moving on.
Project 3: Tissue Paper Pom-Pom Flowers
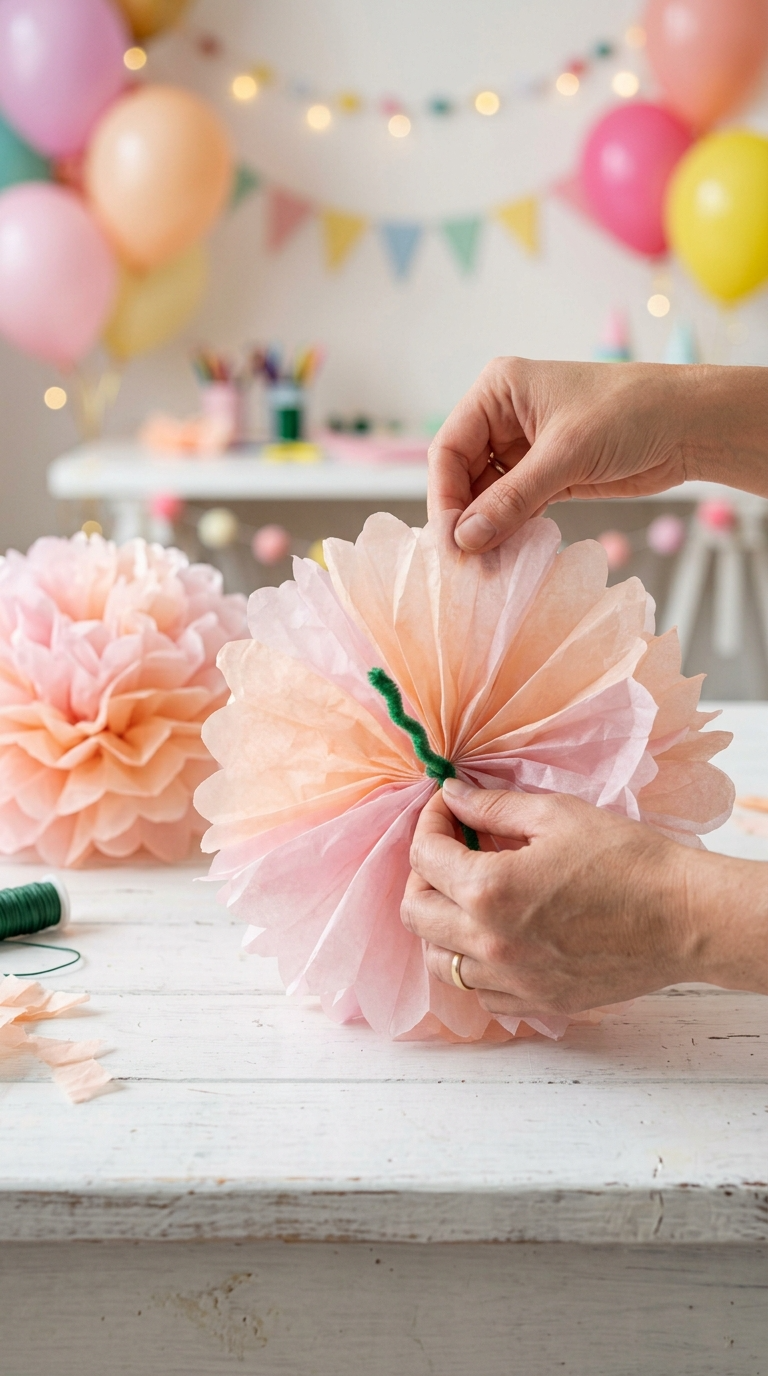
These are fluffy, cheerful, and perfect for parties. They look like giant blooms hanging from the ceiling.
- Stack 8 to 10 sheets of tissue paper.
- Cut the stack into a rectangle about 10 by 6 inches.
- Fold the stack accordion-style in one-inch folds.
- Wrap a pipe cleaner around the middle and twist it tight.
- Trim the ends into rounded or pointed shapes.
- Gently pull each layer apart, one at a time.
- Fluff the layers until the flower looks full and round.
Decorating Ideas for Pom-Pom Flowers
Hang them from string for a floating flower ceiling. Tape them to a wall as a photo backdrop. Stack small ones on a cake for a showstopper dessert table.
Project 4: Crepe Paper Daisies with Button Centers
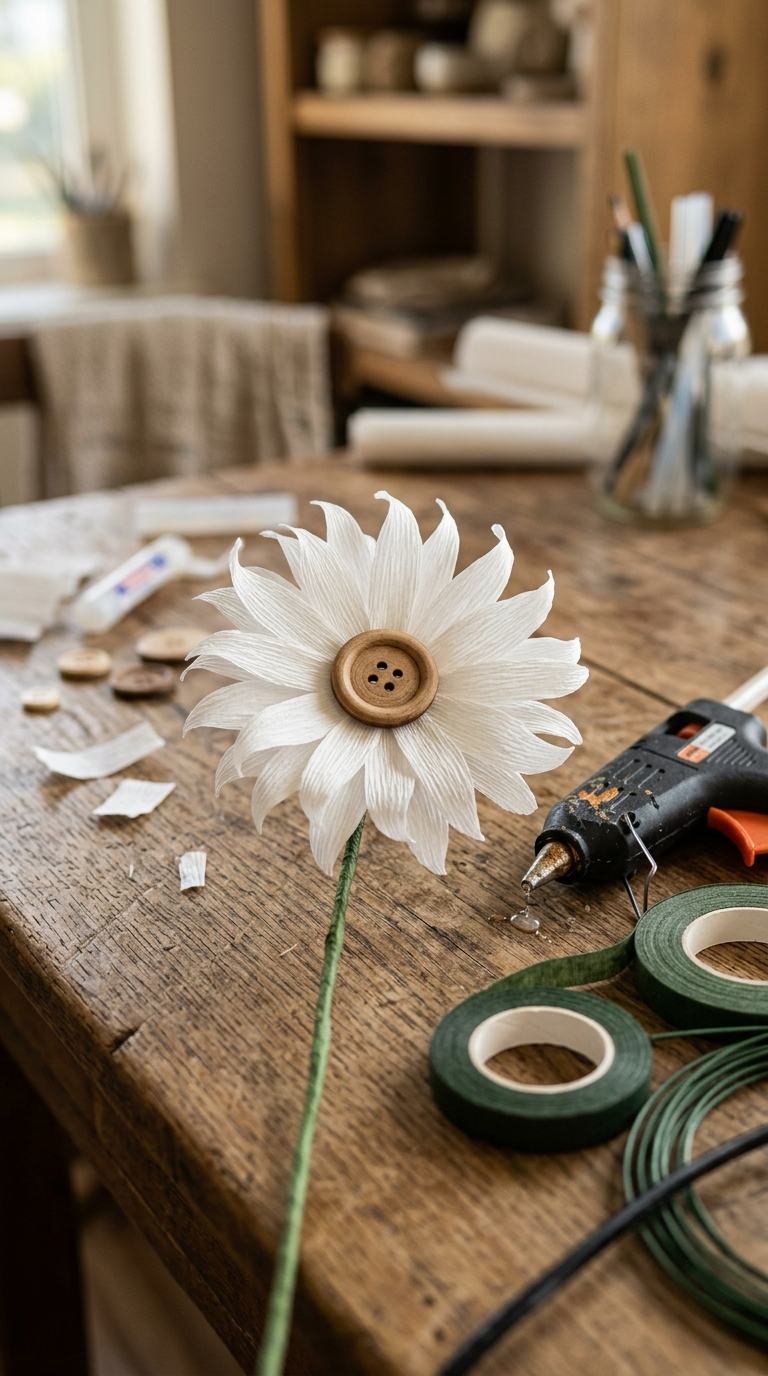
Daisies feel happy and casual. The button center adds a cute handmade touch.
- Cut 10 to 12 petals from crepe paper, each about 2 inches long.
- Stretch the center of each petal gently to curve it.
- Glue the petals in a circle on a small cardstock base.
- Add a second layer of petals offset from the first.
- Glue a button or bead in the center.
- Attach a stem and wrap it with floral tape.
- Bend the petals upward slightly for a natural look.
Customization Ideas
Swap buttons for pom-poms, sequins, or a paper circle. Change petal count for a fuller or sparser look. Paint the edges of the petals with a marker for extra depth.
You can also write a tiny message on a petal before gluing. It turns the flower into a secret note.
Project 5: Giant Paper Flowers for Wall Decor
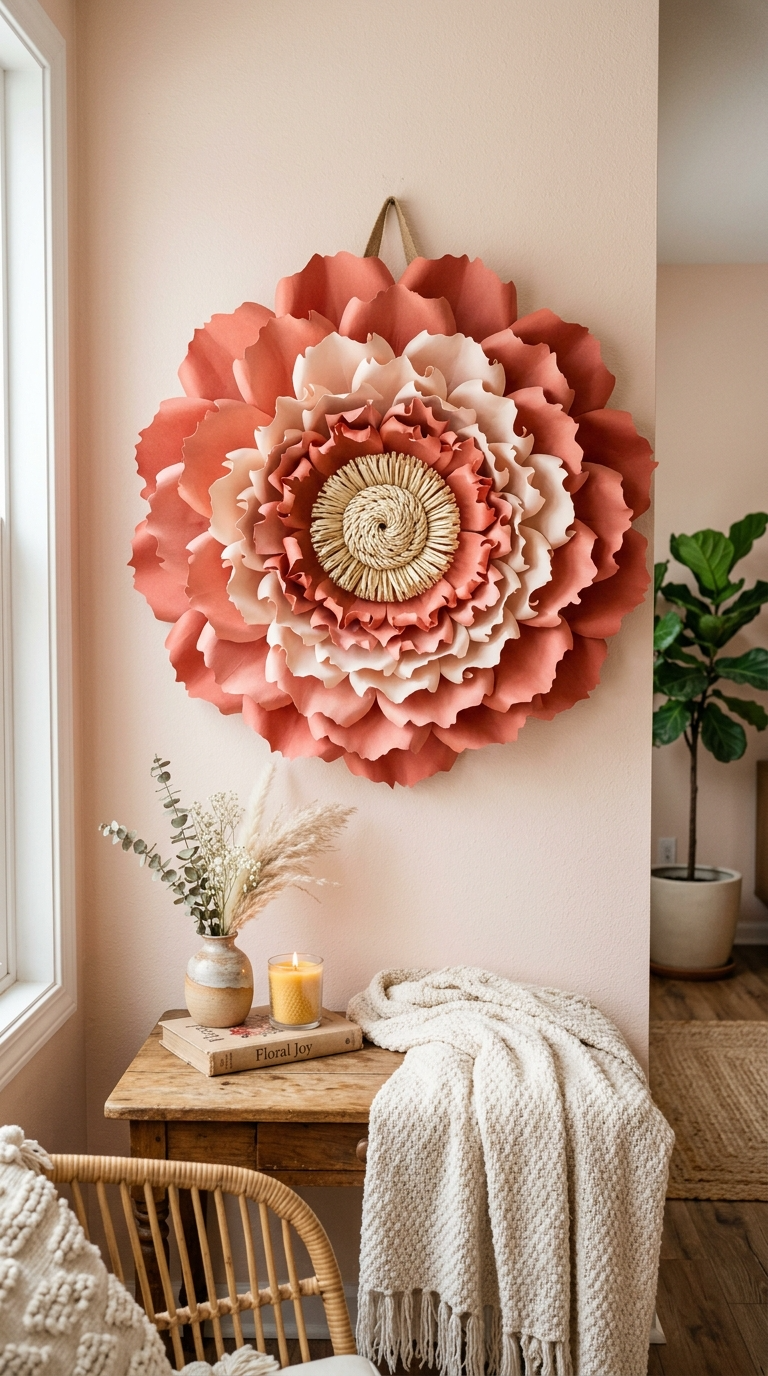
Big flowers make a big statement. They are popular for weddings, nurseries, and party walls.
- Cut 6 to 8 large petals from cardstock, each about 8 inches long.
- Curl the petal edges around a pencil.
- Glue the petals onto a sturdy cardboard circle.
- Add a second and third layer with smaller petals.
- Glue a large paper circle or bowl shape in the center.
- Attach a hanging loop to the back.
- Fluff and shape the petals before hanging.
Display and Gift Ideas
Mount giant flowers on a wall with removable hooks. Use them as a headboard decoration. Add them to a gift box as a reusable bow.
Small paper flowers make great gift toppers, bookmarks, or jar decorations. Tuck one into a lunch box for a sweet surprise.
Tips for Better Paper Flowers
Always curl your petals. Flat petals look like paper. Curved petals look like flowers. A pencil or marker works as a quick curling tool.
Layer colors. A light petal under a darker petal adds instant depth. It takes seconds and changes everything.
Use sharp scissors. Dull blades crush paper instead of cutting it. That leads to ragged edges and sad flowers.
Work on a clean surface. Glue sticks to everything, including the cat. Trust me on this one.
FAQ’s
How long do paper flowers last?
Sun fades the colors over time. Dust them gently with a soft brush.
What paper is best for beginners?
Cardstock is the easiest to handle. Tissue paper is soft but tears easily. Crepe paper stretches nicely but takes practice.
Can I make paper flowers without glue?
Yes. Tape, staples, and pipe cleaners can hold flowers together. Glue gives the cleanest finish, but it is not mandatory.
How do I attach stems to paper flowers?
Hot glue works best for heavy flowers. Floral tape hides the attachment point. For light flowers, a pipe cleaner looped through the base is enough.
Are paper flowers good for gifts?
Absolutely. They last longer than real flowers and never trigger allergies. Add a handwritten tag for a personal touch.
How do I store paper flowers?
Keep them in a box with tissue paper between layers. Avoid stacking heavy items on top. A plastic bin keeps dust away.
Make Some Paper Flowers Already
You now have five projects, a supply list, and zero excuses. Pick one, raid your paper stash, and start folding. Your table will look fancy, your gifts will look thoughtful, and your friends will ask how you did it.
Start with the rolled roses if you are short on time. Try the giant wall flowers if you want a weekend project. Either way, have fun and do not stress the imperfect petals. They are part of the charm.