
Let’s be honest for a second: Halloween as a parent is absolute chaos. Between assembling last-minute costumes, dodging full-sized candy bar drama, and trying to keep your sanity intact, who actually has time to spend six hours piping intricate spiderwebs onto custom sugar cookies? Not me, and definitely not you.
We need snacks that look like a Pinterest board exploded, but take about ten minutes of actual effort. Enter the almighty Halloween mummy treats. Wrap almost any edible item in thin strips of dough, melted white chocolate, or frosting, slap on a pair of candy eyeballs, and boom—you are suddenly the cool parent on the block.
I’ve rounded up seven of the easiest, absolute best-tasting mummy treats that your kids will devour faster than you can say “Trick or Treat.” Let’s jump straight into the sweet, spooky madness.
1. Crescent Roll Mummy Hot Dogs
These bad boys are a classic for a reason. They take five minutes to prep, cost almost nothing, and somehow convince kids to sit down and eat actual food before they hit the pavement for candy.

Ingredients
-
1 can (8 oz) refrigerated crescent roll dough
-
10 standard hot dogs or frankfurters
-
1 tablespoon melted butter
-
20 edible candy eyes (or tiny dots of yellow mustard)
Step-by-Step Instructions
-
Preheat your oven to 375°F (190°C) and line a baking sheet with parchment paper.
-
Unroll the crescent dough and press the perforations together to make one flat rectangle.
-
Use a pizza cutter to slice the dough lengthwise into thin, narrow strips.
-
Wrap 3 to 4 strips of dough around each hot dog, leaving a small gap near the top for the “face.”
-
Place them on your baking sheet, brush lightly with melted butter, and bake for 13–15 minutes until golden brown.
-
Press two candy eyes into the warm dough gap right after pulling them out of the oven.
Why You’ll Love It
They’re warm, savory, and give your kids some protein before the massive sugar rush hits. Plus, wrapping the dough is so foolproof that your kids can help without ruining the final look!
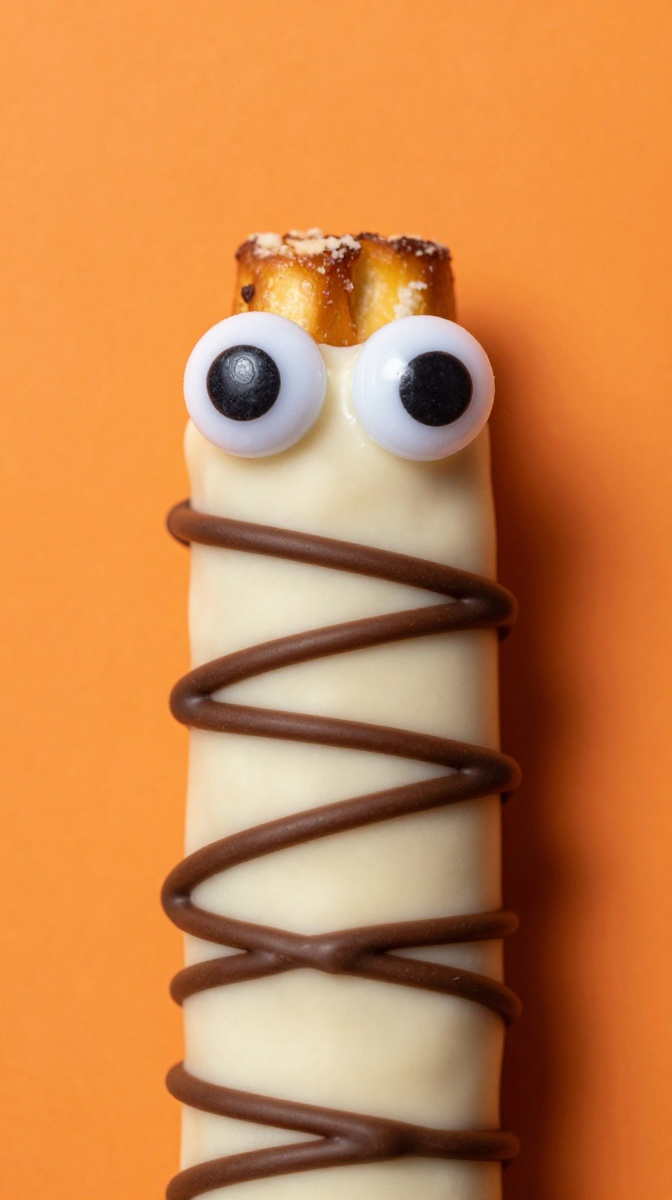
2. White Chocolate Pretzel Mummies
If you love that sweet-and-salty combo, these pretzel mummies will instantly become your go-to. I once tried making these with white chocolate chips instead of candy melts, and trust me— stick to the melts unless you want a clumped-up, messy disaster.
Ingredients
-
1 bag large pretzel rods
-
12 oz white candy melts or almond bark
-
1 teaspoon vegetable shortening (helps smooth out melted chocolate)
-
Candy eyes
Step-by-Step Instructions
-
Melt the candy melts and shortening in a microwave-safe bowl in 30-second bursts, stirring until silky smooth.
-
Dip each pretzel rod two-thirds of the way into the chocolate, letting the excess drip off.
-
Lay the dipped pretzels on a wax paper-lined tray and immediately press on two candy eyes.
-
Let the base layer set for 5 minutes in the fridge.
-
Pour the remaining melted white chocolate into a ziplock bag, snip a tiny corner off, and drizzle crisscross “bandages” back and forth across the pretzels.
-
Chill for another 10 minutes until completely firm.
Why You’ll Love It
You get a massive batch out of a single bag of pretzels, making them ideal for school parties or neighborhood treat bags. They crunch, they’re sweet, and they store well for up to a week.
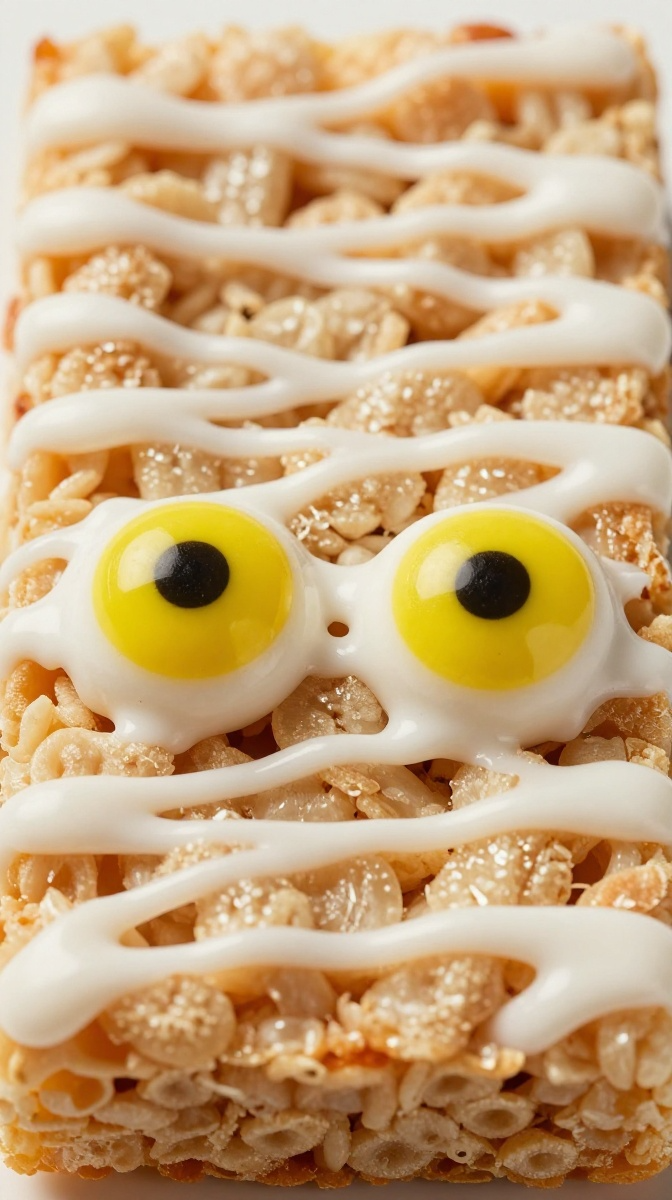
3. Gooey Rice Krispie Mummies
Rice Krispie treats are already top-tier lunchbox material, but wrapping them up like ancient Egyptian pharaohs takes them to a whole new level.
Ingredients
-
6 standard premade Rice Krispie treats (or a batch of homemade ones if you feel ambitious)
-
1 cup white frosting or melted white chocolate
-
Candy eyeballs
-
A piping bag or small plastic baggie
Step-by-Step Instructions
-
Unwrap your Rice Krispie treats and place them on a clean wire cooling rack over a sheet of foil.
-
Dab a tiny bit of frosting onto the back of two candy eyeballs and stick them near the top of each treat.
-
Fill a ziplock bag with your white frosting and snip a tiny piece off the bottom corner.
-
Pipe thick, sweeping lines back and forth at diagonal angles, layering them over the treats while avoiding covering the eyes entirely.
-
Let them sit at room temperature for 20 minutes so the frosting sets up.
Why You’ll Love It
Zero actual cooking involved! If you buy store-bought treats, you can whip together a tray of six in under ten minutes flat without turning on the oven.
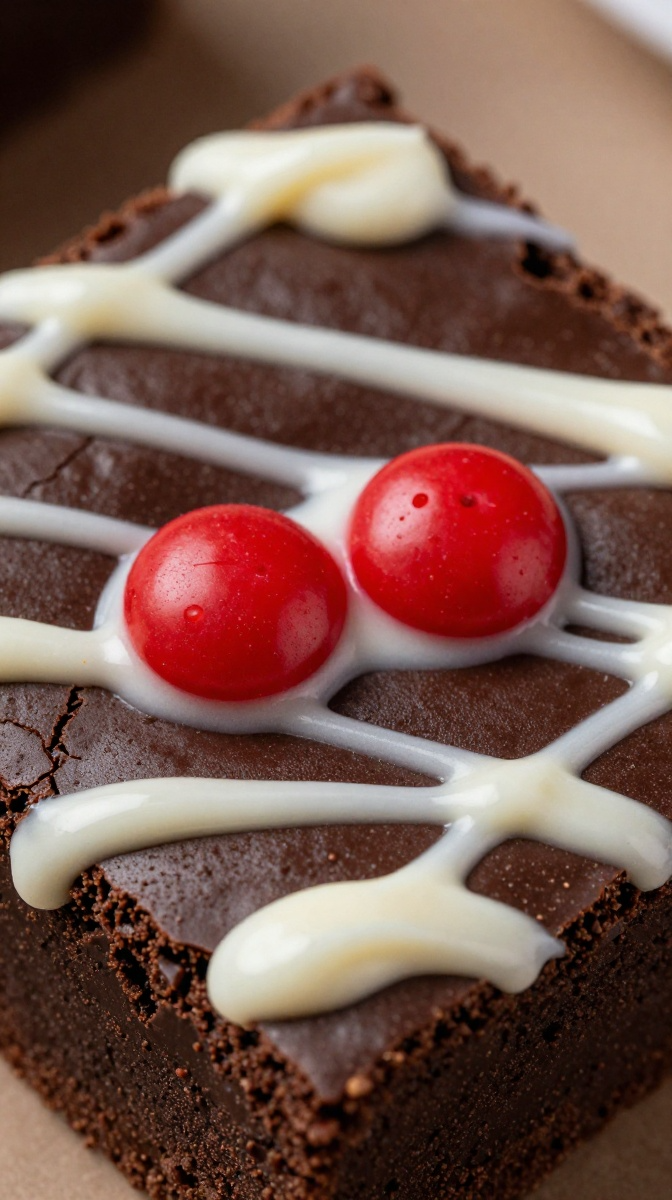
4. Spooky Wrapped Brownie Squares
Fudgy, rich, and decadent—brownies make the ultimate canvas for a mummy makeover. You can use your favorite box mix here; no shame in saving time when the results taste this good.
Ingredients
-
1 box fudge brownie mix (plus required oil, eggs, and water)
-
1 cup vanilla buttercream frosting or cream cheese icing
-
1 package large candy eyes
-
Flat ribbon piping tip (like Wilton Tip #47)
Step-by-Step Instructions
-
Bake the brownie mix in an 8×8 pan according to the package instructions and let them cool completely (otherwise your frosting melts into a gooey mess).
-
Slice the brownies into 9 clean, uniform squares.
-
Place two candy eyes on each brownie square.
-
Fit a piping bag with a flat ribbon tip, fill it with vanilla frosting, and pipe thick, flat overlapping lines across the brownie at random angles.
-
Trim any excess frosting from the edges for clean, sharp squares.
Why You’ll Love It
The intense contrast between the dark fudge brownie and the bright white frosting looks incredible on a dessert table. IMO, cream cheese icing gives the best flavor contrast here!
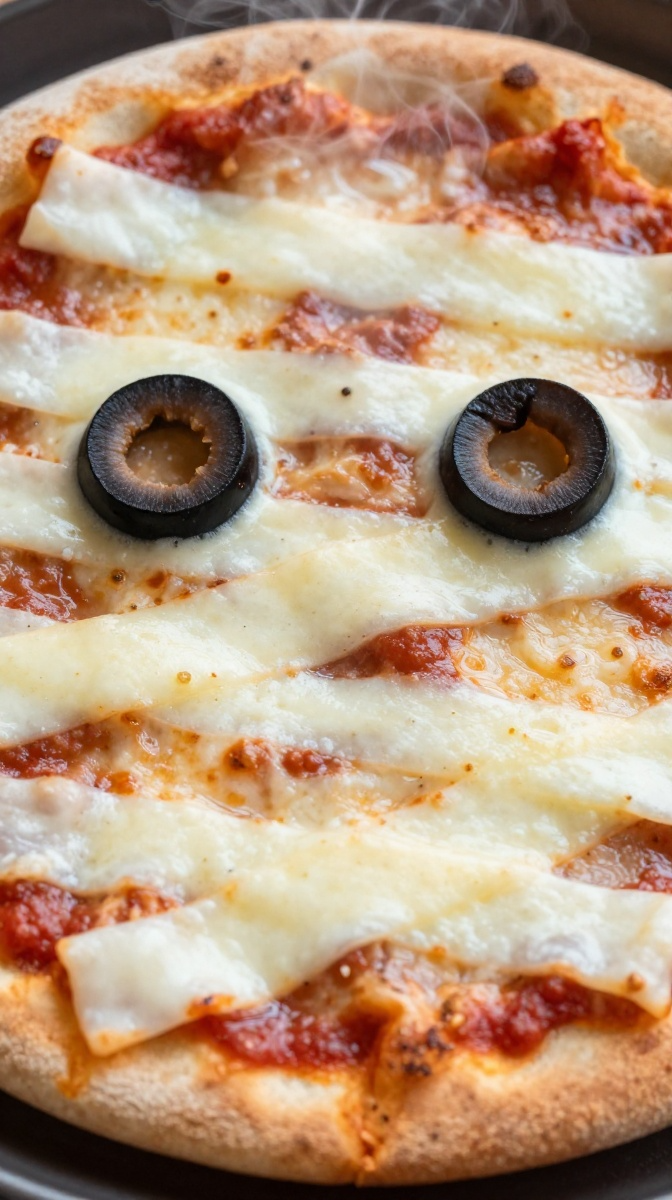
5. Mini Mummy Pizzas
Who says Halloween treats have to be all about sugar? These savory mini pizzas give kids a proper dinner option that still feels like a total party treat.
Ingredients
-
4 English muffins, split into halves
-
1 cup marinara sauce or pizza sauce
-
8 slices mozzarella cheese (or string cheese pulled into thin strips)
-
16 sliced black olives
Step-by-Step Instructions
-
Preheat your oven to 400°F (200°C) and lay the English muffin halves cut-side up on a baking sheet.
-
Spread roughly 2 tablespoons of marinara sauce over each half.
-
Slice the mozzarella cheese into long, thin strips (or pull apart string cheese).
-
Lay the cheese strips horizontally across the sauce in overlapping patterns to mimic mummy wrappings.
-
Place two sliced black olives near the top for the eyes.
-
Bake for 8–10 minutes until the cheese is melted, but before it loses its strip-like shape.
Why You’ll Love It
It’s a sneaky way to ensure your kids eat real food before raiding their trick-or-treat bags. They take under 15 minutes total, and you can easily swap in gluten-free muffins if needed.
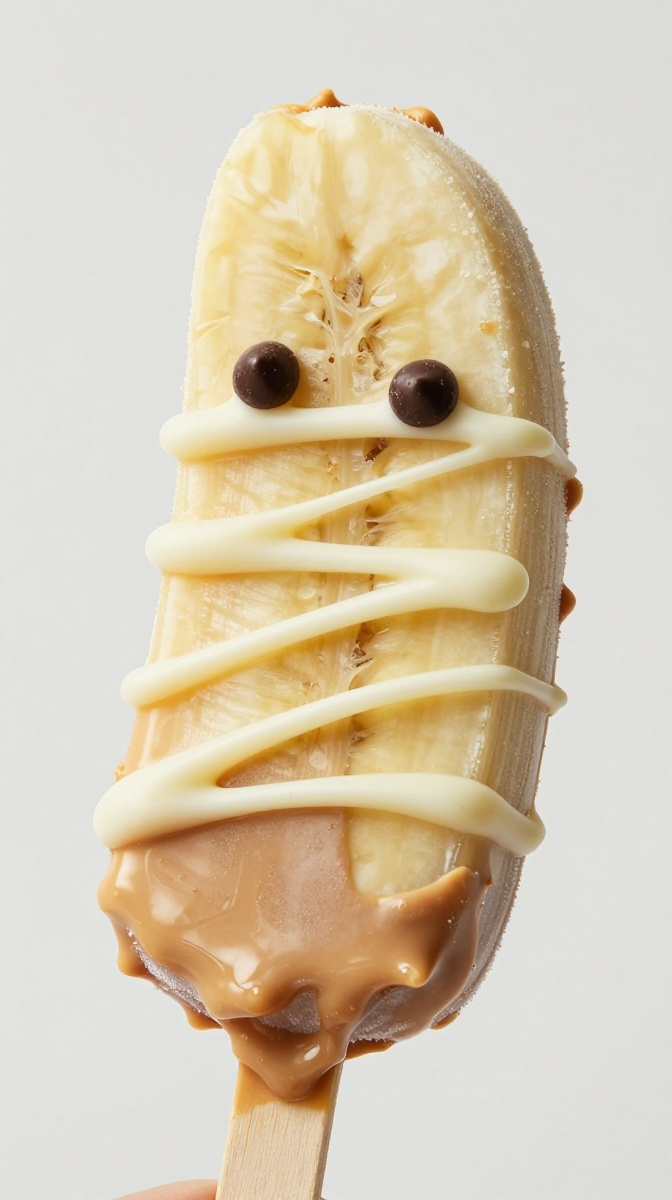
6. Peanut Butter & Banana Mummy Pops
Want a slightly healthier option that still hits the Halloween theme? Frozen banana pops dipped in peanut butter and white chocolate are a total game-changer.
Ingredients
-
3 firm bananas, peeled and cut in half crosswise
-
6 wooden popsicle sticks
-
1/2 cup creamy peanut butter
-
1/2 cup melted white chocolate
-
Mini chocolate chips (for the eyes)
Step-by-Step Instructions
-
Insert a popsicle stick into the cut end of each banana half.
-
Spread a thin layer of creamy peanut butter all over each banana.
-
Freeze the peanut butter-covered bananas on a baking sheet lined with wax paper for 30 minutes.
-
Melt your white chocolate and pour it into a piping bag or small ziplock bag.
-
Drizzle the white chocolate back and forth over the frozen bananas to build your mummy wrappings.
-
Press two mini chocolate chips point-side down into the banana for eyes, then freeze for another 15 minutes before serving.
Why You’ll Love It
It tastes just like a frozen banana ice cream bar, but packs real fruit and protein! It’s a fantastic, guilt-free treat for younger kids who don’t need three pounds of sugar.
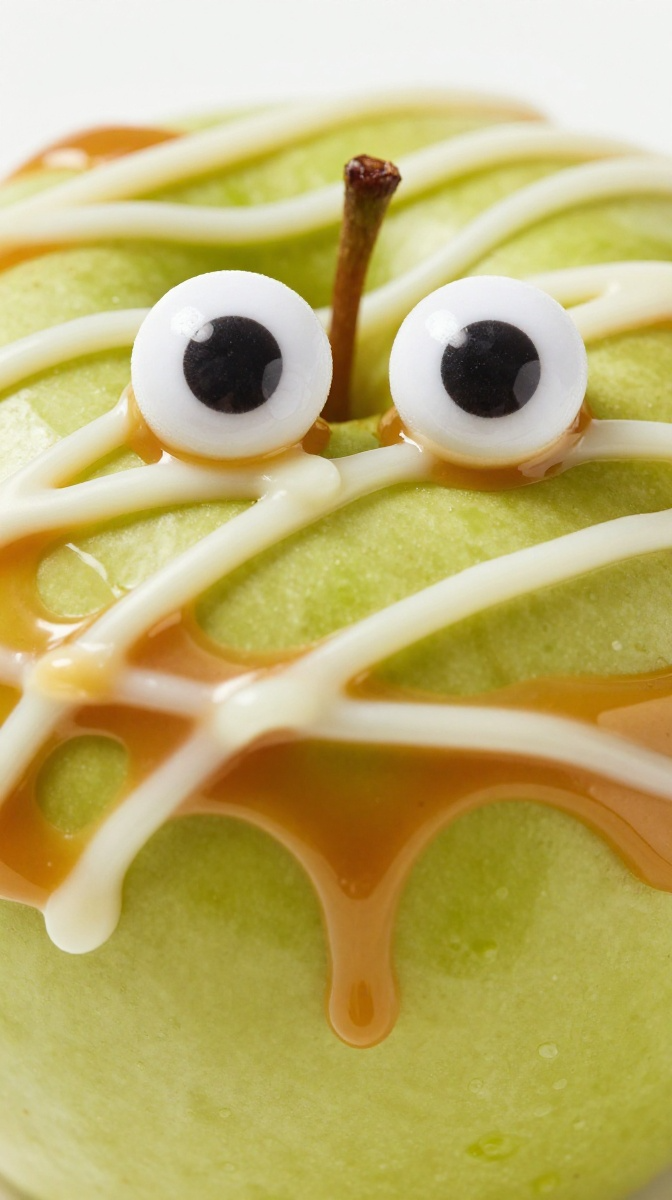
7. Mummy Apple Slices with Caramel
If you love caramel apples but hate the teeth-shattering mess of biting into a whole one, this sliced version is about to make your life ten times easier.
Ingredients
-
2 large Granny Smith apples, cored and sliced into thick rounds
-
1/2 cup thick caramel dessert sauce
-
1/2 cup white chocolate chips, melted
-
Candy eyeballs
-
Paper towels (essential for drying apple slices!)
Step-by-Step Instructions
-
Pat the apple slices thoroughly dry with paper towels—if they’re wet, the caramel will slip right off!
-
Lay the dry apple rounds flat on a parchment-lined tray.
-
Spread a thin layer of caramel sauce over the top surface of each slice.
-
Let the caramel set in the fridge for 10 minutes to firm up.
-
Drizzle the melted white chocolate across the caramel in diagonal patterns using a spoon or piping bag.
-
Press two candy eyeballs onto the upper portion of each apple round and serve immediately.
Why You’ll Love It
Targeting the crisp tartness of green apples with rich caramel and sweet white chocolate hits every single flavor node perfectly. It’s fresh, festive, and way less messy than traditional caramel apples!
Wrapping It Up
Making Halloween special for your kids doesn’t mean you need a pastry degree or four spare hours on a Tuesday night. These seven mummy treats prove that with a few simple ingredients, some candy eyes, and a little bit of creativity, you can put together a spooky spread that looks amazing and tastes even better.
Which one are you making first? Grab some dough, melt your chocolate, and have fun creating these spooky snacks together!