
Halloween parties demand treats that look like they took hours but somehow don’t leave you covered in flour and regret. Enter witch hat cookies—the ultimate combo of adorable and edible. These little pointed beauties disappear faster than free candy at a kid’s party, and honestly, who can blame anyone? They’re festive, chocolatey (or peanut-buttery, or pumpkin-spiced), and basically designed to make people say “aww” before they take a bite.
I’ve tested versions that range from five-minute no-bake wins to slightly more hands-on from-scratch cookies. Some years I go full craft mode. Other years I just need something that looks impressive while I simultaneously carve a pumpkin and pretend I have my life together. These eight recipes cover the whole spectrum. Pick your chaos level and let’s get those hats on.
1. Classic No-Bake Oreo Witch Hats
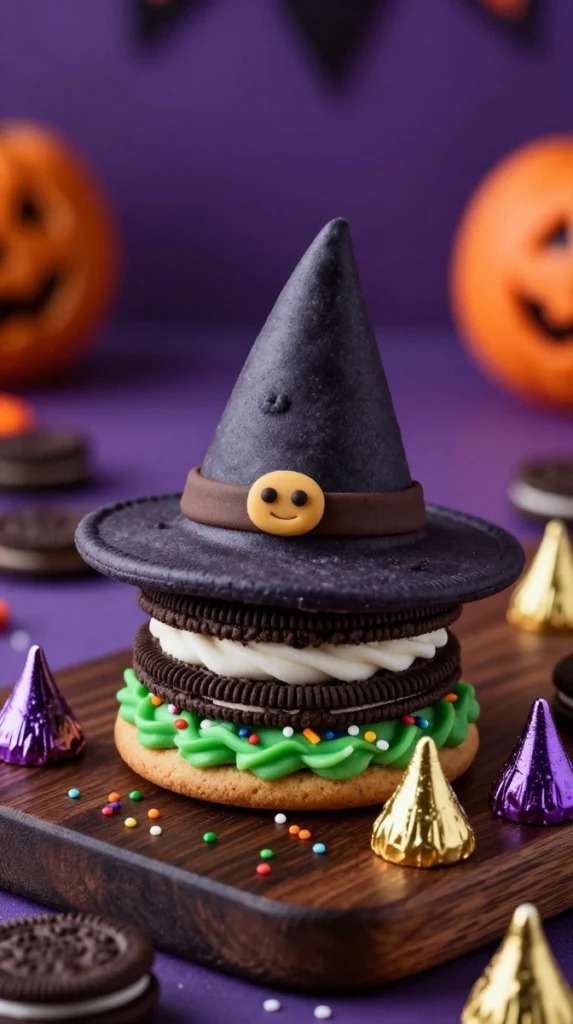
These are the ones that make people think you spent all afternoon in the kitchen when you really just assembled them during commercial breaks.
Why it’s awesome:
Zero baking. Maximum cuteness. Kids can actually help without turning the kitchen into a crime scene.
Ingredients
- 24 Oreo Thins (regular ones are too chunky for proper hat proportions)
- 24 Hershey’s Kisses, unwrapped
- Green or orange candy melts (or store-bought cookie icing)
- Halloween sprinkles
Step-by-Step Instructions
- Line a baking sheet with parchment and set out your Oreos flat side up.
- Melt the candy melts according to the package. Transfer to a piping bag or zip-top bag with the corner snipped.
- Pipe a small circle of melted candy in the center of each Oreo, just wider than the base of a Kiss.
- Immediately press a Kiss into the candy so it creates a little “band” around the base.
- Sprinkle the band with Halloween sprinkles before the candy sets. Let everything firm up for about 15 minutes.
Why You’ll Love It
These taste like pure chocolate nostalgia with a festive upgrade. I once made a double batch for a school party and still had kids asking for the recipe like I was some kind of cookie wizard. The thin Oreos keep the ratios right so the hat doesn’t look like it’s wearing a sombrero. IMO, the green candy melts give the most classic Wicked Witch vibe.
2. Peanut Butter Blossom Witch Hats
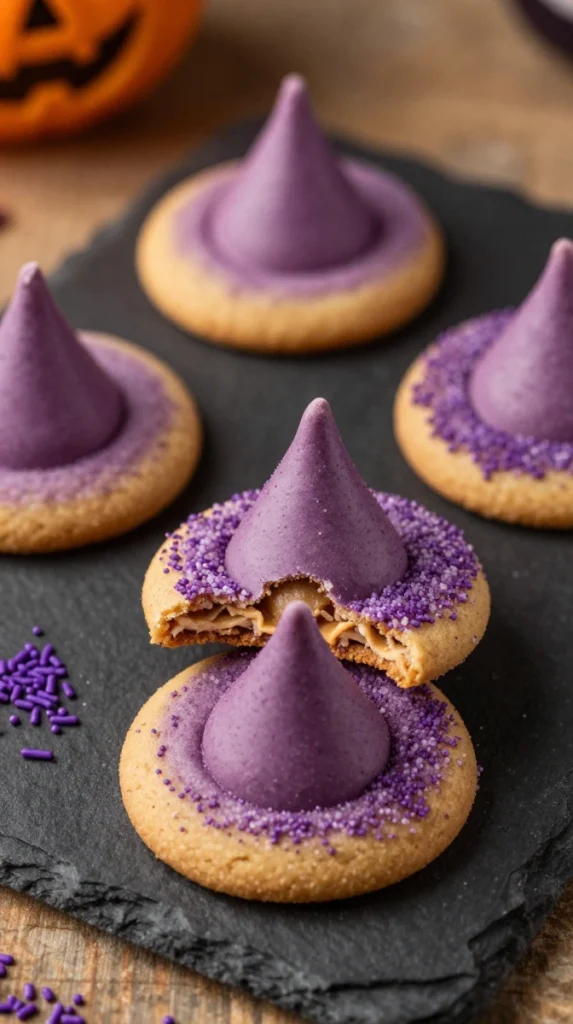
Peanut butter cookies already have that perfect soft chew. Add a Kiss and some purple sanding sugar and suddenly they’re Halloween royalty.
Why it’s awesome:
The dough is forgiving, the flavor is classic, and the finished cookies look like they belong on a Pinterest board.
Ingredients
- 1½ cups all-purpose flour
- 2 teaspoons cornstarch
- ½ teaspoon baking soda
- ¼ teaspoon baking powder
- ½ cup salted butter, softened
- 1 cup granulated sugar
- 1 large egg
- ¾ cup creamy peanut butter
- 1 teaspoon vanilla extract
- Purple gel food coloring
- Purple sanding sugar or Halloween sprinkles
- 33 Hershey’s Hugs or Kisses, unwrapped
Step-by-Step Instructions
- Whisk the flour, cornstarch, baking soda, and baking powder in a bowl.
- Cream the butter and sugar until light. Beat in the egg, peanut butter, vanilla, and a few drops of purple gel until the dough turns a soft lilac.
- Chill the dough for about 30 minutes so it doesn’t spread into sad pancakes.
- Preheat oven to 350°F. Roll dough into 1-inch balls, then roll each ball in sanding sugar.
- Place on a parchment-lined sheet and bake 9–11 minutes until puffed and just starting to crack.
- Let cool 5 minutes on the sheet, then press a Kiss into the center of each cookie. Pop the tray in the freezer for 10 minutes so the chocolate stays put.
Why You’ll Love It
The purple color against the chocolate tip is pure Halloween drama. I once swapped regular peanut butter for natural and regretted it immediately—the cookies spread like gossip. Stick with the no-stir kind. These taste like a peanut butter blossom that decided to dress up for the holiday, and the soft texture makes them dangerously snackable.
3. Devil’s Food Cake Mix Witch Hats
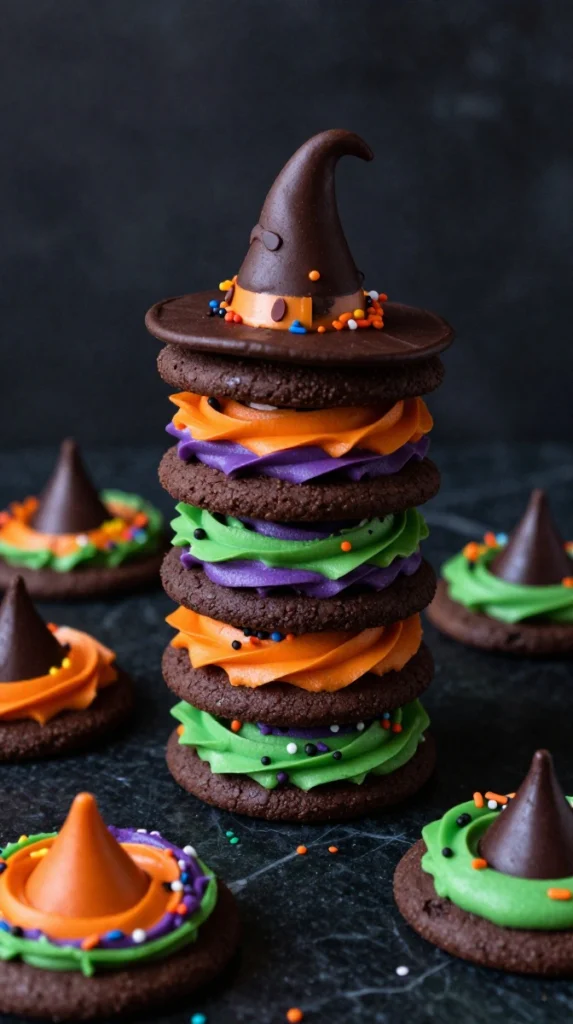
Cake mix cookies are the ultimate “I forgot I said I’d bring dessert” solution. They still look like you tried.
Why it’s awesome:
One bowl, minimal measuring, and they come out soft every single time.
Ingredients
- 1 box devil’s food cake mix
- ½ cup vegetable oil
- 2 eggs
- 1 cup vanilla frosting, divided and tinted orange, purple, and green
- Assorted Halloween sprinkles
- 48 Hershey’s Kisses, unwrapped
Step-by-Step Instructions
- Preheat oven to 350°F. Mix cake mix, oil, and eggs until a soft dough forms.
- Scoop into 1-inch balls and place 2 inches apart on ungreased sheets.
- Bake 8–10 minutes until set. Cool completely on a rack.
- Tint the frosting in three bowls. Transfer each color to a zip-top bag and snip a small corner.
- Pipe a 1-inch circle of frosting on each cookie. Add sprinkles, then press a Kiss into the center.
Why You’ll Love It
These are soft, chocolatey, and somehow taste more homemade than they have any right to. The colored frosting bands make them look like a whole coven of witches showed up. I keep a box of cake mix in the pantry year-round for this exact reason—emergencies happen, and these save the day without drama.
4. Fudge Stripe Cookie Witch Hats
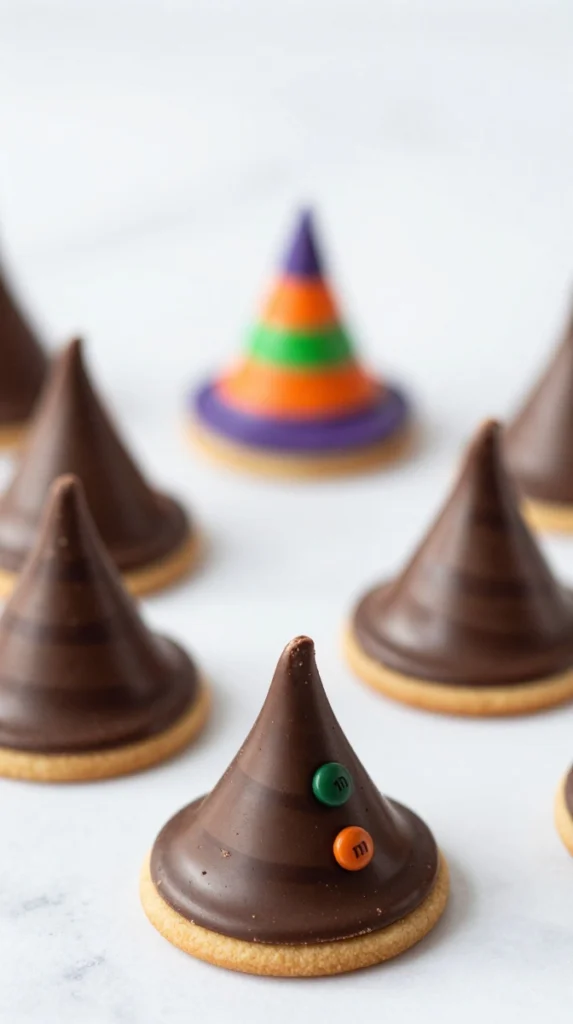
The striped cookies already look like they have a fancy brim. All you do is add the pointy top and a little color.
Why it’s awesome:
No baking, almost zero cleanup, and they look polished with almost no effort.
Ingredients
- 1 package (about 24) fudge-striped cookies, chocolate side up
- 24 dark chocolate Hershey’s Kisses
- Orange, green, and purple candy melts (or tinted frosting)
- Mini M&Ms or Halloween sprinkles
Step-by-Step Instructions
- Place cookies chocolate-side up on parchment.
- Melt each color of candy melts separately.
- Dip the bottom of a Kiss into the melted candy and place it in the center of a cookie.
- Pipe or spoon a little extra candy around the base to create a band, then press a mini M&M or sprinkle onto the band for a “buckle.”
- Let set completely (15–30 minutes at room temp or quicker in the fridge).
Why You’ll Love It
The chocolate-dipped bottom of the cookie already looks like a proper hat brim. These are my go-to when I need something that travels well to a potluck. One year I used pumpkin spice Kisses and got actual compliments from people who usually only eat the fruit tray. The mini M&M buckle is optional but highly recommended for extra charm.
5. Pumpkin Spice Black Cocoa Witch Hats
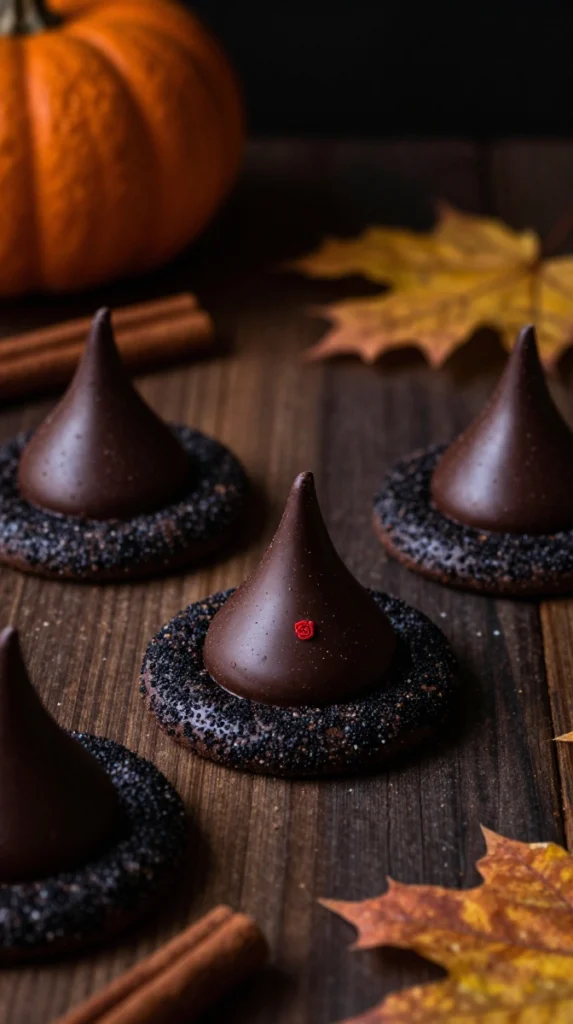
These lean into fall flavors while still looking properly spooky. Black cocoa gives them that deep, almost black color that screams Halloween.
Why it’s awesome:
Soft, spiced, and just different enough to stand out from the usual chocolate crowd.
Ingredients
- ¾ cup salted butter
- 1½ cups packed dark brown sugar
- ½ cup pumpkin puree
- 1 egg
- 2 teaspoons vanilla
- 2¼ cups all-purpose flour
- ¼ cup regular cocoa + 3 tablespoons black cocoa
- 2 tablespoons cornstarch
- 1½ teaspoons pumpkin pie spice
- 1 teaspoon salt
- 1 teaspoon baking soda
- Black sanding sugar
- 30 dark chocolate Kisses
- Black or orange frosting
- Red rose-shaped sprinkles (or any small candy)
Step-by-Step Instructions
- Cream butter and brown sugar. Beat in pumpkin, egg, and vanilla.
- Whisk dry ingredients and add to the wet mixture until just combined.
- Scoop dough, roll in black sanding sugar, and place on lined sheets.
- Bake at 350°F for about 10 minutes. Cool completely.
- Pipe a ring of frosting around the center of each cookie, press a Kiss into it, and top with a tiny rose sprinkle.
Why You’ll Love It
The pumpkin and spice keep them from tasting like pure chocolate overload. I once made these without the black cocoa, and they looked like regular brown cookies trying too hard. The dark color makes the red sprinkle pop like a little blood-red jewel. They’re soft in the middle with a slight crunch from the sanding sugar—perfect texture for dunking in coffee while you hand out candy.
6. From-Scratch Chocolate Cookie Witch Hats
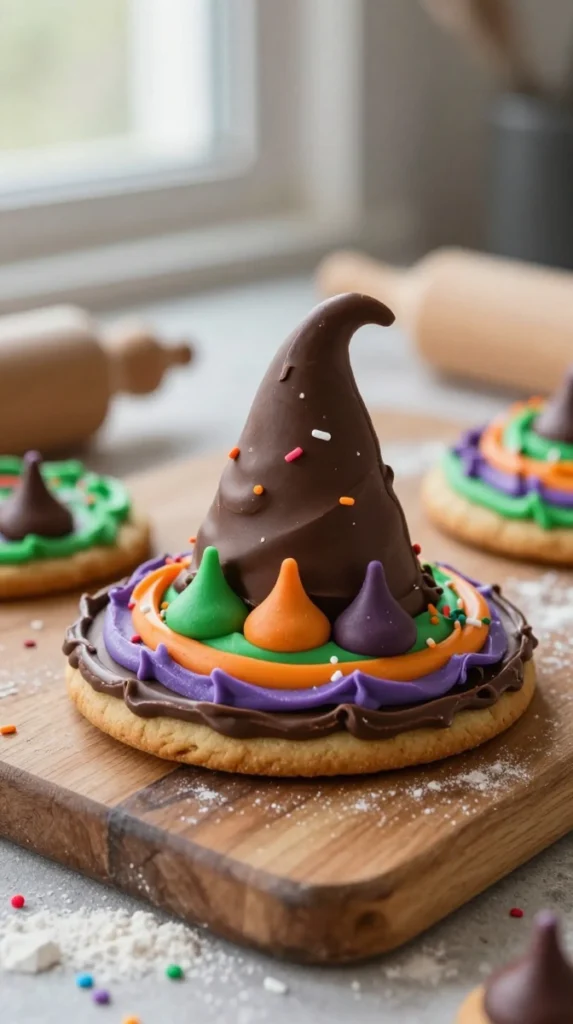
Sometimes you just want the real deal—homemade dough, rich cocoa flavor, and frosting you made yourself.
Why it’s awesome:
These taste bakery-level and give you full control over sweetness and color.
Ingredients
- 1½ cups all-purpose flour
- ¼ cup unsweetened cocoa powder
- ½ teaspoon baking soda
- ½ teaspoon salt
- ½ cup unsalted butter, softened
- ½ cup granulated sugar + ½ cup brown sugar
- 1 large egg
- 1 teaspoon vanilla
- Extra sugar for rolling
- Frosting: ½ cup butter, 1 cup powdered sugar, 1 teaspoon vanilla, gel colors
- Hershey’s Kisses and sprinkles
Step-by-Step Instructions
- Whisk flour, cocoa, baking soda, and salt.
- Cream butter and both sugars. Beat in egg and vanilla.
- Mix in dry ingredients. Chill 20–30 minutes if the dough feels soft.
- Roll into balls, coat in sugar, and bake at 350°F for 9–11 minutes. Cool completely.
- Make frosting, tint it, and pipe a dollop on each cookie. Press a Kiss into the center and add sprinkles while the frosting is still soft.
Why You’ll Love It
These have that deep chocolate flavor you only get from scratch. I once tried skipping the chill step and ended up with flat, sad disks. Lesson learned. The homemade frosting tastes better than the canned stuff, and you can make the bands any neon color your heart desires. They’re the ones I bring when I actually want people to ask for the recipe.
7. Sugar Cone Witch Hats
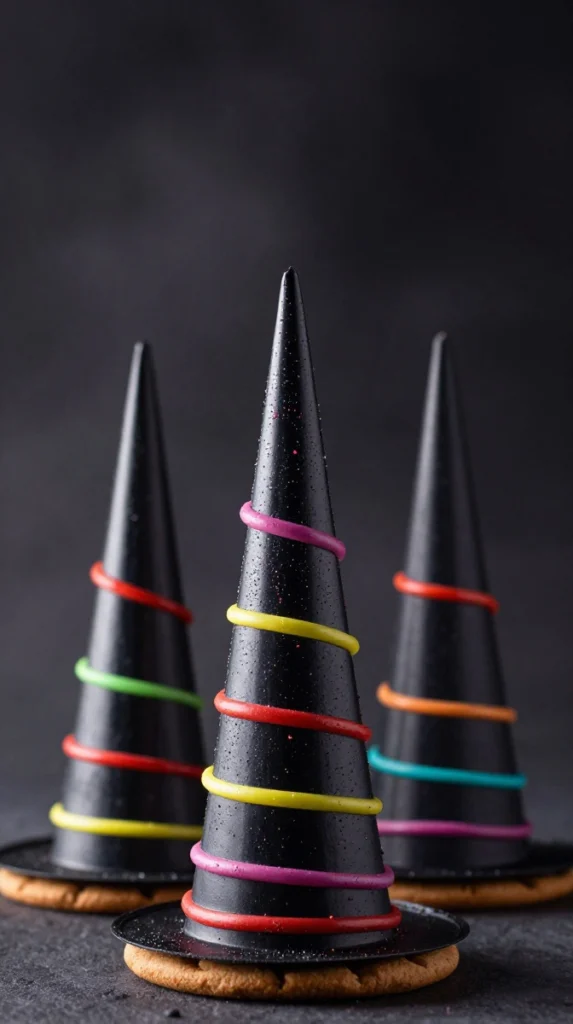
These take a little more assembly, but the payoff is a full 3-D hat that looks almost too good to eat.
Why it’s awesome:
They stand upright and look dramatic on a dessert table. Plus, cake-filled cones are secretly delicious.
Ingredients
- Chocolate cake mix (or homemade batter)
- Sugar cones
- Store-bought or homemade chocolate cookies for the base
- Black candy melts or color mist spray
- Decorator icing in multiple colors
- Optional: edible glitter or candy jewels
Step-by-Step Instructions
- Fill sugar cones with cake batter and bake upright until set (follow cake mix timing, usually 15–20 minutes). Cool completely and trim any overflow.
- Coat the cones with black candy melts or spray and let dry.
- Pipe a thick ring of icing onto each chocolate cookie base.
- Stand a coated cone upright in the icing to form the hat.
- Pipe a colorful band around the base of the cone and add decorations. Let set fully before moving.
Why You’ll Love It
These are conversation starters. People always ask how you got the hats to stand up. The cake inside the cone stays moist and chocolatey, and the cookie base gives you something sturdy to hold. They’re more work than the no-bake versions, but if you’re going for “wow” factor at a party, these deliver. Just don’t stack them in a container—they need space.
8. Meringue-Topped Chocolate Chip Witch Hats
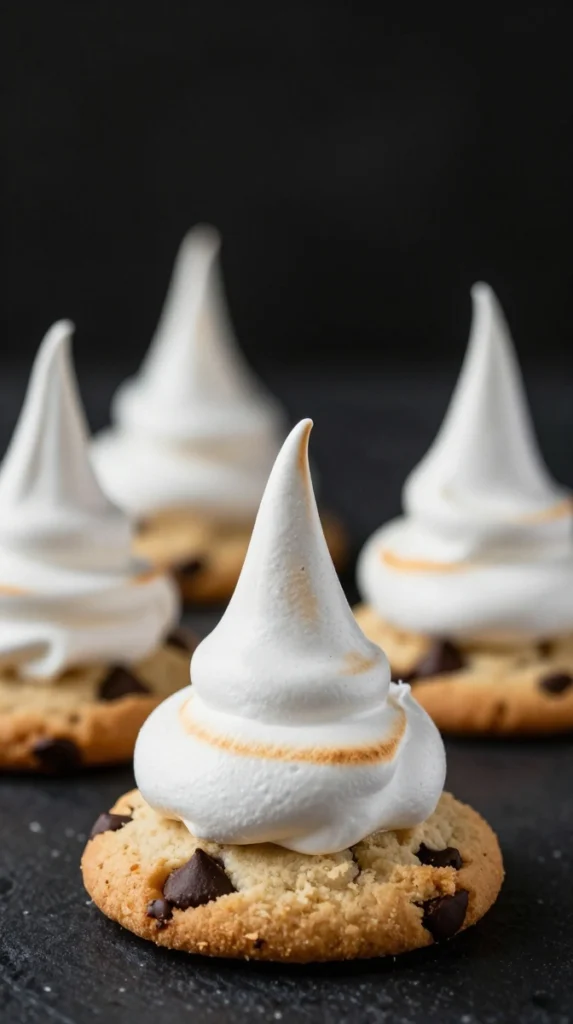
Light, crisp meringue points on top of a simple cookie base. They’re a little more elegant and less sticky than the frosting versions.
Why it’s awesome:
The meringue looks dramatic and stays crisp if you store them right. Perfect for people who claim they “don’t like frosting.”
Ingredients
- 15 small chocolate chip cookies (homemade or store-bought)
- 180 g dark chocolate, melted for dipping if desired
- Swiss meringue: 3 large egg whites, 150 g caster sugar, ¼ teaspoon cream of tartar
Step-by-Step Instructions
- Make Swiss meringue by heating egg whites and sugar over a double boiler until sugar dissolves, then whip with cream of tartar to stiff peaks.
- Transfer meringue to a piping bag with a wide tip.
- Pipe tall, pointed cones of meringue onto each cookie, lifting straight up for a clean hat shape (no swirling).
- Optional: dip the cookie edge in melted chocolate before piping for extra drama.
- Let the meringue set or give it a quick toast with a kitchen torch if you want a lightly browned tip.
Why You’ll Love It
The contrast between the chewy cookie and the light, sweet meringue is excellent. I once tried piping these on a humid day and watched the points slowly wilt—timing and dry air matter. When they work, they look almost professional. Serve them the same day for maximum crispness.
These eight witch hat cookies cover every level of effort and every flavor mood you might be in this Halloween. The no-bake ones save your sanity on busy weeks. The from-scratch versions make you feel like a baking legend. The 3-D cone hats steal the show at any party.
Make a mix. Put the easy ones out for the kids and keep a few of the fancy ones for the adults who actually notice the details. Either way, you’ll end up with a tray of treats that look like pure Halloween magic and taste even better. Now go make some hats before the night gets any spookier.