
Halloween parties demand snacks that look terrifyingly cute and taste even better. You’re hosting, the kids (or the grown-ups who still act like kids) are hyped, and the last thing you need is a tray of sad store-bought cookies that scream “I gave up.”
These eight Halloween food treats deliver drama, flavor, and zero stress. They’re the ones people hover around, photograph, and then demolish. Ready to make your spread the talk of the neighborhood?
1. Mummy Hot Dogs Wrapped in Golden Blankets
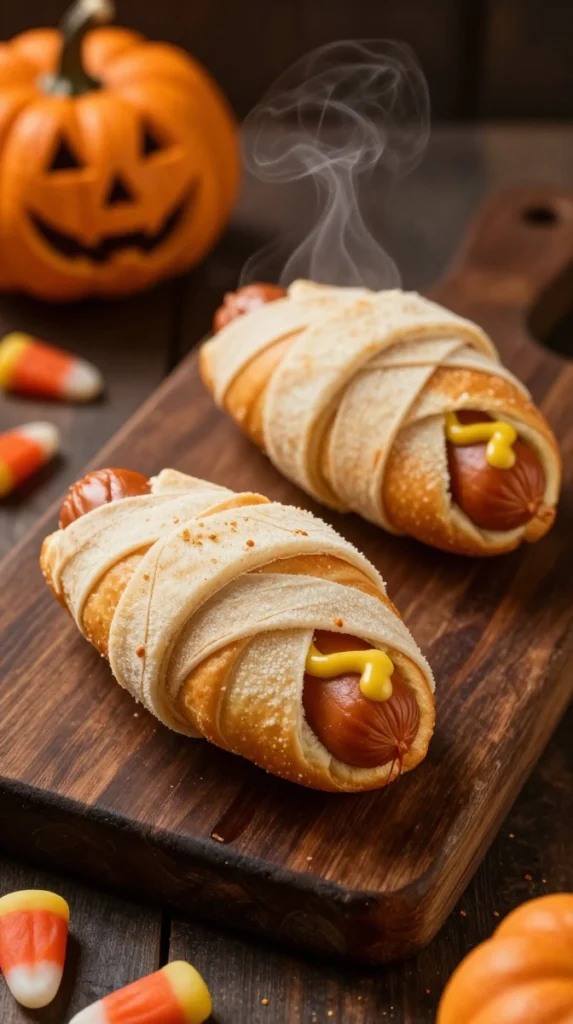
Nothing says Halloween party like a tray of little mummies that somehow taste better than they look. These mummy hot dogs turn basic franks into the star of the snack table in under 30 minutes.
Ingredients
- 8 hot dogs (beef or turkey, your call)
- 1 can refrigerated crescent roll dough
- Mustard or ketchup for eyes
- Optional: a sprinkle of everything bagel seasoning for extra crunch
Step-by-Step Instructions
- Preheat your oven to 375°F and line a baking sheet with parchment.
- Unroll the crescent dough and slice it into thin strips about ¼-inch wide.
- Wrap each hot dog with the strips, leaving a gap near one end for the “face.” Overlap the dough so it looks like messy bandages.
- Place the mummies on the sheet and bake 12–15 minutes until the dough turns golden.
- Let them cool for two minutes, then dab on two tiny mustard or ketchup dots for eyes.
Why You’ll Love It
These disappear faster than free candy. The flaky dough stays crispy while the hot dog stays juicy, and the whole thing feels festive without any fancy skills. I once made a double batch for a neighborhood block party and still ran out before the second round of cider. Kids go nuts for the faces; adults just quietly take three.
2. Witch’s Finger Cookies That Actually Taste Good
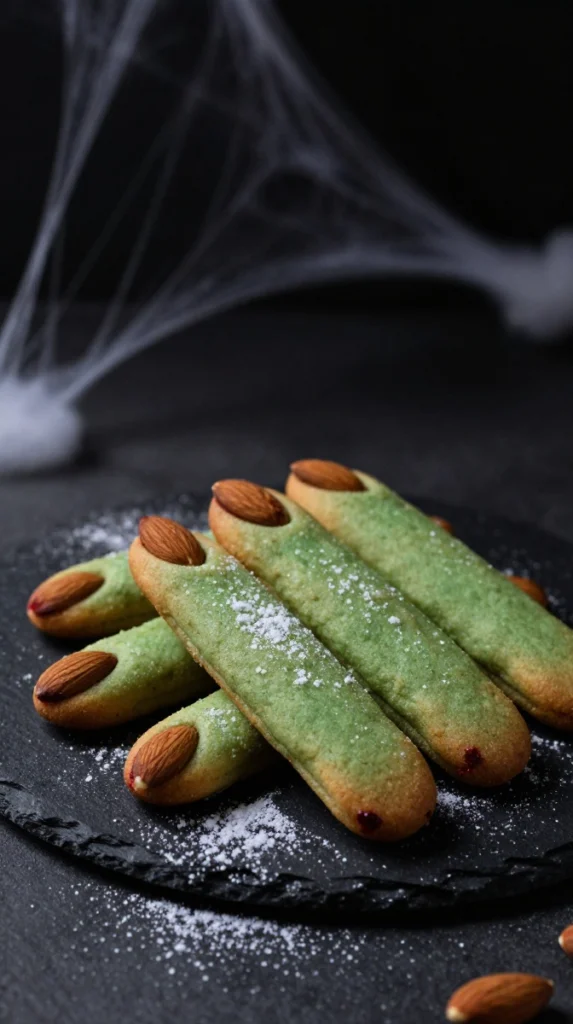
Gnarled green fingers with bloody almond “nails” look straight out of a spell book, yet they taste like buttery shortbread. These witch’s finger cookies are the ultimate Halloween party treat for people who want creepy without the sugar crash.
Ingredients
- 1 cup unsalted butter, softened
- 1 cup powdered sugar
- 1 egg
- 1 tsp almond extract
- 2¾ cups all-purpose flour
- 1 tsp baking powder
- Green food coloring
- 24 whole blanched almonds
- Red gel icing or raspberry jam for the “blood”
Step-by-Step Instructions
- Cream the butter and powdered sugar until fluffy. Beat in the egg and almond extract.
- Mix the flour and baking powder, then gradually add to the butter mixture. Tint the dough with a few drops of green food coloring until it looks suitably witchy.
- Divide the dough into 24 pieces. Roll each into a thin finger shape, pinching the middle for knuckles.
- Press an almond firmly into one end for the fingernail. Place on a parchment-lined sheet.
- Bake at 325°F for 20–25 minutes until the edges just start to color. Cool completely, then “blood” the cuticle with red icing or a dab of jam.
Why You’ll Love It
They look terrifying and taste like the best shortbread you’ve ever had. The almond extract gives them a subtle nutty kick that balances the sweetness. I’ve served these at office parties and watched grown professionals take photos before biting the nail off. Pure chaos, in the best way.
3. Spooky Spiderweb Pizza Bites
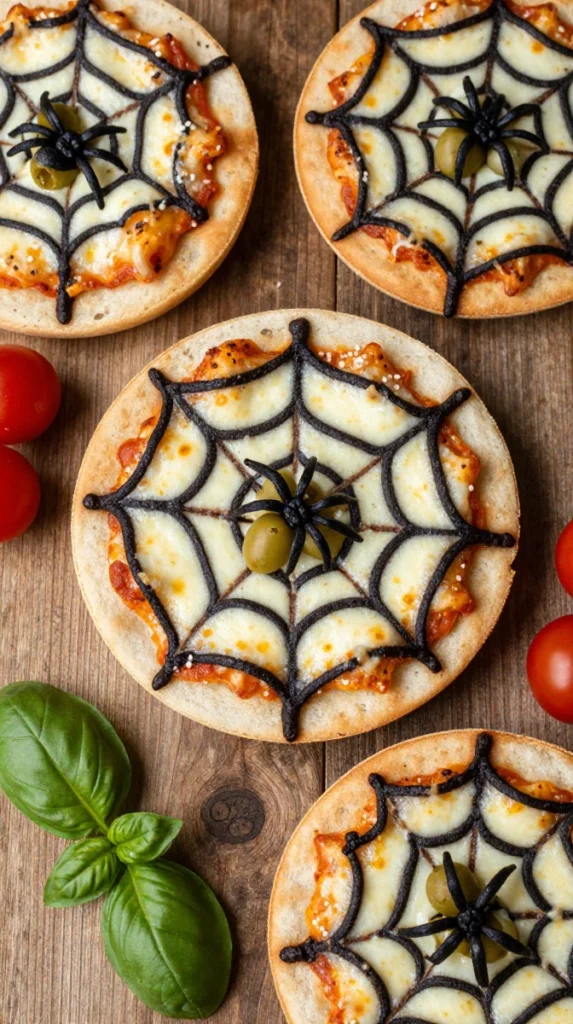
Mini pizzas with a dramatic black-olive spiderweb on top. These spooky spiderweb pizza bites hit the savory spot when everyone is tired of pure sugar.
Ingredients
- 1 package English muffins or mini pizza crusts
- ½ cup pizza sauce
- 1 cup shredded mozzarella
- ½ cup black olives, sliced into thin rings and halves
- Optional: pepperoni slices cut into tiny triangles for extra “creepy”
Step-by-Step Instructions
- Split the English muffins and toast them lightly so they stay crisp.
- Spread a thin layer of pizza sauce on each half. Sprinkle generously with mozzarella.
- Arrange olive slices in concentric circles to form a web, then place a half-olive in the center as the spider body and use thin strips for legs.
- Bake at 400°F for 8–10 minutes until the cheese bubbles and the edges brown.
- Let them cool just enough so the cheese doesn’t slide off when people grab them.
Why You’ll Love It
Savory Halloween food treats feel like a gift after three trays of candy. The olive webs look impressive but take almost no extra time. I once swapped regular mozzarella for a smoked version and the whole tray vanished in ten minutes. Pro tip: make a few without webs for the olive-haters in the room.
4. Ghostly Banana Pops
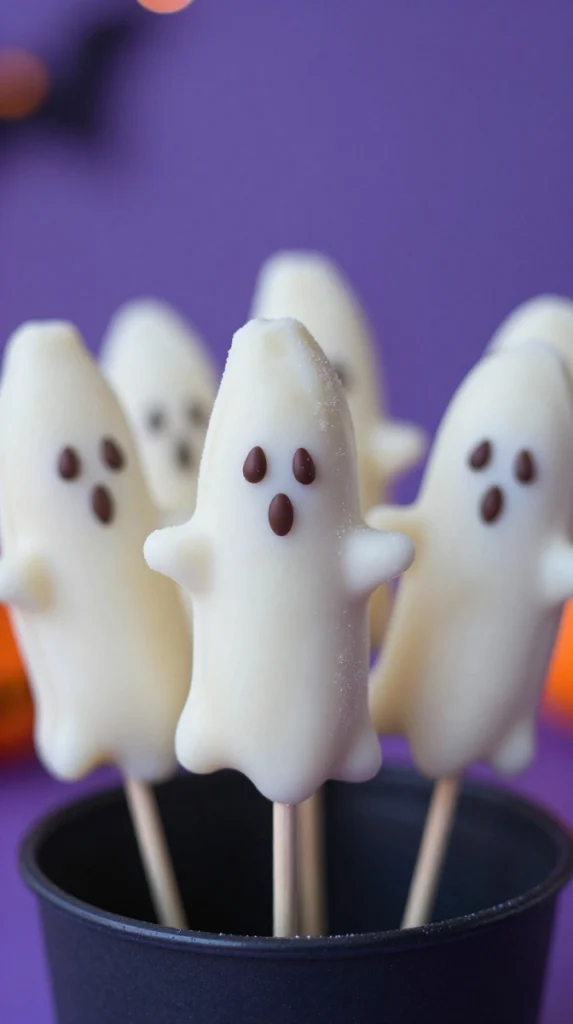
Frozen banana ghosts dipped in white chocolate and decorated with chocolate chip eyes. These ghostly banana pops are the cool, creamy counterpoint to all the heavy sweets.
Ingredients
- 4 ripe but firm bananas
- 12 oz white chocolate or candy melts
- Mini chocolate chips for eyes
- Wooden popsicle sticks
- Optional: shredded coconut for “hair” or a dusting of edible glitter
Step-by-Step Instructions
- Peel the bananas and cut each in half. Insert a stick into the cut end.
- Freeze the bananas on a parchment-lined tray for at least one hour (overnight is even better).
- Melt the white chocolate in short bursts in the microwave, stirring until smooth.
- Dip each frozen banana into the chocolate, letting the excess drip off. Immediately press two mini chocolate chips onto the face for eyes.
- Place back on the parchment and freeze another 15 minutes until set.
Why You’ll Love It
They’re naturally sweet, refreshingly cold, and somehow still feel indulgent. The white chocolate shell cracks just right when you bite in. I made these for a backyard party last year, and the adults claimed them before the kids even noticed. Bonus: they keep the fridge from becoming a pure sugar bomb.
5. Bloody Eyeball Cake Pops
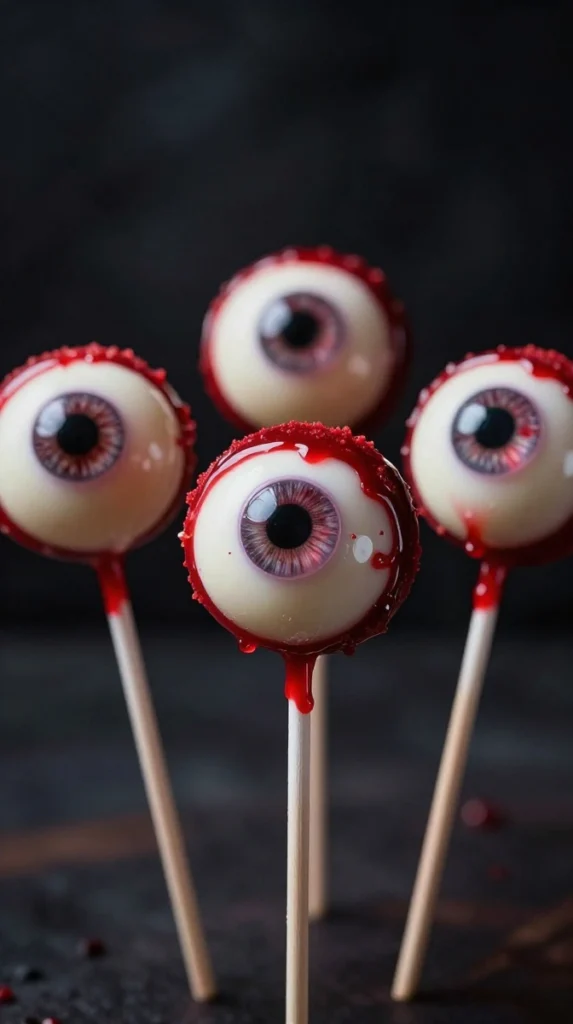
Red velvet cake balls coated in white chocolate with a staring candy eye and a drip of red gel. These bloody eyeball cake pops look straight out of a horror movie and taste like pure dessert joy.
Ingredients
- 1 box red velvet cake mix (plus the eggs, oil, and water it calls for)
- ½ cup cream cheese frosting
- 12 oz white chocolate or candy melts
- Candy eyeballs
- Red gel icing or corn syrup mixed with red food coloring
Step-by-Step Instructions
- Bake the cake according to the box, cool completely, then crumble it into a large bowl.
- Mix in the cream cheese frosting until the crumbs hold together when squeezed.
- Roll into 1-inch balls, insert a stick, and freeze for 20 minutes.
- Melt the white chocolate. Dip each cake ball, tap off the excess, and place on parchment.
- While the coating is still wet, press on a candy eyeball. Once set, drizzle a “bloody” tear of red gel from the eye.
Why You’ll Love It
They look dramatic on a platter stuck into a foam block or a black-painted pumpkin. The red velvet-cream cheese combo stays moist and rich. I once ran out of candy eyes and used chocolate chips instead—still terrifying, still delicious. People will fight over the last one.
6. Monster Mouth Apple Slices
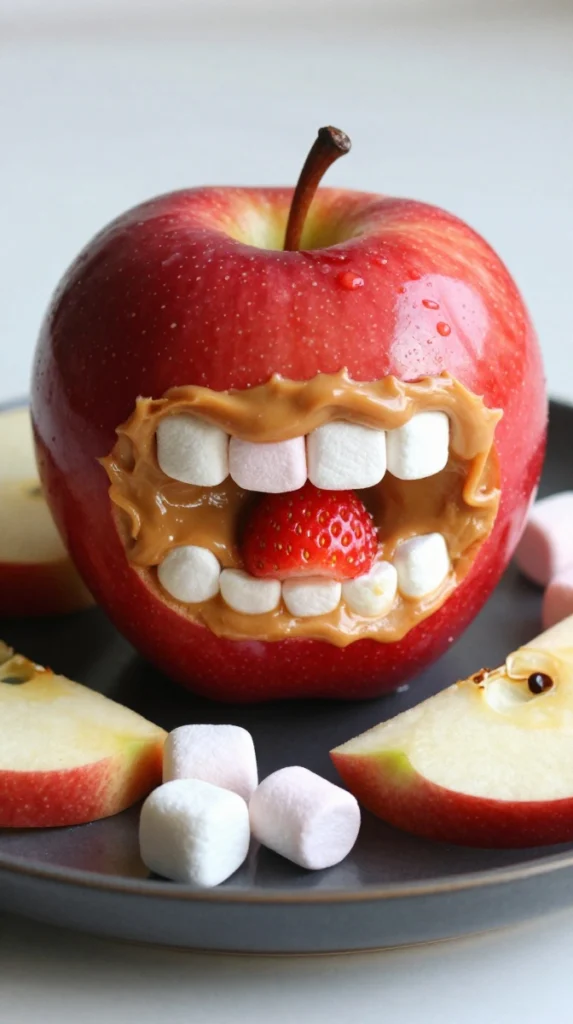
Apple wedges filled with peanut butter (or almond butter) and lined with mini marshmallow “teeth,” then finished with a strawberry “tongue.” These monster mouth apple slices deliver crunch, protein, and pure Halloween energy.
Ingredients
- 3 large red apples
- ½ cup peanut butter or almond butter
- ½ cup mini marshmallows
- 6–8 strawberries, sliced into tongues
- Optional: a few chocolate chips for “warts”
Step-by-Step Instructions
- Core the apples and slice each into 6–8 thick wedges.
- Spread a generous layer of peanut butter on one cut side of each wedge.
- Press a row of mini marshmallows into the peanut butter to look like teeth.
- Stick a strawberry slice between the top and bottom “jaws” so it hangs out like a tongue.
- Arrange them on a platter so the mouths face the same direction for maximum creep factor.
Why You’ll Love It
Crisp apple, creamy nut butter, and sweet marshmallows create the perfect texture mix. They’re one of the few Halloween food treats that actually feel somewhat virtuous. I swapped peanut butter for sunflower seed butter once for a nut-free crowd and nobody complained. These vanish almost as fast as the candy.
7. Pumpkin Patch Dirt Cups
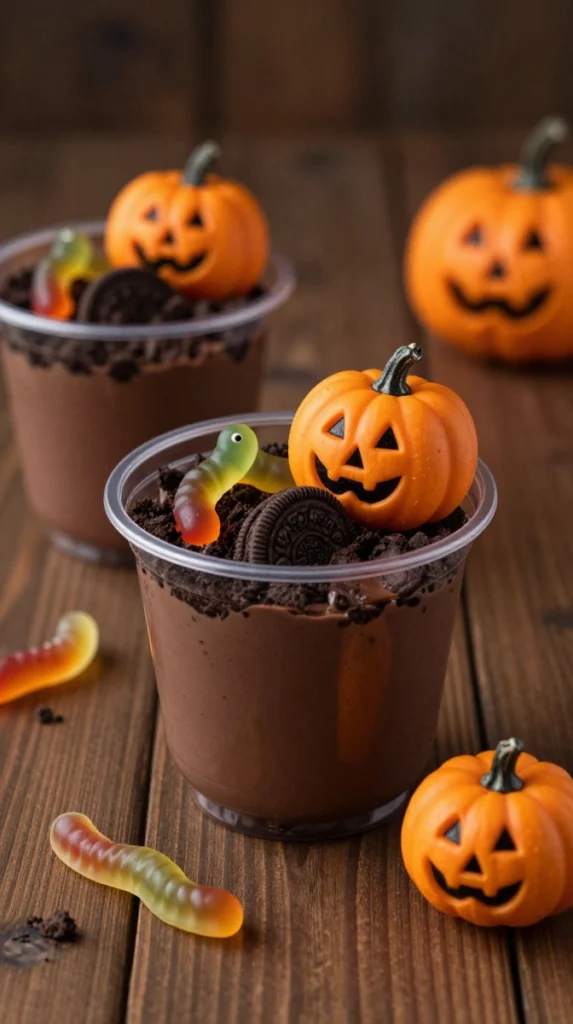
Chocolate pudding layered with crushed Oreos and topped with candy pumpkins and gummy worms. These pumpkin patch dirt cups are pure nostalgia in a cup and ridiculously easy to assemble.
Ingredients
- 1 large box of instant chocolate pudding (plus the milk it needs)
- 1 package Oreos, crushed
- Candy pumpkins
- Gummy worms
- Optional: a dollop of whipped cream and a sprinkle of green sprinkles for “grass”
Step-by-Step Instructions
- Whisk the pudding mix with cold milk until it thickens, then chill for 10 minutes.
- Spoon a layer of pudding into clear plastic cups.
- Top with a generous layer of crushed Oreos.
- Add another thin layer of pudding if you want extra height, then finish with more Oreo “dirt.”
- Plant a few candy pumpkins on top and bury a gummy worm so it looks like it’s crawling out.
Why You’ll Love It
Kids lose their minds over the worms, and adults appreciate how zero-effort they are. The contrast of creamy pudding and crunchy cookies never gets old. I once made a giant version in a clear trifle dish for a bigger party, and it became the centerpiece. FYI, make extras—someone always wants seconds.
8. Bat Wing Brownies
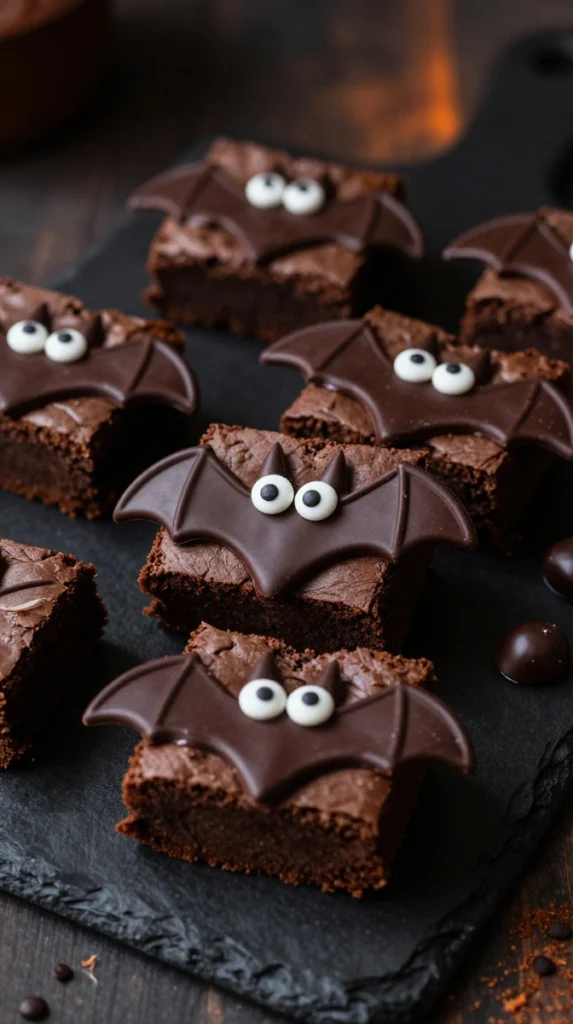
Fudgy brownies cut into bat shapes and decorated with dark chocolate wings and candy eyes. These bat wing brownies bring deep chocolate flavor and dramatic flair to the dessert table.
Ingredients
- 1 batch of your favorite fudgy brownie batter (boxed is fine, no judgment)
- 4 oz dark chocolate, melted
- Candy eyeballs
- Optional: a pinch of espresso powder in the batter for deeper flavor
Step-by-Step Instructions
- Bake the brownies in a 9×13 pan according to your recipe and cool completely.
- Use a bat-shaped cookie cutter (or carefully freehand with a knife) to cut out as many bats as possible.
- Melt the dark chocolate and pipe or spread simple wing shapes onto parchment. Let them set.
- Attach the wings to the sides of each brownie bat with a dab of melted chocolate.
- Press two candy eyes onto each bat face while the chocolate is still tacky.
Why You’ll Love It
Rich, chewy brownies already win on taste. Adding the bat wings makes them look like they flew straight out of a haunted house. I once used a simple round cutter and just added wings—still worked, still disappeared. The dark chocolate wings give a nice bitter contrast to the sweet brownie. These are the ones people save for last.
Halloween parties live or die by the snack table. These eight treats cover sweet, savory, creepy, and cute without requiring a culinary degree or an all-nighter. They’re the ones that get photographed, shared, and remembered long after the last jack-o’-lantern burns out. Pick three or four, set them out with some cider and a playlist of slightly too-loud Halloween hits, and watch the room light up. Your guests will leave talking about the food almost as much as the costumes—and isn’t that the real win?