
Halloween decorations do not need to eat your entire budget. With a few cheap supplies, recycled items, and a little imagination, you can turn ordinary household things into creepy decorations that look surprisingly impressive. I love projects like these because they leave plenty of money for candy, which is obviously the important part. Ready to make your home look haunted without making your wallet cry?
Why Make Your Own Halloween Decorations?
Store-bought Halloween decorations can get expensive very quickly. One spooky sign here, a creepy lantern there, and suddenly your shopping cart looks like it belongs to a professional haunted house. DIY decorations give you much more freedom. You can choose the colors, size, and level of creepiness while using things you already have around the house. The biggest advantage is cost. Cardboard, paper bags, empty jars, old sheets, toilet paper rolls, and leftover paint can become surprisingly good Halloween decor. And honestly, homemade decorations often have more personality. A perfectly polished plastic skeleton is fun, but a crooked cardboard ghost made at midnight has character.
What Can You Reuse?
Before buying anything, walk around your home and look for forgotten supplies. Empty boxes, glass jars, paper grocery bags, newspaper, string, old fabric, cardboard tubes, and leftover craft paint can all become useful. FYI, your recycling bin might be a Halloween supply store in disguise.
Cheap Materials and Tools You Can Use
You do not need a fancy craft room for these decorations. Basic household supplies work beautifully.
- Cardboard: Use shipping boxes or cereal boxes instead of buying craft board.
- Black and orange paint: Acrylic paint works well, but washable poster paint can also work for temporary decorations.
- White paper or cardstock: Printer paper works for small decorations.
- Glass jars: Reuse clean food jars for spooky lanterns.
- Old fabric: Torn white sheets make excellent ghost decorations.
- Twine or string: Use leftover gift-wrapping string when possible.
- Scissors: Regular household scissors are enough.
- Craft glue: White glue works for paper and cardboard projects.
- Tape: Masking tape or clear tape can replace specialty craft tape.
- Markers: Black permanent or washable markers help with quick details.
- Battery-powered LED lights: Use these instead of real candles inside homemade lanterns.
Affordable Substitutes
Do not worry if you do not have every item listed. That is kind of the point. No black paint? Use a black marker or black paper. No twine? Try yarn. No cardstock? Glue two sheets of regular printer paper together. IMO, the best budget crafts are the ones that make you improvise. Sometimes the substitute ends up looking better than the original idea.
DIY Halloween Ghost Garland
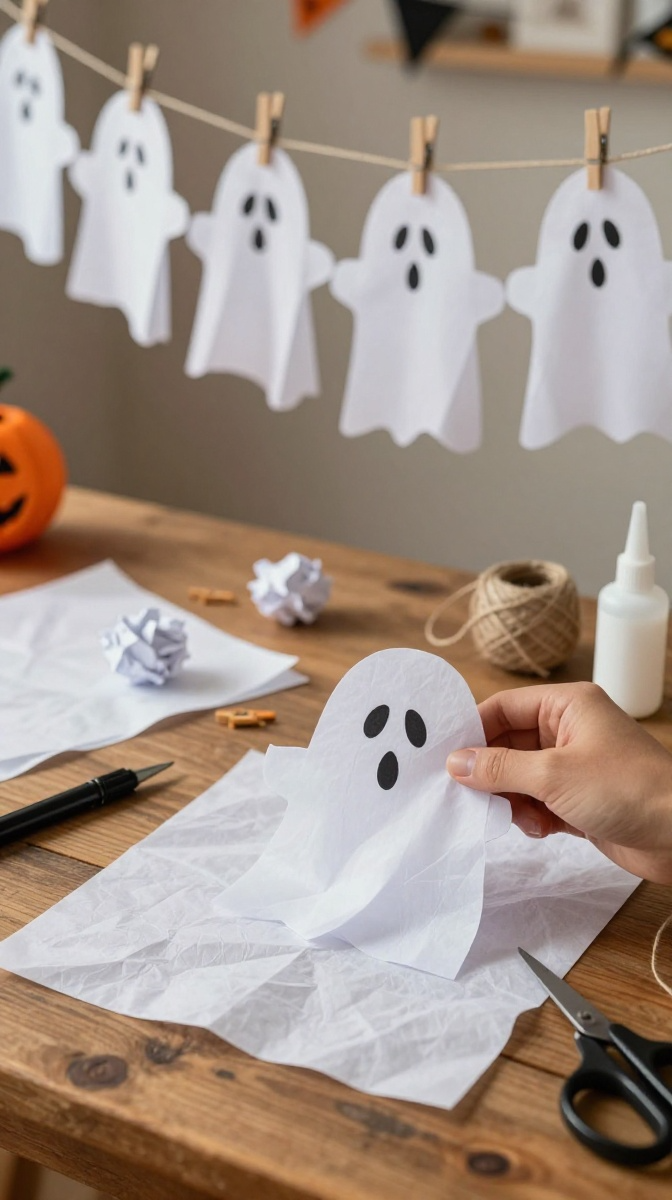
A ghost garland is one of the easiest decorations you can make, and it instantly fills an empty wall, doorway, shelf, or window.
Materials
- White paper, tissue paper, or lightweight white fabric
- Black marker
- String or twine
- Scissors
- Tape or small clothespins
Step-by-Step Instructions
- Cut several small squares or rectangles from white paper, tissue paper, or fabric.
- Place a small crumpled piece of scrap paper in the center of each square to create the ghost’s head.
- Gather the material underneath the head and twist it gently to create the ghost shape.
- Draw two round eyes and a small mouth with a black marker.
- Repeat the process until you have enough ghosts for your garland.
- Attach each ghost to a long piece of string using tape, clothespins, or a small knot.
- Hang the finished garland across a wall, doorway, mantel, staircase, or window.
Make Them Look Creepier
Want more personality? Give each ghost a different face. Make one surprised, one grumpy, one sleepy, and one dramatically terrified. You can also vary their sizes. A row of tiny ghosts mixed with two or three larger ones looks much more interesting than identical shapes.
Turn Empty Jars Into Spooky Lanterns
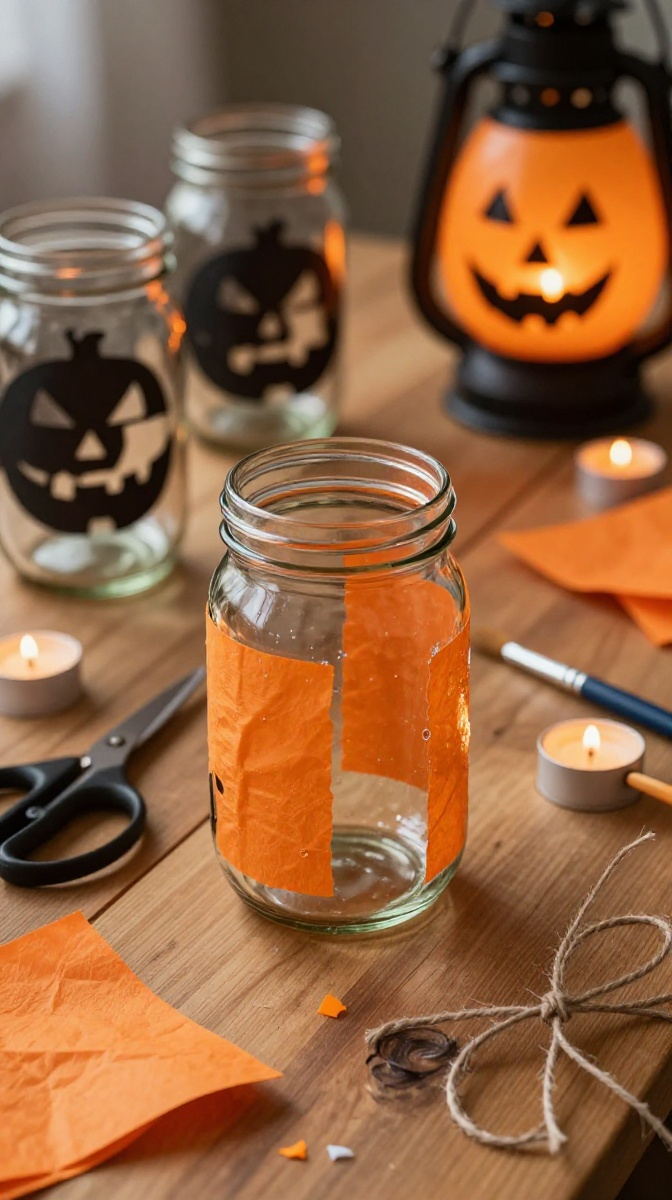
Empty food jars are perfect for budget Halloween decorations. They already have the shape, so your main job involves making them look delightfully creepy.
Materials
- Clean empty glass jars
- Black paper or black marker
- Orange, purple, or white tissue paper
- Glue
- Battery-powered LED tea lights
- Optional ribbon or twine
How to Make the Lanterns
- Wash the jars thoroughly and remove labels and sticky residue.
- Cut small pieces of orange or colored tissue paper to cover parts of the jar.
- Apply a thin layer of glue and attach the tissue paper around the outside.
- Let the surface dry completely before adding details.
- Draw simple Halloween faces using a black marker, or cut eyes and mouths from black paper.
- Place a battery-powered LED tea light inside each jar.
- Arrange several lanterns together on a table, shelf, or windowsill.
Design Variations
Try pumpkin faces, ghosts, bats, monsters, or silly faces. You can even make a mismatched collection where every jar has a completely different expression. For a more mysterious effect, use white tissue paper with black silhouettes. For a classic Halloween look, orange tissue paper with black faces works beautifully. Never use an open flame inside homemade paper or fabric decorations. Battery-powered LEDs give you the glow without turning your spooky centerpiece into an emergency.
Make a Haunted Cardboard Window Scene
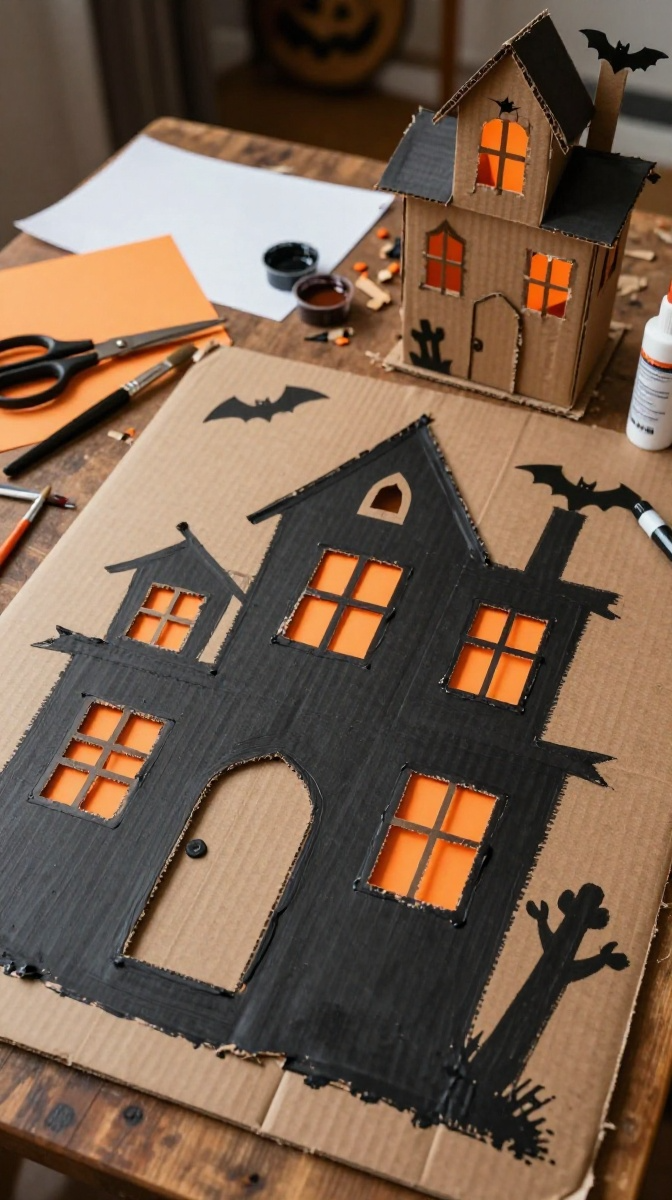
Got an empty cardboard box? Perfect. You can turn it into a creepy little haunted-house scene for a shelf or tabletop.
Materials
- Flat piece of cardboard
- Black paper or black paint
- White paper
- Scissors or craft knife
- Glue
- Black marker
- Optional orange paper for glowing windows
Step-by-Step Instructions
- Cut the cardboard into a rectangle large enough to display on your chosen surface.
- Cover the front with black paper or paint it black.
- Sketch the outline of a simple haunted house, crooked windows, and a pointed roof.
- Cut out several window shapes, leaving enough cardboard around them to keep the piece sturdy.
- Glue orange or yellow paper behind the windows to create the appearance of glowing rooms.
- Add small bats, crooked trees, gravestones, or a moon using leftover paper scraps.
- Place the finished scene against a wall or prop it on a shelf.
Easy Design Trick
Do not worry about making everything perfectly straight. Halloween practically rewards bad architecture. A slightly crooked roof, uneven windows, and wonky trees can make the scene look more haunted. If everything looks too neat, add a few intentionally uneven details.
Budget-Friendly Hanging Bats
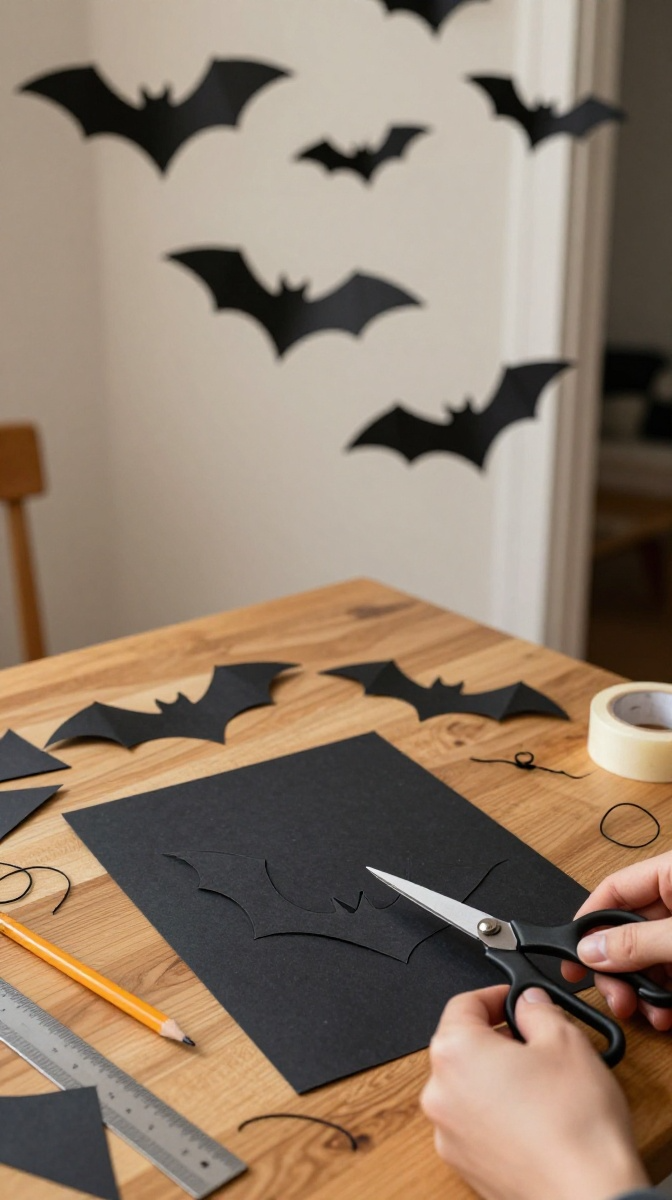
If you want something quick, hanging bats are hard to beat. They cost almost nothing and look great when you use different sizes.
How to Make Paper Bats
- Fold a sheet of black paper in half.
- Draw half of a bat shape along the folded edge.
- Cut around the outline while keeping the folded edge intact.
- Open the paper to reveal the full bat.
- Repeat with different sizes of paper.
- Attach small pieces of string or thread to the bats.
- Hang them from the ceiling, curtain rod, staircase, or doorway.
You can also bend the wings slightly upward to give each bat a three-dimensional appearance.
Where Should You Hang Them?
Create a swarm near a doorway or window. Start with a few smaller bats and gradually make them larger toward one side. This simple arrangement creates movement and makes a plain wall look much more dramatic.
Common DIY Halloween Mistakes to Avoid
Budget crafting should save money, not create unnecessary frustration. A few small tricks can make the process much easier.
Using Too Much Glue
More glue does not mean stronger decorations. It usually means sticky fingers, wrinkled paper, and a craft surface that looks like it survived a small glue explosion. Use thin layers and allow each piece to dry properly.
Skipping a Test Piece
Before painting or cutting an entire batch, test your idea on one piece of scrap material. This helps you check the color, shape, and size before committing all your supplies.
Making Everything the Same
Perfectly matching decorations can look a little flat. Mix sizes, shapes, expressions, and textures for a more natural homemade look.
Forgetting About Stability
Light decorations can move or fall easily. Use tape, removable hooks, or small weights where needed, especially around doorways and windows.
How to Display Your Budget Halloween Crafts
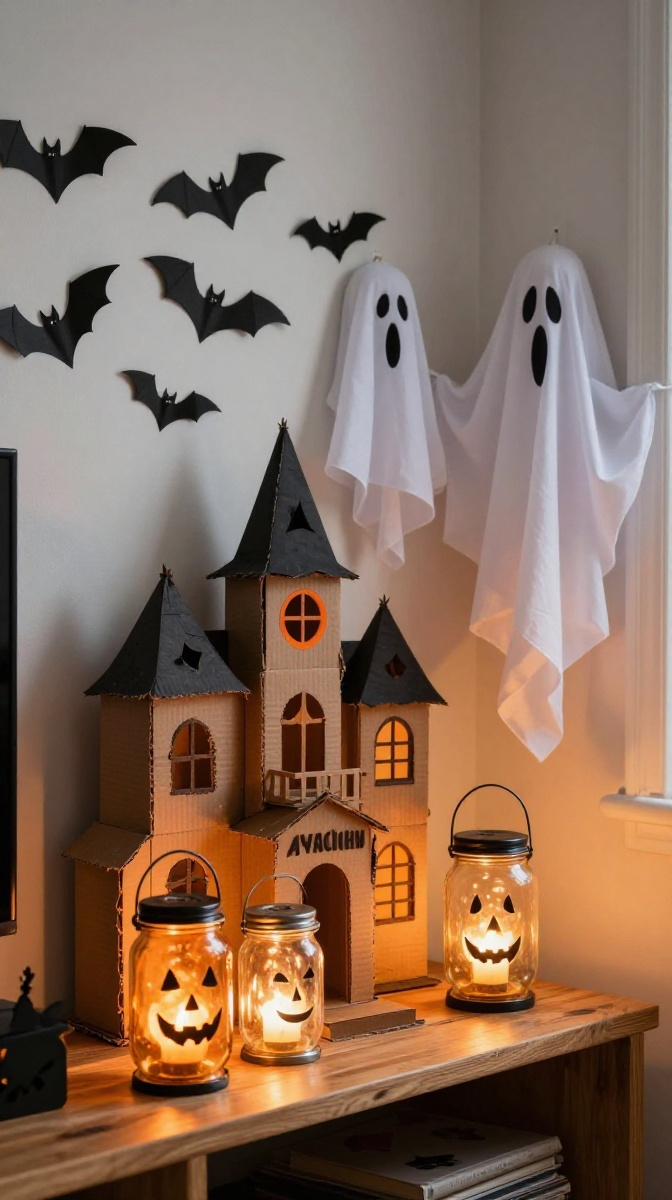
Now comes the fun part: putting everything together. Group your decorations instead of spreading one tiny craft across an enormous room. A collection of three spooky lanterns looks much stronger than one lonely jar sitting in the middle of a table.
Create a Spooky Corner
Choose one shelf, table, or corner and build a small Halloween display. Combine your lanterns, cardboard haunted house, bats, and ghost garland. Use different heights to create depth. Put taller decorations at the back and smaller pieces in front.
Decorate a Window
Windows are fantastic for inexpensive Halloween decor. Hang paper bats from the top and place glowing jar lanterns along the windowsill. At night, the silhouettes become much more noticeable, and you get a spooky effect without covering the whole room.
Use Leftovers Creatively
Save your paper scraps. Small pieces can become bats, spider shapes, tiny pumpkins, gravestones, or spooky signs. You can also use leftover cardboard to create little Halloween props for shelves, party tables, or photo backgrounds.
Safety Tips for Homemade Decorations
A cute Halloween craft is great. A craft that accidentally becomes a fire hazard? Not so much. Keep paper, cardboard, tissue paper, and fabric away from candles, heaters, stoves, and other sources of heat. Use battery-powered lights whenever possible. Secure hanging decorations so they cannot fall onto walkways or block doors. If children help with the project, supervise cutting, hot glue, and small decorative pieces. Keep sharp tools away when they are not being used. For outdoor decorations, protect paper crafts from rain and strong wind. If you expect bad weather, bring them indoors rather than watching your masterpiece slowly dissolve.
FAQ’s
What are the cheapest Halloween decorations to make?
Paper bats, ghost garlands, cardboard haunted houses, and jar lanterns are some of the cheapest options. You can make most of them using recycled household materials and basic craft supplies.
How can I decorate for Halloween without spending much money?
Start by reusing cardboard, jars, paper bags, old fabric, and leftover craft supplies. Choose one or two strong decoration themes instead of buying lots of unrelated items.
Can I make these Halloween crafts with kids?
Yes. Ghost garlands, paper bats, and decorating jars work especially well for children. Adults should handle sharp scissors, craft knives, hot glue, and any other potentially dangerous tools.
How long do homemade Halloween decorations last?
Indoor paper and cardboard decorations can last for several Halloween seasons if you store them flat and keep them dry. Fabric decorations can last even longer when washed and stored properly.
Can I use homemade decorations outdoors?
Some can, but paper and cardboard do not handle rain well. For outdoor use, choose weather-resistant materials or display your crafts in a covered area.
How do I make cheap Halloween decorations look expensive?
Focus on presentation. Use consistent colors, different heights, layered displays, and soft lighting. A simple decoration can look much more polished when you group several pieces thoughtfully.
Give Your Halloween Decor a DIY Makeover
You really do not need a huge Halloween budget to make your home feel festive and spooky. A few recycled materials, some basic craft supplies, and a little creative chaos can go a surprisingly long way. Start with one project, then build from there. Maybe your first cardboard bat looks slightly suspicious, or your ghost has a face that makes absolutely no sense. That is fine. Handmade decorations are supposed to have personality. Grab some old jars, cardboard, paper, and fabric, and start crafting. Your haunted house does not need to be perfect—it just needs to be fun.