
There’s a special kind of dessert panic that happens when you crave something sweet, check the kitchen, and realize the oven either isn’t working, isn’t available, or you simply don’t want to turn it on. I’ve had that moment more times than I’d like to admit.
One evening, I wanted dessert after dinner, but my oven decided it had other plans. Instead of giving up, I pulled out a saucepan, some biscuits, condensed milk, chocolate, and whatever else I could find. Twenty minutes later, I had a chilled chocolate dessert sitting in the fridge.
That little kitchen rescue turned into one of my favorite ways to make sweets.
Over time, I started experimenting with easy dessert recipes without oven, and honestly, I discovered something wonderful: you don’t need fancy equipment to make a dessert people fight over at the table.
These recipes rely on simple techniques like chilling, melting, mixing, steaming, and stovetop cooking. They work especially well when you live somewhere with hot weather, have limited kitchen equipment, or just want dessert without turning your kitchen into a sauna.
So grab a mixing bowl and prepare yourself. Your oven can take the evening off.
Why You’ll Love These Recipes
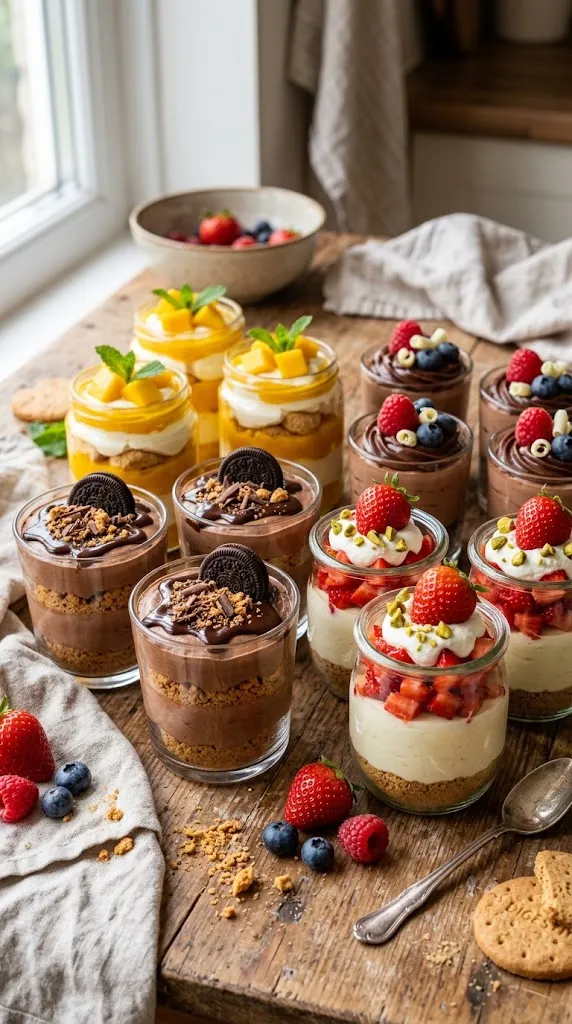
- No oven required: A stovetop, refrigerator, or freezer handles most of the work.
- Beginner-friendly: You won’t need complicated baking techniques or expensive equipment.
- Quick preparation: Many desserts take less than 30 minutes to assemble.
- Budget-friendly: Biscuits, cocoa, condensed milk, cream, fruit, and chocolate can create seriously good desserts.
- Perfect for gatherings: Make several portions ahead of time and keep them chilled until dessert time.
The biggest advantage? You can taste-test as you go. I consider that an important quality-control procedure.
Ingredients List
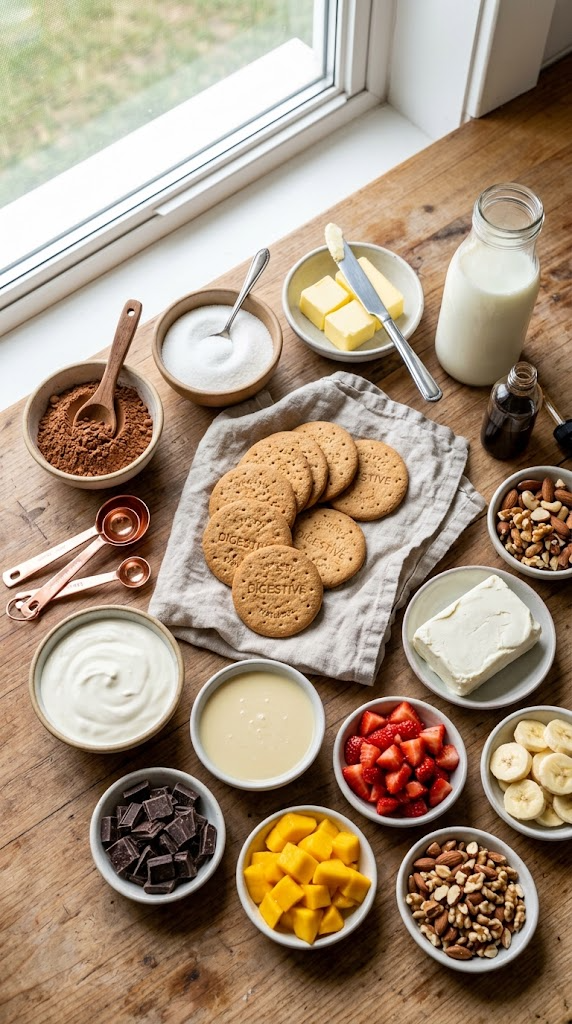
You can make plenty of oven-free desserts from a small collection of pantry and refrigerator staples. Here’s the basic shopping list I keep around.
For Biscuit-Based Desserts
- 250 g plain tea biscuits or digestive biscuits
- 100 g unsalted butter, melted
- 2 tablespoons unsweetened cocoa powder
- 3 tablespoons granulated sugar
- ½ cup milk
- 1 teaspoon vanilla extract
You can use graham crackers instead of digestive biscuits. If your biscuits already taste quite sweet, reduce the added sugar.
For Creamy Desserts
- 1 cup heavy cream or whipping cream
- ½ cup sweetened condensed milk
- ½ teaspoon vanilla extract
- 100 g cream cheese, softened — optional for a cheesecake-style dessert
For a lighter texture, replace some of the heavy cream with plain Greek-style yogurt. Keep in mind that yogurt gives the dessert a slightly tangier flavor.
For Chocolate Toppings
- 100 g semi-sweet or milk chocolate
- 2 tablespoons heavy cream
- 2 tablespoons chopped nuts
- 1 tablespoon chocolate chips, optional
Dark chocolate works beautifully if you prefer a deeper chocolate flavor.
For Fruit Desserts
- 2 bananas
- 1 cup strawberries
- 1 mango
- 1 tablespoon lemon juice
- 1 tablespoon honey, optional
Use whatever fruit looks fresh. Peaches, blueberries, apples, grapes, and pineapple can all work depending on the dessert.
Useful Tools
You don’t need a kitchen full of gadgets. A few basics will do:
- Mixing bowls
- Measuring cups and spoons
- Silicone spatula
- Saucepan
- Whisk
- Food processor or rolling pin for crushing biscuits
- Refrigerator
- Serving glasses, jars, or a small baking dish
A hand mixer makes whipped cream easier, but you can also whisk it by hand if you feel like giving your arms a workout.
Step-by-Step Instructions
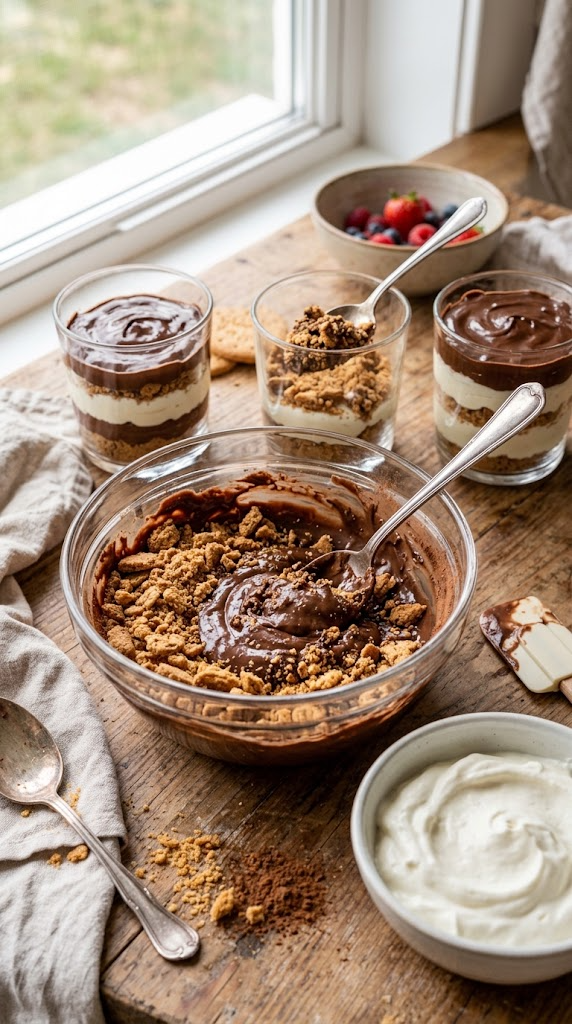
1. Crush the Biscuits — 5 Minutes
Place the biscuits in a food processor and pulse until you get fine crumbs.
No food processor? No problem. Put the biscuits inside a sturdy zip-top bag and crush them with a rolling pin. Leave a few tiny pieces behind for texture rather than turning everything into dust.
The crumbs should resemble coarse sand.
2. Make the Chocolate Biscuit Mixture — 5 Minutes
Place the melted butter, cocoa powder, sugar, and milk in a saucepan.
Heat the mixture over low heat for about 2–3 minutes. Stir constantly until the sugar dissolves and the mixture looks smooth.
Don’t let it boil aggressively. Gentle heat gives you a smoother result.
Remove the saucepan from the heat and stir in the vanilla.
Add the crushed biscuits and mix until everything looks evenly coated.
The mixture should hold together when you press it with a spoon.
3. Prepare the Cream Layer — 5–7 Minutes
Pour the chilled heavy cream into a cold mixing bowl.
Whisk until soft peaks form. If you use an electric hand mixer, start on low speed and gradually increase the speed.
Add the condensed milk and vanilla.
Whisk again just until the mixture becomes thick and creamy.
Stop before you overbeat the cream. Once it looks fluffy and holds its shape, put the mixer down.
I learned that lesson the messy way.
4. Build the Dessert — 5 Minutes
Take small serving glasses or one medium dish.
Add a layer of the chocolate biscuit mixture to the bottom. Press it down gently with the back of a spoon.
Add a layer of cream.
Add sliced strawberries or bananas if you want a fruity layer.
Repeat the layers until you reach the top.
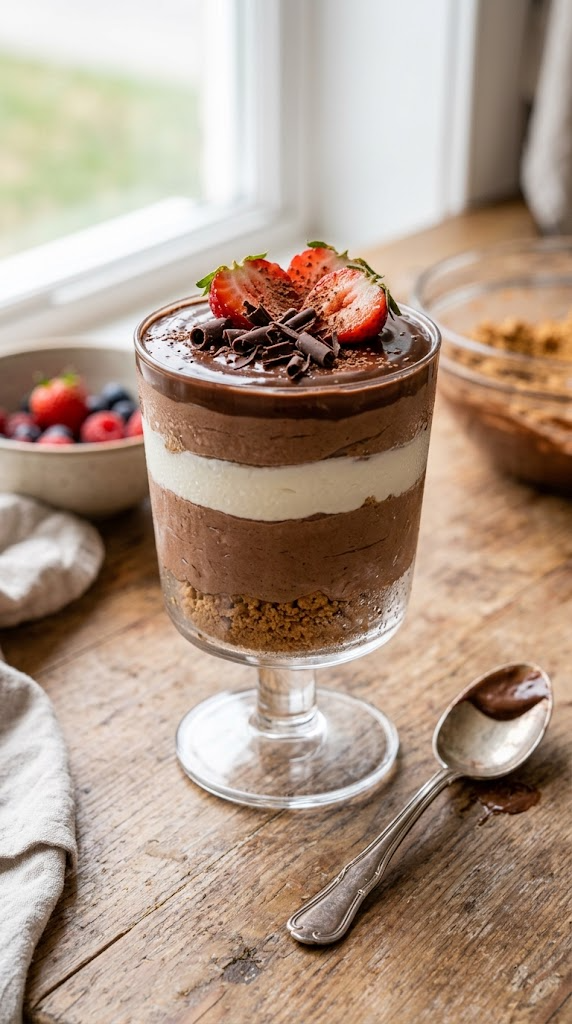
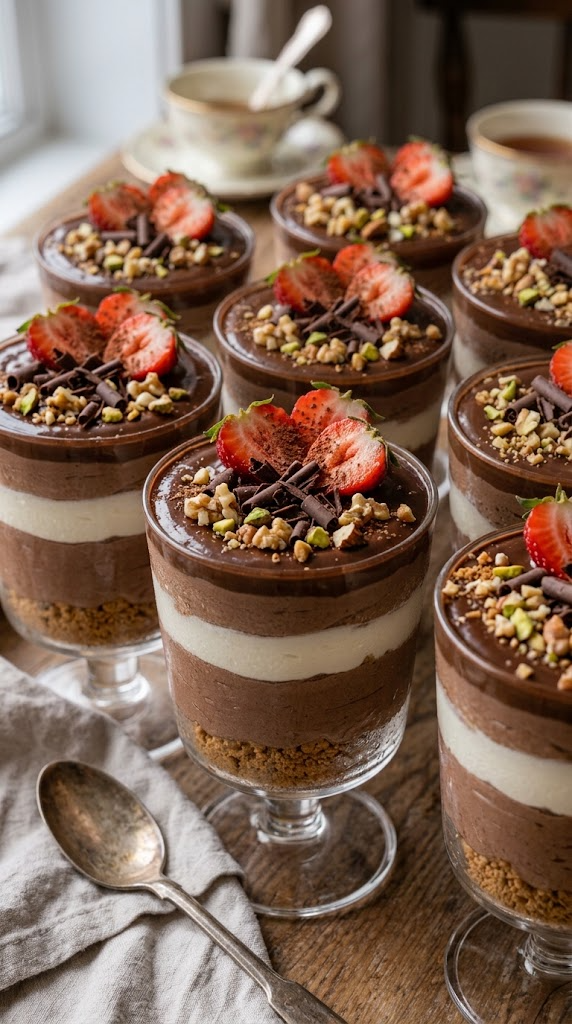
Finish with a little chocolate, crushed biscuit, chopped nuts, or fresh fruit.
Don’t worry about making every layer perfectly straight. Homemade desserts look better with a little personality.
5. Chill Until Firm — 2–4 Hours
Cover the dessert and place it in the refrigerator.
Let individual glasses chill for at least 2 hours. A larger dish usually benefits from 3–4 hours.
The chilling time lets the biscuit layers soften and gives the cream time to firm up.
For the best texture, I often make this dessert the night before serving.
6. Make a Quick Chocolate Topping — 5 Minutes
For an extra chocolate finish, place chopped chocolate in a heatproof bowl.
Warm the heavy cream in a saucepan over low heat until it becomes hot but doesn’t boil.
Pour the hot cream over the chocolate.
Wait for about 2 minutes, then stir slowly until glossy and smooth.
Let the topping cool slightly before spooning it over the chilled dessert.
If you pour extremely hot chocolate over delicate cream, you may end up with a melted dessert instead of a layered dessert. Delicious? Maybe. Pretty? Not so much.
7. Add the Final Touches — 2 Minutes
Top each serving with sliced strawberries, chocolate shavings, crushed nuts, or a small biscuit.
Serve straight from the refrigerator.
If you want a slightly softer texture, let the dessert sit at room temperature for about 5–10 minutes before serving.
Pro Tips & Tricks
Chill Your Cream First
Cold cream whips much faster and holds its shape better.
I usually chill the cream, mixing bowl, and whisk for a few minutes before starting. You don’t need to freeze them solid. Just get everything properly cold.
Don’t Overheat Chocolate
Chocolate can turn grainy when you expose it to excessive heat.
Use low heat and stir patiently. Chocolate rewards patience, which feels slightly unfair because I have very little of it.
Give the Dessert Enough Chilling Time
This step makes a bigger difference than people expect.
If you serve a layered dessert too early, the biscuit layer may feel dry and crumbly. Give it time to absorb moisture from the creamy layers.
Don’t Pack Biscuit Crumbs Too Tightly
Press them gently into the serving dish.
If you compact them too firmly, the bottom layer can become surprisingly difficult to scoop.
Make It Ahead
Most chilled desserts taste even better after several hours in the refrigerator.
Prepare them in the morning for an evening gathering, or assemble them the night before.
Keep them covered so they don’t absorb refrigerator odors.
Store Leftovers Properly
Keep leftovers refrigerated in an airtight container or covered serving dish.
Cream-based desserts generally taste best within a couple of days. Fresh fruit can soften over time, so desserts containing bananas or berries usually benefit from earlier serving.
Variations & Substitutions
No-Bake Chocolate Cheesecake Cups
For a richer version, mix softened cream cheese with condensed milk and vanilla.
Spoon the mixture over crushed biscuit crumbs and chill until firm.
Add melted chocolate or cocoa powder for an extra chocolate kick.
This version feels fancy enough for a dinner party but requires almost no actual work.
Coconut Biscuit Dessert
Replace part of the biscuit crumbs with unsweetened shredded coconut.
Add 2–3 tablespoons of coconut milk to the cream mixture and finish with toasted coconut.
If you love coconut desserts, this combination gives you plenty of flavor without complicated preparation.
Fresh Mango Cream Cups
For a fruity summer version, layer crushed biscuits with whipped cream and diced ripe mango.
Add a tiny squeeze of lemon juice to the mango to brighten the flavor.
You can also blend some mango into a smooth puree and drizzle it between the layers.
Dairy-Free Version
Use dairy-free biscuits, plant-based whipping cream, and dairy-free chocolate.
Check each package carefully because some biscuits and chocolates contain milk ingredients even when they don’t look like traditional dairy products.
Gluten-Free Version
Choose certified gluten-free biscuits or cookies.
The rest of the ingredients can often stay the same, provided their labels suit your needs.
Serving Suggestions
These easy dessert recipes without oven work beautifully for casual family dinners, birthday gatherings, potlucks, afternoon tea, and last-minute guests.
For individual portions, use small glass cups or dessert jars. The layers look especially pretty when you can see them through the sides.
For a family-style dessert, use a shallow glass dish. It makes serving easier and lets everyone scoop their own portion.
Serve chocolate desserts with fresh berries to add a bright contrast.
For fruit-based desserts, add a little grated chocolate or toasted coconut.
If you’re serving dessert after a heavy meal, keep the portions modest. Rich chocolate and cream can fill you up quickly.
For parties, prepare individual cups several hours ahead and keep them refrigerated until guests arrive.
You can also create a small dessert station with toppings such as:
- Chopped almonds
- Toasted coconut
- Chocolate shavings
- Fresh berries
- Banana slices
- Crushed biscuits
- Caramel sauce
- Cocoa powder
Let everyone customize their own dessert.
That usually keeps both children and adults happily occupied for at least five minutes, which counts as a hosting victory in my kitchen.
FAQ’s
Can I make easy desserts without an oven the day before?
Absolutely. Chilled desserts often benefit from overnight refrigeration.
Prepare the dessert, cover it tightly, and refrigerate it. Add delicate toppings such as fresh fruit, whipped cream decorations, or crunchy biscuits shortly before serving.
How long do no-oven desserts last in the refrigerator?
Most cream- and biscuit-based desserts taste best within 2–3 days when stored properly in the refrigerator.
Fresh fruit can release moisture as it sits, so fruit-heavy desserts may change texture sooner.
Can I use condensed milk instead of sugar?
Yes, but adjust the recipe.
Condensed milk adds sweetness as well as moisture, so reduce or remove additional sugar when you use it. Taste the cream mixture before assembling the dessert and adjust it to your preference.
Why did my cream dessert become runny?
Several things can cause this.
You may have under-whipped the cream, used warm cream, added too much liquid, or skipped enough chilling time.
Always start with cold cream and stop whipping once it reaches firm peaks. Avoid adding large amounts of liquid to the mixture.
Can I freeze desserts made without an oven?
Some chocolate and biscuit desserts freeze well, but cream texture can change after thawing.
If you want to freeze one, place it in an airtight freezer-safe container and freeze it without delicate fresh-fruit toppings.
Thaw it slowly in the refrigerator rather than leaving it on the counter.
Can I make these desserts without a food processor?
Definitely.
A rolling pin and sturdy zip-top bag can crush biscuits easily.
For small quantities, you can even place the biscuits in a bowl and crush them with the bottom of a glass.
Closing / Final Thoughts
I genuinely love desserts that don’t make me negotiate with my oven.
There’s something satisfying about taking a handful of ordinary ingredients and turning them into something creamy, chocolatey, fruity, and completely worth sneaking an extra spoonful of.
The best part about easy dessert recipes without oven is how flexible they are. You can swap the biscuits, change the fruit, play with chocolate, add nuts, or turn one big dessert into individual little cups.
And if the first batch doesn’t look perfect, don’t panic. Refrigerated desserts are wonderfully forgiving. Cover the top with chocolate shavings and suddenly nobody needs to know what happened underneath.
So pick your favorite combination, grab a bowl, and give it a try.
Then put the oven on vacation, make yourself a cup of tea, and enjoy the fact that dessert is already happening.