
I used to think making dessert meant turning on the oven, waiting for it to heat, checking the temperature, and then somehow remembering not to burn whatever I had put inside.
Then came one particularly hot evening when the last thing I wanted to do involved standing beside a warm oven.
I opened the refrigerator, found some cream, grabbed a packet of biscuits from the cupboard, and started experimenting.
That little kitchen experiment changed the way I think about dessert.
You can make genuinely delicious treats without an oven. No complicated baking equipment. No long preheating. And definitely no sweating beside a 350°F oven while wondering whether dessert actually deserves this much effort.
These easy dessert recipes without oven rely on simple techniques such as chilling, stovetop cooking, layering, whipping, and assembling.
I’ve made versions of these desserts for family dinners, unexpected guests, weekend cravings, and those moments when everyone suddenly asks, “Do we have anything sweet?”
Why You’ll Love These No-Oven Desserts
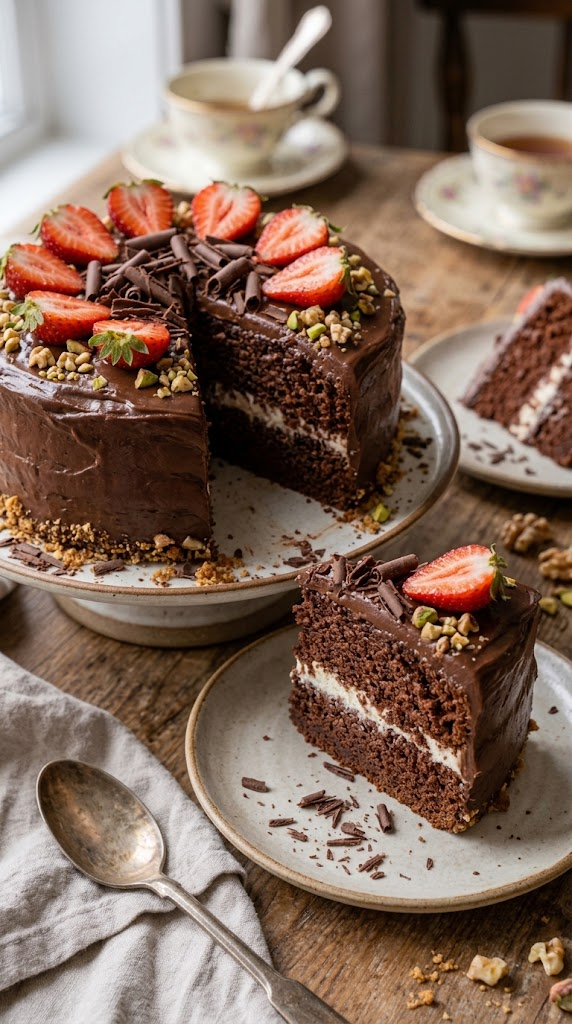
- No oven required: Perfect for hot days or kitchens without an oven.
- Beginner-friendly: Most recipes rely on simple mixing, chilling, or stovetop techniques.
- Budget-conscious: Everyday ingredients can create surprisingly impressive desserts.
- Great for entertaining: Many options can sit ready in the refrigerator until guests arrive.
- Easy to customize: Change the fruit, biscuits, chocolate, toppings, or flavorings to suit your mood.
Ingredients You’ll Need
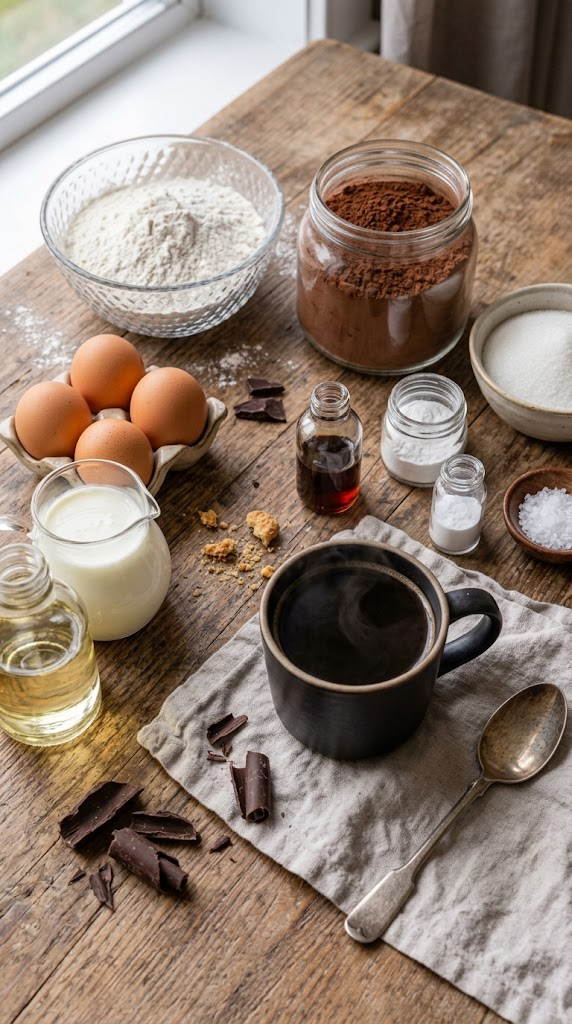
Since “easy dessert recipes without oven” covers several styles of treats, I’ve included a few reliable ingredient combinations you can keep on hand.
Creamy Biscuit Dessert
- 2 cups (480 ml) heavy whipping cream
- ½ cup (60 g) powdered sugar
- 1 teaspoon vanilla extract
- 2 cups crushed tea biscuits or digestive biscuits
- ½ cup chocolate chips
- ¼ cup chopped nuts, optional
No-Bake Chocolate Pudding
- 2 cups (480 ml) whole milk
- ½ cup (100 g) granulated sugar
- ¼ cup (30 g) unsweetened cocoa powder
- 3 tablespoons cornstarch
- ¼ teaspoon salt
- 2 tablespoons butter
- 1 teaspoon vanilla extract
Quick Fruit Cream Cups
- 2 cups (480 ml) heavy whipping cream
- ¼ cup (30 g) powdered sugar
- 1 teaspoon vanilla extract
- 2 cups chopped strawberries, bananas, mangoes, or berries
- 1 cup crushed biscuits
You can swap fresh fruit depending on the season.
For a lighter flavor, berries work beautifully. For a sweeter tropical version, try mango and banana.
Step-by-Step Instructions
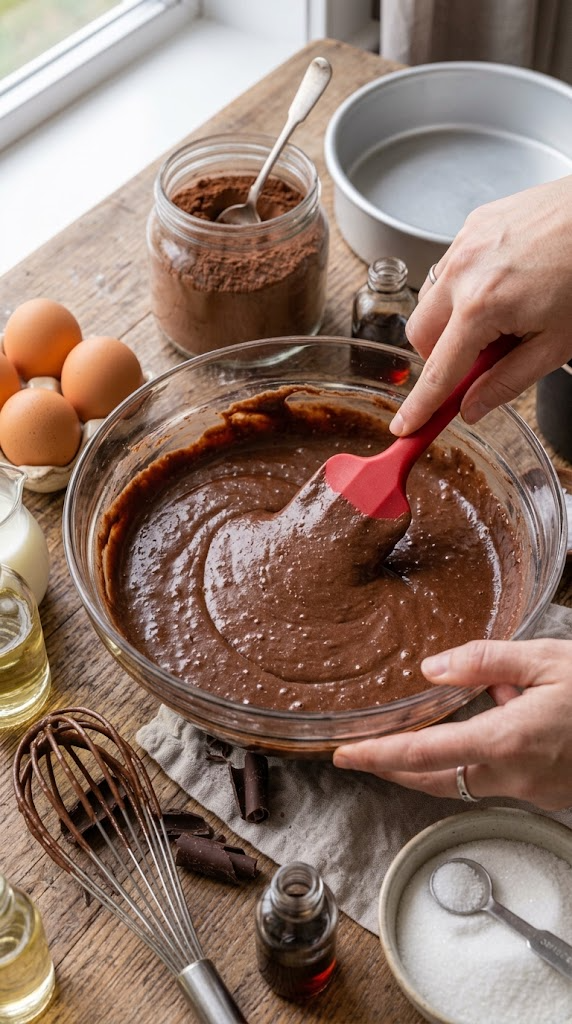
No-Bake Creamy Biscuit Dessert
1. Crush the Biscuits
Place the biscuits in a zip-top bag and crush them with a rolling pin.
You want a mixture of fine crumbs and a few slightly larger pieces.
Don’t turn everything into powder. Those little crunchy pieces give the dessert some texture.
Set aside about 2 tablespoons of crumbs for the topping.
2. Whip the Cream
Pour the cold heavy cream into a chilled mixing bowl.
Add powdered sugar and vanilla.
Using a hand mixer or stand mixer, whip for about 2–4 minutes until soft-to-medium peaks form.
When you lift the beaters, the cream should hold its shape but still look smooth.
Stop there.
If you keep whipping until the cream looks grainy, you’ve gone too far.
I’ve made that mistake while answering a phone call in the kitchen. Cream waits for nobody.
3. Build the Layers
Use small glasses, dessert cups, or one medium serving dish.
Start with a layer of crushed biscuits.
Add a layer of whipped cream.
Sprinkle in a few chocolate chips and chopped nuts if you’re using them.
Repeat the layers until you reach the top.
4. Chill
Cover the dessert and refrigerate for at least 2 hours.
The biscuits soften slightly while the cream becomes firmer.
For the best texture, I often prepare this dessert in the morning and serve it later the same day.
5. Finish Before Serving
Top with reserved biscuit crumbs, chocolate shavings, fruit, or a few chocolate chips.
Serve cold.
No-Bake Chocolate Pudding
1. Combine the Dry Ingredients
Place sugar, cocoa powder, cornstarch, and salt in a saucepan.
Whisk thoroughly.
Breaking up the cocoa and cornstarch now helps prevent lumps later.
2. Add the Milk
Slowly pour in the milk while whisking constantly.
Keep stirring until the mixture looks smooth.
3. Cook the Pudding
Place the saucepan over medium heat.
Cook for about 6–8 minutes, whisking frequently.
The mixture will gradually thicken.
Once it starts bubbling gently and looks thick enough to coat the back of a spoon, continue cooking for about 1 minute.
Don’t walk away.
Pudding has a remarkable talent for going from “nothing is happening” to “why is this stuck to my saucepan?” very quickly.
4. Add Butter and Vanilla
Remove the saucepan from the heat.
Stir in the butter and vanilla extract.
Mix until smooth and glossy.
5. Chill
Pour the pudding into small serving dishes.
Press plastic wrap directly against the surface if you want to prevent a skin from forming.
Refrigerate for at least 2 hours.
6. Add Toppings
Before serving, add whipped cream, chocolate shavings, crushed biscuits, berries, or chopped nuts.
Quick Fruit Cream Cups
1. Prepare the Fruit
Wash and dry the fruit.
Chop strawberries, mangoes, or bananas into bite-sized pieces.
If you’re using apples or bananas and preparing the dessert several hours ahead, toss them lightly with a little lemon juice to slow browning.
2. Whip the Cream
Beat cold heavy cream with powdered sugar and vanilla until soft-to-medium peaks form.
Keep the cream cold throughout the process.
3. Layer Everything
Add crushed biscuits to the bottom of each glass.
Follow with whipped cream and fruit.
Repeat the layers.
Finish with fruit on top.
4. Chill
Refrigerate for at least 1 hour before serving.
This short chilling time lets the flavors mingle without turning the biscuits completely soft.
Pro Tips & Tricks
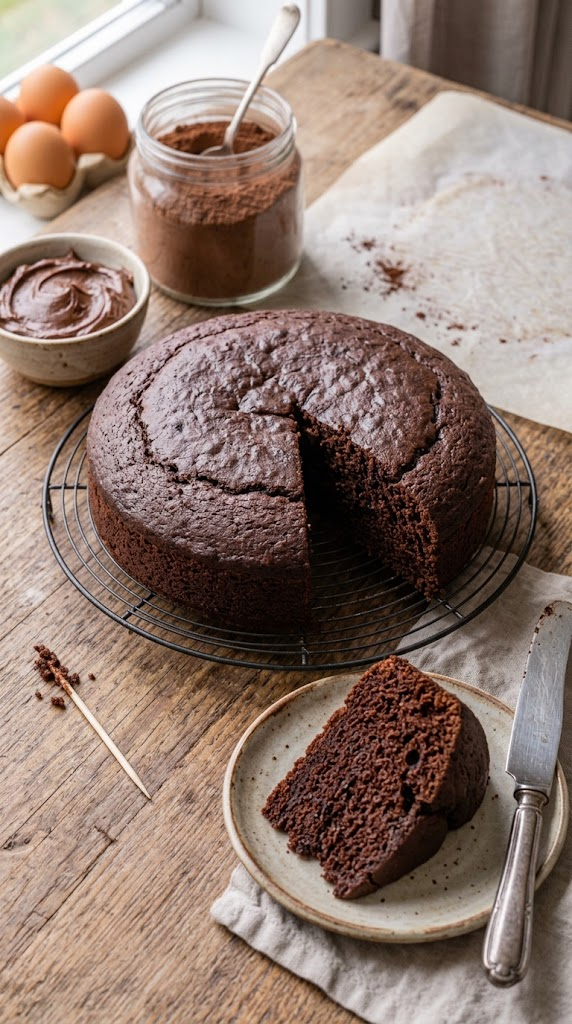
Keep Your Cream Cold
Cold cream whips much more easily.
On especially warm days, chill your mixing bowl and beaters for 10–15 minutes before whipping.
That small step can make a surprisingly big difference.
Don’t Overwhip
Stop once the cream forms soft or medium peaks.
If it becomes grainy, you have started moving toward homemade butter.
That’s a different recipe.
Give No-Bake Desserts Enough Chill Time
Chilling doesn’t just make these desserts cold.
It gives the layers time to set and allows flavors to blend.
If you rush a layered biscuit dessert, the texture may feel loose and messy.
Use Clear Glasses for Parties
Individual glasses make simple desserts look much more polished.
You can see every creamy, chocolatey, fruity layer without doing anything fancy.
Small drinking glasses can work if you don’t have dedicated dessert cups.
Don’t Add Wet Fruit Too Early
Very juicy fruit can release liquid into layered desserts.
For make-ahead versions, use well-drained fruit and add especially juicy toppings shortly before serving.
Make Portions Small
Rich desserts taste better when you serve sensible portions.
Small cups also stretch the recipe when you’re feeding a crowd.
Nobody needs a giant bowl of chocolate pudding to feel happy.
Variations & Substitutions
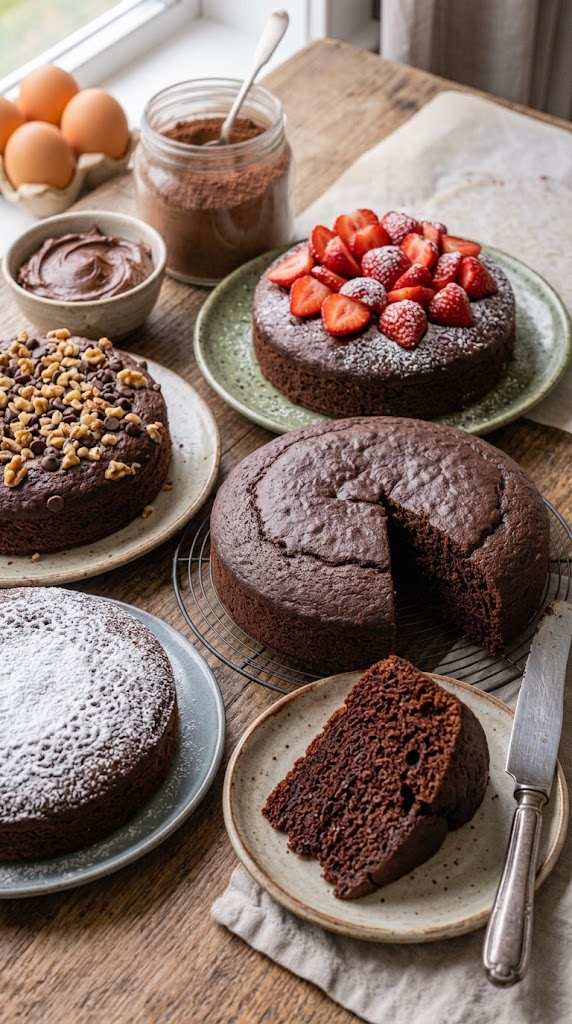
Chocolate Biscuit Cups
Mix 2 tablespoons cocoa powder into the crushed biscuit crumbs.
Layer them with whipped cream and chocolate chips.
For an extra chocolatey finish, drizzle a little melted chocolate over the top before chilling.
Let the melted chocolate cool slightly before drizzling so it doesn’t immediately melt the cream.
Mango Cream Dessert
Replace the mixed fruit with ripe mango.
Layer mango cubes, whipped cream, and crushed biscuits.
You can also blend some mango into a smooth puree and spoon it between the layers.
This version works particularly well during mango season.
Peanut Butter Chocolate Cups
Mix a few spoonfuls of creamy peanut butter into the whipped cream.
Layer with chocolate biscuit crumbs.
Finish with chopped peanuts and chocolate shavings.
If you’re serving these to guests, check for peanut allergies first.
Dairy-Free Version
Use chilled full-fat coconut cream or a suitable dairy-free whipping cream.
Choose dairy-free biscuits and chocolate if you need the entire dessert to remain dairy-free.
Coconut cream adds its own flavor, so it pairs especially well with mango, berries, and chocolate.
Gluten-Free Version
Use certified gluten-free biscuits in recipes that call for cookies or digestive biscuits.
The cream, fruit, and chocolate components can remain naturally simple, but check packaged ingredients if you’re avoiding gluten carefully.
Serving Suggestions
No-oven desserts work beautifully for casual dinners because you can prepare them ahead.
Serve chocolate pudding in small glasses with whipped cream and chocolate curls.
For fruit desserts, add fresh berries or mango right before serving.
Layered biscuit desserts pair nicely with tea or coffee.
For a family gathering, make one large dish instead of individual portions.
For parties, individual cups usually make serving easier and reduce the amount of spooning and scooping happening at the table.
If you’re preparing dessert during warm weather, keep everything refrigerated until you’re ready to serve.
For an extra special presentation, place each dessert on a small plate and add a few fresh berries around the glass.
It takes about 30 seconds and makes everyone think you worked much harder than you actually did.
FAQ’s
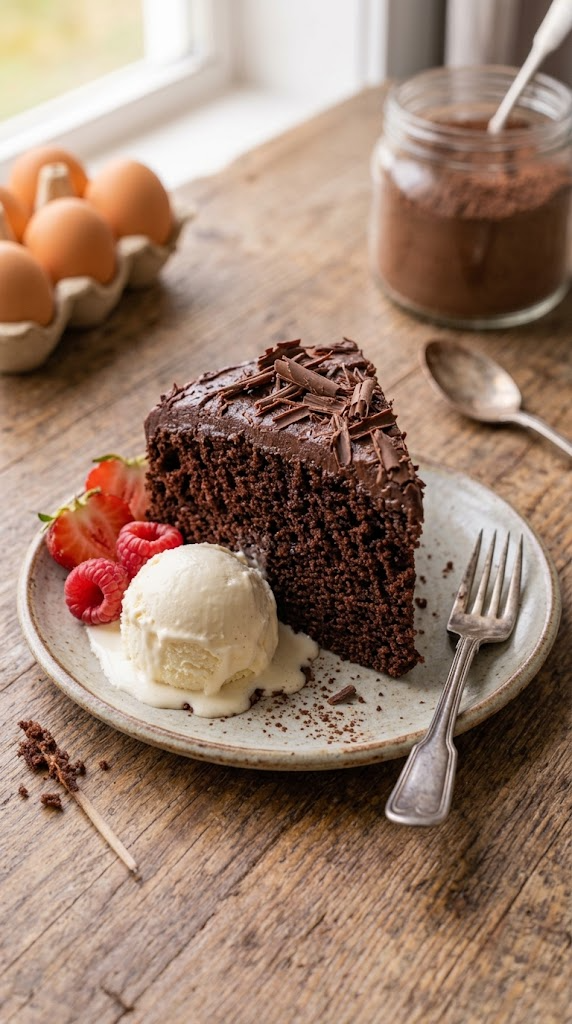
You can make puddings, cheesecakes, mousse, truffles, layered biscuit desserts, fruit creams, chocolate cups, and many other sweets using refrigeration, stovetop cooking, or simple assembly.
How long do no-bake desserts last in the refrigerator?
Most cream-based desserts taste best within 2–3 days when stored properly in airtight containers.
Fruit can affect the texture, so desserts containing fresh fruit often taste best sooner.
Can I prepare these desserts the night before?
Yes.
Layered desserts and puddings often benefit from overnight chilling.
If you’re using very juicy fresh fruit, consider adding it shortly before serving.
Can I freeze no-bake desserts?
Some can, but the texture may change.
Cream-based desserts can become icy or slightly grainy after freezing and thawing.
Chocolate truffles and some cheesecake-style desserts generally handle freezing better.
Why did my whipped cream become runny?
The cream may not have been cold enough, or you may have underwhipped it.
Start with very cold heavy cream and use a chilled bowl if your kitchen feels warm.
You can also add powdered sugar to help stabilize the mixture.
Why did my biscuit layers become too soft?
You probably gave them too much moisture or allowed the dessert to sit for too long.
Crush the biscuits rather than turning them completely into powder, and avoid adding excessive fruit juice or liquid sauces.
For the best texture, serve layered biscuit desserts within a day or two.
Final Thoughts
Making dessert without an oven has become one of my favorite kitchen shortcuts.
Sometimes I want a proper cake, but sometimes I want something cold, creamy, chocolatey, and sitting in the refrigerator while I do absolutely nothing.
That’s where these easy dessert recipes without oven really shine.
They don’t require complicated equipment, and you don’t need perfect baking skills to make something people will happily reach for again.
Start with a simple biscuit-and-cream dessert if you’re new to no-bake treats.
Try the chocolate pudding when you want something rich and comforting.
Or grab whatever fruit looks good and make a colorful cream dessert.
And don’t worry if your first layers look slightly crooked. Mine still do.
As long as there’s chocolate, cream, fruit, or biscuits involved, I consider that a successful dessert.