
Halloween parties don’t need complicated desserts, three trips to the grocery store, or a kitchen that looks like a candy factory exploded. You can put together a seriously cute Halloween dessert table with simple ingredients, a little creativity, and recipes that won’t make you question every life decision you’ve ever made.
These easy Halloween treats for party tables hit that sweet spot: spooky enough to feel festive, simple enough for a busy host, and tasty enough that guests will keep sneaking back for “just one more.”
I’ve included a mix of chocolatey bites, no-bake goodies, fruity treats, and adorable cookies, so you can build a Halloween spread with plenty of variety. And honestly, who wants a party table where everything tastes the same?
Let’s get those treats ready. 🎃
1. Halloween Monster Eye Brownie Bites
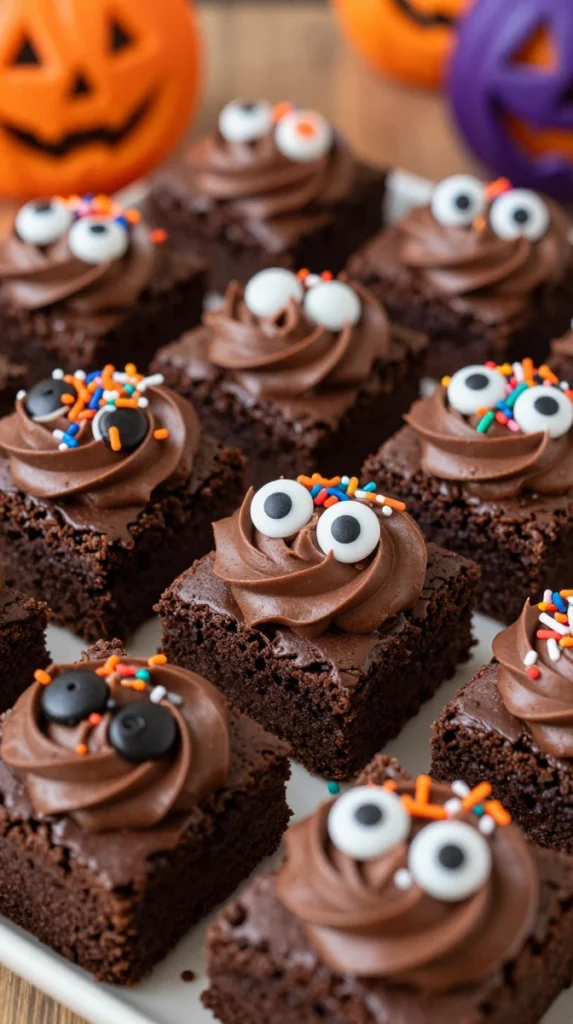
Brownies already have the unfair advantage of being delicious. Add candy eyes, and suddenly they become Halloween party celebrities.
These little brownie bites look impressive without requiring fancy decorating skills. You can use homemade brownies or your favorite boxed mix when time gets tight. No judgment here—I’ve absolutely taken the shortcut.
Ingredients
- 1 box brownie mix, plus ingredients listed on the package
- Candy eyes
- Chocolate frosting
- Halloween sprinkles
- Mini chocolate chips
- Powdered sugar, optional
Step-by-Step Instructions
- Prepare the brownie batter according to the package directions.
- Pour the batter into a mini muffin pan lined with small cupcake liners.
- Bake according to the brownie mix instructions, checking a little early because smaller brownies cook faster.
- Let the brownie bites cool completely before decorating.
- Add a small swirl or dollop of chocolate frosting to each brownie.
- Press one or two candy eyes into the frosting.
- Sprinkle a few Halloween sprinkles over the top.
- Let the frosting set for a few minutes before transferring the bites to your party table.
Why You’ll Love It
These brownie bites give you maximum Halloween personality with very little work. The fudgy chocolate center pairs beautifully with the sweet frosting, while the candy eyes make every bite look ridiculously cute.
Party tip: Make these the night before and store them in an airtight container. Decorate them a few hours before serving so the toppings stay fresh and pretty.
2. Halloween Chocolate-Covered Pretzel Rods
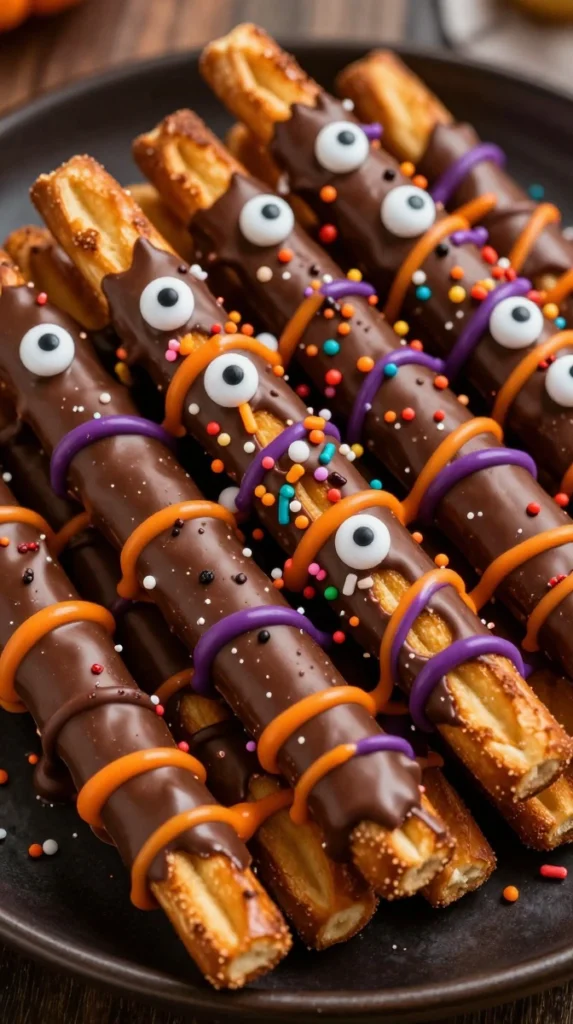
Need a treat that looks fancy but practically makes itself? Chocolate-covered pretzel rods have entered the chat.
The combination of salty pretzels and sweet chocolate keeps these from becoming overly sugary, which makes them perfect for a table already packed with candy.
Ingredients
- Pretzel rods
- Milk, dark, or white chocolate melting wafers
- Orange candy melts
- Purple candy melts
- Halloween sprinkles
- Candy eyes, optional
Step-by-Step Instructions
- Melt the chocolate wafers in a microwave-safe bowl in short intervals.
- Stir after each interval until the chocolate becomes smooth.
- Dip about two-thirds of each pretzel rod into the melted chocolate.
- Hold the pretzel over the bowl for a few seconds so extra chocolate can drip away.
- Place the coated pretzels on parchment paper.
- Melt the orange and purple candy melts separately.
- Drizzle the colored candy melts over the chocolate-coated pretzels.
- Add Halloween sprinkles or candy eyes while the coating remains soft.
- Let the pretzels sit until the chocolate completely hardens.
Why You’ll Love It
These treats take almost no baking skill, and that’s exactly why I love them. The crunchy pretzel gives every bite a salty kick that balances the chocolate beautifully.
For an extra spooky look, arrange them upright in a tall glass or jar. Suddenly, you have edible Halloween decorations. Pretty clever, right? 🙂
3. Mini Halloween Rice Krispie Monsters
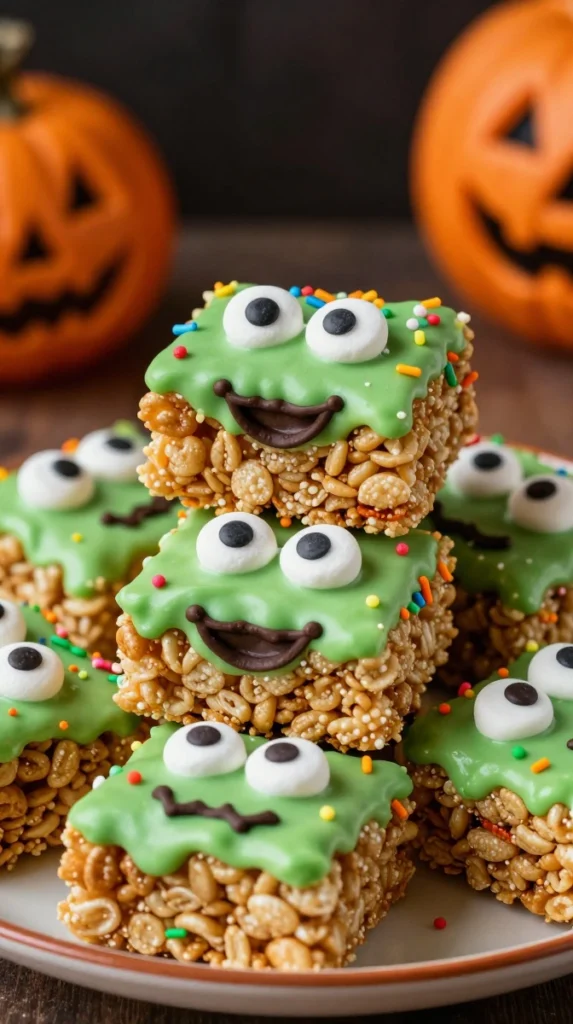
Rice Krispie treats already have a nostalgic charm, but turning them into tiny Halloween monsters makes them even more fun.
Kids can help decorate these, which means you get adorable treats and tiny kitchen assistants. Just prepare yourself for a suspicious number of missing candy eyes.
Ingredients
- Rice cereal
- Mini marshmallows
- Butter
- Green food coloring
- Candy eyes
- Chocolate chips
- Halloween sprinkles
- Black or purple decorating icing
Step-by-Step Instructions
- Melt the butter in a large saucepan over low heat.
- Add the mini marshmallows and stir until they melt smoothly.
- Add a few drops of green food coloring and mix until you reach your preferred monster shade.
- Remove the pan from the heat.
- Stir in the rice cereal until every piece gets coated.
- Press the mixture into a greased baking pan.
- Let it cool for about 20–30 minutes.
- Cut the mixture into small squares or use a cookie cutter to create fun shapes.
- Add a little icing to the top of each piece.
- Press candy eyes into the icing.
- Finish with sprinkles or tiny chocolate details.
Why You’ll Love It
These chewy, buttery treats taste familiar, but the monster decorations make them feel completely new. They also work wonderfully for school parties, family gatherings, and Halloween buffets.
My favorite shortcut: Make the treats in a rectangular pan, then cut them into small squares. You’ll save time and still get a cute presentation.
4. Witch Hat Cookies
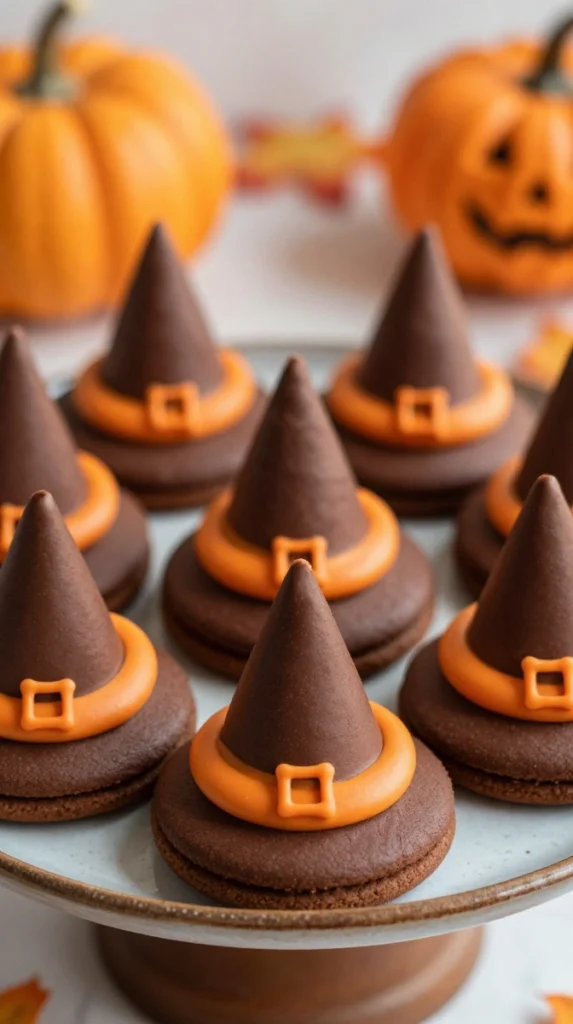
Witch hat cookies might be the easiest Halloween dessert on this list, but they look like you spent much longer making them.
All you need are cookies, chocolate, and a few candies. That’s it. No complicated dough, no rolling pin drama, and absolutely no need to summon a pastry chef.
Ingredients
- Round chocolate cookies
- Chocolate-covered cone candies or small waffle cones
- Chocolate frosting
- Orange decorating icing
- Chocolate sprinkles, optional
Step-by-Step Instructions
- Arrange the round cookies on a parchment-lined tray.
- Spread a thin layer of chocolate frosting over the center of each cookie.
- Place a cone-shaped chocolate candy or small waffle cone on top.
- Press gently so the cone sticks to the frosting.
- Pipe a thin orange icing band around the base of the cone.
- Add a tiny orange icing buckle if you want more detail.
- Let the cookies sit for several minutes before serving.
Why You’ll Love It
These cookies give your Halloween table instant witchy charm. The crunchy cookie, creamy frosting, and chocolate cone create a simple but satisfying combination.
If you’re making a big batch, set up a decorating station and let everyone create their own witch hat. Just keep extra cookies nearby because “quality control” somehow always requires eating one.
5. Spooky Halloween Popcorn Mix
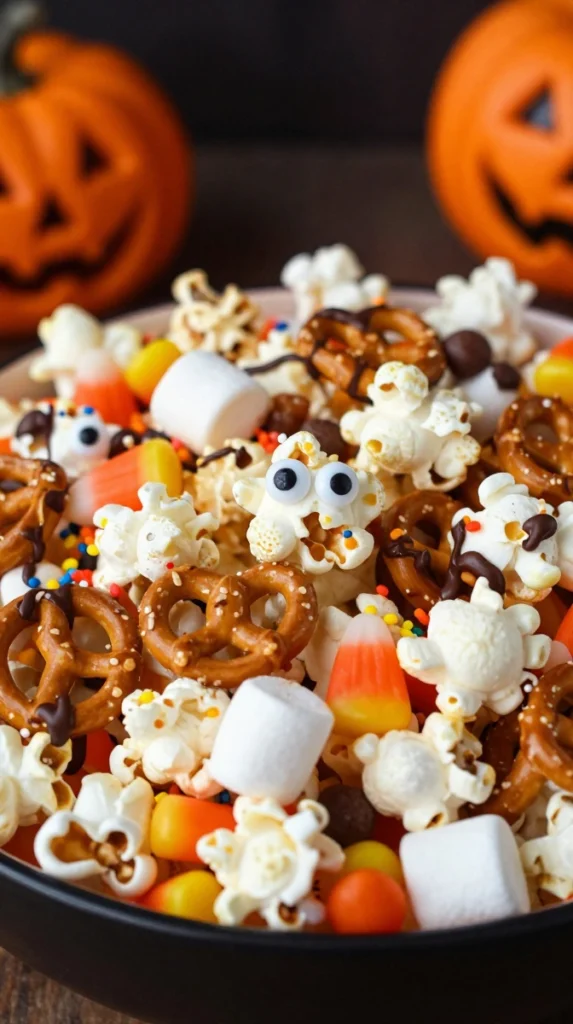
Sweet, salty, crunchy, colorful, and ridiculously easy—this Halloween popcorn mix checks every party-snack box.
It also gives your dessert table a little texture. After all, a spread full of soft cookies and brownies needs something crunchy to keep things interesting.
Ingredients
- Plain popcorn
- Pretzels
- Candy corn
- Orange candy-coated chocolates
- Mini marshmallows
- White chocolate
- Halloween sprinkles
- Candy eyes
Step-by-Step Instructions
- Spread the popcorn and pretzels across a large baking sheet.
- Add candy corn and candy-coated chocolates.
- Melt the white chocolate in short microwave intervals.
- Drizzle the melted chocolate over the popcorn mixture.
- Sprinkle Halloween decorations over the top while the chocolate remains melted.
- Add candy eyes wherever you like.
- Let everything sit until the chocolate hardens.
- Break apart any large clusters.
- Transfer the mixture into a large serving bowl.
Why You’ll Love It
This Halloween treat works beautifully when you need something fast. You can make it in about 15 minutes, and you can easily adjust the ingredients based on whatever you already have in your pantry.
For a less-sweet version, reduce the candy corn and add extra pretzels or roasted nuts. IMO, that salty crunch makes the mix much harder to stop eating.
Make-ahead tip: Store the finished popcorn mix in an airtight container and keep it away from humidity.
6. Monster Strawberry Marshmallow Pops
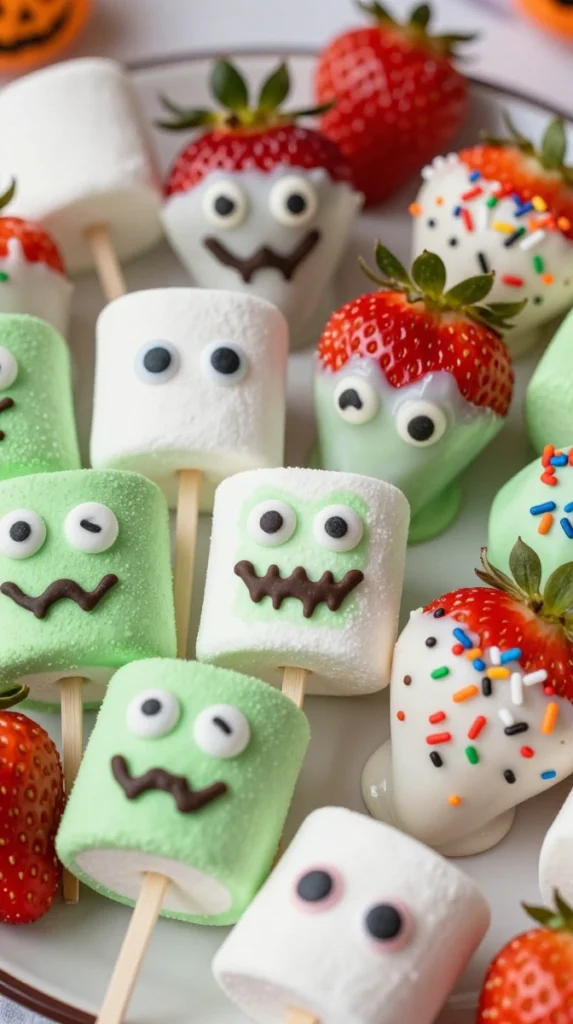
Want something colorful to break up all that chocolate? These monster strawberry marshmallow pops add fresh fruit to the party table while still feeling completely Halloween-ready.
They look especially cute arranged on a platter with colorful candy decorations.
Ingredients
- Fresh strawberries
- Large marshmallows
- White chocolate
- Green candy melts
- Candy eyes
- Lollipop sticks
- Halloween sprinkles
Step-by-Step Instructions
- Wash and dry the strawberries thoroughly.
- Insert a lollipop stick into each marshmallow.
- Melt the white chocolate and green candy melts separately.
- Dip the marshmallows into the green candy coating.
- Place candy eyes onto the coating while it remains soft.
- Add small chocolate details for monster mouths if desired.
- Allow the marshmallow coating to harden.
- Dip the strawberries halfway into white chocolate.
- Add Halloween sprinkles around the chocolate-covered section.
- Let everything set before arranging the pops on a serving tray.
Why You’ll Love It
These pops bring color and a little fruity freshness to a dessert table loaded with rich sweets. The marshmallow stays soft and chewy while the chocolate coating adds a satisfying snap.
Important tip: Dry the strawberries extremely well before dipping them. Water and melted chocolate are not exactly best friends.
7. Halloween Mummy Cookies
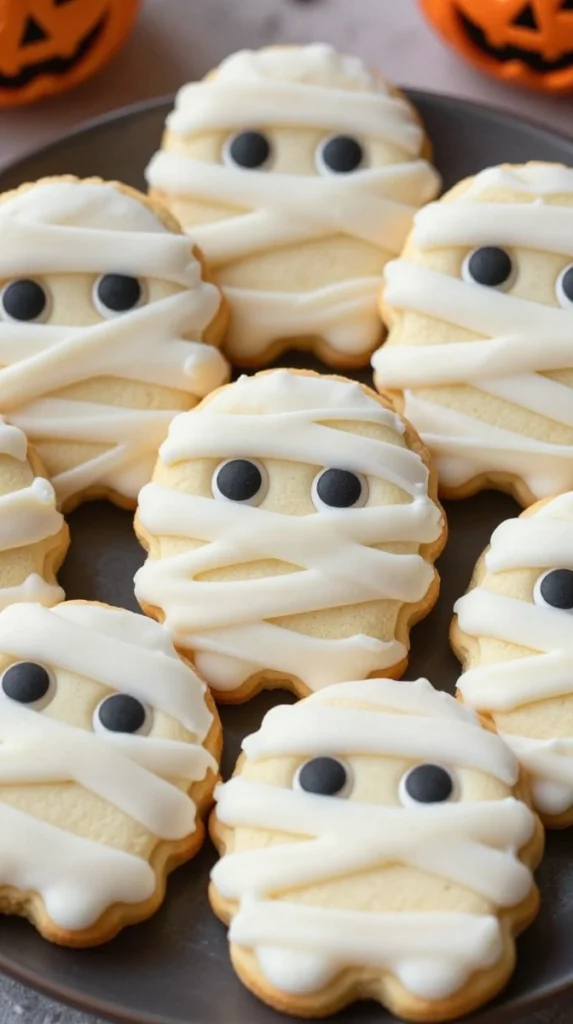
Mummy cookies look complicated because those little icing lines create such a dramatic effect. The secret? You don’t need perfect lines.
Actually, slightly messy icing makes the mummies look even better. Convenient, right?
Ingredients
- Sugar cookies
- White decorating icing
- Candy eyes
- Black decorating gel
- Chocolate chips, optional
Step-by-Step Instructions
- Bake your favorite sugar cookies and let them cool completely.
- Fill a piping bag with white decorating icing.
- Pipe thin lines across each cookie in different directions.
- Leave a small space where you want to place the eyes.
- Add two candy eyes while the icing remains soft.
- Use black decorating gel to add tiny mouth details.
- Allow the icing to set before serving.
Why You’ll Love It
These cookies offer plenty of Halloween personality without demanding professional decorating skills. You can also use store-bought sugar cookies when you need to move quickly.
I actually prefer slightly uneven mummy bandages because perfect lines make the cookies look too polished. Halloween should have a little chaos, shouldn’t it?
8. No-Bake Halloween Chocolate Cheesecake Cups
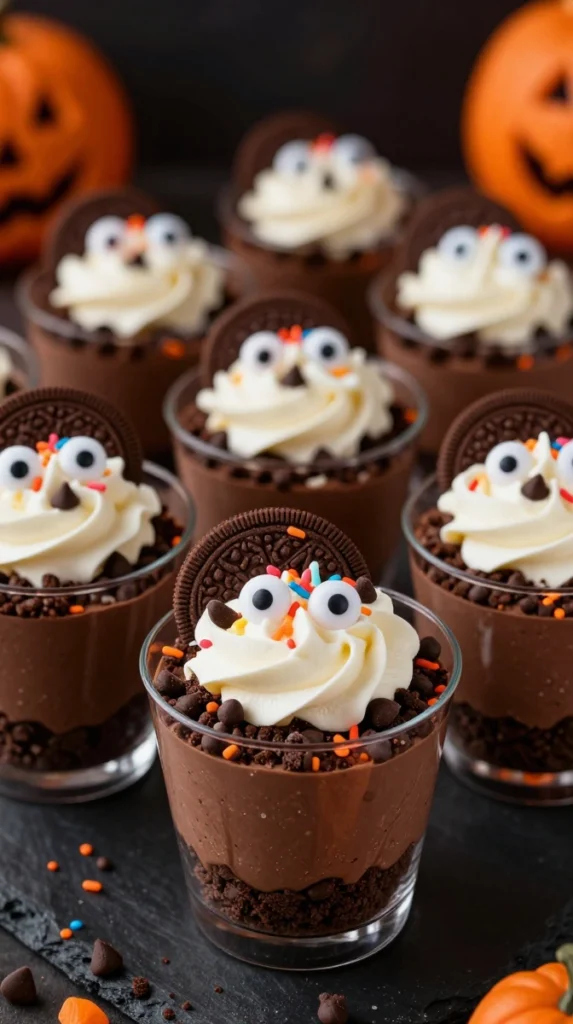
When you want your Halloween party table to look extra impressive, bring out the individual cheesecake cups.
They look elegant, but the recipe stays wonderfully simple because you don’t need to turn on the oven. That’s a pretty good deal.
Ingredients
- Cream cheese, softened
- Powdered sugar
- Vanilla extract
- Whipped cream
- Chocolate cookies, crushed
- Cocoa powder
- Mini chocolate chips
- Halloween sprinkles
- Candy eyes, optional
Step-by-Step Instructions
- Crush the chocolate cookies into fine crumbs.
- Spoon a layer of cookie crumbs into small serving cups.
- Beat the softened cream cheese with powdered sugar and vanilla until smooth.
- Fold in whipped cream gently.
- Add cocoa powder and mix until the filling becomes chocolatey and creamy.
- Spoon or pipe the cheesecake mixture over the cookie crumbs.
- Add another thin layer of cookie crumbs.
- Finish with whipped cream, chocolate chips, sprinkles, or candy eyes.
- Refrigerate the cups for at least 1–2 hours before serving.
Why You’ll Love It
These cheesecake cups taste rich and creamy while the cookie crumbs add a nice crunch. Individual portions also make party serving much easier because guests can simply grab a cup and go.
Best tip: Use clear plastic cups or small glass jars so guests can see the layers. The visual effect makes this simple dessert look much more elaborate than it actually is.
How to Build the Ultimate Halloween Party Dessert Table
You don’t need eight giant platters to serve eight Halloween treats. A little arrangement strategy can make your table look much more exciting.
Start with the tallest items toward the back. Place popcorn mixes and pretzel rods in jars or tall containers, then arrange cookies and brownie bites around them.
Add the cheesecake cups toward the front so guests can easily grab them. Scatter a few Halloween sprinkles or wrapped candies around the table for extra color.
Here’s an easy formula:
- 2 chocolate treats: Brownie bites and cheesecake cups
- 2 crunchy treats: Pretzel rods and popcorn mix
- 2 cookie treats: Witch hats and mummy cookies
- 2 playful treats: Monster Rice Krispies and marshmallow pops
This setup gives everyone something to reach for, whether they love chocolate, crunchy snacks, creamy desserts, or fruity bites.
Simple Halloween Decorating Ideas
You can make your dessert table feel festive without buying an entire Halloween store.
Try adding:
- Small pumpkins
- Black and orange napkins
- Mini decorative spiders
- Battery-powered string lights
- Halloween-themed serving trays
- Small chalkboard food labels
- Orange and black paper straws
- Plastic cauldrons for candy
Keep decorations around the food rather than directly inside edible treats unless they’re food-safe. Nobody wants a decorative spider becoming the surprise crunch in their brownie.
Tips for Making Halloween Treats Ahead of Time
Party preparation gets much easier when you avoid making everything on the same day.
You can prepare many of these easy Halloween treats ahead of time and store them properly.
One to Two Days Before
Make:
- Brownie bites
- Rice Krispie treats
- Mummy cookies
- Witch hat cookies
- Pretzel rods
Keep them in airtight containers at room temperature unless the recipe contains a perishable filling.
The Day Before
Prepare:
- Halloween popcorn mix
- Cheesecake cups
Keep cheesecake cups refrigerated until serving.
A Few Hours Before the Party
Finish:
- Strawberry pops
- Final decorations
- Serving platters
- Table arrangement
This approach gives you more time to actually enjoy your party instead of standing in the kitchen wearing flour-covered clothes while everyone else has fun.
Easy Ingredient Swaps
Don’t feel like you need to follow every recipe exactly. Halloween treats are surprisingly flexible.
For example:
- Swap milk chocolate for dark chocolate if you prefer less sweetness.
- Use store-bought cookies instead of baking from scratch.
- Replace candy eyes with small chocolate pieces.
- Use gluten-free cookies when needed.
- Choose dairy-free chocolate and cream alternatives for suitable recipes.
- Change orange decorations to purple, green, or black.
- Use crushed chocolate sandwich cookies instead of plain cookie crumbs.
The goal isn’t perfection. The goal is delicious treats that look festive and make your guests smile.
And if you want a classic Halloween look, mummy cookies and witch hat cookies are hard to beat.
Why choose just one, though? A party table looks much more exciting when you mix textures, colors, and shapes.
Final Thoughts
A great Halloween party doesn’t require complicated desserts or hours of decorating. These 8 easy Halloween treats for party tables prove that simple ingredients can create seriously fun results.
From fudgy monster brownie bites and salty chocolate pretzels to spooky mummy cookies and creamy cheesecake cups, you have plenty of options for building a dessert table that feels festive without becoming a full-time job.
My advice? Pick two or three recipes that match your schedule, add plenty of Halloween colors, and let the decorations do some of the heavy lifting.
Because the best party dessert is the one that looks adorable, tastes fantastic, and doesn’t leave you washing 47 mixing bowls at midnight. 🎃🍪