
Let’s be honest for a second: Halloween stress is re al.Between hunting down missing costume components at 9 PM on a Tuesday and convincing your kids that eating three pounds of raw sugar isn’t a balanced dinner, who has time for complicated 47-step baking projects? Not you. Not me. Definitely not IMO.
You need Halloween cookies for kids that look like you spent hours channeling a professional pastry chef, but actually took you twenty minutes using pre-made dough, melted chocolate, and a handful of candy eyes. Whether you’re throwing a spooky neighborhood bash, looking for easy party treats, or just want a fun weekend project that won’t leave your kitchen looking like a flour tornado hit it, I’ve got your back.
Here are 9 absurdly easy, incredibly cute Halloween cookies that will steal the show. Grab your mug of coffee (or wine—no judgment here 😉) and let’s get baking!
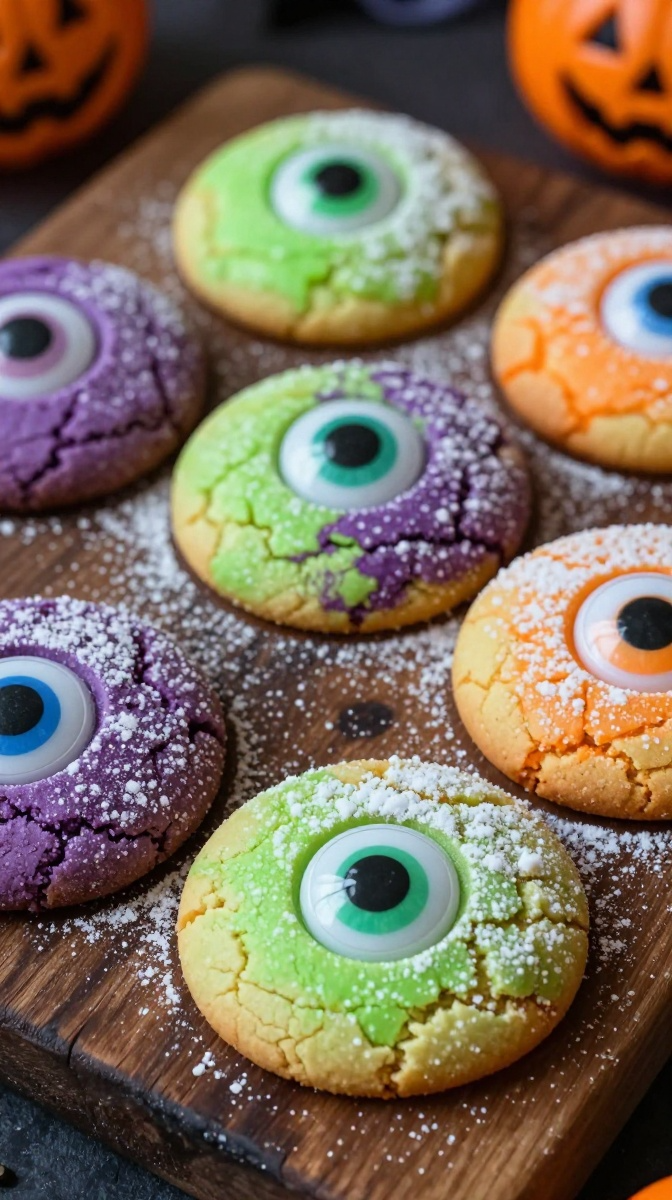
1. Gooey Monster Eye Crinkle Cookies
Bright, vibrant, and delightfully silly—these chewy monster cookies stare right back at you before you devour them!
Ingredients
- 1 box white cake mix (your favorite brand)
- 1/2 cup butter, softened
- 2 large eggs
- Neon food coloring (purple, green, orange)
- 1/2 cup powdered sugar for rolling
- Assorted candy eyes (different sizes work best!)
Step-by-Step Instructions
- Mix cake mix, softened butter, and eggs in a large bowl until a thick dough forms.
- Divide the dough into 3 bowls. Tint each bowl with a few drops of neon green, purple, or orange food coloring.
- Chill dough for 30 minutes. (Trust me, cold dough rolls so much better and won’t turn into flat pancakes).
- Scoop tablespoon-sized balls, roll them generously in powdered sugar, and place on parchment-lined sheets.
- Bake at 350°F (175°C) for 10–12 minutes. Immediately press 2 to 4 candy eyes into each warm cookie.
Why You’ll Love It
Cake mix is the ultimate shortcut king here. You get ultra-chewy centers without measuring five different flours. Plus, kids go wild positioning the candy eyes to give each monster its own bizarre personality!
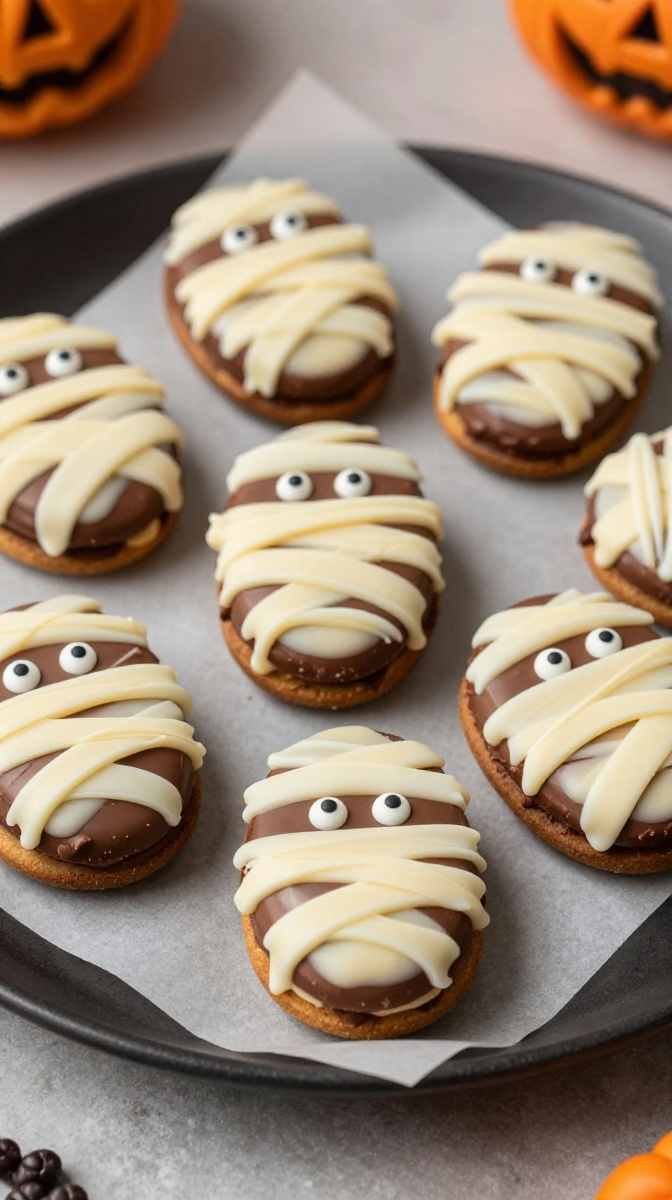
2. Quick N’ Easy Mummy Milanos
Zero baking required! Transform crisp sandwich cookies into wrapped mummies in under 15 minutes flat.
Ingredients
- 1 package Milano cookies (double chocolate is elite)
- 1 cup white chocolate melting wafers or almond bark
- 1 tsp coconut oil (for silky smooth melting)
- Mini candy eyes
Step-by-Step Instructions
- Melt the white chocolate wafers with coconut oil in 30-second microwave bursts until silky.
- Pour melted chocolate into a small ziplock bag and snip off a tiny corner.
- Drizzle criss-cross “bandage” lines back and forth over each Milano cookie.
- Dab a drop of melted chocolate onto the back of two mini candy eyes and press onto upper third of the mummy. Let set for 10 minutes.
Why You’ll Love It
I once tried hand-shaping mummy dough from scratch and ended up with weird, unidentifiable blobs. Using store-bought Milanos gives you that perfect oval silhouette effortlessly. Total party trick!
3. Pumpkin Patch Peanut Butter Cups
Fudgy, rich chocolate cookies topped with a cute little pumpkin treat right in the center.

Ingredients
- 1 roll refrigerated peanut butter cookie dough
- 24 Reese’s Peanut Butter Cups (unwrapped)
- 24 Mellocreme pumpkin candies
- 1/2 cup chocolate frosting (for edible glue)
Step-by-Step Instructions
- Grease a mini muffin pan generously with non-stick spray.
- Slice dough into 24 equal pieces and press one piece into each mini muffin cup.
- Bake at 350°F (175°C) for 10–12 minutes until golden.
- Press one inverted peanut butter cup firmly into each warm cookie center right out of the oven.
- Cool completely, pipe a small dollop of chocolate frosting on top, and anchor a candy pumpkin.
Why You’ll Love It
The peanut butter cup slightly melts into the hot cookie cup, creating a soft fudge core that is out-of-this-world delicious. You get peanut butter, chocolate, and pumpkin vibes all in one bite!
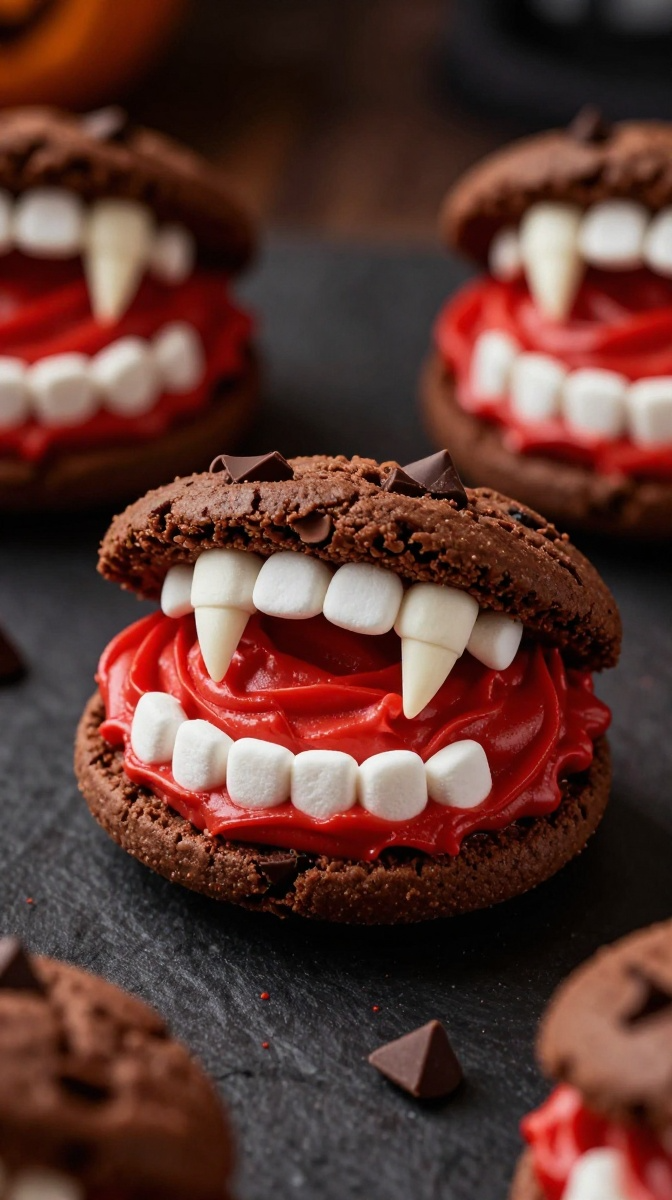
4. Vampire Fudge Sandwich Bites
Creepy, bloody, and totally delicious—these cookie fangs will be the talk of the dessert table.
Ingredients
- 1 box chocolate chip cookies (baked or store-bought)
- 1 tub red vanilla frosting (or white tinted with gel food color)
- 1 bag mini marshmallows
- Slivered almonds (for pointy vampire fangs)
Step-by-Step Instructions
- Cut each chocolate chip cookie in half to form semi-circles.
- Spread a generous layer of bright red frosting over the flat side of both cookie halves.
- Line mini marshmallows along the outer curved edge of one cookie half to resemble teeth.
- Top with the second cookie half and insert two slivered almonds near the front for razor-sharp fangs.
Why You’ll Love It
Who doesn’t love a recipe that doubles as a hilarious party prop? Kids love pretending to bite each other with these before eating them. Plus, using store-bought cookies makes assembly take literally 5 minutes.
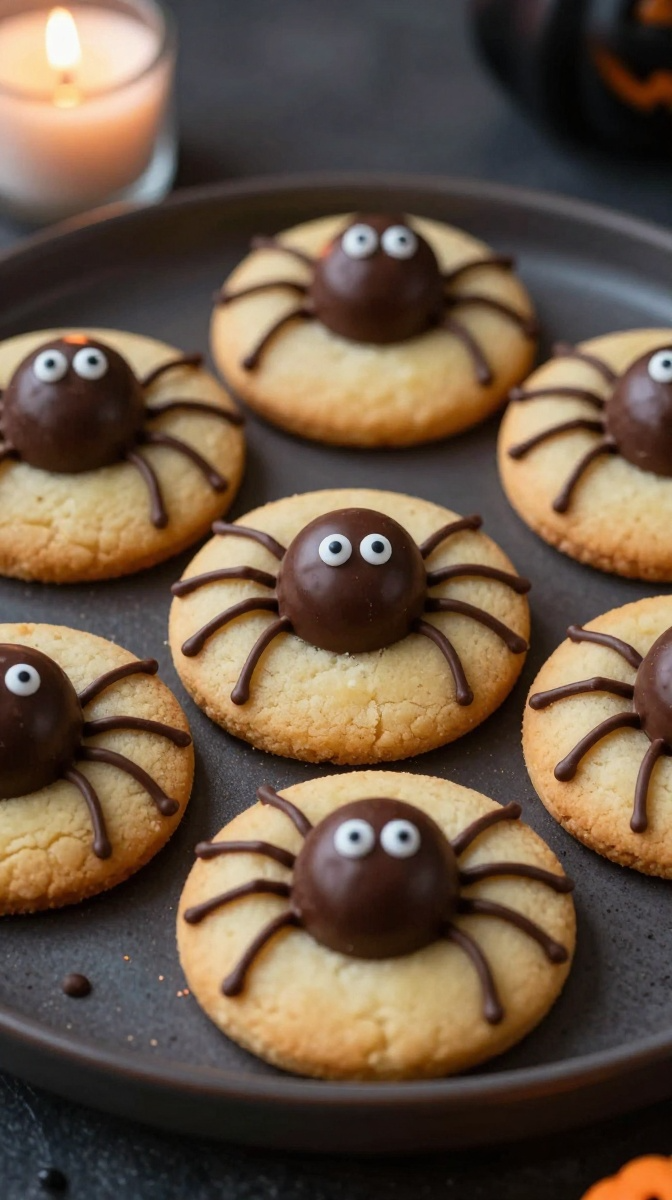
5. Spooky Spider Butter Cookies
Classic buttery thumbprint cookies crowned with chocolate truffle spiders that are almost too cute to eat.
Ingredients
- 1/2 cup unsalted butter, softened
- 1/3 cup sugar + extra for rolling
- 1 cup all-purpose flour
- 12 round chocolate truffles (like Lindt) or Maltesers
- 1/2 cup dark chocolate chips, melted (for legs)
- Mini candy eyes
Step-by-Step Instructions
- Cream butter and sugar until fluffy; slowly blend in flour.
- Roll dough into 1-inch balls, roll in granulated sugar, and bake at 350°F (175°C) for 10 minutes.
- Remove from oven and immediately press the back of a round spoon into the center to form a deep dent.
- Cool completely, then place a chocolate truffle in the center cavity.
- Pipe 8 tiny chocolate legs extending onto the cookie and attach tiny eyes with melted chocolate.
Why You’ll Love It
It combines melt-in-your-mouth sugar cookie goodness with a whole chocolate truffle. IMO, these are the prettiest cookies on any Halloween dessert board!
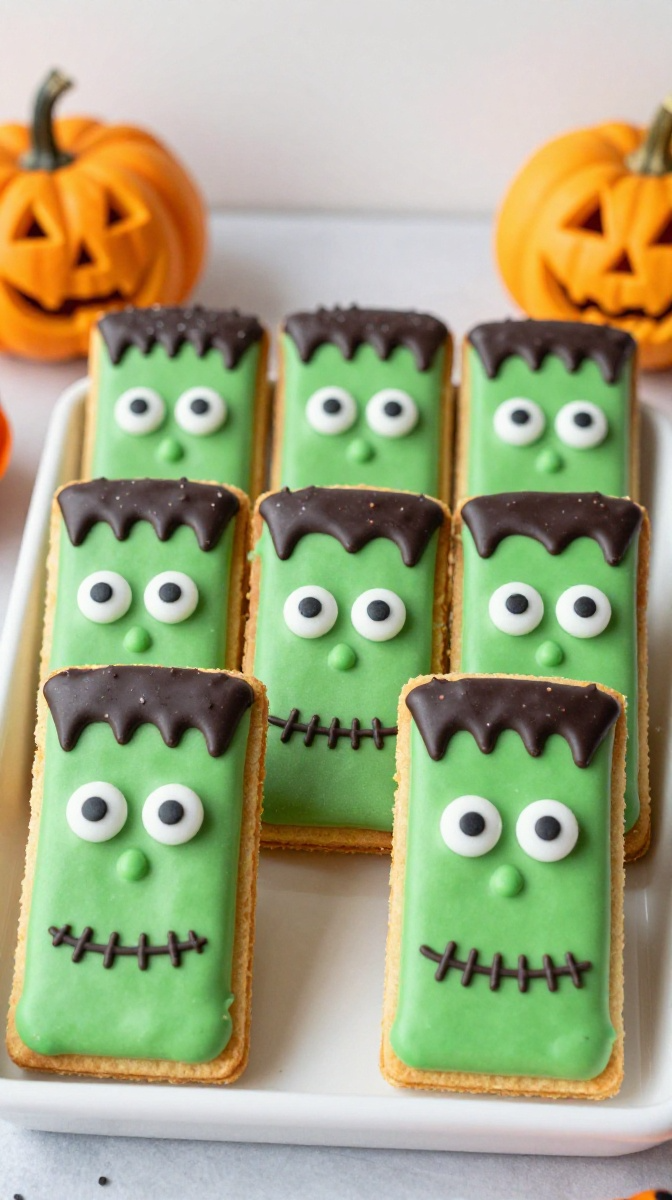
6. Frankenstein Fudge Wafer Bars
Crispy sugar wafer cookies transformed into bright green, monster-faced party bars.
Ingredients
- 1 pack vanilla sugar wafer cookies
- 1.5 cups green candy melts
- 1/2 cup dark chocolate chips (for hair and stitches)
- Candy eyes
Step-by-Step Instructions
- Melt green candy melts in a bowl according to package directions.
- Dip top 3/4 of each wafer cookie into green chocolate, scraping off excess on the rim. Place on parchment paper.
- Before chocolate sets, stick on two candy eyes near the top.
- Once hardened, melt dark chocolate and pipe spiky hair across the top and a small stitched mouth near the bottom.
Why You’ll Love It
These rectangular wafers give Frankenstein his iconic blocky head naturally! It’s an ultra-clean, mess-free craft that little kids can easily help assemble.
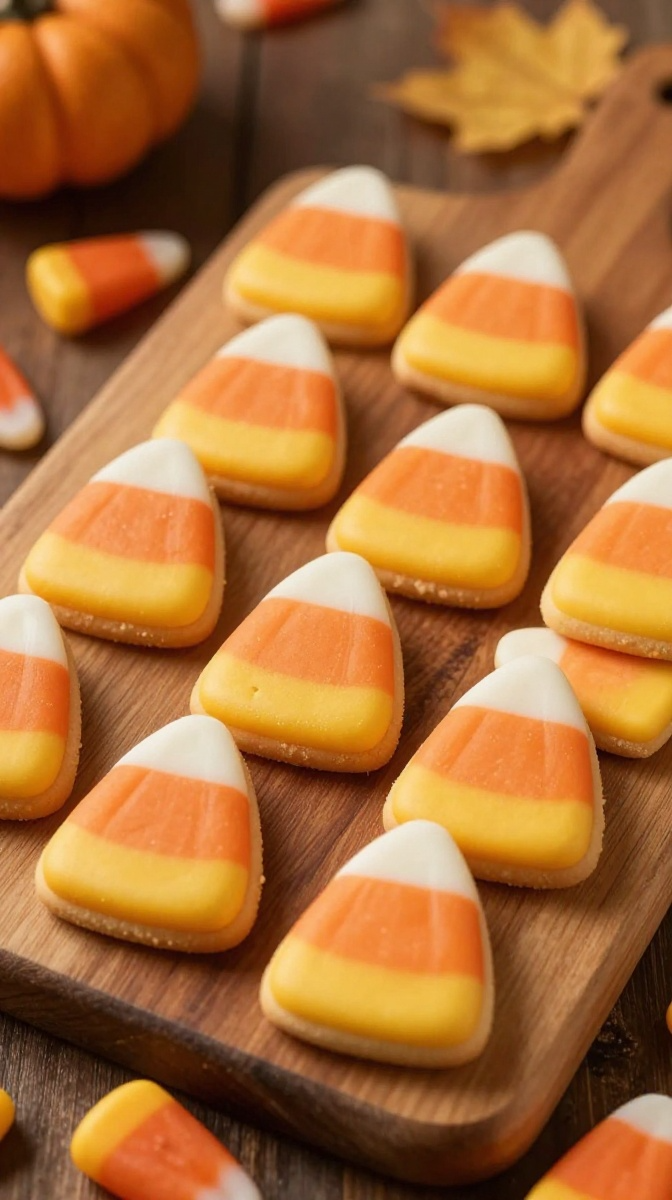
7. Candy Corn Butter Shortbread Strips
Sweet, buttery shortbread layered in tri-color festive perfection without any artificial trickery.
Ingredients
- 1 cup butter, room temperature
- 3/4 cup powdered sugar
- 2 cups flour
- Yellow and orange gel food coloring
- 1 tsp vanilla extract
Step-by-Step Instructions
- Beat butter, powdered sugar, and vanilla until smooth; stir in flour until dough clings together.
- Divide dough into 3 equal portions: leave one plain, tint second orange, tint third yellow.
- Press yellow dough into a loaf pan lined with plastic wrap. Layer orange dough on top, followed by plain white dough. Press firmly.
- Chill for 1 hour until firm, slice into thin rectangles, then cut diagonally to form candy corn triangles.
- Bake at 350°F (175°C) for 12 minutes.
Why You’ll Love It
Even if you hate real candy corn (I know half of you do!), you will love these because they are pure, buttery shortbread meltiness in disguise.
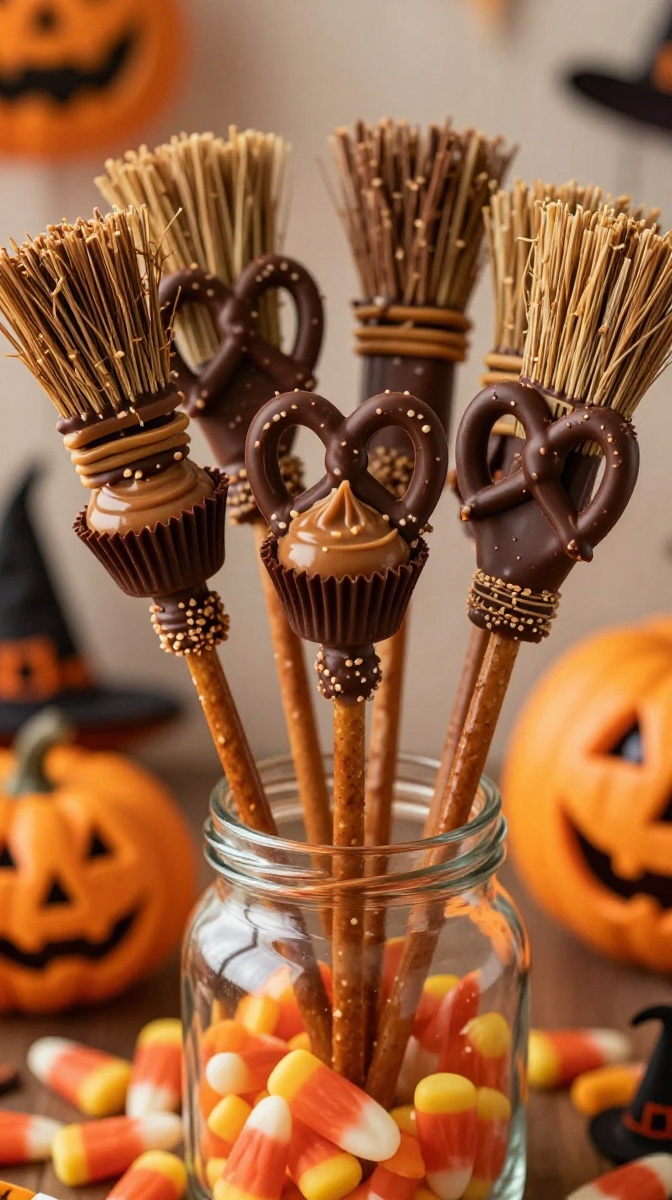
8. Witch’s Broomstick Pretzel Pops
Salty pretzel rods meet sweet peanut butter cookies in this charming 3-ingredient treat.
Ingredients
- 12 pretzel rods, halved
- 1 roll refrigerated sugar cookie dough
- 12 Reese’s Miniature Peanut Butter Cups (unwrapped)
- 1/2 cup melted chocolate
Step-by-Step Instructions
- Unwrap Reese’s minis and invert them wide-side-down.
- Dip the end of a pretzel rod in melted chocolate and press firmly into the bottom of a Reese’s cup.
- Cut shallow slits with a butter knife around the sides of the Reese’s cup to mimic broom bristles.
- Let chocolate set completely for 15 minutes before serving upside down!
Why You’ll Love It
It gives you that sweet-and-salty crunch everyone craves. FYI, these look adorable standing up in a jar of candy corn on your snack table!
9. Black Cat Dark Chocolate Cutouts
Rich cocoa sugar cookies baked into mysterious feline silhouettes with gleaming golden eyes.

Ingredients
- 2 cups all-purpose flour
- 3/4 cup dark Hershey’s cocoa powder
- 1 cup butter, softened
- 1 cup sugar
- 1 egg
- Yellow M&M’s or yellow frosting for eyes
Step-by-Step Instructions
- Cream butter and sugar until smooth; beat in egg. Gradually blend in flour and dark cocoa powder.
- Roll dough out between two sheets of parchment paper to 1/4-inch thickness. Chill for 30 minutes.
- Use cat-shaped cookie cutters to punch out shapes.
- Bake at 350°F (175°C) for 9–11 minutes. Press yellow M&M’s into warm cookies for glowing eyes.
Why You’ll Love It
Using dark cocoa powder gives these cookies an intense, brownie-like flavor and a deep black color naturally—no messy black food dye required!
Conclusion: Which Spooky Treat Are You Making First? 👻
And there you have it—9 ridiculously simple, crowd-pleasing Halloween cookies for kids and parties that don’t demand a degree in pastry arts or five hours of free time. Whether you choose the quick no-bake Mummy Milanos, the gooey cake-mix Monster Eyes, or the adorable Spider Butter Cookies, you are guaranteed to bring smiles to your table this season.
Remember: baking with kids or prepping for parties should be fun, not stressful. If a candy eye ends up crooked or your mummy bandages look a little chaotic, just call it “rustic monster charm” and enjoy the chocolate!
Happy Halloween & Happy Baking! 🎃✨