
Want gorgeous flower decorations without spending your entire paycheck? You’re in the right place. We’re making a stunning floral centerpiece using dollar store finds and a little creativity. No fancy florist skills required — just scissors, glue, and maybe a tiny bit of patience.
Why Budget Flower Decorations Are Actually Worth It
Fresh flowers die in three days. Fake ones from the craft store look… fake. But here’s the secret: you can make your own flower decorations that look expensive for under $15.
I’ve made these for birthday parties, wedding showers, and honestly just to make my living room look less depressing. They hold up for months, and nobody believes they’re DIY until I show them.
The best part? You control the colors, the size, and the style. No more settling for whatever sad bouquet the grocery store has left on a Sunday afternoon.
Materials and Tools You’ll Need
Before we dive in, let’s gather everything. Most of this you probably already have lying around.
- Coffee filters (yes, really — the plain basket kind, not the cone ones)
- Food coloring (liquid or gel, whatever’s in your pantry)
- Pipe cleaners (green ones for stems)
- Hot glue gun and glue sticks
- Scissors (sharp ones make this way easier)
- Small bowl or cup for dye
- Paper towels or old newspaper
- Optional: floral tape, ribbon, or a vase from the thrift store
Affordable Substitutes
Don’t have coffee filters? Use tissue paper or even cupcake liners. No food coloring? Try watered-down acrylic paint or even beet juice if you’re feeling adventurous. Pipe cleaners can be swapped for wooden skewers wrapped in green tape.
IMO, the coffee filter version looks the most realistic. Tissue paper gets a bit flimsy when wet.
Step-by-Step: How to Make Your Budget Flowers
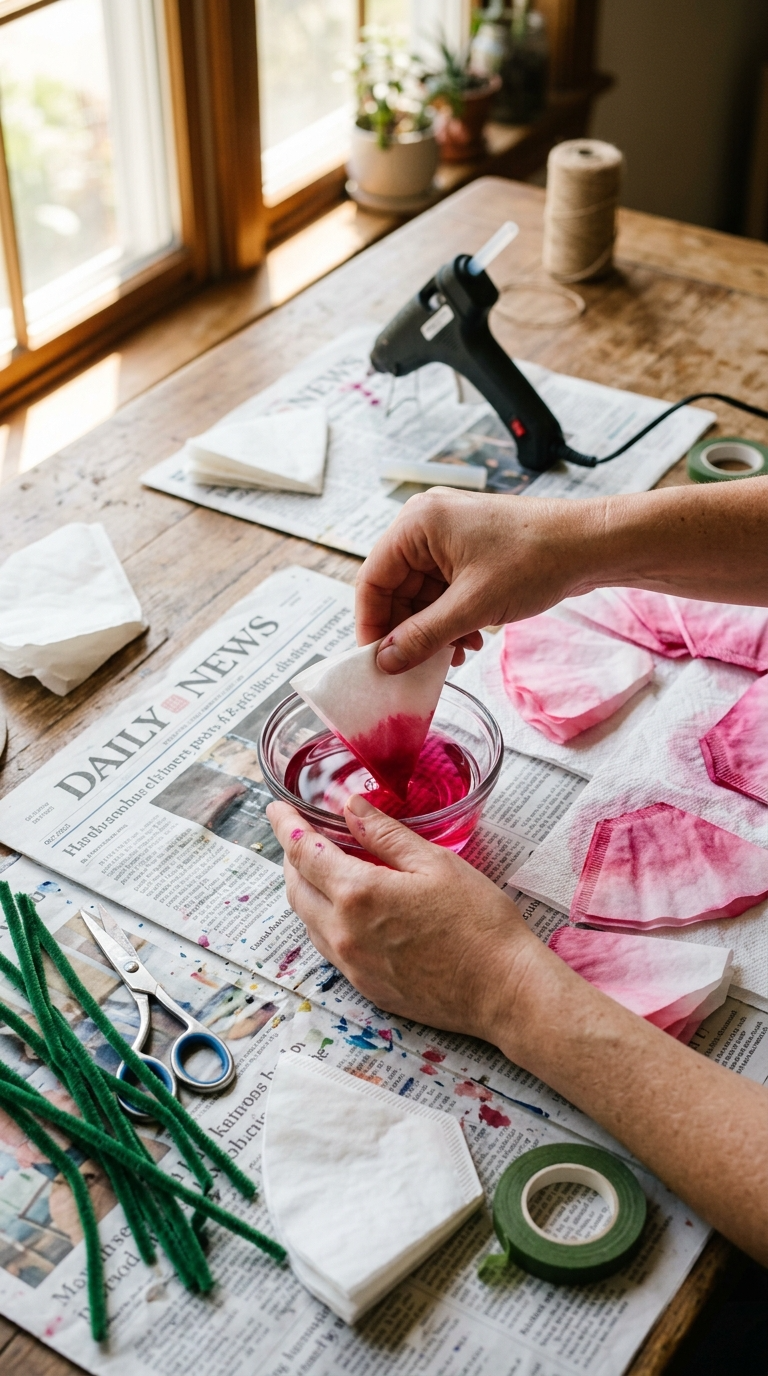
Alright, let’s get our hands messy. This whole process takes about 30 minutes for a batch of 8-10 flowers.
- Mix your dye. Fill a small bowl with water and add 5-10 drops of food coloring. Deeper colors need more drops. Stir it up.
- Fold and dip. Fold a coffee filter in half, then in half again. Dip just the edges into the dye. The dye will wick upward — that’s the magic.
- Unfold and dry. Carefully open the filter and lay it flat on paper towels. Let it dry completely. This takes about 15-20 minutes. Don’t rush it unless you want soggy flowers.
- Layer and glue. Stack 3-4 dried filters on top of each other. Offset them slightly so the petals look full. Glue them together in the center.
- Add the stem. Poke a pipe cleaner through the center of the stack. Bend the top into a small loop so it doesn’t pull through. Twist the bottom to secure.
- Fluff and shape. Gently scrunch the layers upward toward the center. This gives your flower dimension instead of looking like a flat pancake.
- Repeat. Make as many as you want. Mix colors, sizes, and layer counts.
That’s it. Seriously. You just made a flower that looks like it came from a boutique.
Design Variations to Try
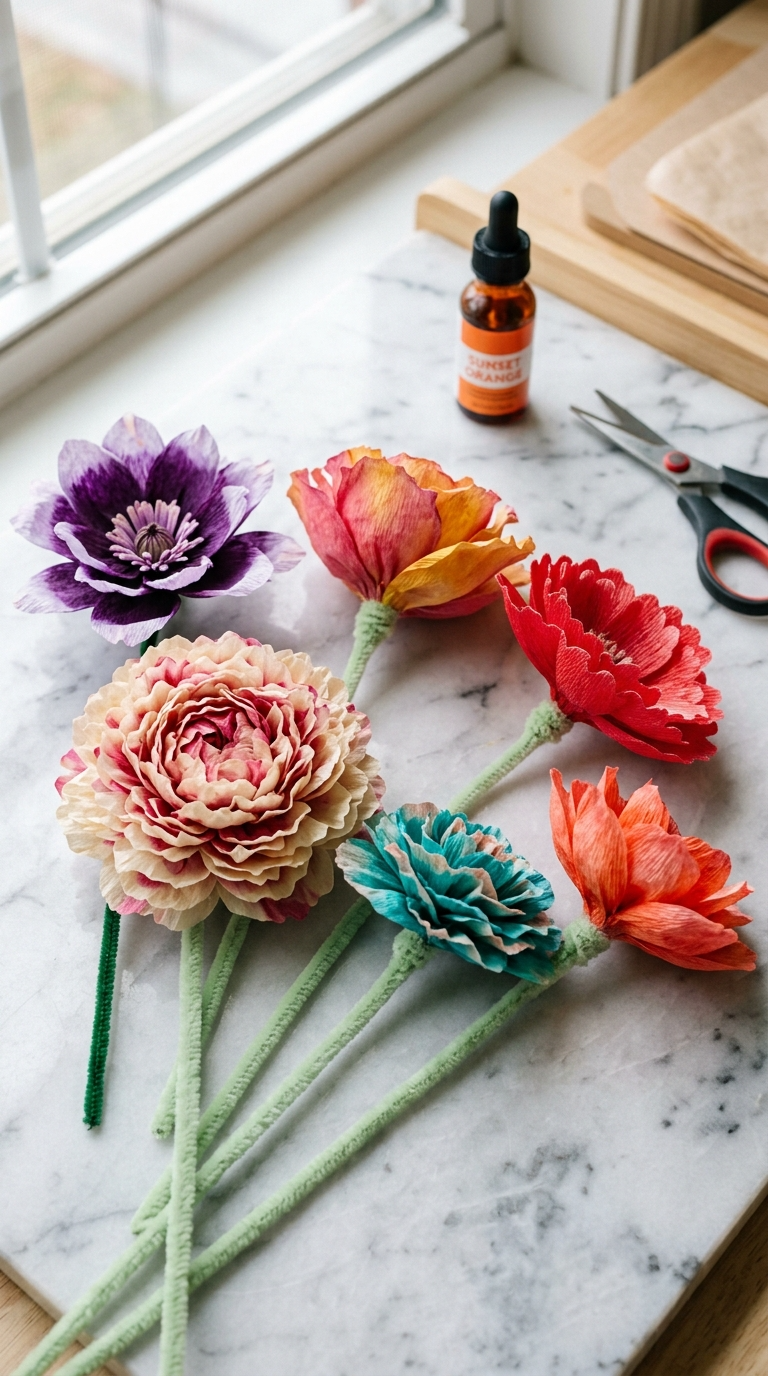
Once you’ve mastered the basic flower, switch things up.
Color Combos That Pop
Dip just the tips for an ombre effect. Use two colors on the same filter — dip one edge in pink, the other in yellow. The results look like a sunset.
For a more dramatic look, try deep purple centers with light lavender edges. Or go bold with red and orange for a fiery centerpiece.
Size and Shape Tweaks
Cut the coffee filters into different shapes before dyeing. Scalloped edges look like roses. Pointed edges look like tulips. Layer more filters for a fuller, peony-style bloom.
You can also stack a small filter on top of a large one for a more realistic center.
Common Mistakes to Avoid
Learn from my failures so you don’t repeat them.
- Soaking the filters. Dip, don’t drown. Too much water makes them tear and lose shape.
- Skipping the drying step. Wet glue doesn’t stick to wet paper. Be patient.
- Using too much glue. A little goes a long way. Big glue blobs look messy and yellow over time.
- Forgetting to fluff. Flat flowers look sad. Scrunch those layers.
If your flower falls apart, don’t panic. Just add more glue and re-fluff. Crafting is forgiving like that.
Ways to Display, Gift, or Use Your Flowers
Now that you have a pile of pretty flowers, what do you do with them?
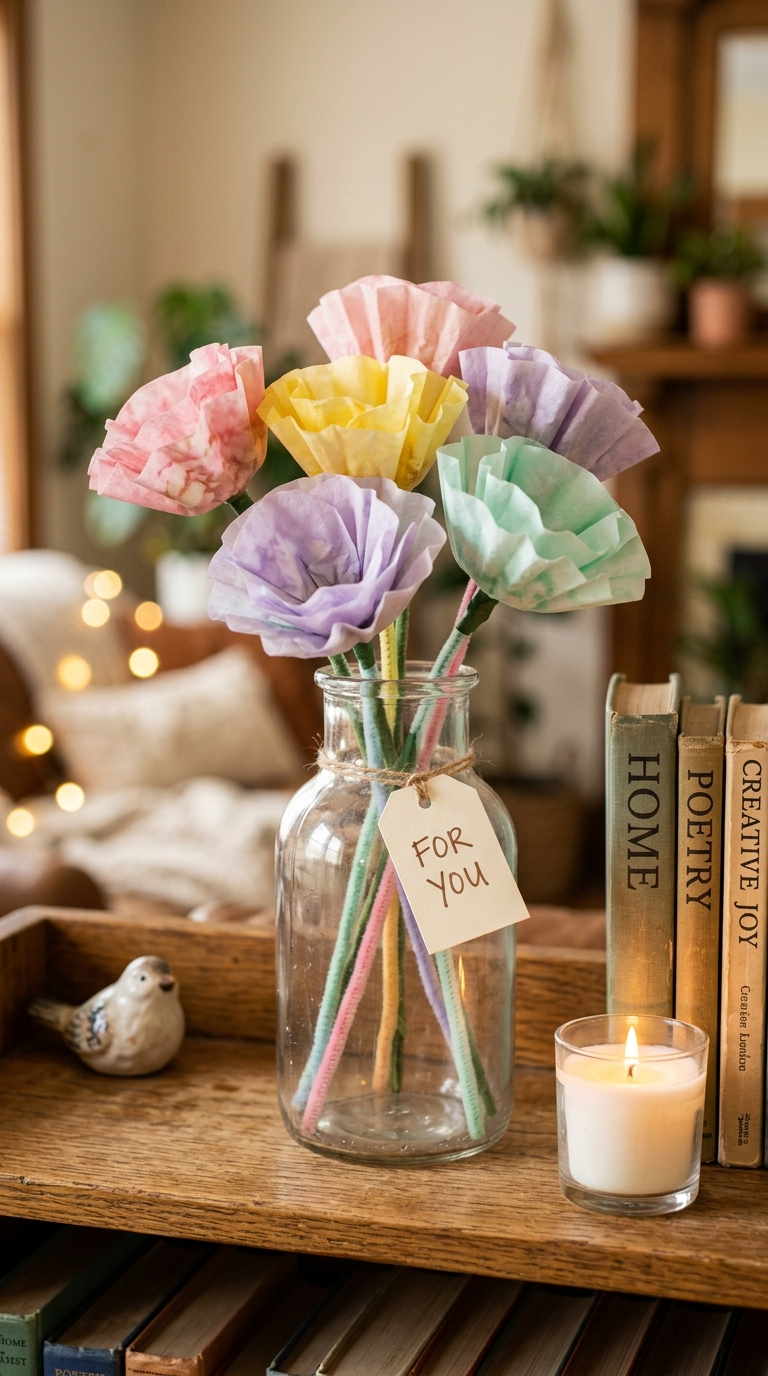
Arrange them in a thrifted vase for an instant centerpiece. Mix heights by bending the pipe cleaner stems. Group similar colors together for a cohesive look.
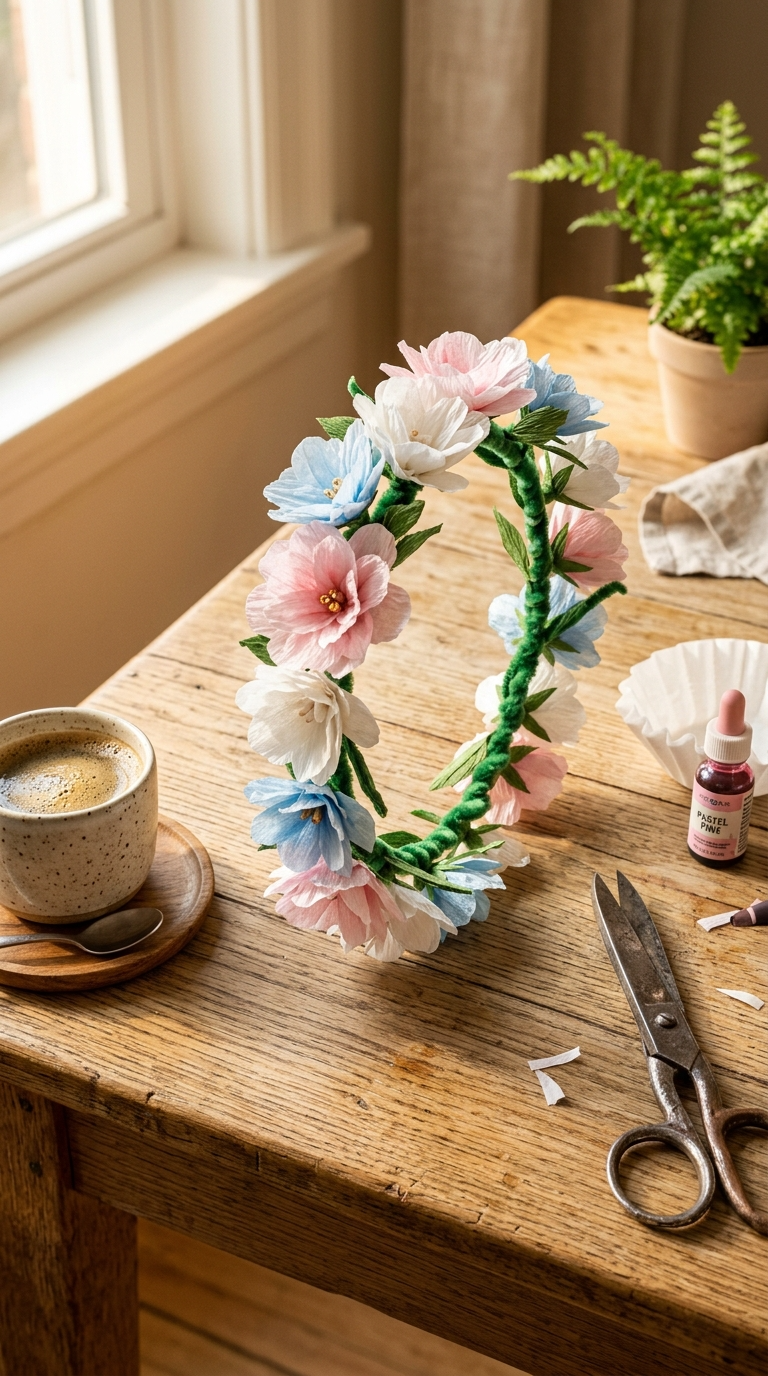
Make a flower crown by twisting the stems together. Hot glue them onto a headband for a festival-ready accessory.
For gifts, tie a few flowers together with ribbon and attach a handmade tag. Teachers, neighbors, and coworkers love these. They last forever and don’t need water.
You can also glue them onto picture frames, wreaths, or gift boxes. The possibilities are honestly endless.
FAQ’s
How long do coffee filter flowers last?
Indefinitely, if you keep them dry and out of direct sunlight. I have some from two years ago that still look great. Dust them gently with a dry brush.
Can I use these outdoors?
Keep them out of rain. A covered porch is fine. Direct sun will fade the colors over time.
What if I don’t have coffee filters?
Use tissue paper, cupcake liners, or even paper towels. The technique is the same. Coffee filters just hold their shape best.
How do I make the flowers look more realistic?
Add a tiny dot of yellow or brown to the center. Real flowers have centers. Also, vary the petal shapes and layer counts.
Can kids help with this project?
Absolutely. Let them handle the dipping and fluffing. Keep the hot glue gun for adults or older kids only.
How many flowers do I need for a centerpiece?
Seven to ten flowers fill a standard vase nicely. Odd numbers look more natural than even ones. FYI, that’s a real design trick.
Go Make Something Beautiful (and Cheap)
You don’t need a florist degree or a big budget to make stunning flower decorations. Coffee filters, food coloring, and a little time are all it takes.
Grab your supplies, put on some music, and make a batch this weekend. Worst case, you have a fun afternoon. Best case, you have a gorgeous centerpiece that costs less than a latte.
Now raid your coffee filter stash. Your home is about to look a lot prettier.