
Paper flowers never wilt, never trigger allergies, and never demand a last-minute trip to the florist. You can make a whole bouquet with stuff you probably already own. Grab some paper, scissors, and a hot glue gun, and let’s build something people will swear is real. Ready to fool your friends? Let’s do this.
Why Make a Paper Flower Bouquet?
Fresh flowers are gorgeous for about four days, then they turn into a sad pile of droopy stems. Paper flowers stick around for years. You can color-match them to a wedding theme, a bedroom, or your favorite sweater.
They are also dirt cheap. A pack of cardstock costs less than a single supermarket bouquet. Plus, you get to control the size, shape, and color of every single bloom.
And honestly? Making them is weirdly relaxing. It is like origami had a baby with scrapbooking.
Materials and Tools You Will Need
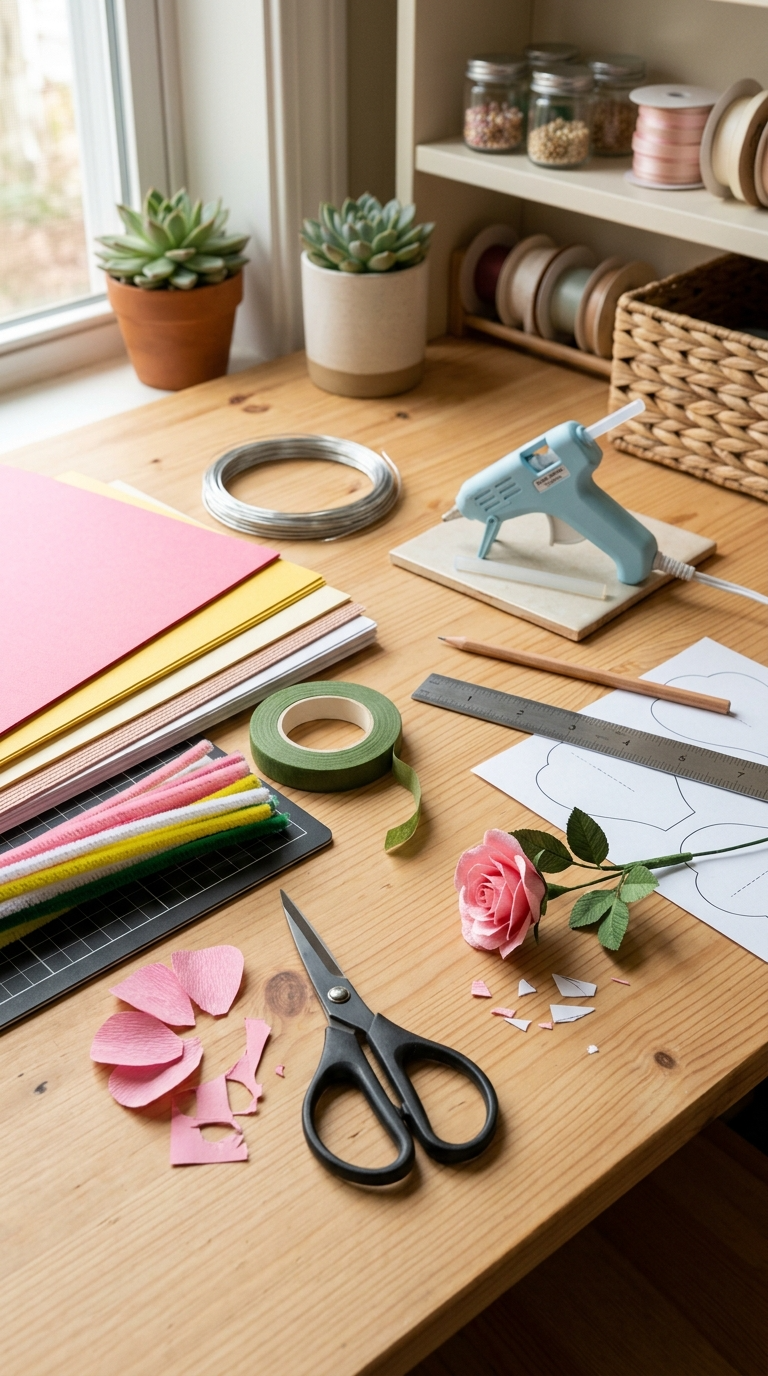
You do not need a fancy craft room. A kitchen table and a little patience will do.
- Cardstock or crepe paper — cardstock holds crisp shapes, crepe paper gives soft, realistic petals. Tissue paper works as a budget substitute.
- Floral wire or pipe cleaners — pipe cleaners are the cheap, kid-friendly swap.
- Floral tape — green tape hides the wire and looks professional.
- Scissors and a craft knife — small, sharp scissors make petal cutting way easier.
- Hot glue gun — or tacky glue if you want a burn-free experience.
- Pencil — for curling petals around it.
- Ruler — optional, but helps with even petal sizes.
- Bouquet wrap or ribbon — kraft paper and twine look great and cost almost nothing.
- Petal templates — print free ones online or draw your own.
Pro tip: If you are missing floral tape, plain green masking tape works in a pinch. Nobody will inspect your stems that closely.
Paper Flower Bouquet Ideas to Try
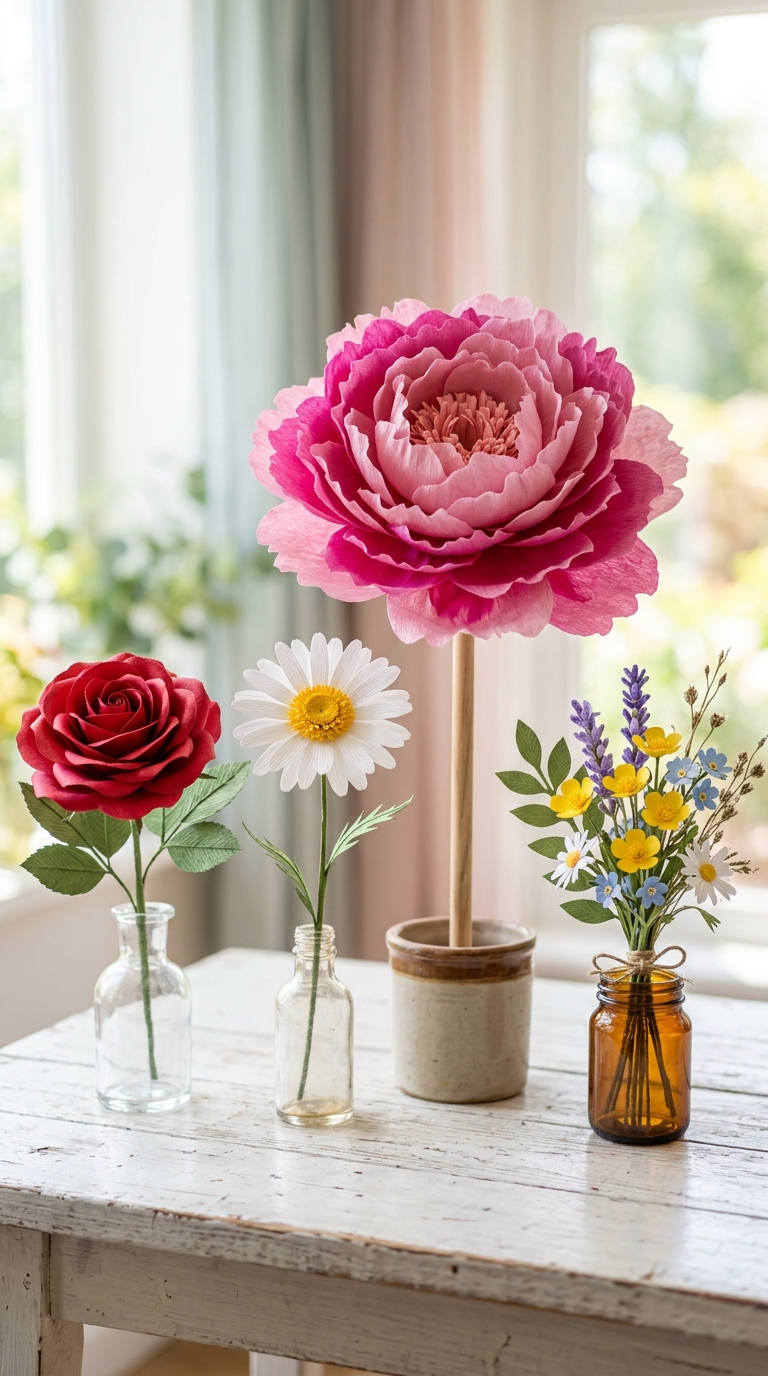
You have options. Lots of them. Here are four styles that cover everything from simple to show-stopping.
1. Classic Roses
Roses are the go-to for a reason. Cut petal shapes in three sizes, curl the edges with a pencil, then layer them from small to large around a wire stem.
2. Cheerful Daisies
Daisies are the easiest flower for beginners. Cut thin white petals, glue them around a yellow center, and you are done. Kids can make these without much help.
3. Giant Statement Blooms
Oversized paper flowers look amazing as party decor. Scale up your template, use stiff cardstock, and mount them on wooden dowels instead of wire.
4. Mixed Wildflower Bouquet
Combine small roses, daisies, and simple five-petal blossoms for a loose, natural look. Add paper leaves and a few dried sprigs for texture.
Can’t decide? Make a few of each and mix them. Chaos usually looks intentional with flowers.
Step-by-Step: How to Make Your Bouquet
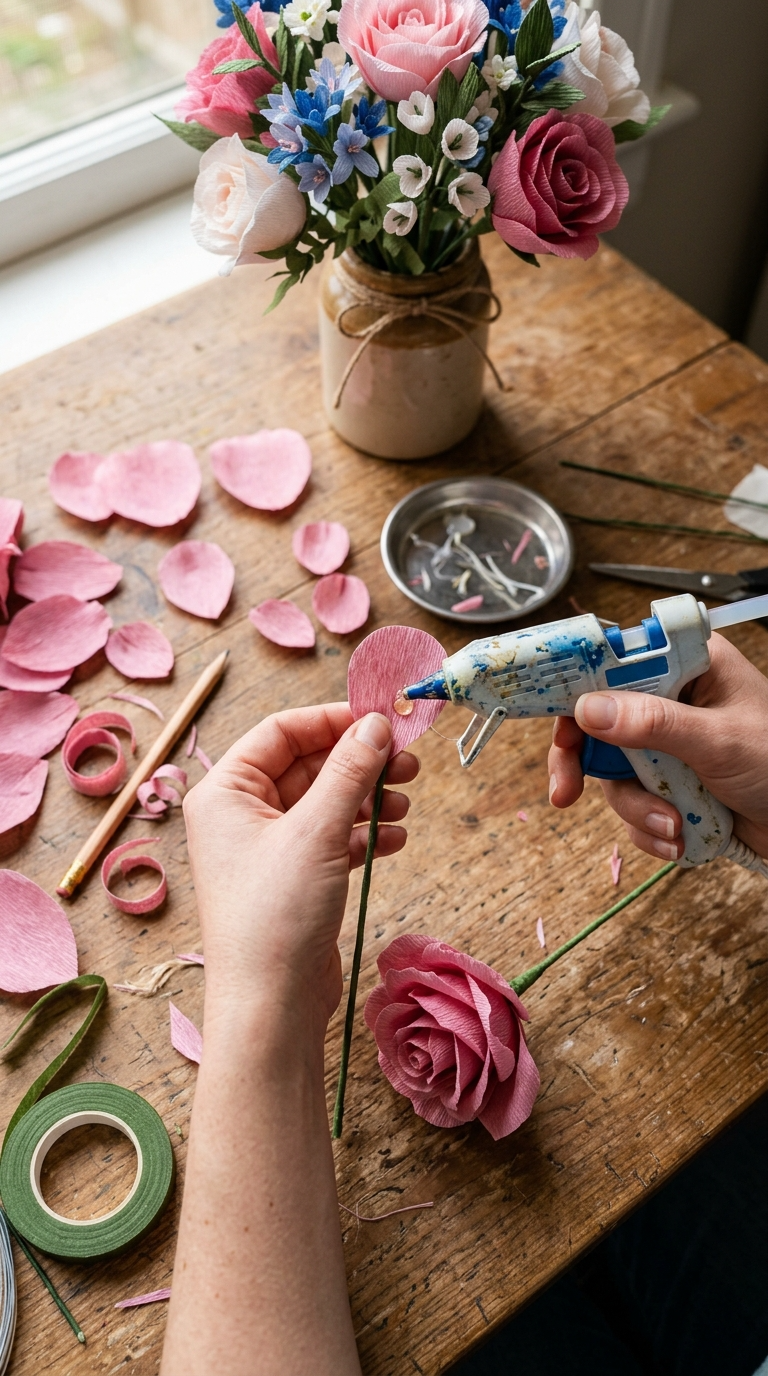
This process works for almost any flower style. Adjust the petal shapes to match your chosen bloom.
- Pick your template. Print or draw petal shapes in small, medium, and large sizes.
- Trace and cut. Trace the templates onto your paper and cut out 5–8 petals per size. Yes, your hand will get tired.
- Shape the petals. Curl the edges around a pencil or your finger to give them a natural bend.
- Build the center. Cut a small circle of paper and glue it to the top of your wire or pipe cleaner.
- Layer the petals. Glue the smallest petals around the center first, then work outward with bigger ones.
- Wrap the stem. Cover the wire with floral tape, starting at the base of the flower and winding downward.
- Add leaves. Cut green leaf shapes and attach them partway down the stem.
- Arrange the bouquet. Gather 7–12 flowers, trim the stems to even lengths, and tie them together with ribbon or twine.
- Wrap and finish. Add kraft paper, tissue, or a fabric wrap around the stems for a polished look.
Heads up: Let the glue cool completely before you handle each flower. Hot glue burns are no joke, and a smushed petal is hard to fix.
Tips, Mistakes, and Customization Ideas
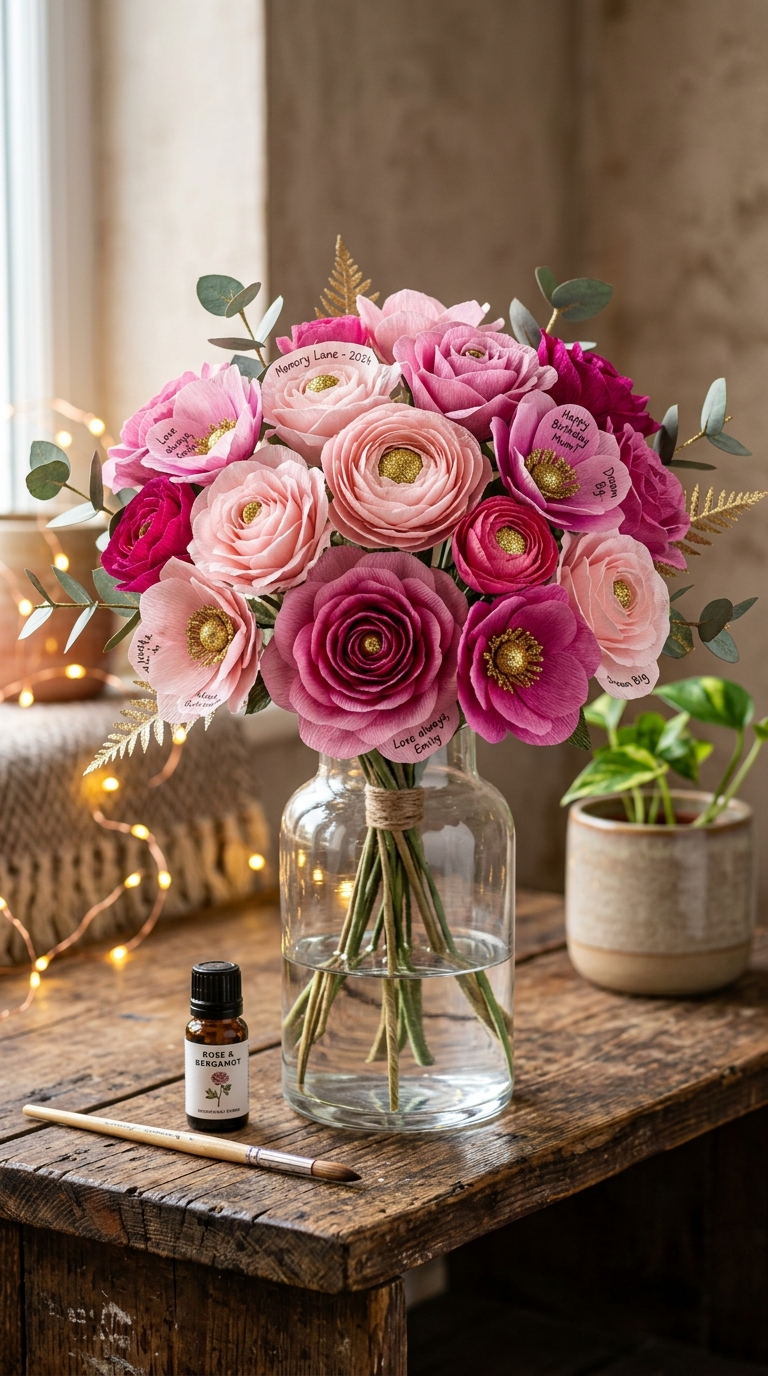
Your first flower might look a little rough. That is normal. Here is how to level up fast.
- Use the right paper. Thin paper tears and flops. Medium cardstock is the sweet spot.
- Do not skip curling. Flat petals scream “I made this in five minutes.” Curled petals look real.
- Vary your petal sizes. Uniform petals look fake. Mix small, medium, and large.
- Color outside the lines. Try ombre petals, painted edges, or glitter centers.
- Add scent. A drop of essential oil on the flower center gives a subtle fragrance.
For a personal touch, write a tiny message on a petal before assembling. The recipient will not notice until they look closely. Sneaky and sweet.
Ways to Display or Gift Your Bouquet
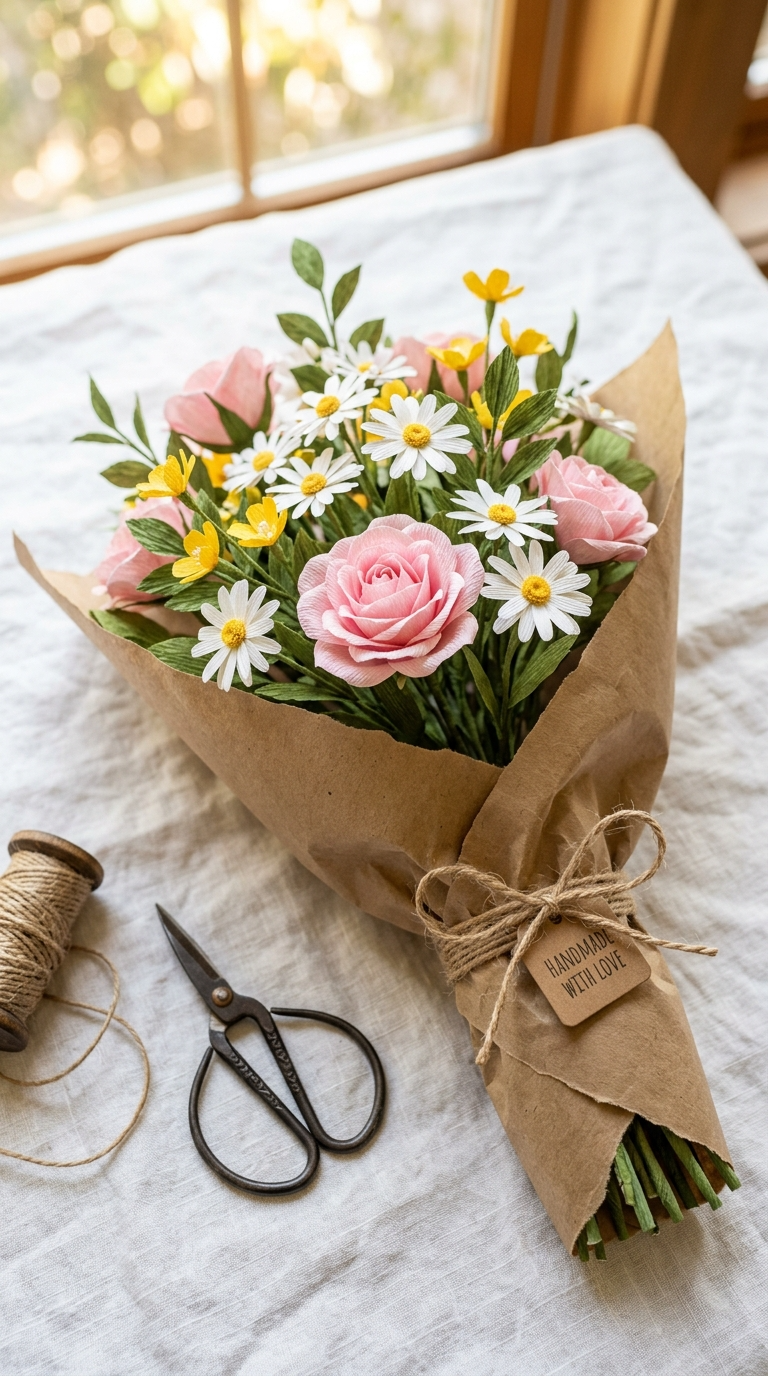
Paper bouquets work as wedding decor, bridesmaid gifts, birthday presents, or shelf decor. Pop them in a vase, tape them to a wall, or hand them over as-is.
You can also turn single flowers into hair clips, cake toppers, or gift wrap accents. One bouquet, endless side quests.
FAQ’s
How long does a paper flower bouquet take to make?
A single flower takes about 10–15 minutes once you get the hang of it. A full bouquet of 10 flowers takes around two hours, including drying time.
What paper works best for beginners?
Cardstock is the friendliest option. It holds shape, cuts cleanly, and does not tear easily. Crepe paper looks more realistic but is harder to control.
Can I make paper flowers without a glue gun?
Absolutely. Tacky glue, double-sided tape, or even a glue stick works for lighter paper. Just give it extra drying time.
How do I keep paper flowers from looking flat?
Curl every petal, layer different sizes, and fluff the bloom with your fingers before gluing. Small shaping steps make a huge difference.
Are paper flowers good for weddings?
Yes, and they are a smart budget move. You can make them months ahead, match any color scheme, and nobody has to worry about wilting in the heat.
How do I store a paper bouquet long-term?
Keep it away from direct sunlight and moisture. A box with tissue paper works great. Dust it gently with a soft brush when needed.
Make Something Beautiful
Paper flower bouquets are cheap, forgiving, and genuinely fun to build. Start with a few daisies, then work your way up to giant roses. If a petal rips or a stem looks crooked, who cares? It is paper. Try again.
Grab your supplies, put on a show you have seen ten times, and start cutting. Your future bouquet is going to look fantastic on the shelf.