
Ready to make your tree look like it jumped straight out of a holiday catalog? These easy Christmas tree decorations come together with stuff you probably already have lying around. No fancy tools, no stress, no tears (unless you glue your fingers together, which, fair warning, happens). Grab a mug of cocoa and let’s make some ornaments that actually look good.
Why Make Your Own Christmas Tree Decorations?
Store-bought ornaments are fine, but they all start looking the same after a while. Homemade ones tell a story. They match your color scheme, your vibe, and your budget.
Plus, there’s something satisfying about pointing at your tree and saying, “Yeah, I made that.” Kids can help, grandparents can help, and even the family cat can “help” by batting everything off the table.
IMO, handmade decorations also make the best gifts. Nothing says “I thought of you” like a custom ornament tied with a ribbon.
Materials and Tools You’ll Need
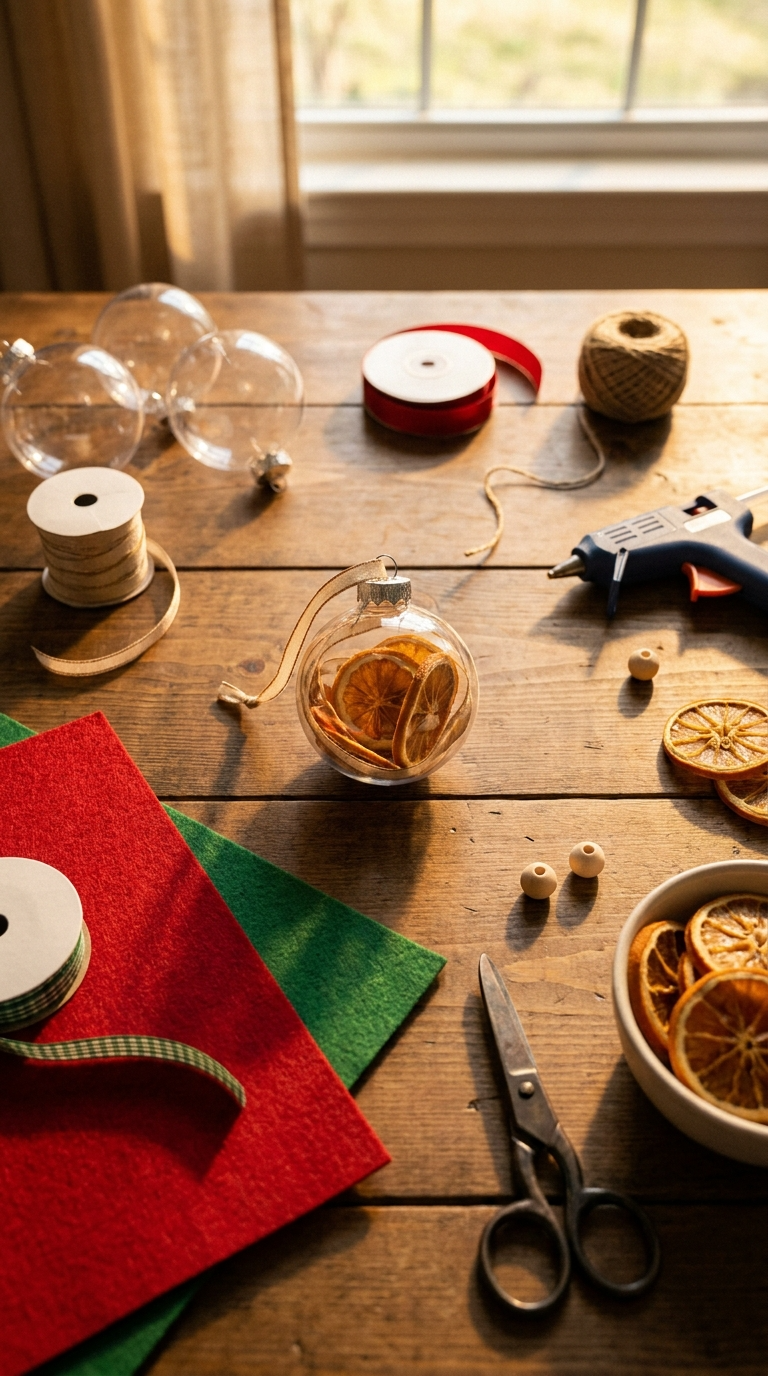
Here’s the good news: you don’t need a craft room full of supplies. Most of this stuff is cheap or already in your junk drawer.
- Clear plastic or glass ornaments (the fillable kind with a removable top)
- Felt sheets in red, green, white, and gold
- Ribbon and twine (any width works, but 1/4 inch is easiest)
- Hot glue gun and glue sticks (low-temp if kids are helping)
- Scissors (sharp ones for fabric, old ones for paper)
- Pony beads or small wooden beads
- Twist ties or pipe cleaners
- Fine glitter and craft glue (optional, but sparkle wins)
- Permanent markers for personalizing
- Cinnamon sticks and dried orange slices for a natural look
Affordable Substitutes
No felt? Use old flannel shirts or felted sweaters. No ribbon? Cut strips from fabric scraps. No hot glue gun? Tacky glue works, it just needs more drying time. Dollar stores are goldmines for fillable ornaments and ribbon around the holidays.
Project 1: Fillable Ornament Magic
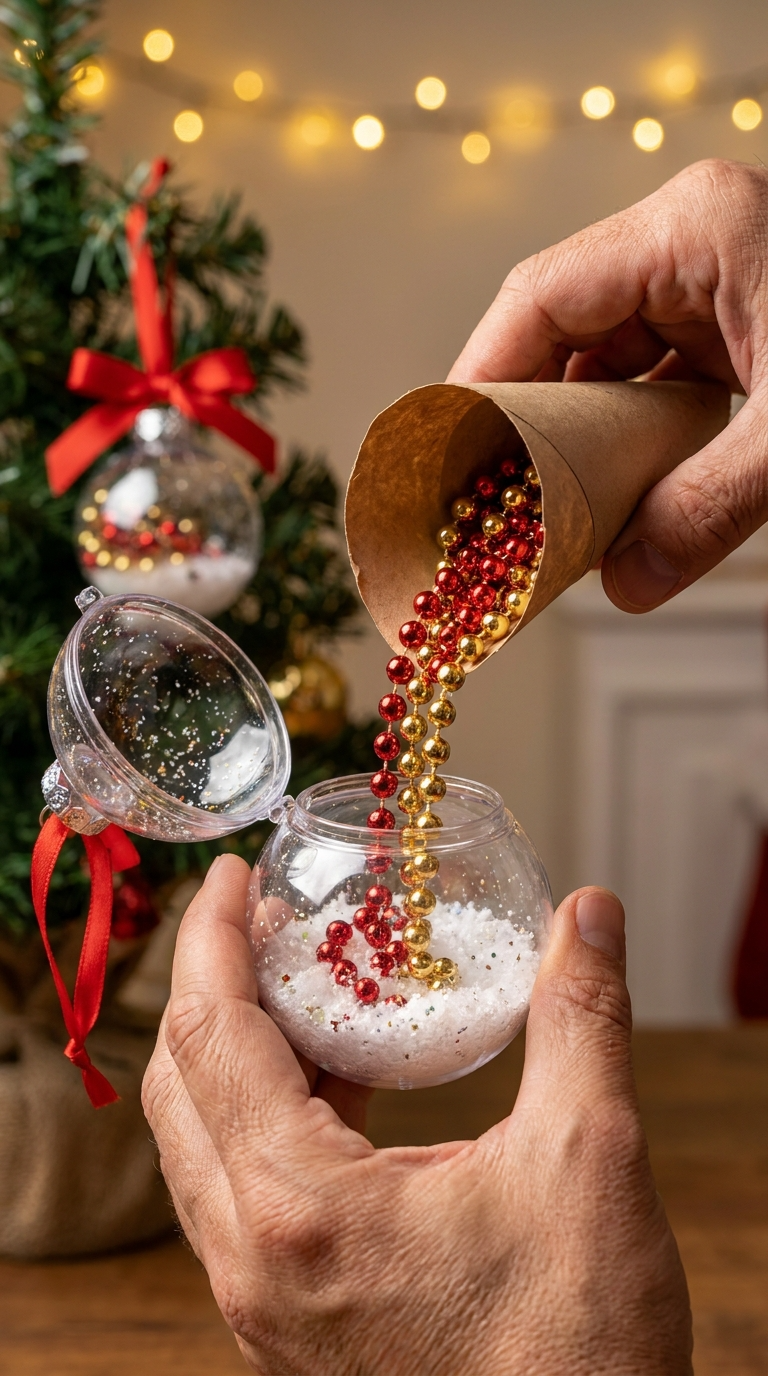
This is the easiest one, and it looks like you tried way harder than you did. Fillable ornaments are basically tiny glass jars for holiday cheer.
- Twist off the metal cap from your fillable ornament.
- Choose your filler. Ideas: fake snow, tinsel, mini pinecones, beads, shredded paper, or a tiny photo.
- Fill the ornament about three-quarters full. Don’t pack it tight, you want it to move around.
- Add a few drops of glitter for shimmer, if you’re feeling fancy.
- Replace the cap and tie a ribbon loop through the top for hanging.
Pro tip: Use a funnel made from paper to get small items inside without making a mess. Trust me, trying to shove beads in with your fingers ends badly.
Design Variations
Try a “hot cocoa” ornament with brown beads and tiny marshmallows. Or a “snow globe” version with fake snow and a mini tree. For a modern look, fill with metallic beads in one color.
Project 2: Felt Gingerbread and Candy Cane Ornaments
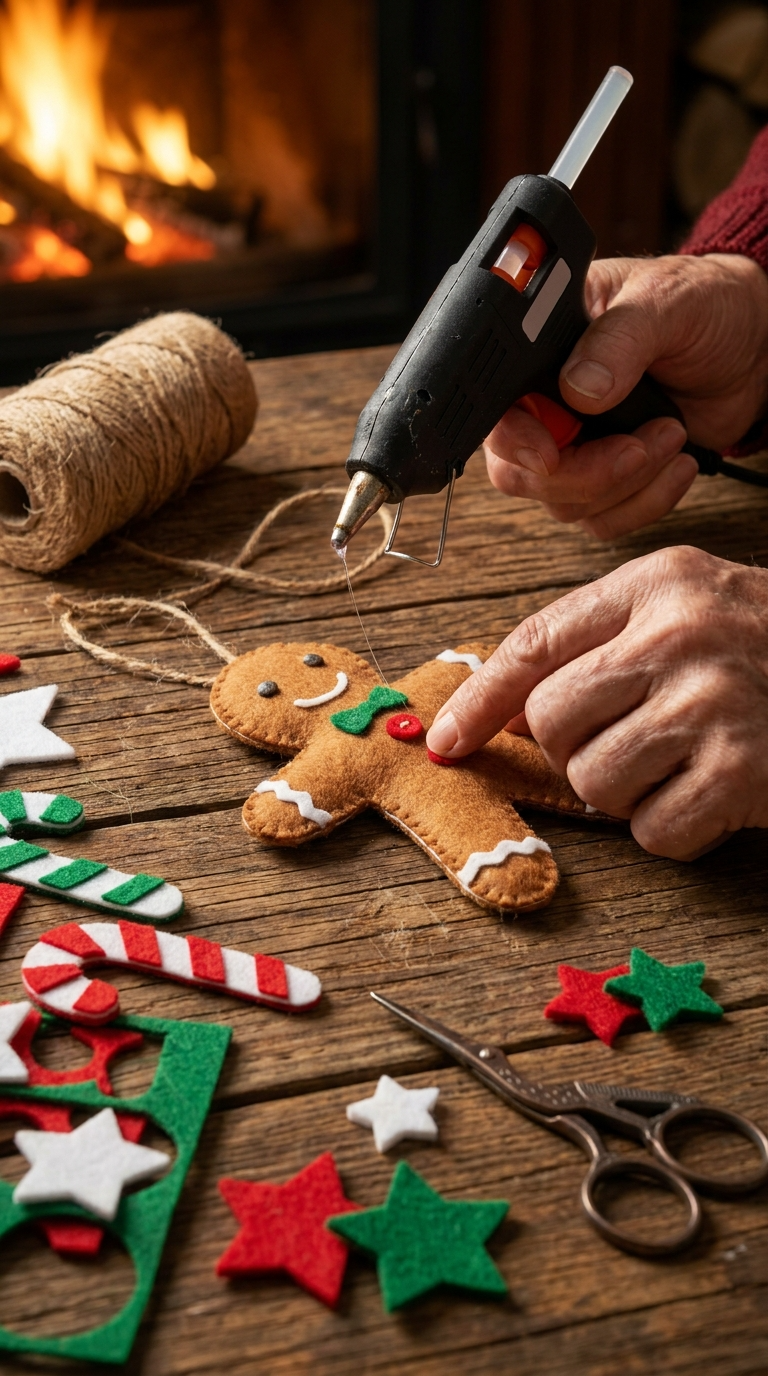
Felt is forgiving, cheap, and doesn’t fray. It’s the beginner’s best friend. These flat ornaments come together in about ten minutes each.
- Draw a simple shape on paper: a gingerbread man, candy cane, star, or tree. Keep it chunky and simple.
- Cut out two felt pieces using your template.
- Glue the edges together, leaving a small gap at the top.
- Stuff a tiny bit of cotton or felt scraps inside for puffiness.
- Glue the gap closed and add a ribbon loop at the top.
- Decorate with markers, beads, or small felt scraps for eyes and buttons.
FYI, a candy cane shape is basically a J with a hook. If you can draw a J, you’re qualified.
Safety Tips for Kids
Skip the hot glue and use white school glue or glue dots. Pre-cut the felt shapes so little hands just assemble. Keep beads away from kids who still put everything in their mouths.
Project 3: Cinnamon Stick and Ribbon Trees
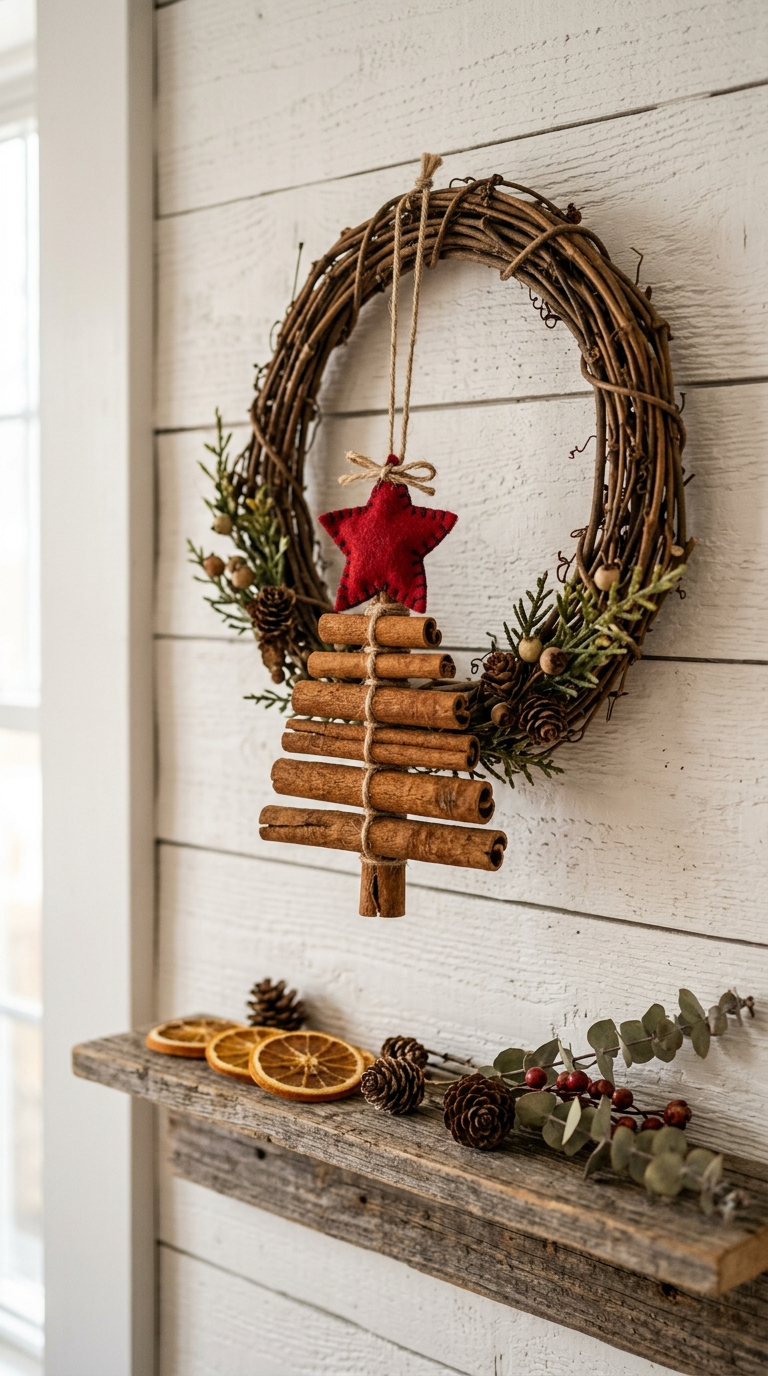
These smell amazing and look rustic-chic. Bonus: your house smells like a bakery without you actually baking anything.
- Line up five to seven cinnamon sticks side by side, longest in the middle.
- Glue them together at the top and bottom with hot glue.
- Cut a star from felt or use a small bead for the treetop.
- Tie a twine loop at the top for hanging.
- Add a small ribbon bow at the base.
Common mistake: Using too much glue. A little dot holds cinnamon sticks just fine. Globs look messy and take forever to dry.
Project 4: Beaded Snowflake Ornaments

These take a bit more patience, but the result is worth it. They catch the light and look store-bought (in a good way).
- Cut three pieces of wire or pipe cleaner, each about four inches long.
- Twist them together in the center to form a six-point star.
- Thread beads onto each arm, alternating colors and sizes.
- Fold the tip of each wire over to secure the last bead.
- Tie a ribbon loop at one point for hanging.
Troubleshooting
If beads slide off, bend the wire tip before you start. If the snowflake looks lopsided, don’t sweat it. Imperfect is charming. If you hate it, call it “abstract” and move on.
Ways to Display, Gift, or Use Your Ornaments
Obviously, they go on the tree. But there are other options too.
- Gift toppers: Tie an ornament to a wrapped present instead of a bow.
- Garland: String several ornaments on twine and drape across a mantel.
- Table decor: Place a few in a shallow bowl with pinecones.
- Teacher gifts: Add a small tag that says “You’re a gift.” Cheesy, but it works.
- Wreath accents: Hot glue a few to a plain twig wreath.
Customization idea: Write the year on the back of each ornament. Future you will thank present you when you’re unpacking them years later.
FAQ’s
How long do these ornaments take to make?
Most take five to fifteen minutes each. The beaded snowflakes take a bit longer, maybe twenty minutes if you’re watching TV at the same time.
Can I use glass ornaments instead of plastic?
Yes, but they break. If kids or pets are involved, stick with plastic. Glass is fine for adult-only crafting and looks a little fancier.
What’s the best glue for felt ornaments?
Hot glue is fastest and holds well. Fabric glue works too but needs a few hours to dry. Avoid super glue, it soaks into felt and gets crusty.
How do I keep glitter from getting everywhere?
Work over a paper plate or tray. Apply glue first, then sprinkle glitter. Shake off the excess and funnel it back into the container. Your vacuum will thank you.
Can I make these ornaments with toddlers?
Absolutely, with adjustments. Pre-cut everything, use glue sticks instead of hot glue, and let them stick on stickers or large beads. Supervise closely.
How should I store handmade ornaments?
Wrap each one in tissue paper and store in a labeled box. Cinnamon stick ornaments can go in a ziplock bag to keep their smell. Beaded ones go in a hard container so they don’t bend.
Let’s Make Some Holiday Magic
You don’t need a craft degree or a fancy setup to make your tree look amazing. A few simple supplies, an afternoon, and maybe a little glitter on the floor is all it takes.
So grab your glue gun and your sense of humor. Pour some cocoa, put on a holiday movie, and start crafting. Your tree is about to be the best-dressed one on the block.
And hey, if one ornament turns out weird, just hang it at the back of the tree. We’ve all been there.