
Ready to ditch the boring store-bought ornaments and make something that actually means something? These DIY Christmas ornaments are ridiculously easy, beginner-friendly, and way more fun than fighting crowds at the mall. Grab your glue gun, pour some hot cocoa, and let’s turn your tree into a handmade masterpiece. Trust me, once you make one, you won’t want to stop.
Why Make Your Own Christmas Ornaments?
Store-bought ornaments are fine, but they all kind of look the same, right? Making your own lets you match your tree to your vibe, use colors you actually love, and create keepsakes your family will fight over in 20 years.
Plus, DIY ornaments make awesome gifts for teachers, neighbors, and that one friend who has everything. Homemade always beats generic, and it costs way less than you think.
What You’ll Gain From This Project
- A personalized tree that reflects your style
- Quality time with kids, friends, or just yourself
- Unique gifts that don’t look like everyone else’s
- Serious bragging rights when guests ask where you bought them
Materials and Tools You’ll Need
Here’s the beauty of these ornaments — you probably already own half this stuff. And if you don’t, dollar stores have you covered.
- Clear plastic or glass ornaments (fillable ones work best)
- Acrylic paint in your favorite holiday colors
- Paintbrushes — small and medium sizes
- Ribbon or twine for hanging loops
- Glue gun and glue sticks
- Fine glitter (because glitter makes everything better)
- Mod Podge or clear sealant
- Faux snow, beads, or tiny trinkets for filling
- Scissors and a craft mat
- Permanent markers for details
Budget-Friendly Substitutes
No fillable ornaments? Use small mason jars or even cardboard cutouts. No Mod Podge? A mix of white glue and water works in a pinch. No glitter? Crushed dry cereal or salt adds texture, though it won’t sparkle the same. IMO, real glitter is worth the few bucks.
Easy DIY Christmas Ornaments: Step-by-Step
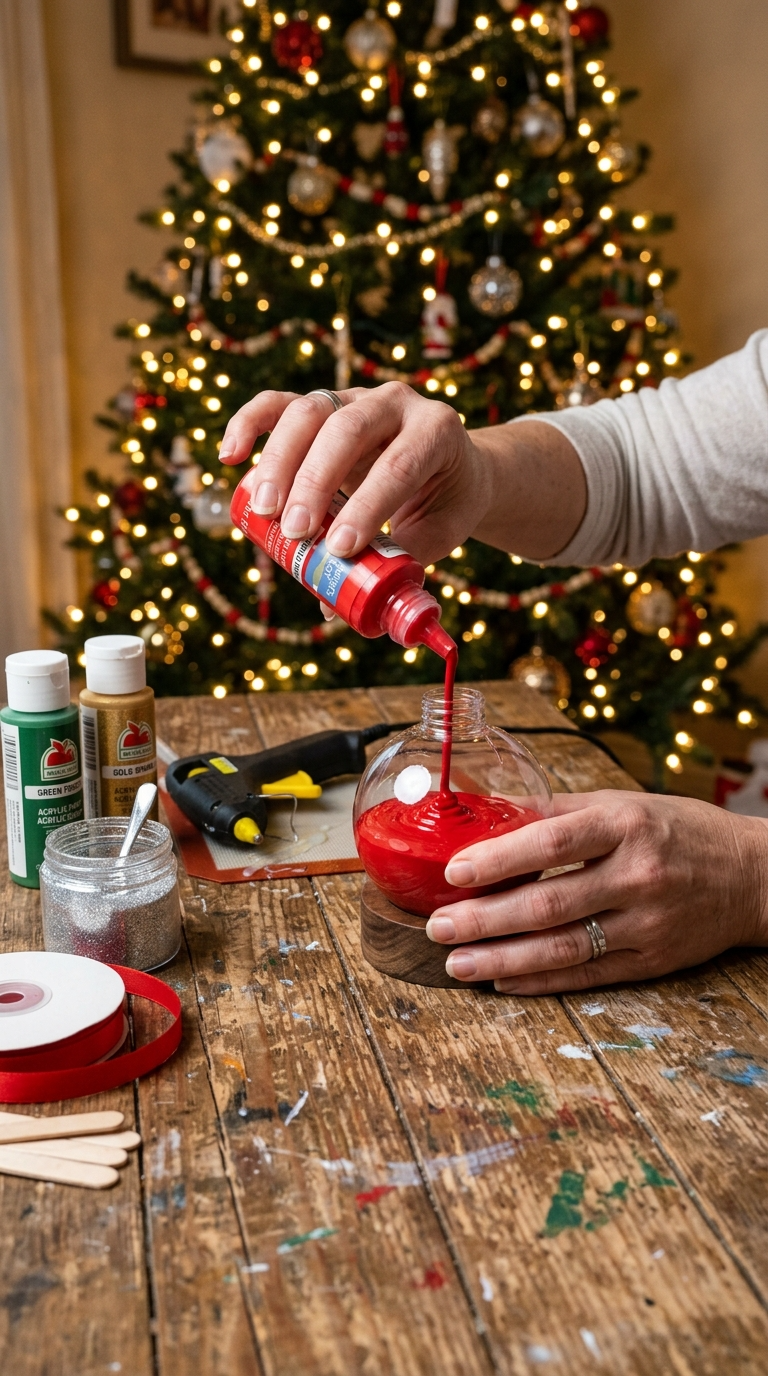
Let’s start with the classic fillable ornament. It’s foolproof, customizable, and looks store-bought when you’re done. Here’s how to make it happen.
- Remove the ornament cap. Gently pull off the metal top so you have an open hole to work with. Set the cap aside — you’ll need it later.
- Pour in a small amount of paint. Squeeze two or three drops of acrylic paint inside. Use one color or swirl two together for a marbled look.
- Swirl and coat. Cover the opening with your finger or a paper towel and shake, tilt, and roll the ornament until the paint coats the inside. This takes a minute, so be patient.
- Add glitter or filler. Sprinkle in fine glitter, faux snow, or tiny beads. Shake again to distribute evenly.
- Let it dry upside down. Place the ornament opening-down in a cup or egg carton. Wait at least 2 hours, preferably overnight.
- Replace the cap and add ribbon. Put the metal cap back on, thread a ribbon loop through the top, and tie a neat knot or bow.
- Seal if needed. For extra durability, brush a thin layer of Mod Podge over the outside and let it dry.
That’s it — you just made an ornament that looks like it came from a boutique. Seriously, people pay $15 for these.
Design Variations to Try
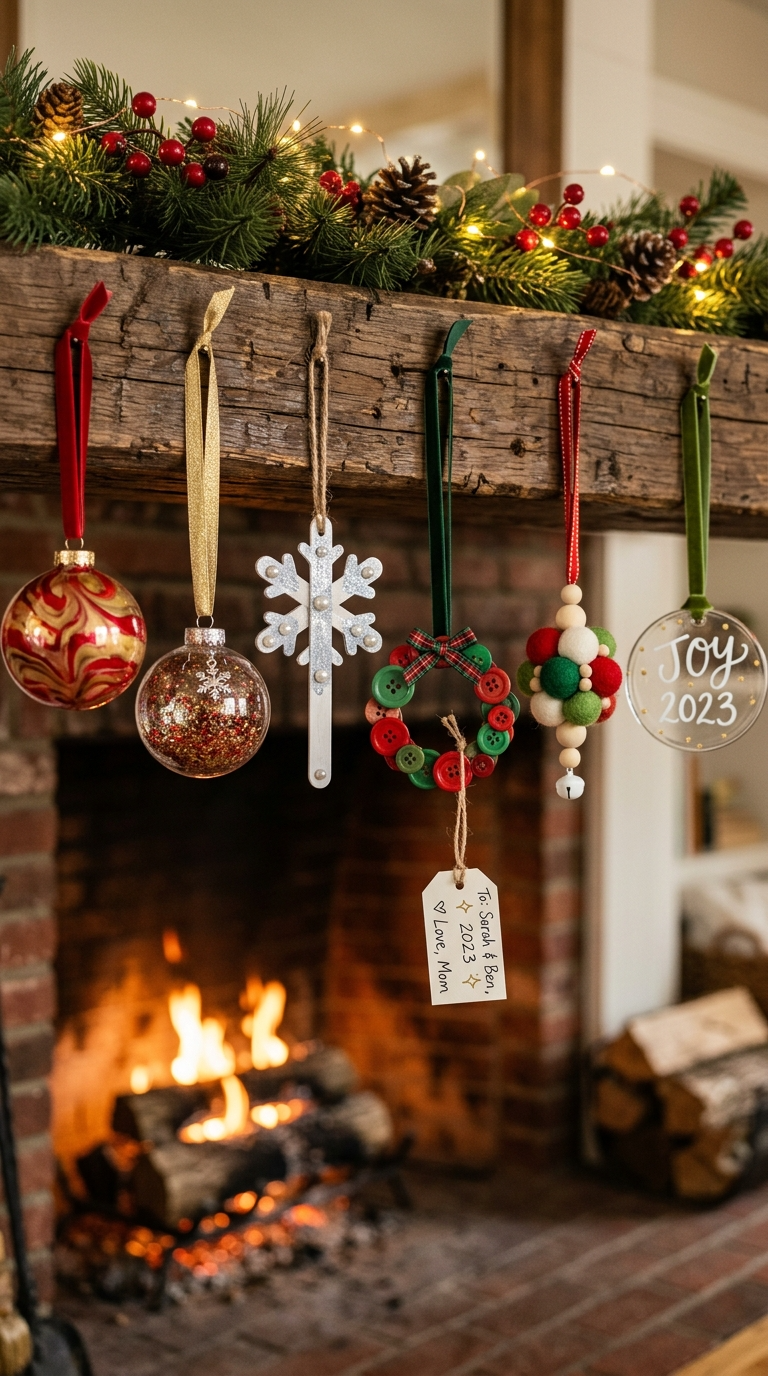
- Marbled swirl: Use two contrasting paint colors and don’t over-mix
- Snow globe effect: Fill with faux snow and tiny plastic trees
- Photo keepsake: Roll a small printed photo inside before painting
- Glitter bomb: Skip the paint, go all-in on glitter
No-Paint Ornament Ideas for Kids
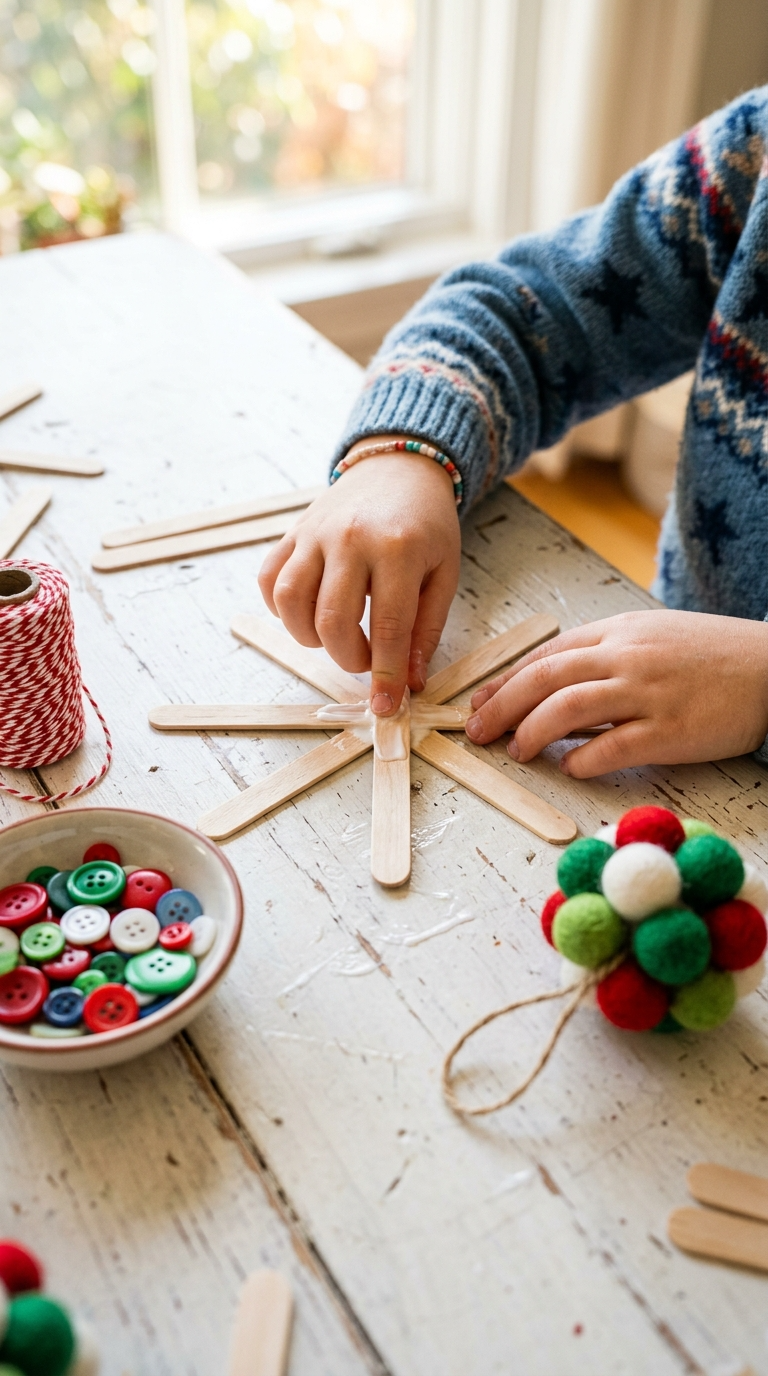
Got little ones who want to help? Skip the paint and try these mess-free options. They’re safe, simple, and keep tiny hands busy for at least 20 minutes.
- Popsicle stick snowflakes. Glue four sticks into a star shape, paint or color them, then add a ribbon loop.
- Felt ball ornaments. Thread colorful felt balls onto a pipe cleaner, shape into a circle, and twist closed.
- Button wreaths. Glue green and red buttons onto a cardboard ring. Add a bow and you’re done.
These are perfect for a snowy afternoon when everyone’s bored. Bonus: they double as gift toppers.
Tips, Mistakes, and Customization Ideas
Common Mistakes to Avoid
- Using too much paint. A little goes a long way — excess paint never dries
- Skipping the drying time. Rush it, and you’ll have a sticky mess
- Forgetting the ribbon loop. No loop means no hanging, obviously
- Not sealing outdoor ornaments. Moisture ruins everything
Personalization Ideas
Write names, dates, or tiny messages on the outside with a permanent marker. Add charms, beads, or tiny jingle bells to the ribbon. Use theme colors for a coordinated tree — think all-white, all-red, or metallic everything.
Pro tip: Make a set of six matching ornaments and gift them in a cute box. Instant crowd-pleaser.
How to Display and Gift Your Ornaments
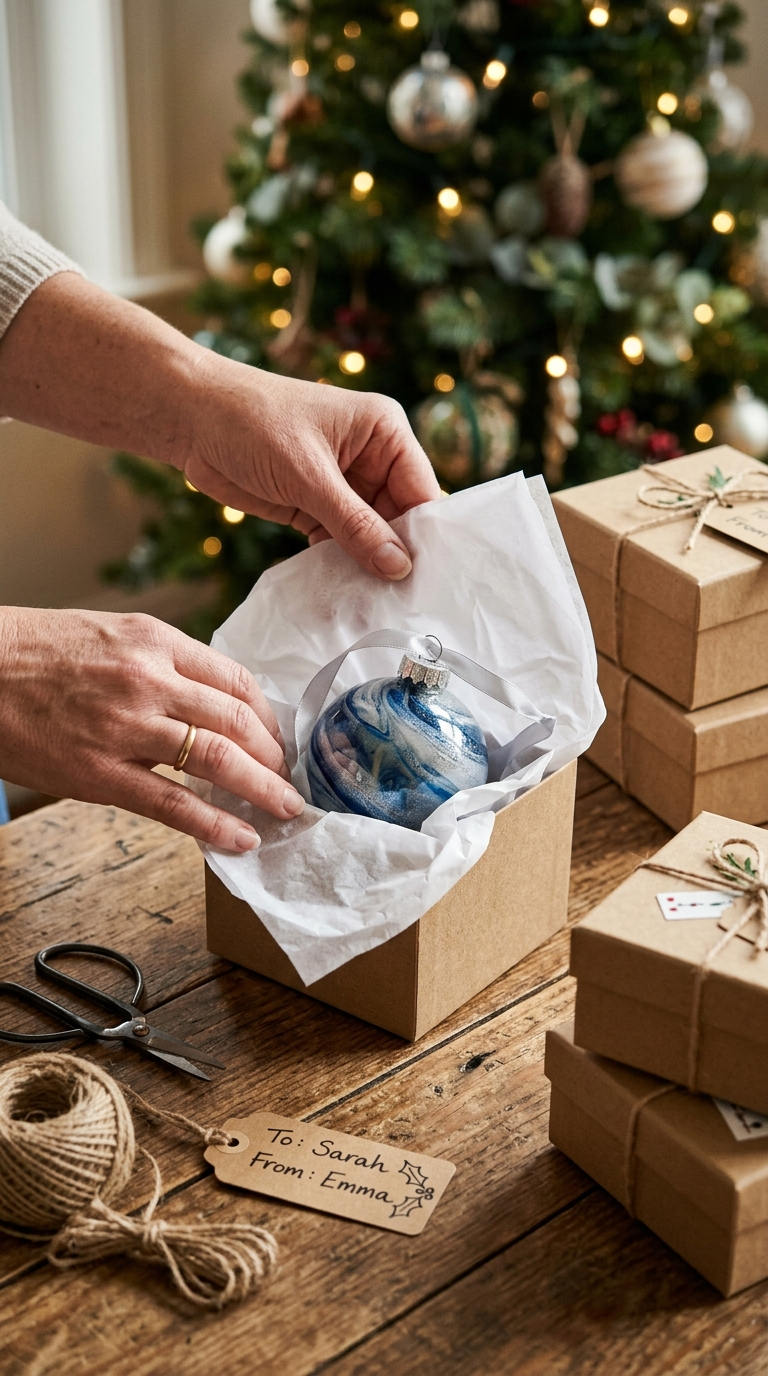
Hang them on the tree, obviously. But you can also string them across a mantel, dangle them from windows, or cluster them in a decorative bowl as a centerpiece.
For gifting, wrap each ornament in tissue paper, place it in a small box, and tie it with twine. Add a handwritten tag, and you’ve got a present that beats anything from a big-box store.
Safety Notes for Crafting With Kids
- Keep glue guns out of little hands — use school glue instead
- Avoid glass ornaments with kids under 5
- Watch for choking hazards like beads and small charms
- Ventilate the room when using spray sealants
FAQ’s
How long do DIY ornaments last?
With proper sealing, they last for years. Store them in a cool, dry place wrapped in tissue paper.
Can I use glass ornaments instead of plastic?
Yes, but they’re fragile. Plastic or shatterproof options are safer, especially with kids around.
What paint works best inside ornaments?
Acrylic paint is your best bet. It’s affordable, comes in every color, and dries fairly quickly.
How do I stop glitter from shedding everywhere?
Seal the inside with a thin layer of Mod Podge after the glitter dries. It locks everything in place.
Can I make these ornaments ahead of time?
Absolutely. Make them weeks in advance and store them carefully. They also make great last-minute gifts.
Do I need a glue gun?
Not always. School glue or craft glue works for most steps. A glue gun just speeds things up.
Go Make Something Sparkly
You don’t need fancy supplies or hours of free time to make gorgeous Christmas ornaments. You just need a few basics, a little patience, and maybe a glass of wine. So grab your supplies, crank up the holiday playlist, and start crafting.
Your tree will thank you. Your wallet will thank you. And honestly? You’ll have way more fun than you expected. Happy crafting!