
Want to deck the halls without draining your wallet? Same here. These easy Christmas DIY crafts take minutes, use stuff you probably already own, and look way cuter than anything on a store shelf. Grab a glue gun and let’s make something festive.
Why DIY Christmas Crafts Are Worth It
Store-bought decorations are fine, but handmade ones actually mean something. You save money, you get exactly the colors and style you want, and you end up with keepsakes your family will fight over in twenty years.
Plus, crafting is weirdly therapeutic. Nothing melts away holiday stress like hot-gluing pom-poms at 11 p.m., right?
Here’s the best part: you don’t need to be an artist. Every project below is beginner-friendly. If you can cut paper and tie a knot, you’re qualified.
Project 1: Mason Jar Snow Globes
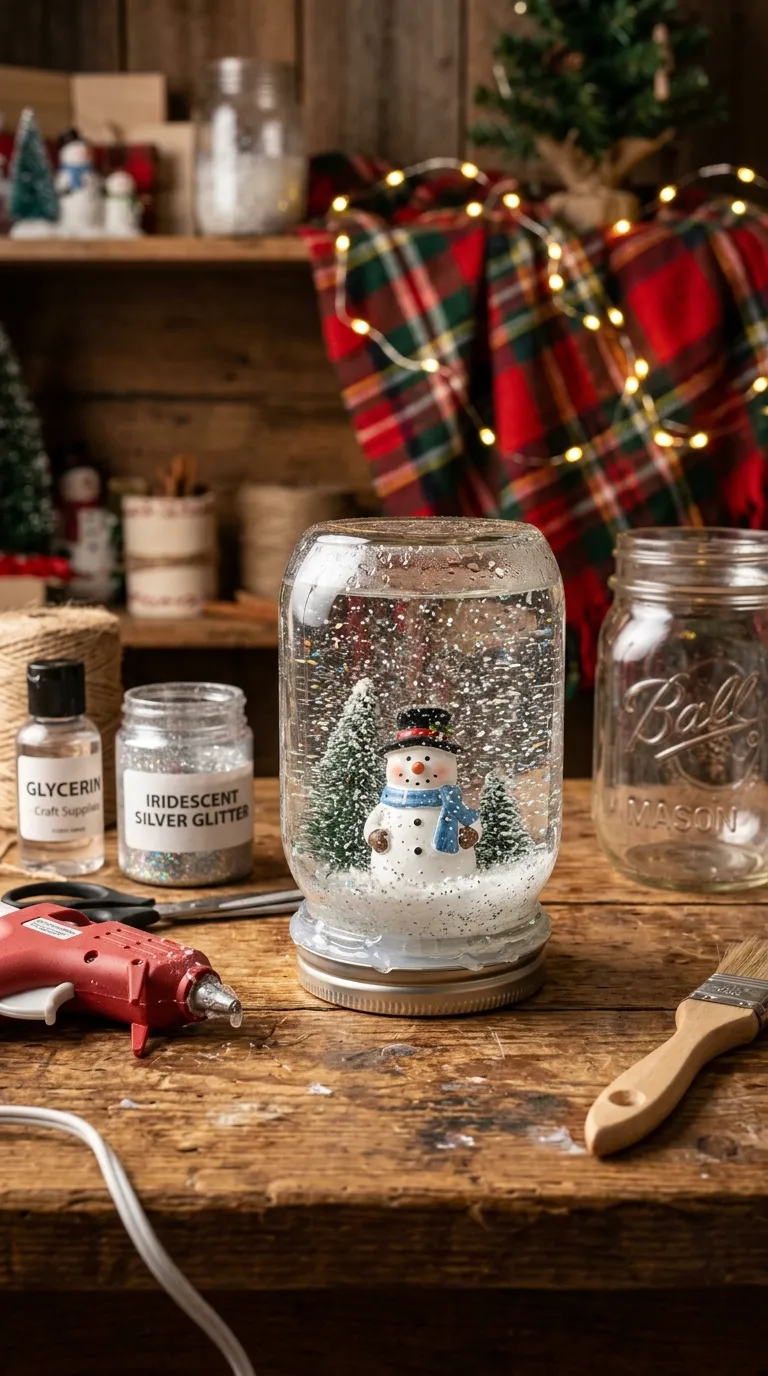
These look like fancy boutique decor, but they’re basically a jar, water, and glitter. Shake and done.
Materials and Tools
- A clean mason jar with a lid (any size works)
- Distilled water (tap water turns cloudy over time)
- Clear glue or glycerin (keeps glitter from sinking too fast)
- Fine glitter and a few chunky glitter pieces
- Small plastic figurines or miniature trees
- Waterproof glue, like silicone or hot glue
Budget substitute: Baby oil works instead of glycerin in a pinch. It also slows the glitter fall.
Step-by-Step Instructions
- Glue your figurine to the inside of the jar lid. Let it dry completely. This is the step people rush, and then their tiny snowman faceplants into the glitter.
- Fill the jar almost to the top with distilled water.
- Add a squeeze of glycerin or clear glue, then a generous pinch of glitter.
- Run a bead of waterproof glue around the lid’s rim and screw it on tight.
- Flip it over and give it a shake. Adjust the glitter amount until it looks magical.
Common Mistakes to Avoid
Skip the waterproof glue and you’ll find a glitter puddle on your mantel by New Year’s. Also, don’t use too much glitter. A little goes a long way, and too much just looks like murky soup.
Project 2: Clothespin Snowflake Ornaments
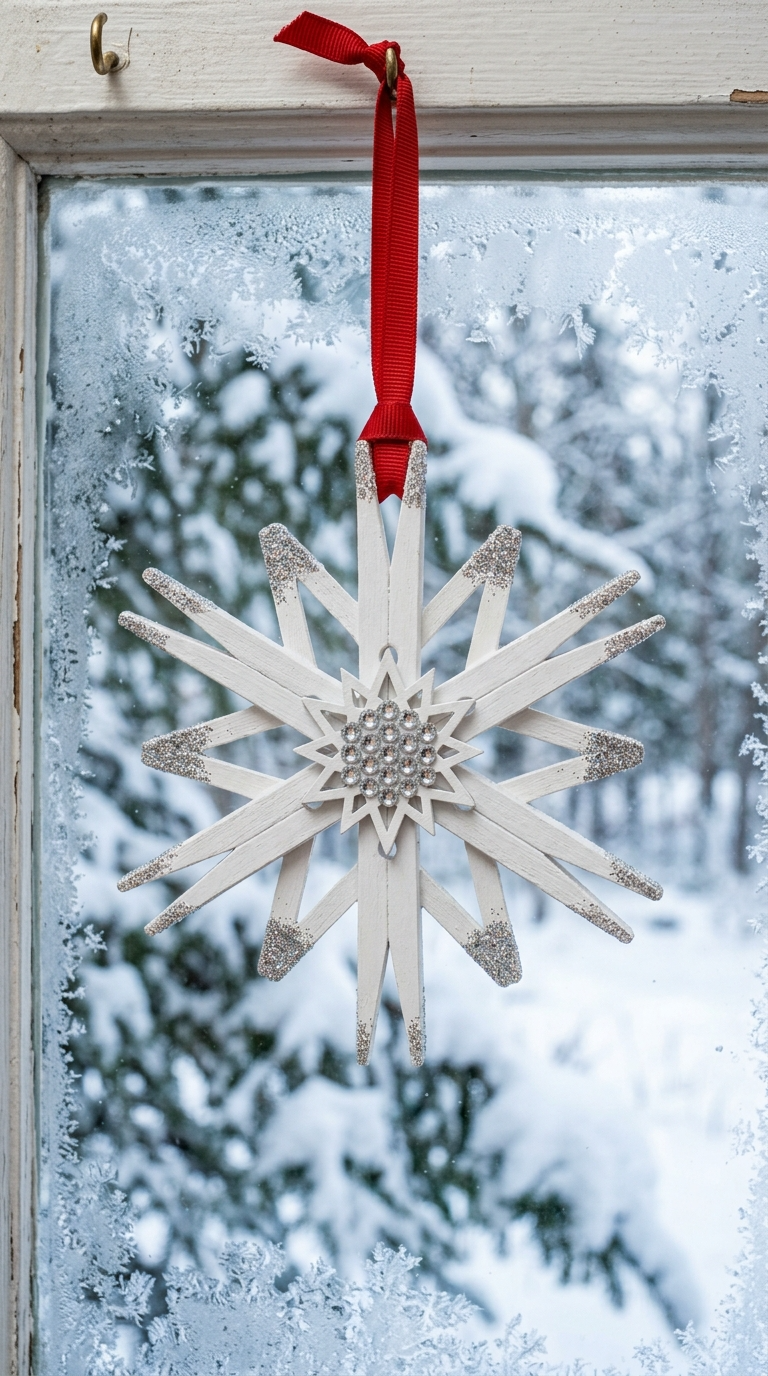
Remember those wooden clothespins sitting in a drawer? They’re about to become snowflakes. This craft is cheap, fast, and weirdly addictive once you start.
Materials and Tools
- 8 wooden clothespins per snowflake
- White or silver acrylic paint
- Paintbrush
- Hot glue gun
- Ribbon or twine for hanging
- Optional: glitter, rhinestones, or tiny pearls
Step-by-Step Instructions
- Take each clothespin apart by pinching the metal spring. You’ll only need the wooden halves.
- Paint all the wooden pieces white or silver. Let them dry fully, about 20 minutes.
- Glue four pairs together with the rounded ends facing out, forming a star shape.
- Glue a second layer on top, rotated slightly, to create a full snowflake.
- Attach a loop of ribbon to the back for hanging.
Pro tip: Paint the pieces before gluing. It’s way easier than trying to get paint into all those little gaps later.
Design Variations
Use metallic gold for a glam look, or leave them natural wood for a rustic farmhouse vibe. Add a dab of glitter to the tips for that frosty sparkle.
Project 3: Cinnamon Stick Candle Holders
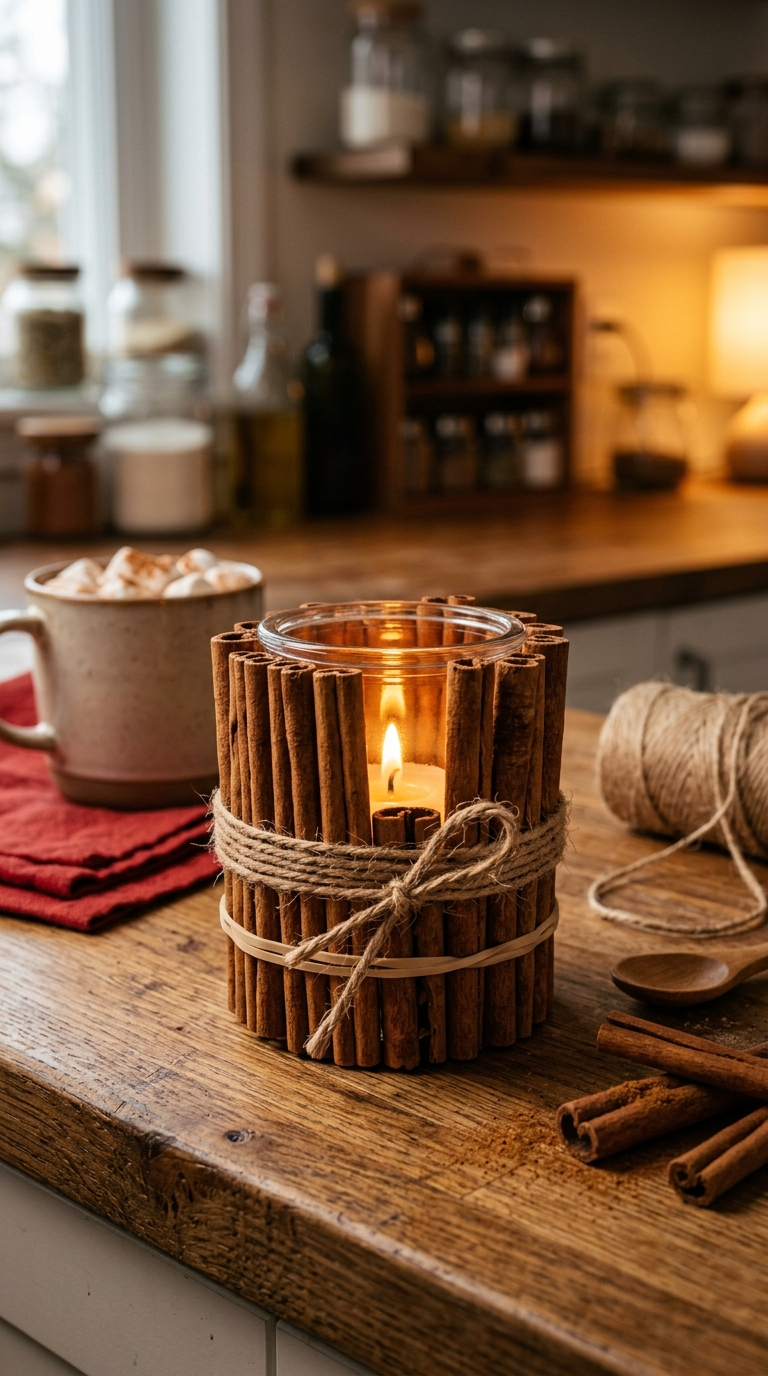
These smell like a Hallmark movie and take about five minutes each. If you want your house to smell like Christmas without lighting a single candle, this is your project.
Materials and Tools
- Cinnamon sticks (about 20–30 per holder)
- A glass votive or small jar
- Rubber band
- Twine or ribbon
- Hot glue (optional)
- A tea light or small candle
Step-by-Step Instructions
- Wrap a rubber band around the middle of your glass jar.
- Slide cinnamon sticks under the rubber band, packing them snugly around the jar.
- Keep going until the whole jar is covered.
- Tie twine or ribbon over the rubber band to hide it. Remove the rubber band if you like.
- Drop in a tea light and light it up.
Safety note: Never leave a burning candle unattended. Cinnamon sticks are dry and flammable, so keep the flame contained inside the glass.
Project 4: Paper Snowflake Garlands
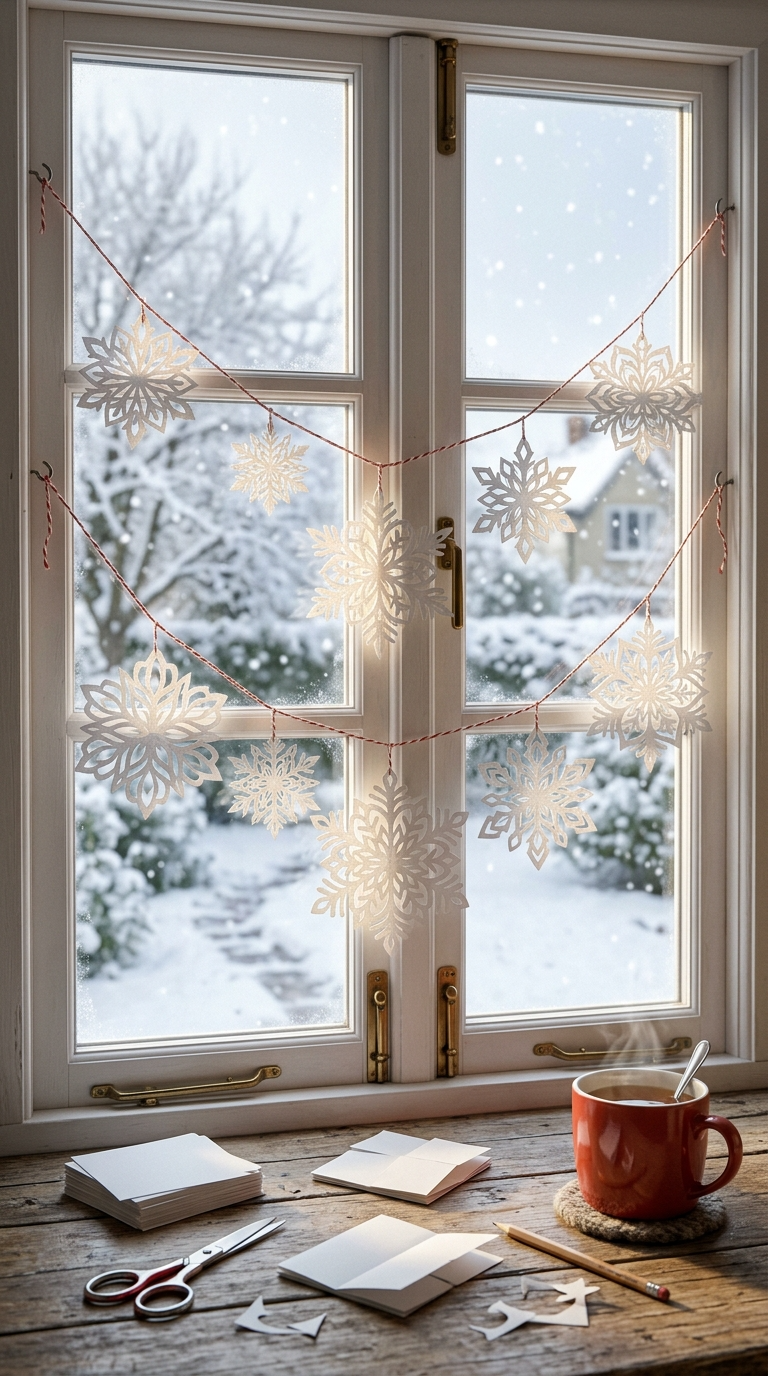
Paper snowflakes are the OG Christmas craft. They cost basically nothing, and a whole garland takes under an hour.
Materials and Tools
- White printer paper or coffee filters
- Scissors
- String or baker’s twine
- Tape or a needle and thread
- Optional: a iron for flattening
Step-by-Step Instructions
- Fold a square piece of paper in half diagonally, then in half again, and again until you have a small triangle.
- Cut small shapes along the folded edges. Circles, triangles, and notches all work.
- Unfold carefully. Boom, a snowflake.
- Make 10–15 snowflakes in different sizes.
- Thread them onto string with a needle, or tape them directly to the twine.
- Hang across a window, mantel, or doorway.
If your snowflakes curl, press them under a heavy book for an hour. Instant flatness.
Project 5: Hot Cocoa Gift Jars
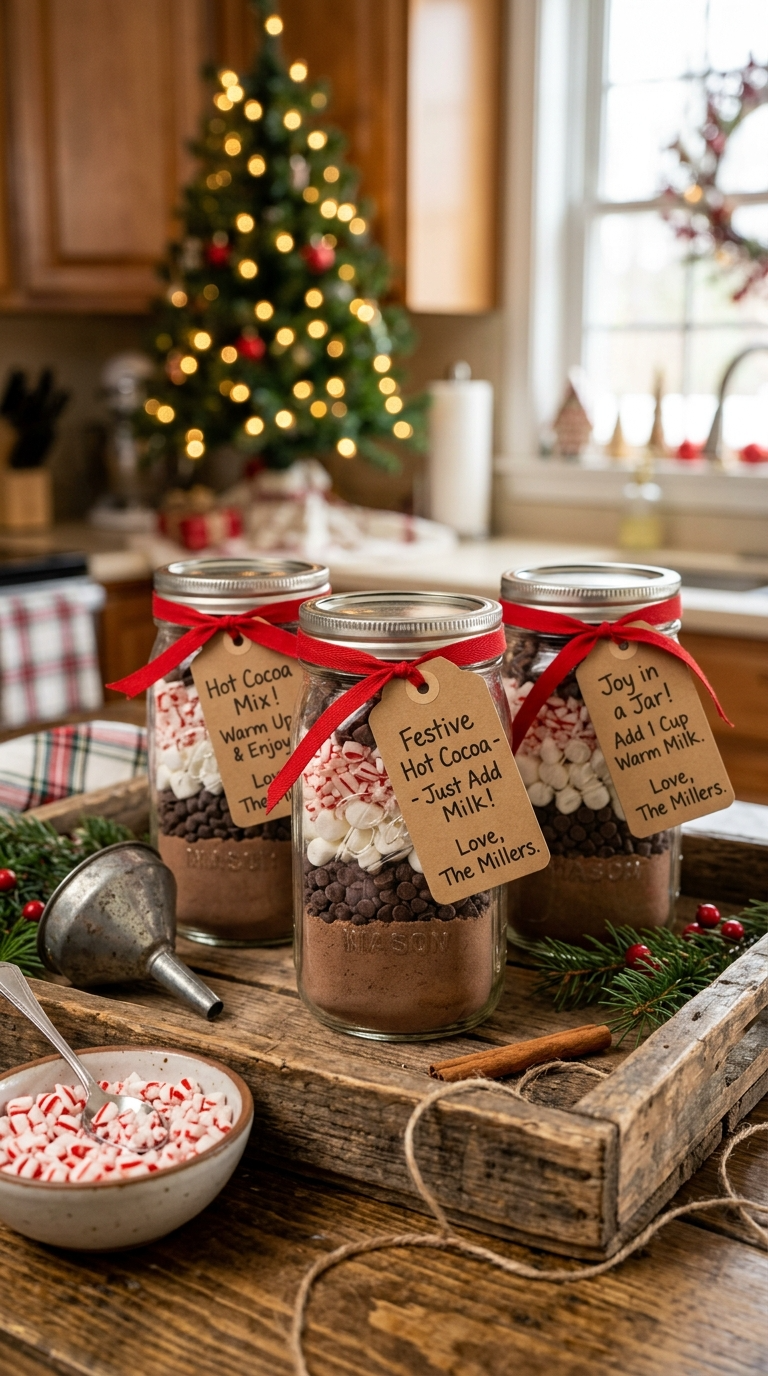
These make the sweetest gifts, and you can assemble a dozen in one sitting. Teachers, neighbors, and that coworker who always brings good snacks? Covered.
Materials and Tools
- Clean glass jars with lids
- Cocoa powder, sugar, and powdered milk
- Chocolate chips, mini marshmallows, and crushed candy canes
- A funnel or a rolled piece of paper
- Ribbon and a gift tag
Step-by-Step Instructions
- Mix 1/2 cup cocoa powder, 1 cup sugar, and 1/2 cup powdered milk. This is your base.
- Pour the mix into the jar, filling it about two-thirds full.
- Layer chocolate chips, then marshmallows, then crushed candy canes on top. Pack each layer flat.
- Seal the lid and tie a ribbon around the neck.
- Add a tag with instructions: “Mix 3 tablespoons with hot milk. Stir and enjoy.”
Customization idea: Add a pinch of cinnamon or a few drops of peppermint extract to the powder for a flavor twist.
Project 6: Pinecone Christmas Trees
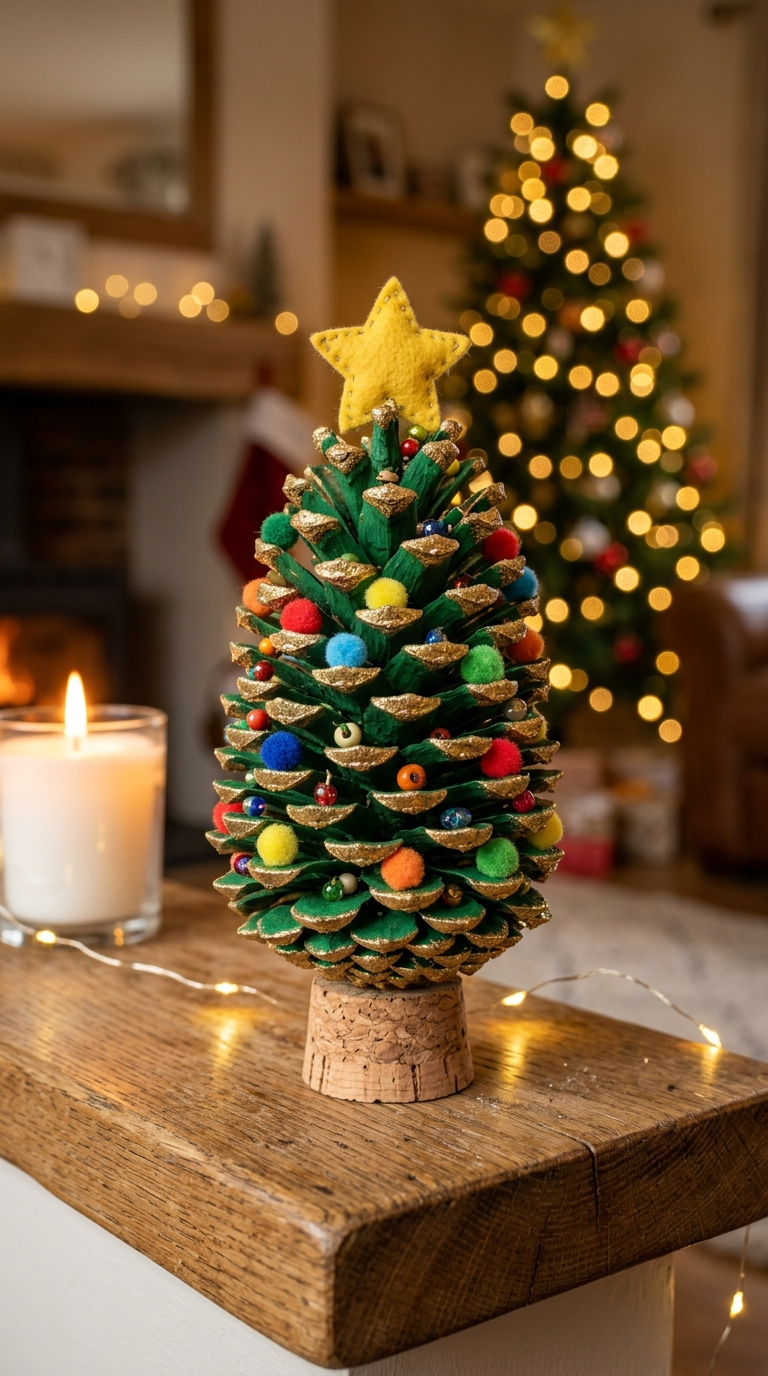
Pinecones are free if you live near trees, and they make adorable little tabletop trees. This one’s great for kids because there’s no sharp cutting involved.
Materials and Tools
- Clean pinecones
- Green acrylic paint
- Small pom-poms, beads, or sequins
- Hot glue gun or craft glue
- A small cork or wooden block for the base
- Optional: gold spray paint for the tips
Step-by-Step Instructions
- Paint each pinecone green. Get into the gaps for full coverage. Let dry.
- Dip the tips in gold paint or spray lightly for a frosted look.
- Glue the pinecone to a cork or wooden block so it stands upright.
- Glue tiny pom-poms or beads on as ornaments.
- Add a star on top using a bead or a small piece of yellow felt.
Troubleshooting: If your pinecone won’t stand, trim the bottom flat with scissors or use a bigger base. A dab of hot glue sets fast and holds tight.
Project 7: DIY Christmas Card Display
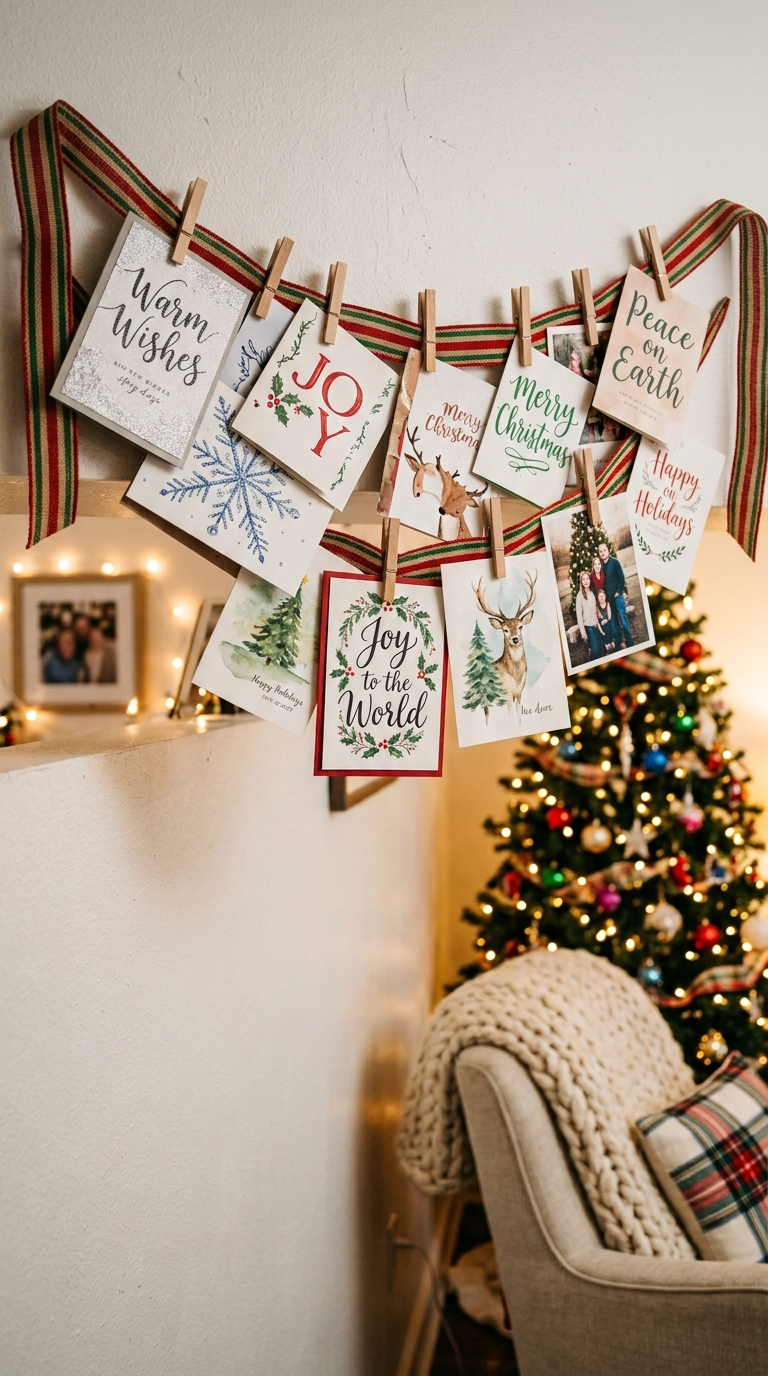
Cards pile up fast, and a messy stack on the counter is sad. This display takes ten minutes and makes them look intentional.
Materials and Tools
- A long piece of ribbon or twine
- Mini clothespins
- Thumbtacks or command hooks
- Optional: a wooden dowel for a hanging frame
Step-by-Step Instructions
- Hang the ribbon across a wall, mantel, or window frame using hooks or tacks.
- Clip cards onto the ribbon with mini clothespins.
- Space them evenly and adjust as new cards arrive.
- For a hanging version, tie the ribbon to a painted dowel and suspend it from the ceiling.
Display idea: Use a festive ribbon with red and green stripes, or go neutral with burlap twine for a cozy look.
FAQ’s
What’s the cheapest Christmas craft to start with?
Paper snowflakes and clothespin ornaments. Both cost a few dollars and use supplies you likely already have.
Can kids help with these projects?
Absolutely. Skip the hot glue gun for little ones and use craft glue instead. Pinecone trees and paper snowflakes are perfect for kids.
How do I stop glitter from getting everywhere?
Work over a baking sheet or paper plate. Fold the paper to funnel extra glitter back into the container. You’ll still find glitter in June, but it’ll be less.
What if I don’t have a hot glue gun?
Craft glue, tacky glue, or even double-sided tape works for most of these. Just allow extra drying time.
How long do these crafts last?
Stored carefully, most last for years. Mason jar snow globes can leak if the seal fails, so check them each season.
Can I make these as gifts?
Yes! Hot cocoa jars, cinnamon candle holders, and snow globes all make great presents. Add a ribbon and a handwritten tag.
Final Thoughts:
You don’t need a craft room or a ton of skill to make your home feel festive. Pick one project, raid your junk drawer, and give it a shot. Even the messy ones look charming once they’re hanging on the tree.
So what are you waiting for? Christmas is coming whether you’re ready or not. Might as well make something cute while you wait.