
Plain candles are fine, but decorated candles? They’re the difference between “I bought this” and “I made this, and yes, you can compliment me.” The good news: you don’t need a craft studio, a kiln, or an art degree. You need a few candles, some household items, and about an hour. Let’s turn boring candles into something people actually notice.
Why Decorate Candles at All?
Store-bought candles look mass-produced because they are. Decorating them lets you match your room, your mood, or your gift recipient’s weirdly specific taste. It’s also one of the cheapest crafts out there — most of these ideas use stuff you already own.
Plus, decorated candles make great last-minute gifts. Forget a birthday? Grab a candle, add some flair, and suddenly you look thoughtful instead of forgetful.
Materials and Tools You’ll Need
Before you start, gather your supplies. You probably have half of these already, which is the best kind of shopping list.
- Plain pillar or taper candles — white, cream, or any light color works best as a base
- Tissue paper — the thin kind from gift bags, not the thick napkin kind
- Wax paper — for the melted-crayon technique
- Old crayons — broken ones are perfect, no need to buy new
- Embossing heat tool or hair dryer — a hair dryer works fine on high heat
- Fine glitter — fine, not chunky, unless you want a glitter explosion
- Mod Podge or white craft glue — Mod Podge dries clearer
- Paintbrush — a cheap foam brush works great
- Twine, ribbon, or lace — for wrapping
- Dried flowers or small leaves — pressed flat works best
- Scissors and tweezers — tweezers help with tiny placements
- Parchment paper or a craft mat — protects your table from wax drips
Affordable substitutes: Skip the embossing tool and use a hair dryer. Skip Mod Podge and use diluted white glue. Skip dried flowers and use magazine cutouts or pressed leaves from your yard.
Project 1: Melted Crayon Swirl Candles
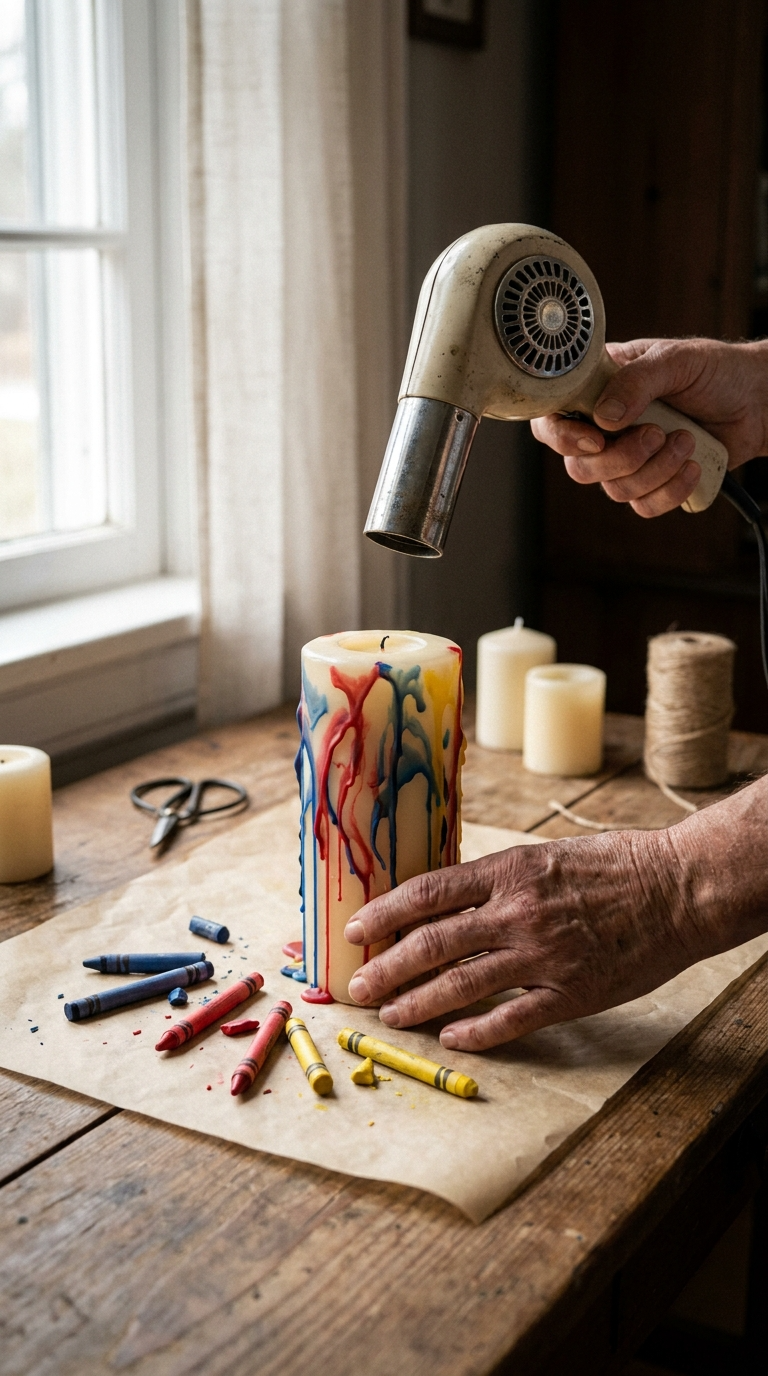
This is the one that looks impressive but takes almost no skill. If you can hold a hair dryer, you can do this.
How It Works
You melt crayon wax onto a candle using heat, creating colorful drips and swirls. The wax hardens as it cools, so the design stays put.
Step-by-Step Instructions
- Set your candle on parchment paper or a craft mat. Wax will drip, and you’ll thank yourself later.
- Peel the paper off 2–3 crayons in colors you like. Break them into small pieces.
- Hold a crayon piece against the side of the candle and aim your hair dryer at it on high heat.
- Watch the wax melt and drip down the candle. Rotate the candle to spread the color.
- Repeat with other colors, overlapping drips for a marbled look.
- Let the candle cool completely — about 15 minutes — before moving it.
Common mistake: Holding the hair dryer too close and melting the candle itself. Keep it a few inches away and keep the dryer moving.
Project 2: Tissue Paper and Glitter Decoupage
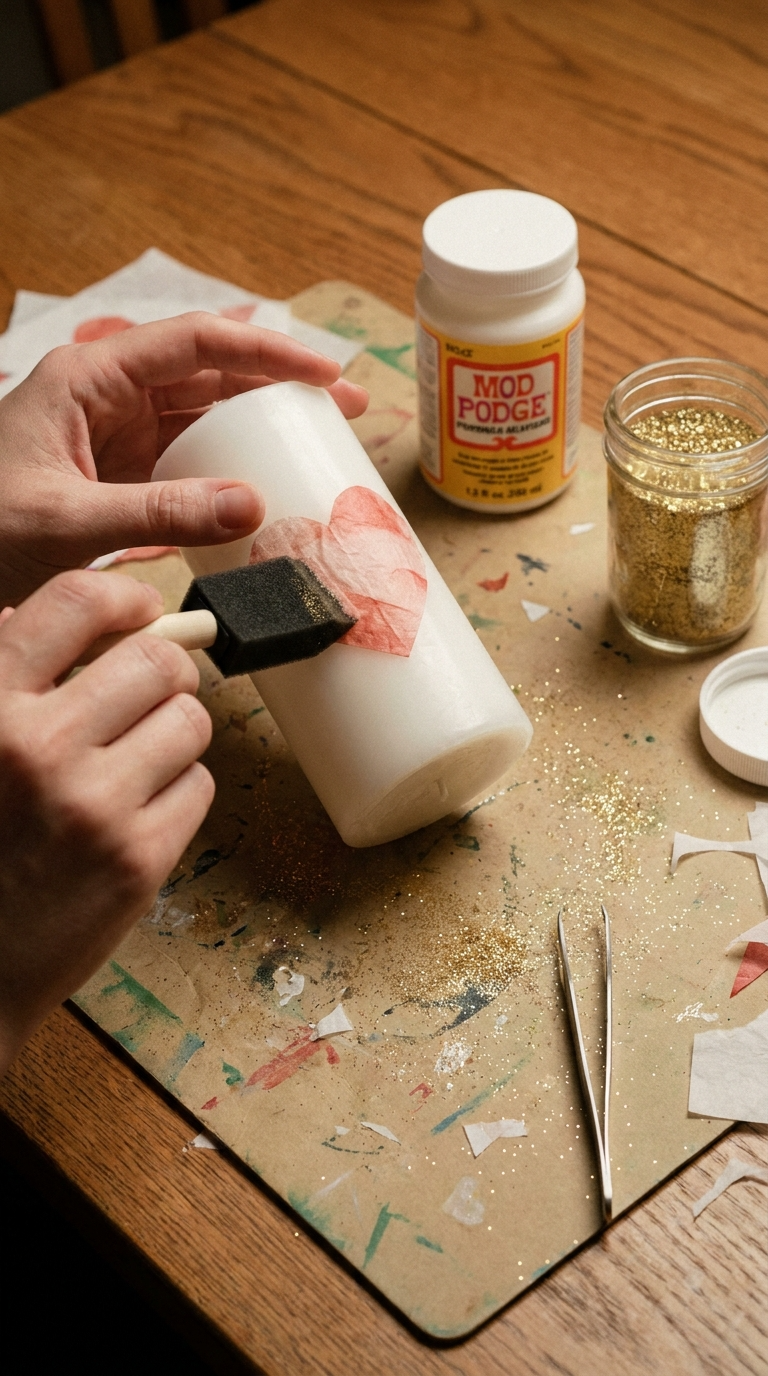
This one is perfect if you want a specific design — a monogram, a shape, a pattern. It’s basically scrapbooking on a candle.
Choosing Your Design
Simple shapes work best: hearts, stars, initials, or geometric patterns. Intricate designs get messy fast, especially for beginners.
Step-by-Step Instructions
- Cut your tissue paper into the shape you want. Small pieces are easier to handle.
- Brush a thin layer of Mod Podge onto the candle where the design will go.
- Press the tissue paper onto the glue. Smooth it down with your fingers or a brush.
- Brush another thin layer of Mod Podge over the top of the paper to seal it.
- Sprinkle fine glitter over the wet glue while it’s still tacky.
- Let it dry for about 30 minutes, then tap off the excess glitter.
Tip: Work in small sections. If you glue the whole candle at once, the Mod Podge dries before you finish placing your design.
Project 3: Twine and Lace Wrapped Candles
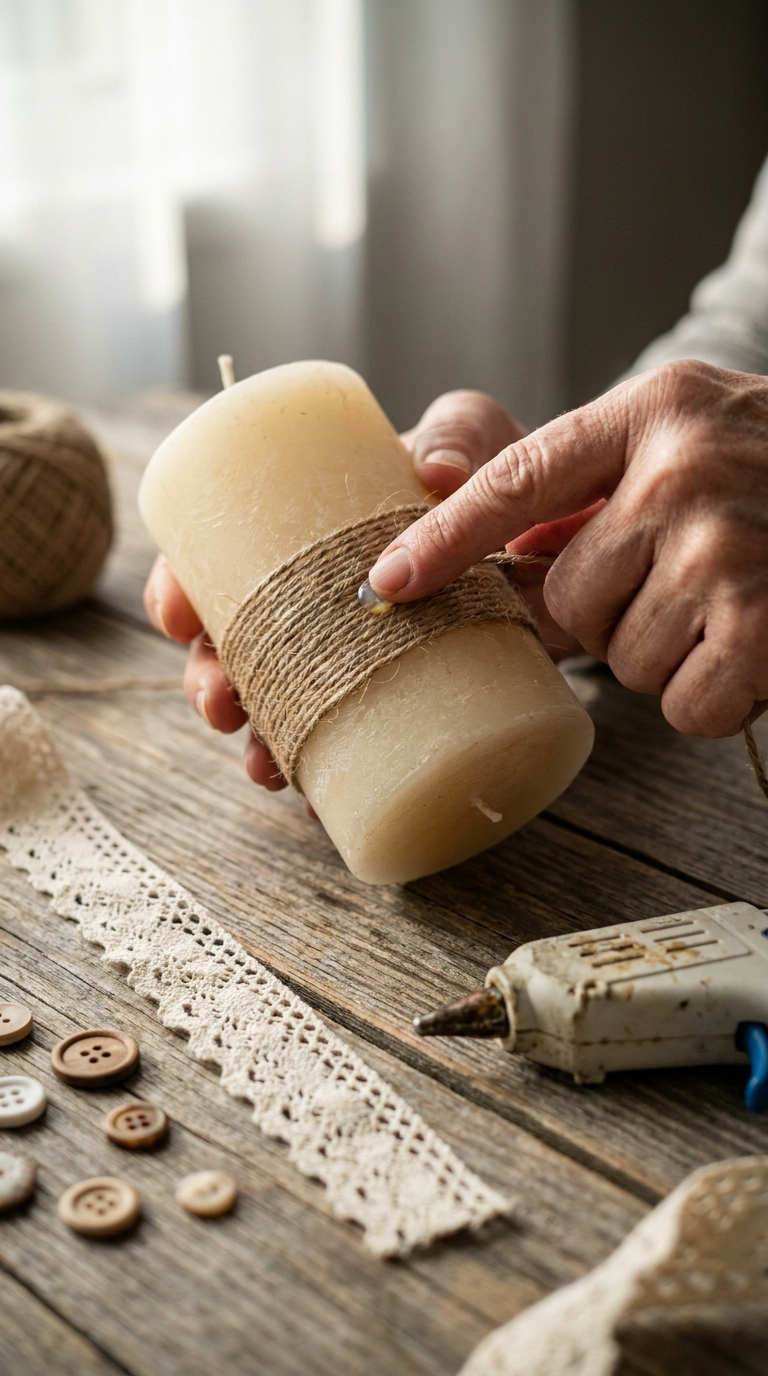
This is the cozy, farmhouse-style look. It’s fast, forgiving, and nearly impossible to mess up.
Materials for This Project
- Twine, jute string, or ribbon
- Lace trim or fabric scraps
- Hot glue gun or strong craft glue
- Small embellishments like buttons or charms
Step-by-Step Instructions
- Start at the bottom of the candle and add a small dot of glue.
- Press the end of your twine into the glue and hold for a few seconds.
- Wrap the twine around the candle, keeping it tight and neat.
- Add a dot of glue every few wraps to keep it secure.
- Finish with a knot or a small bow, then trim the ends.
- Glue on a button, charm, or small dried flower for extra detail.
Design variation: Wrap only the middle of the candle for a minimalist look. Wrap the top and bottom for a more rustic feel.
Safety Tips for Decorated Candles
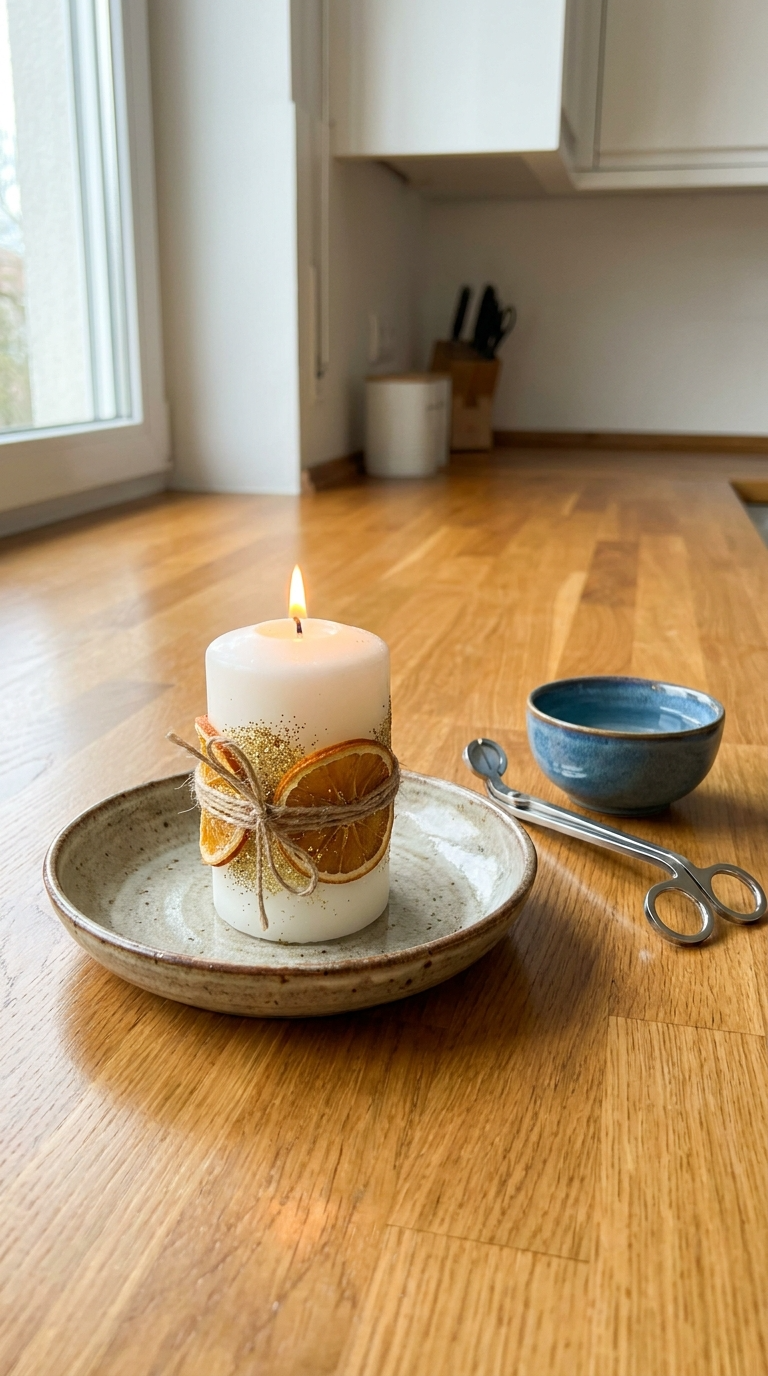
Decorated candles are still candles. They have fire on top, and you’ve added stuff that might not love being near fire. Keep these rules in mind.
- Keep decorations away from the wick. Anything within an inch of the flame is a fire hazard.
- Never leave a burning candle unattended. This one is obvious, but it’s worth repeating.
- Test-burn your candle outside first. If the decoration smells weird or smokes, don’t burn it indoors.
- Use a candle holder or plate. Dripping wax and glitter need somewhere to land.
- Trim the wick to 1/4 inch. A long wick makes a bigger flame, which is bad news for decorations.
IMO, the safest bet is to treat heavily decorated candles as decorative pieces, not as candles you actually burn. They look great on a shelf either way.
Customization Ideas to Make It Yours
Once you’ve tried the basics, here’s how to mix things up.
- Seasonal themes: Use orange and black for Halloween, red and green for Christmas, pastels for spring.
- Scent matching: Pair a vanilla candle with coffee-colored crayon drips.
- Personalized gifts: Add initials, birthstones, or a favorite quote in tiny letters.
- Metallic accents: Use gold or silver paint pens to add dots or lines.
- Nature-inspired: Press small leaves or fern fronds into the wax while it’s warm.
Pro tip: Keep a notebook of color combos you like. You’ll forget them otherwise, trust me.
How to Display, Gift, or Use Your Candles
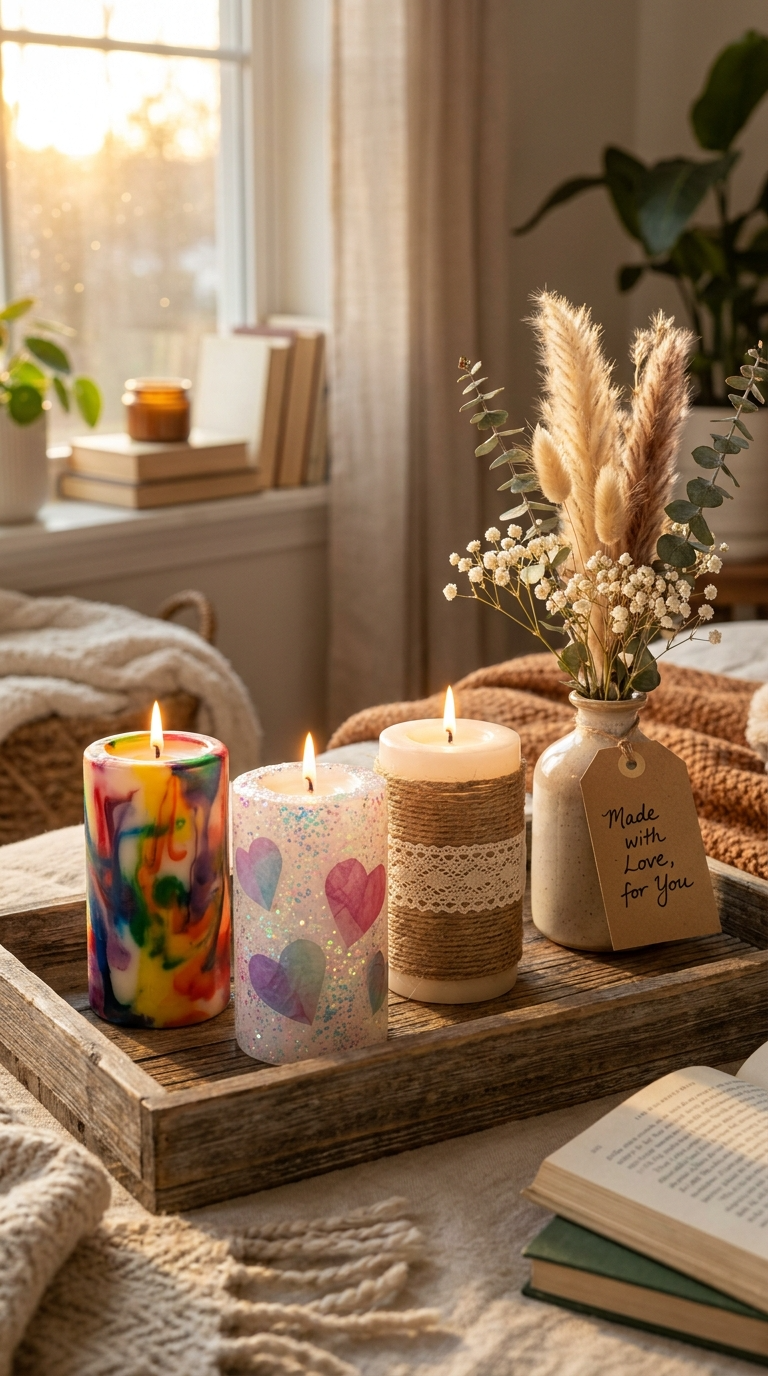
You made them — now what? Here are a few ideas.
- Group them: Cluster three candles of different heights on a tray.
- Gift them: Wrap in cellophane, tie with twine, and add a handwritten tag.
- Use them as centerpieces: Pair with fresh flowers or a small vase.
- Add them to gift baskets: They bulk up a basket without costing much.
- Sell them: If friends keep asking, a small craft fair table might be in your future.
FYI, decorated candles photograph really well. If you’re into social media, these are content gold.
FAQ’s
Can I use a regular lighter instead of a hair dryer?
No — a lighter’s flame is too direct and will burn the candle. A hair dryer or embossing tool gives you controlled heat without direct contact.
Will the decorations catch fire when I burn the candle?
Only if they’re too close to the flame. Keep all decorations at least one inch below the wick, and never let the candle burn down to the decorated area.
How do I keep glitter from getting everywhere?
Use fine glitter and seal it with a top layer of Mod Podge. Work over a sheet of paper so you can funnel the excess back into the container.
Can I decorate candles that already have a scent?
Yes, but strong scents might clash with each other. Stick to one scent per candle, and avoid adding more fragrance.
How long do decorated candles last?
If you don’t burn them, they last for years. The decorations may fade slightly over time, especially in direct sunlight.
What’s the easiest project for total beginners?
The twine-wrapped candle. It needs no heat, no drying time, and no precision. Start there and work your way up.
Final Thoughts:
You don’t need a fancy craft room or a ton of supplies to make something cute. A candle, a hair dryer, and a few old crayons are enough to get started. Pick one project, try it this weekend, and don’t stress if it looks imperfect — that’s part of the charm.
And if your first attempt looks a little rough? Congratulations, you now have a “rustic” candle. Nobody has to know it wasn’t intentional.