
Want to make your space look like a florist stopped by, without paying florist prices? These handmade flower decorations are ridiculously fun to put together. You need a few cheap supplies, one afternoon, and maybe a little patience. Let’s turn ordinary paper and fabric into something people will actually ask about.
What Are Handmade Flower Decorations, Exactly?
Handmade flower decorations are fake blooms you create yourself using paper, fabric, felt, or even coffee filters. They last way longer than real flowers and never trigger allergies. Bonus: you can customize colors to match any room or party theme.
IMO, they beat store-bought decor every time. You get full control over size, shade, and style. Plus, nobody else will have the same thing hanging on their wall.
Why Make Your Own Flowers?
- Save money — a pack of crepe paper costs less than a single bouquet
- Zero wilting — these blooms stay pretty for years
- Endless customization — pick any color combo you love
- Beginner-friendly — if you can cut and fold, you can do this
Materials and Tools You’ll Need
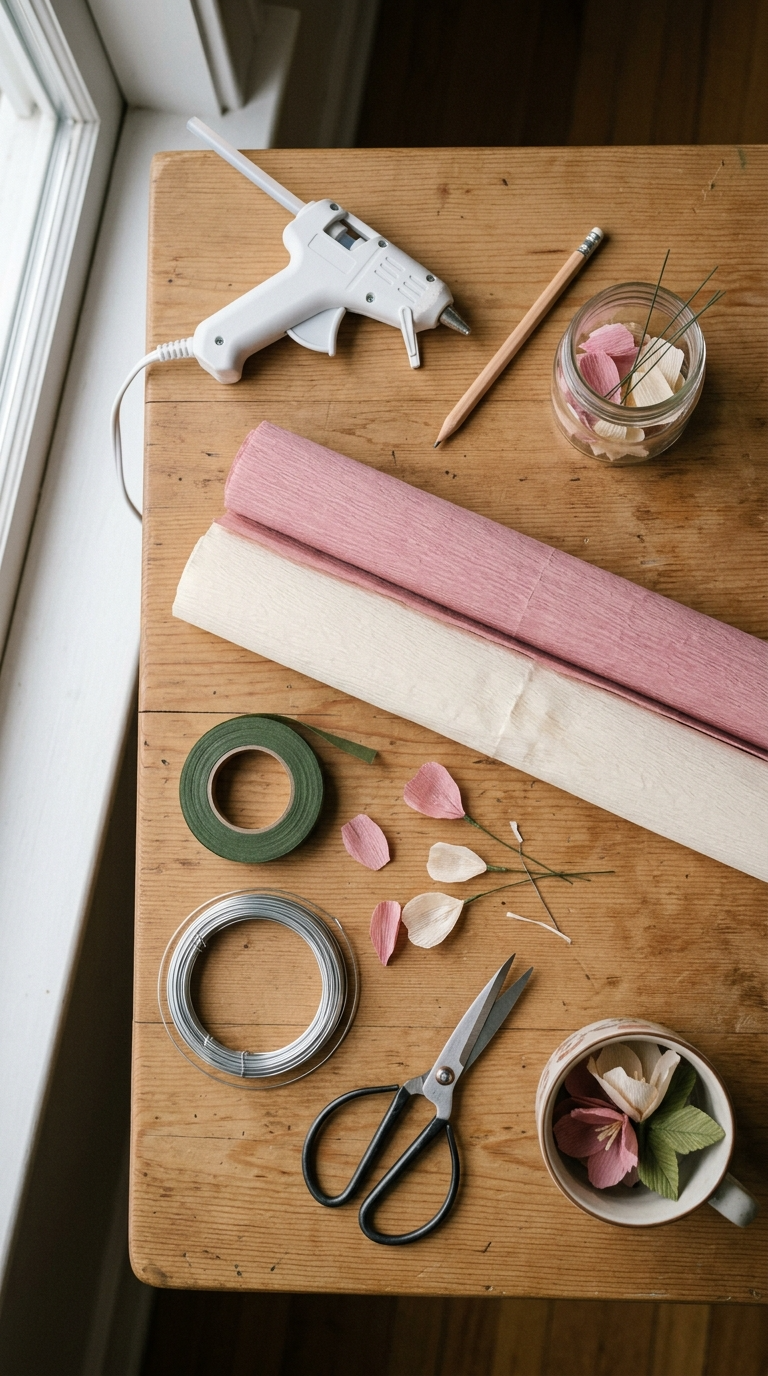
Gather everything before you start, so you’re not hunting for scissors mid-petal. Most of this stuff is already in your junk drawer or costs a couple of bucks.
- Crepe paper or tissue paper — crepe holds shape better, but tissue works in a pinch
- Floral wire — 18 to 22 gauge is perfect; pipe cleaners are a solid substitute
- Green floral tape — wraps stems and hides ugly wire
- Scissors — sharp ones, not the dull pair from the kitchen
- Hot glue gun — low-temp is safer for kids helping out
- Pencil — for curling petals around
- Ruler — optional, but helps with even cuts
- Vase, jar, or wreath base — for displaying your finished flowers
Affordable Substitutes
No crepe paper? Use book pages, old maps, or sheet music for a vintage look. No floral tape? Wrap stems with green ribbon and a dab of glue. No floral wire? Bend paper clips or use wooden skewers for thick stems.
Step-by-Step: Make a Paper Rose That Looks Real
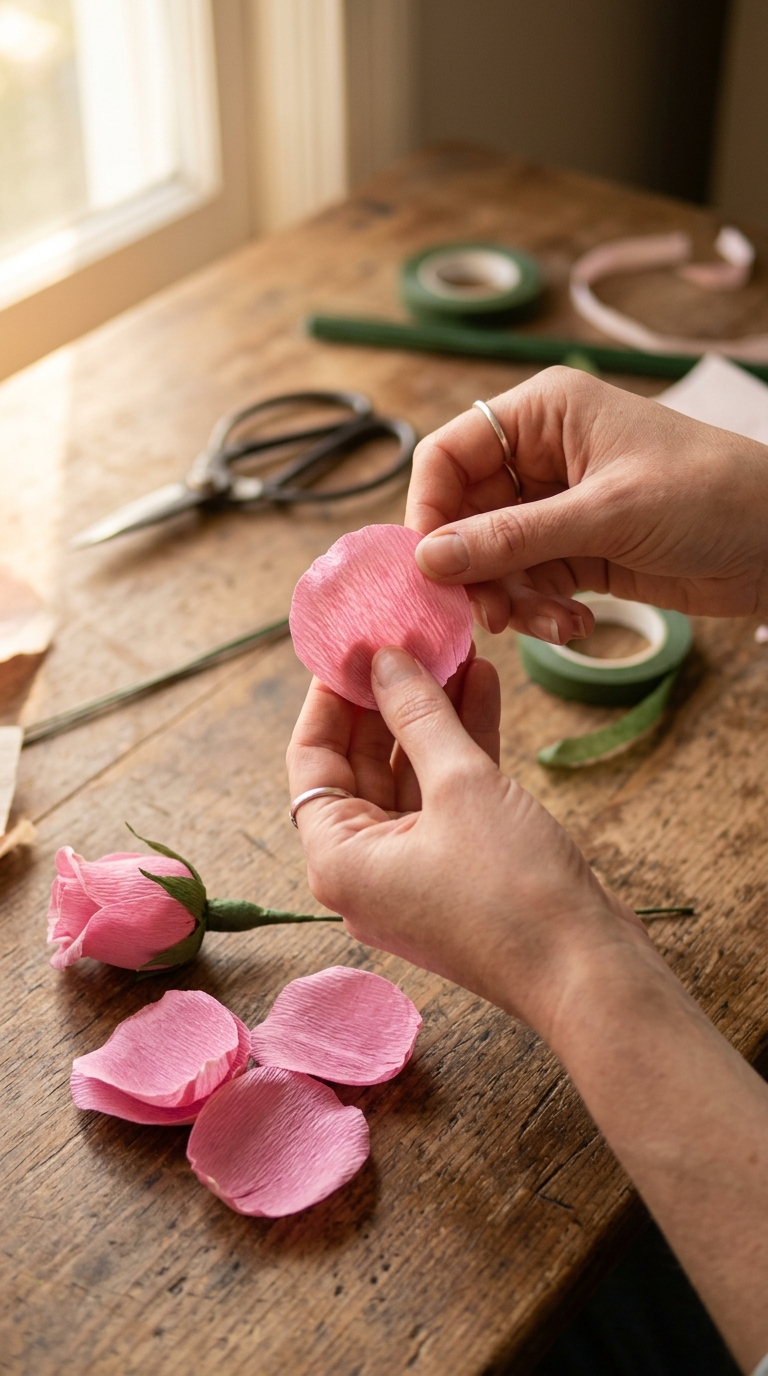
This is the classic starter flower. Once you nail this one, every other bloom feels easy. Ready to get your hands sticky?
- Cut petal shapes. Cut 12 to 15 teardrop shapes from crepe paper. Make them slightly different sizes for a natural look.
- Stretch the petals. Gently pull the center of each petal with both thumbs. This creates a soft cup shape.
- Curl the edges. Wrap the top edge of each petal around a pencil to give it a gentle roll.
- Build the center. Roll one small petal tightly into a bud and secure it with a dab of hot glue.
- Add petals in layers. Glue petals around the bud one at a time. Offset each one so they overlap naturally.
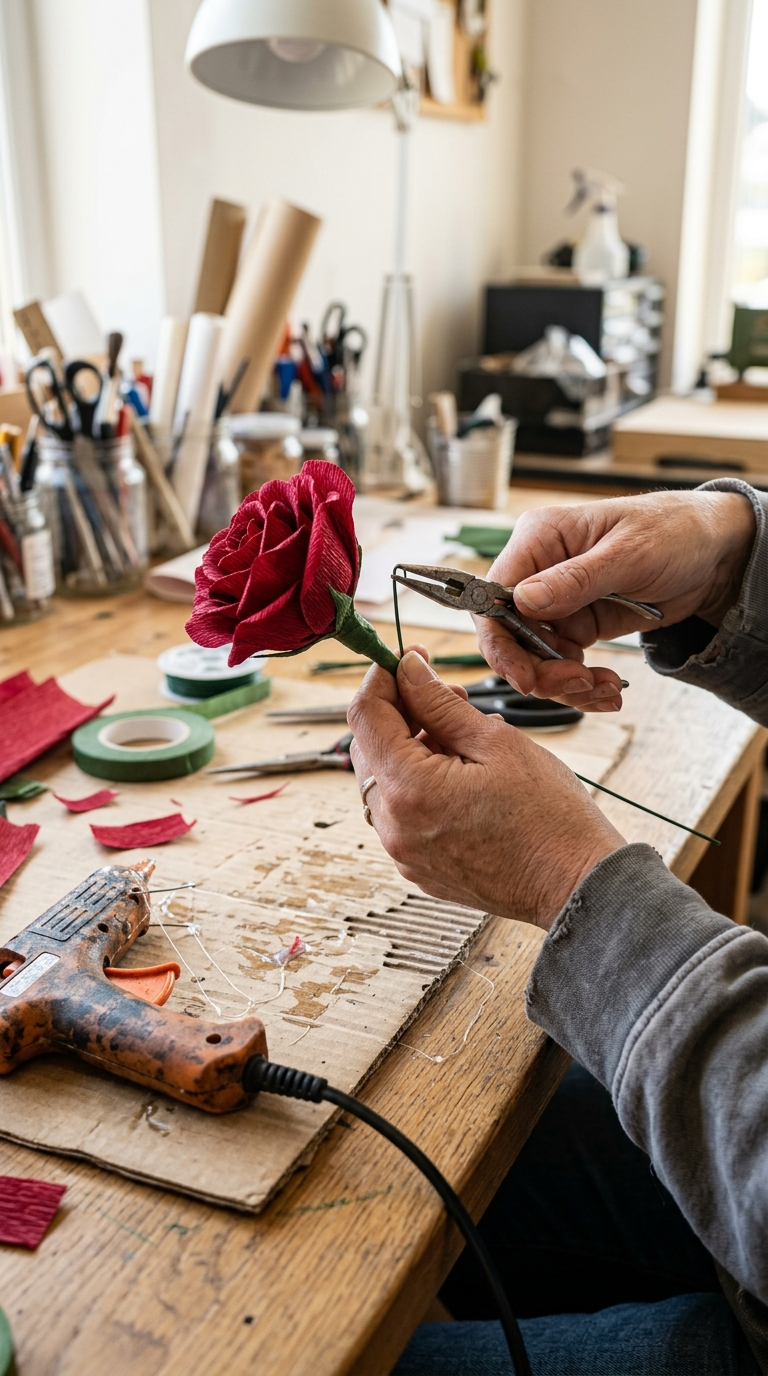
- Attach the stem. Poke a floral wire through the base and bend a small hook to hold it. Glue in place.
- Wrap the stem. Cover the wire with green floral tape, stretching it as you wrap so it sticks to itself.
- Fluff and shape. Gently open the petals outward until the rose looks full and round.
That’s it. One rose takes about ten minutes once you get the hang of it. Make a dozen and you’ve got a bouquet that fools everyone from a distance.
Fun Design Variations to Try
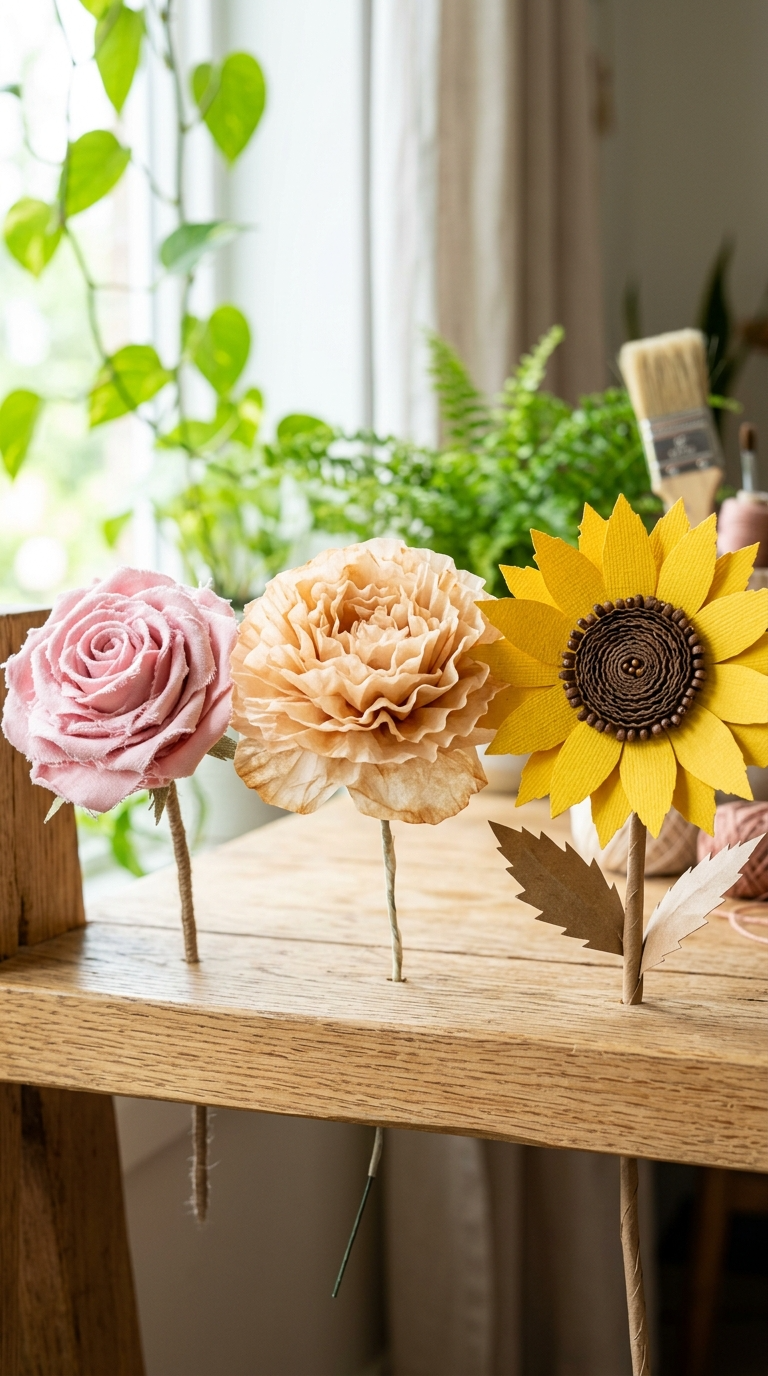
Sticking with roses forever gets boring. Mix it up with these easy twists.
Fabric Flowers
Use old t-shirts or felt scraps instead of paper. Cut circles, stack them, and pinch the center with a brad or glue. Fabric flowers look softer and work great on headbands or pillows.
Coffee Filter Blooms
Did you know coffee filters make gorgeous peonies? Dye them with food coloring and water, let them dry, then layer and scrunch. FYI, this is the cheapest craft project ever.
Giant Statement Flowers
Scale up your petal patterns onto poster board or kraft paper. These oversized blooms make killer party backdrops and photo walls.
Display Ideas That Actually Look Good
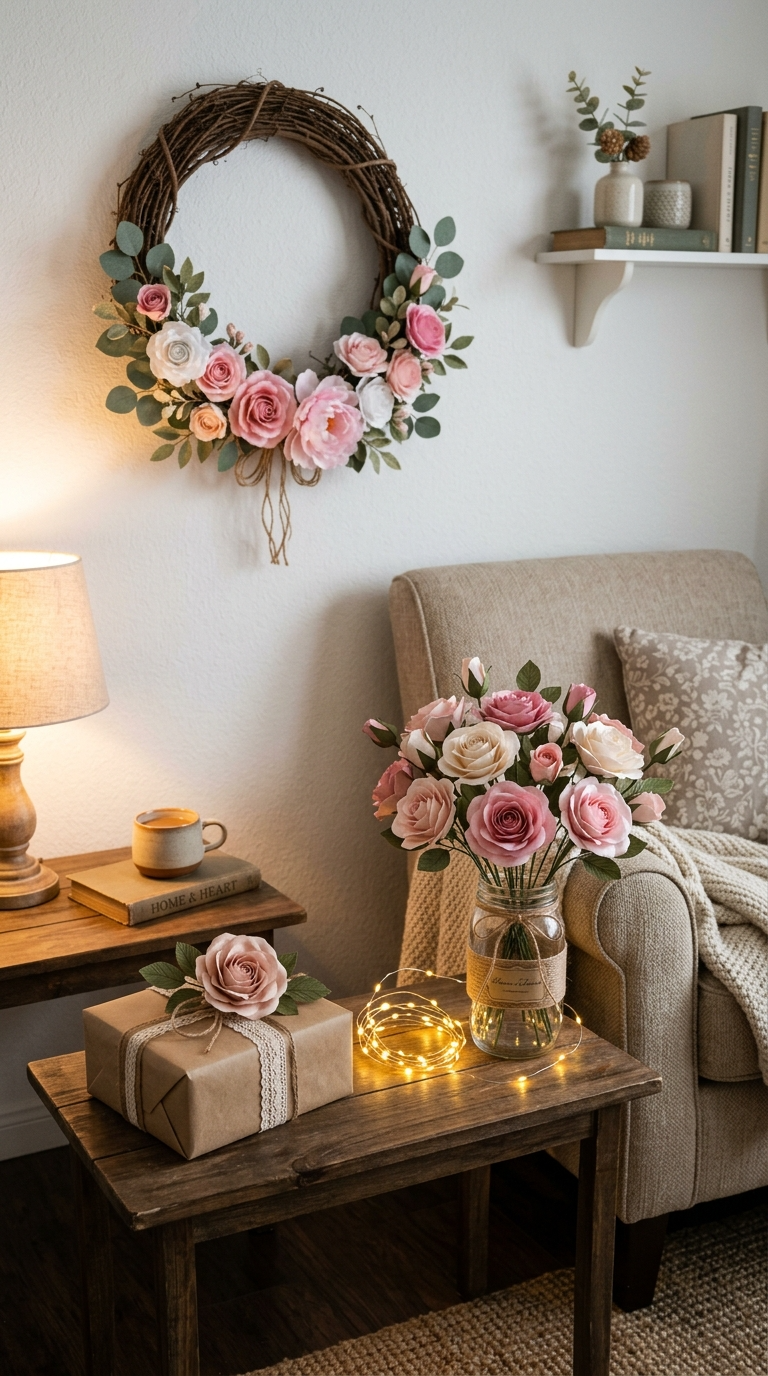
Making flowers is half the fun. Showing them off is the other half. Here are some easy ways to use your creations.
- Wall arrangement — glue flowers onto a painted canvas or foam board
- Wreath — hot glue blooms onto a grapevine wreath base
- Gift topper — tie one flower onto a wrapped present instead of a bow
- Table centerpiece — cluster stems in a mason jar with fairy lights
- Hair accessories — attach small blooms to clips or headbands
Got a friend who loves handmade gifts? A bouquet of paper roses in their favorite colors beats a generic candle any day. IMO, handmade always wins.
Common Mistakes and How to Dodge Them
Even seasoned crafters mess up sometimes. Here’s what to watch for so you don’t waste supplies.
Petals Look Flat and Fake
You skipped the stretching and curling steps. Those two moves give paper flowers their lifelike shape. Don’t rush them.
Glue Everywhere
Hot glue strings get messy fast. Use small dots instead of big blobs. Keep a scrap paper nearby to catch the drips.
Stems Keep Sliding Out
Bend a tiny hook at the top of the wire before gluing it into the flower base. That little hook grips the paper and holds everything tight.
Colors Look Dull
Cheap paper can look washed out. Layer two shades of the same color for petals. The contrast adds instant depth.
Safety Tips for a Stress-Free Craft Session
Hot glue guns are no joke. They will absolutely remind you who’s boss if you get careless.
- Use low-temp glue guns when kids or beginners are crafting
- Keep a bowl of cold water nearby for minor burns
- Work on a protected surface — glue seeps through paper onto tables
- Ventilate the room if you’re using spray paint or strong adhesives
- Store sharp scissors safely when you take breaks
Take your time. Rushing leads to burned fingers and crooked petals. Neither is a good look.
FAQ’s
How long do handmade paper flowers last?
Kept indoors and away from direct sunlight, paper flowers last for years. Dust them gently with a soft brush every few months.
Can I make these with kids?
Absolutely. Swap the hot glue for school glue or glue dots. Stick to simple shapes like daisies and sunflowers for little hands.
What’s the best paper for beginners?
Crepe paper is the friendliest option. It stretches, holds shape, and forgives mistakes. Tissue paper is cheaper but tears easily.
How do I keep colors from fading?
Keep your flowers out of direct sunlight. You can also seal them with a light coat of matte spray sealer for extra protection.
Can I wash fabric flowers?
Spot clean only. Toss them in a washing machine and you’ll end up with a sad lump of fabric. Been there, done that.
Go Make Something Beautiful
You now have everything you need to create stunning handmade flower decorations. Start with one paper rose, then branch out into fabric blooms and giant statement pieces. Grab your supplies, put on some music, and enjoy the process.
Your space deserves a little handmade charm. So what are you waiting for? Go make some flowers!