
Making your own candles is one of those rare hobbies that’s cheap, useful, and genuinely relaxing. You melt some wax, pick a scent, pour it into a jar, and suddenly you’re a candle artisan. No fancy studio required — just a kitchen, a few supplies, and maybe a little patience. Let’s make your first batch together.
Why Candle Making Is the Perfect Beginner Craft
Candle making has a low barrier to entry. You don’t need a kiln, a sewing machine, or a garage full of power tools. A saucepan, a thermometer, and some wax will get you pretty far.
It’s also forgiving. Mess up a pour? Melt it down and try again. Add too much scent? Dilute it with more wax. Unlike pottery or woodworking, your mistakes are recyclable, which takes the pressure off.
Plus, you end up with something people actually want. Handmade candles make great gifts, and nobody needs to know your first attempt looked like a melted crayon.
Materials and Tools You’ll Need
Before you start melting anything, gather your gear. Most of this is affordable, and a few items have easy substitutes.
- Wax — Soy wax is beginner-friendly because it melts at a low temperature and cleans up with soap and water. Paraffin works too but burns hotter. Beeswax is lovely but pricey.
- Wicks — Cotton wicks with a metal tab base are the easiest. Match wick size to jar diameter, or you’ll get a tiny flame or a tunneled candle.
- Jars or containers — Mason jars, old jam jars, teacups, or tin cans all work. Just make sure they’re heat-safe.
- A double boiler or pouring pitcher — A metal pitcher set inside a saucepan of water works perfectly. No special equipment needed.
- A thermometer — A candy or infrared thermometer helps you hit the right temperatures. Guessing leads to cracks and sinkholes.
- Fragrance oil — Candle-safe oils only. Baking extracts won’t blend properly.
- Dye chips or liquid dye — Optional, but fun. A little goes a long way.
- Stirring sticks — Popsicle sticks or old chopsticks. Don’t use your good spatula unless you enjoy scrubbing wax.
- Wick holders or clothespins — To keep the wick centered while the wax sets.
Budget tip: Thrift stores are gold mines for heat-safe jars and teacups. Just avoid anything with cracks or thin glass.
Your First Candle: A Simple Step-by-Step Tutorial
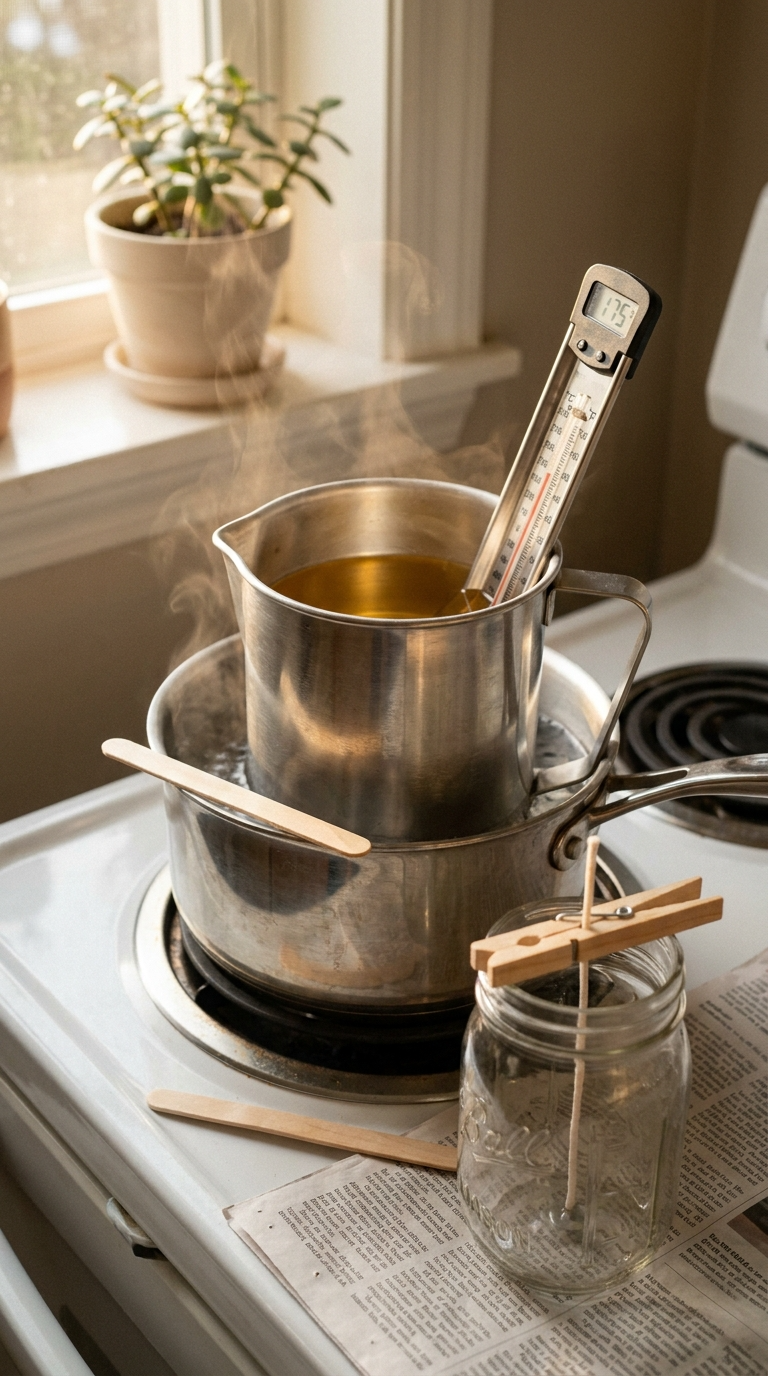
Let’s start with a basic container candle. This is the easiest project for beginners and the one you’ll come back to again and again.
- Prep your workspace. Cover your counter with newspaper or a silicone mat. Wax drips are annoying to scrape off, and hot wax on a bare counter is a bad time.
- Set up your double boiler. Fill a saucepan with a couple inches of water and place your pouring pitcher inside. Heat over medium-low. You want a gentle simmer, not a rolling boil.
- Melt your wax. Add your wax to the pitcher. Soy wax melts around 170–180°F (77–82°C). Stir occasionally with your stick. Don’t walk away — wax can overheat and scorch.
- Add fragrance and dye. Once melted, remove from heat and let it cool to about 135°F (57°C). Add fragrance oil at roughly 1 ounce per pound of wax. Stir for a full minute so it binds. Add dye a drop at a time — you can always go darker, but you can’t go lighter.
- Attach your wick. Place a wick with a metal tab in the center of your jar. Use a wick holder or two clothespins across the rim to keep it upright.
- Pour the wax. Pour slowly at around 130–135°F (54–57°C). Pouring too hot causes cracks; too cool and you’ll get lumpy tops.
- Let it set. Leave it undisturbed for at least 4 hours, ideally overnight. You might see a small sinkhole form in the middle — that’s normal.
- Fix the top (optional). If the top dips, melt a little extra wax and pour a thin layer over the top to level it out. Let it set again.
- Trim the wick. Cut it to about ¼ inch before lighting. A long wick smokes and burns too fast.
That’s it. You just made a candle. Feel free to do a little victory dance — I won’t tell anyone.
Fun Variations to Try Once You’ve Got the Basics
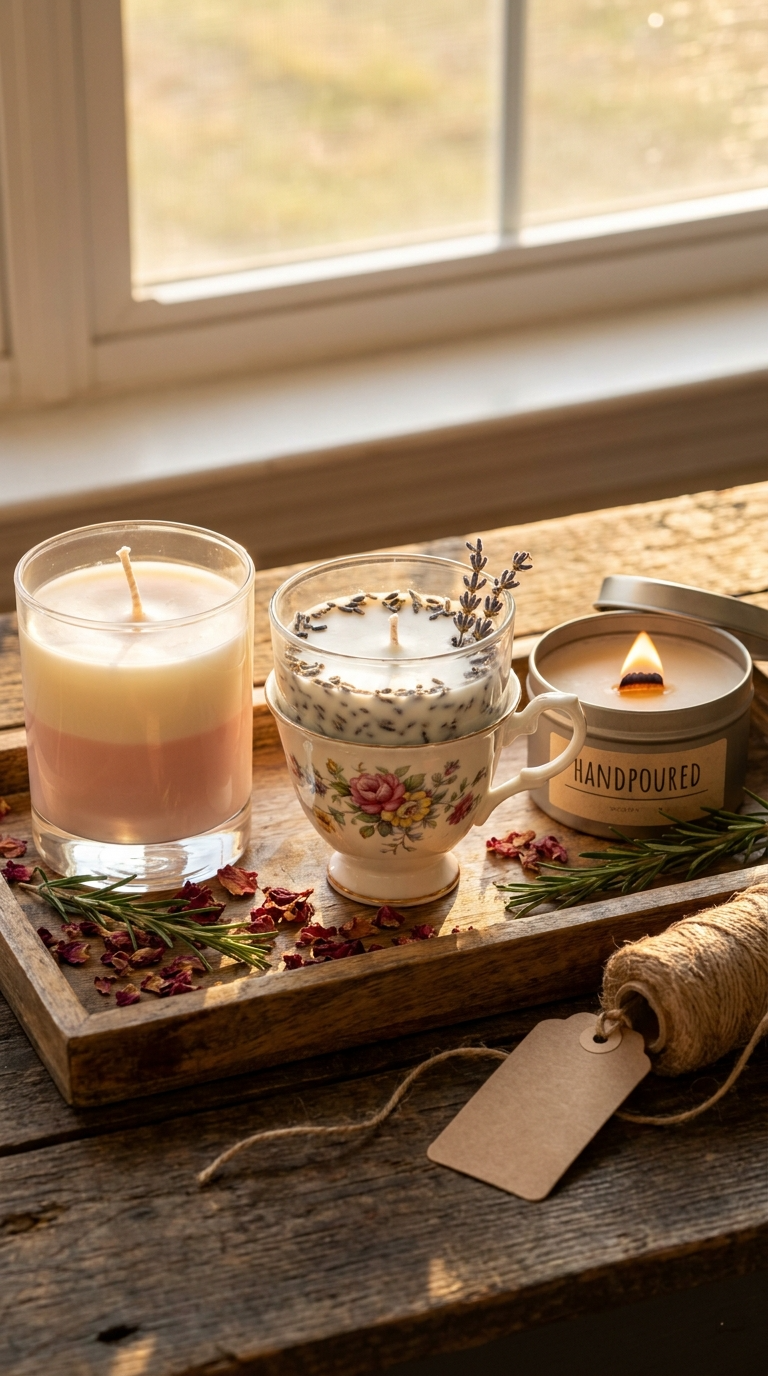
Your first candle is your baseline. Now let’s get a little more creative.
Scented Soy Candles
Soy wax takes fragrance beautifully. Try warm scents like vanilla, cedarwood, or cinnamon for cozy vibes, or go fresh with eucalyptus and lavender. Stick to 1 ounce of oil per pound of wax — more isn’t better and can clog your wick.
Layered Color Candles
Pour one color, let it set for about 30 minutes until a skin forms, then pour a second color on top. The layers stay distinct if you keep the second pour slightly cooler. It looks impressive and takes almost no extra skill.
Embedded Botanicals
Press dried lavender, rose petals, or rosemary against the inside of your jar before pouring. The wax holds them in place and you get a pretty, earthy look. Skip fresh flowers — they’ll rot and look gross.
Teacup and Vintage Container Candles
Thrifted teacups, small tins, and tiny bowls make charming candles. Just check that they’re heat-safe and won’t crack. When the candle burns out, clean the container with hot soapy water and reuse it.
Safety Tips and Common Mistakes to Avoid
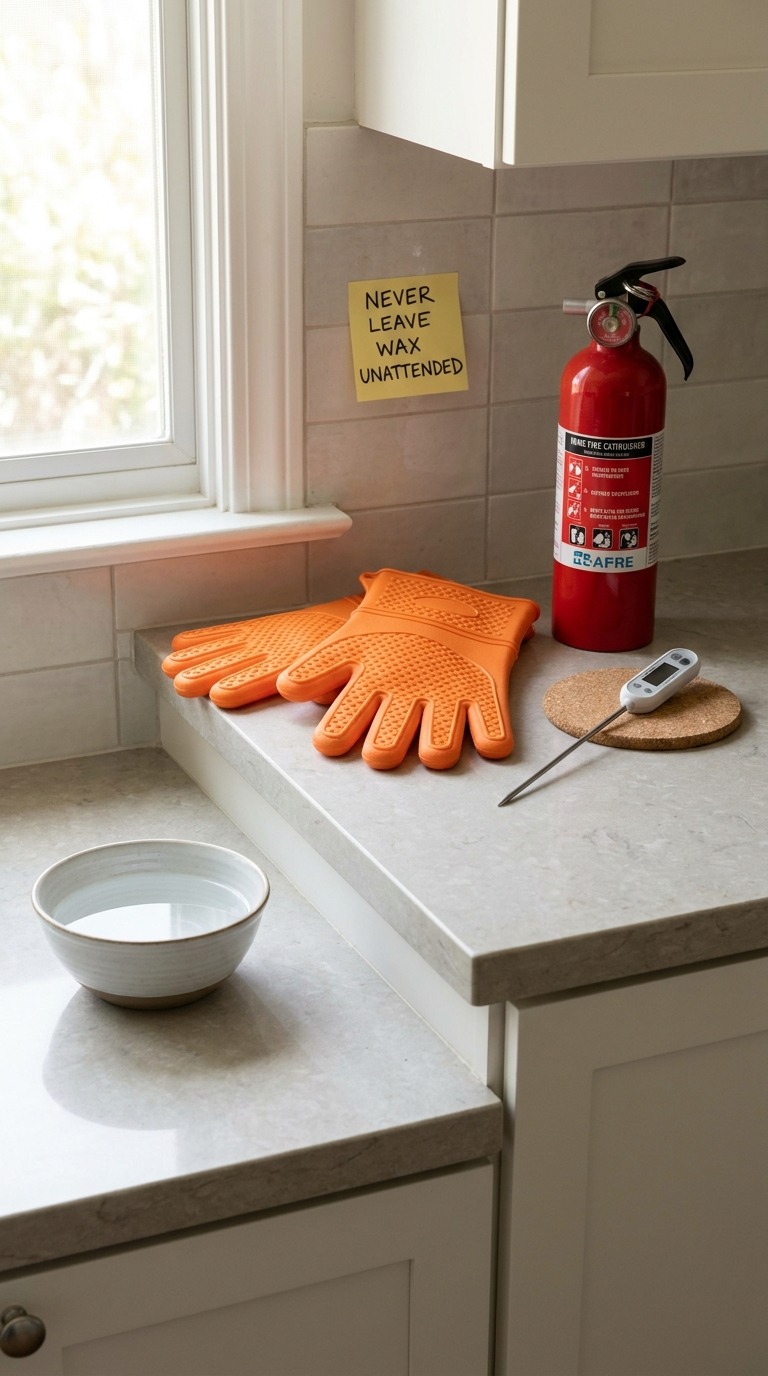
Candle making is safe when you pay attention. Here’s what to keep in mind.
Safety Basics
- Never leave melting wax unattended.
- Keep water out of the wax. A single drop causes spitting and popping.
- Use a thermometer. Overheated wax can flash or scorch.
- Work in a ventilated space, especially with fragrance oils.
- Keep pets and kids away from hot wax and open flames.
Common Beginner Mistakes
- Wrong wick size. Too small and the candle tunnels; too big and it smokes. When in doubt, size up slightly for wider jars.
- Pouring too hot. Causes cracks, sinkholes, and a rough top. Wait for the right temperature.
- Too much fragrance. More than 1.5 ounces per pound can seep out or drown the wick.
- Moving the jar too soon. Let it set completely before you touch it. Patience pays off.
- Forgetting to trim the wick. A long wick makes a smoky, flickering mess.
How to Display, Gift, and Use Your Candles
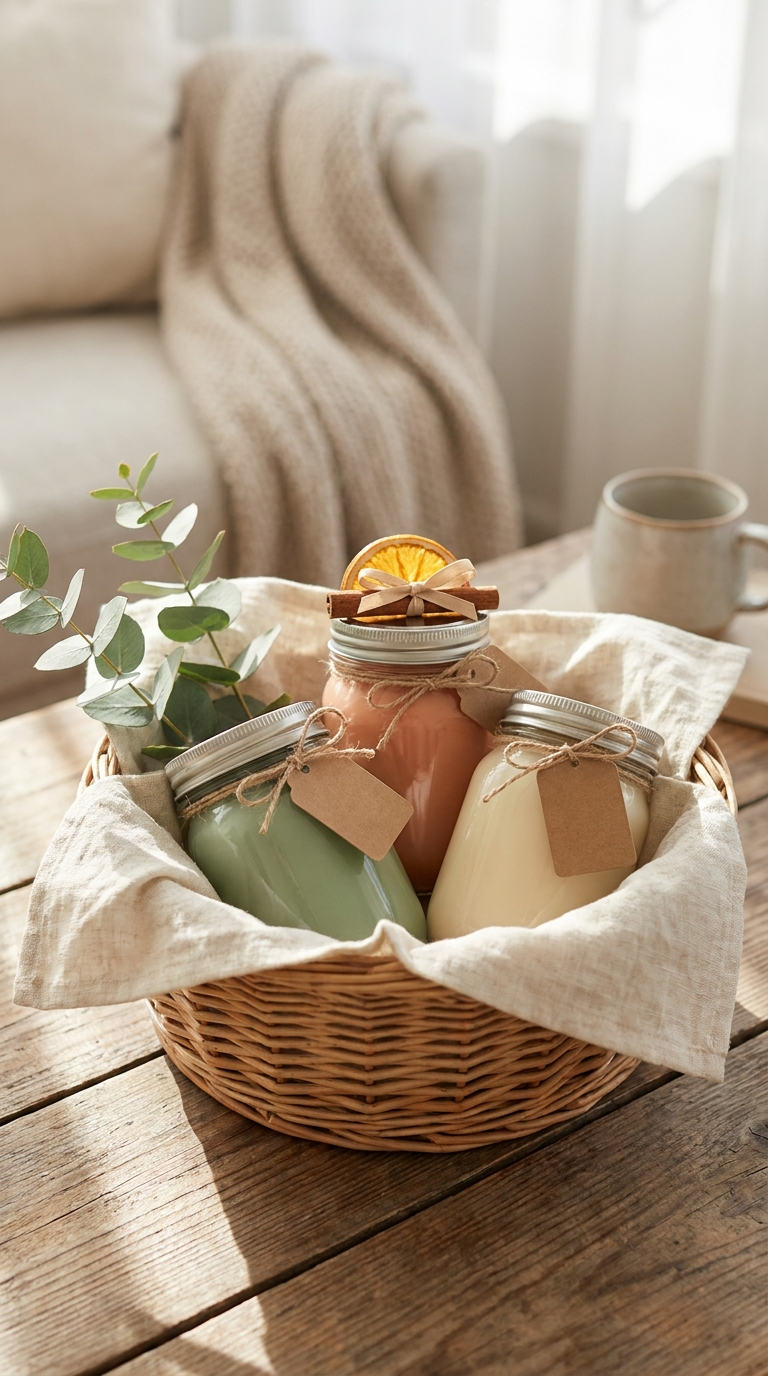
Your candles deserve better than a dusty shelf. Here are a few ideas.
- Gift them in style. Wrap a jar in twine, add a dried orange slice, and attach a little tag. Instant boutique vibes.
- Make a candle basket. Group three or four candles in a small crate with a ribbon for a thoughtful housewarming gift.
- Style your space. Cluster candles on a tray with a few books and a small plant. Cozy in seconds.
- Use them for self-care. Light one during a bath, while reading, or during a movie night. You made it — you should enjoy it.
- Seasonal swaps. Lavender and lemon in spring, pumpkin spice in fall, pine and cinnamon in winter.
FYI: Always burn candles on a heat-safe surface and away from curtains, pets, and drafts.
FAQ’s
How long do homemade candles last?
Stored in a cool, dark place, they keep for about a year. Soy wax can develop a faint frosting over time, but it’s harmless and still burns fine.
Can I use crayons to color my candles?
You can, but crayons are made of paraffin and pigment that can clog wicks. Candle dye chips are cheap and formulated for this. IMO, it’s worth the few dollars.
Why does my candle have a weird crater in the middle?
That’s a sinkhole, and it happens when wax cools unevenly. It’s totally normal. Just pour a thin layer of melted wax over the top to level it out.
Why won’t my candle smell strong enough?
You might be using too little oil, pouring too hot, or using a wick that’s too small. Candle scent also builds over a few days, so let it cure for 3–5 days before judging.
Do I really need a thermometer?
Yes, if you want consistent results. Guessing temperatures leads to cracked tops, weak scent throw, and uneven burns. A basic candy thermometer costs less than a coffee.
Can I make candles in plastic containers?
No. Hot wax can melt or warp plastic, and it’s a safety hazard. Stick to glass, metal, or ceramic that’s rated heat-safe.
Ready to Light Things Up?
You’ve got everything you need to make your first candle — and your second, and your tenth. Start with one simple soy candle in a mason jar, then branch out into colors, scents, and embedded botanicals once you’re comfortable.
Don’t stress about perfection. Some of the best candles come out a little lopsided, a little lumpy, and completely charming. Grab your wax, fire up that double boiler, and make something warm and wonderful. You’ve got this.