
Want to make your home smell amazing and look cute without spending a fortune? Homemade candles are the answer. You can turn plain wax and a few thrift-store finds into decor that looks like it came from a fancy boutique. Grab your glue gun and let’s get messy.
Why Bother Making Your Own Candles?
Store-bought candles cost way too much for something that literally melts away. When you DIY, you control the scent strength, the colors, and the container style. Plus, you get bragging rights every time a guest says, “Wait, you made that?”
It’s also weirdly relaxing. Melting wax is basically meditation for people who can’t sit still. And if you mess up? Congrats, you now have a funny story and some lumpy wax to re-melt.
What You’ll Need Before You Start
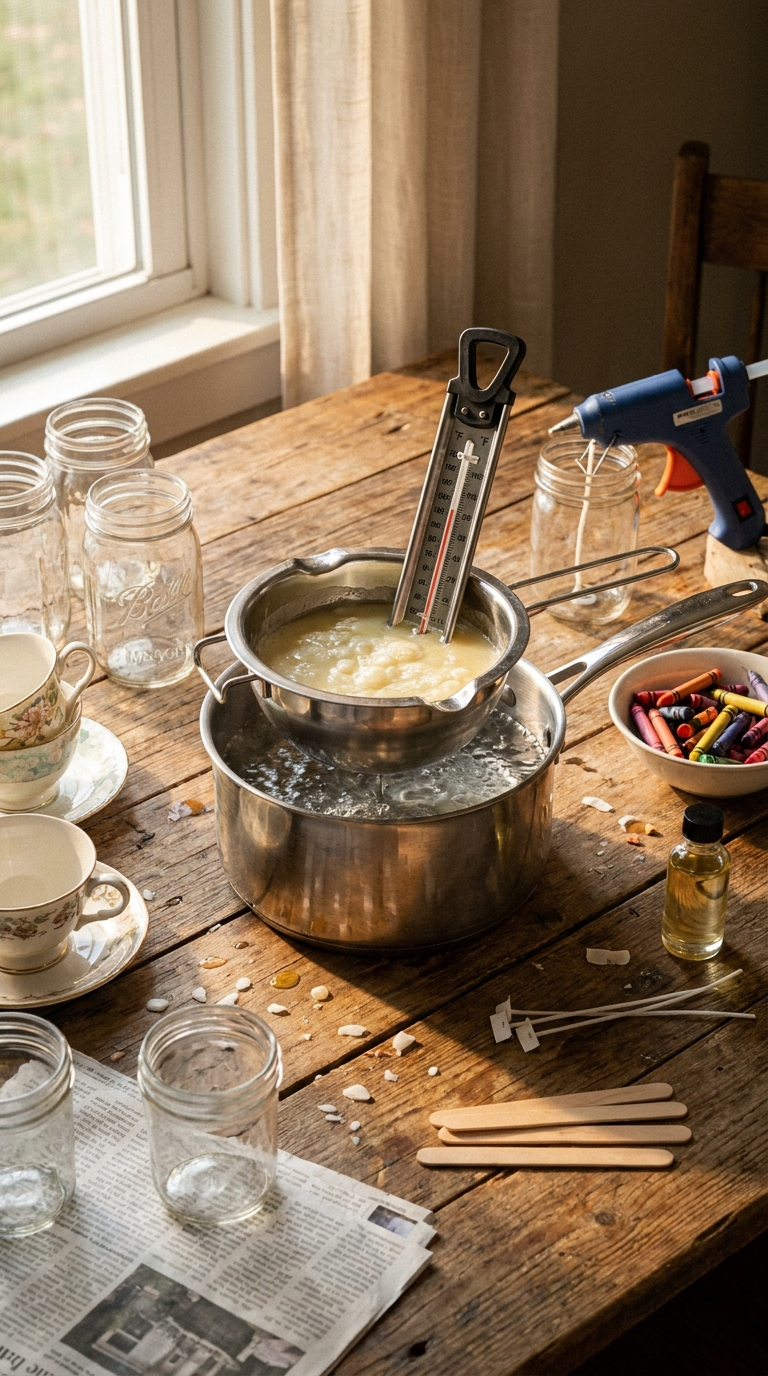
Don’t raid the craft store just yet. Most of this stuff is already in your kitchen or can be grabbed for cheap. Here’s the short list.
- Soy wax flakes or old candle stubs – Soy is cleaner and holds scent well. Old candles work if you pick out the wicks and debris.
- Candle wicks – Buy pre-tabbed wicks or use cotton string dipped in wax. No, yarn won’t work. Trust me.
- Heat-safe containers – Mason jars, teacups, tin cans, or cute bowls from the dollar store.
- Fragrance oils – Candle-safe oils only. Essential oils can fade or clog wicks.
- Candle dye or crayons – Crayons work in a pinch. Just chop them up finely.
- Double boiler or a metal bowl over a pot – You need gentle heat. Direct flame equals scorched wax and tears.
- Thermometer – A cheap candy thermometer is fine. You want around 185°F for melting and 135°F for pouring.
- Stir sticks – Popsicle sticks or old chopsticks. Don’t use your good spatula.
- Hot glue gun – For securing wicks to the container bottom.
Affordable Substitutes That Actually Work
No soy wax? Crayons plus a little coconut oil can work for tiny decorative candles. No fancy thermometer? Test with a drop of water—if it sizzles, it’s too hot. No fragrance oil? A few drops of vanilla extract will give a faint scent, but don’t expect a perfume bomb.
Your Step-by-Step Candle Decor Project
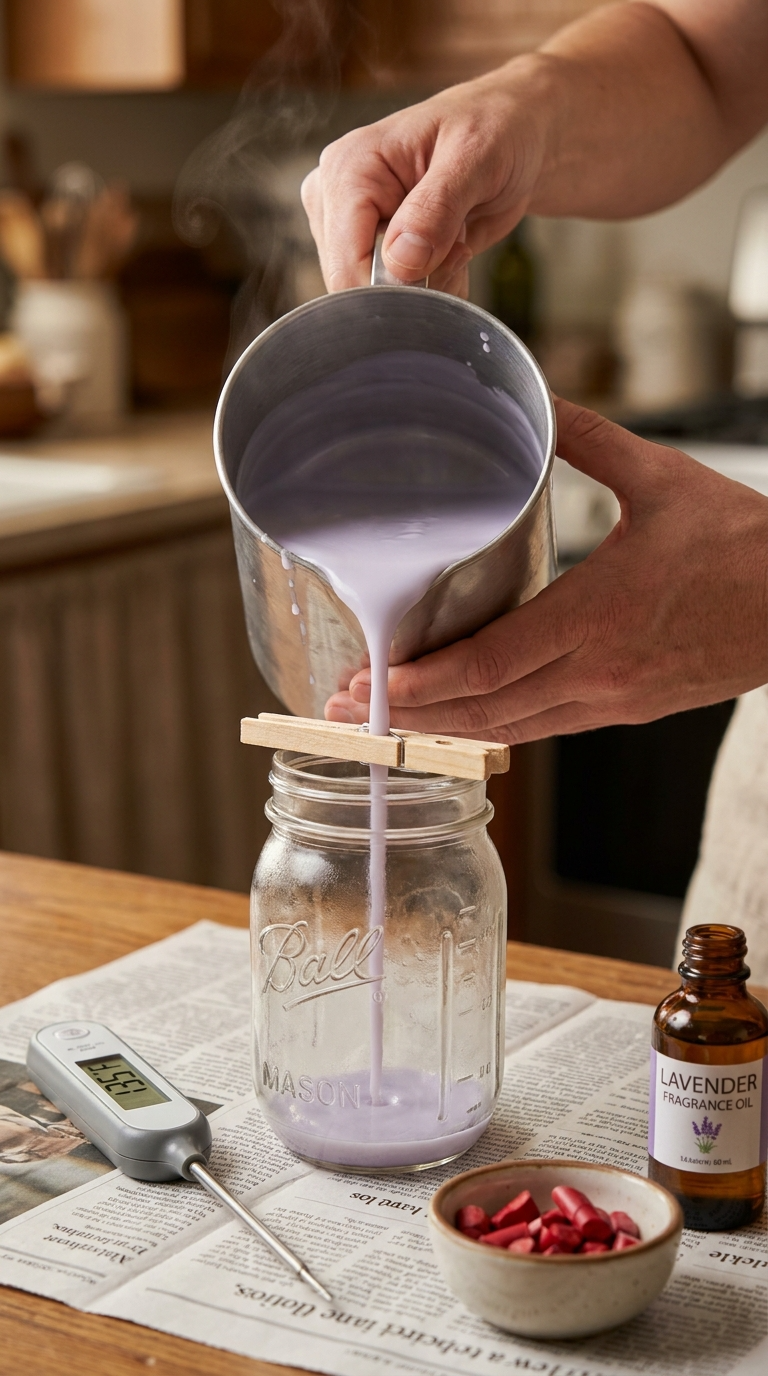
This is the classic “container candle” method. It’s foolproof, beginner-friendly, and leaves room for all your weird creative ideas.
- Prep your workspace. Cover your table with newspaper or a silicone mat. Wax drips are the enemy of nice furniture.
- Clean and dry your containers. Any moisture causes wax to spit or crack. Wipe them out with a paper towel.
- Glue the wick down. Put a dot of hot glue on the metal tab and press it into the center of the container bottom. Hold for ten seconds.
- Melt your wax. Fill your double boiler with wax flakes. Heat on medium-low, stirring occasionally. Don’t walk away. Wax can go from melted to smoking fast.
- Add color and scent. Once melted, stir in chopped crayon or dye. Then add fragrance oil—about 1 ounce per pound of wax. Stir for two minutes.
- Check the temperature. Let it cool to 135°F. Too hot and the scent burns off. Too cool and you get lumpy tops.
- Pour slowly into containers. Leave a half-inch of space at the top. If you see a sinkhole form as it cools, poke a few holes with a toothpick and top it off with more wax.
- Let them cure. Wait 24 to 48 hours before lighting. This lets the scent bind properly. Yes, patience is annoying. Do it anyway.
Common Mistakes to Avoid
Pouring wax down the sink? Never. It will harden and destroy your pipes. Using a glass that isn’t heat-safe? It can shatter. Skipping the thermometer? You’ll either burn the wax or get ugly cracks. And please, don’t add water to hot wax. Just don’t.
Fun Decor Variations to Try
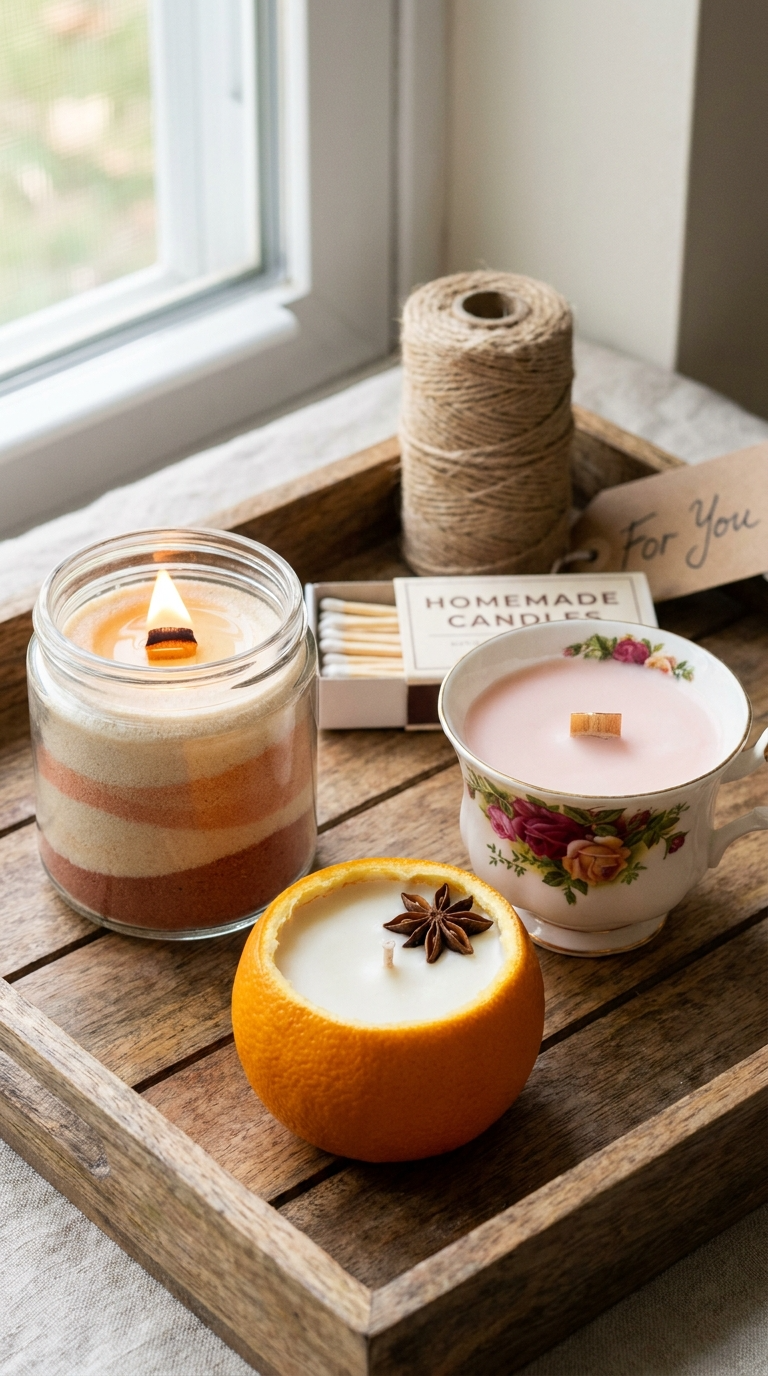
Once you nail the basic pour, go wild. Here are a few ideas that look impressive but take almost zero extra skill.
Layered Sand Candle Jars
Pour thin layers of different colored wax, letting each layer cool for 20 minutes before adding the next. You get stripes that look like fancy desserts. Use a skewer to drag lines through the layers for a marble effect.
Citrus Peel Candle Bowls
Cut an orange or grapefruit in half, scoop out the fruit, and let the peel dry for a day. Pour wax directly into the peel. The natural oils give off a faint citrus smell when lit. Just set the peel on a heat-safe plate because the bottom can get warm.
Vintage Teacup Candles
Thrift stores are full of mismatched teacups. Glue a wick to the bottom, pour your wax, and you have a shabby-chic gift. Tie a ribbon around the handle and call it a day.
How to Display, Gift, or Use Your Candles
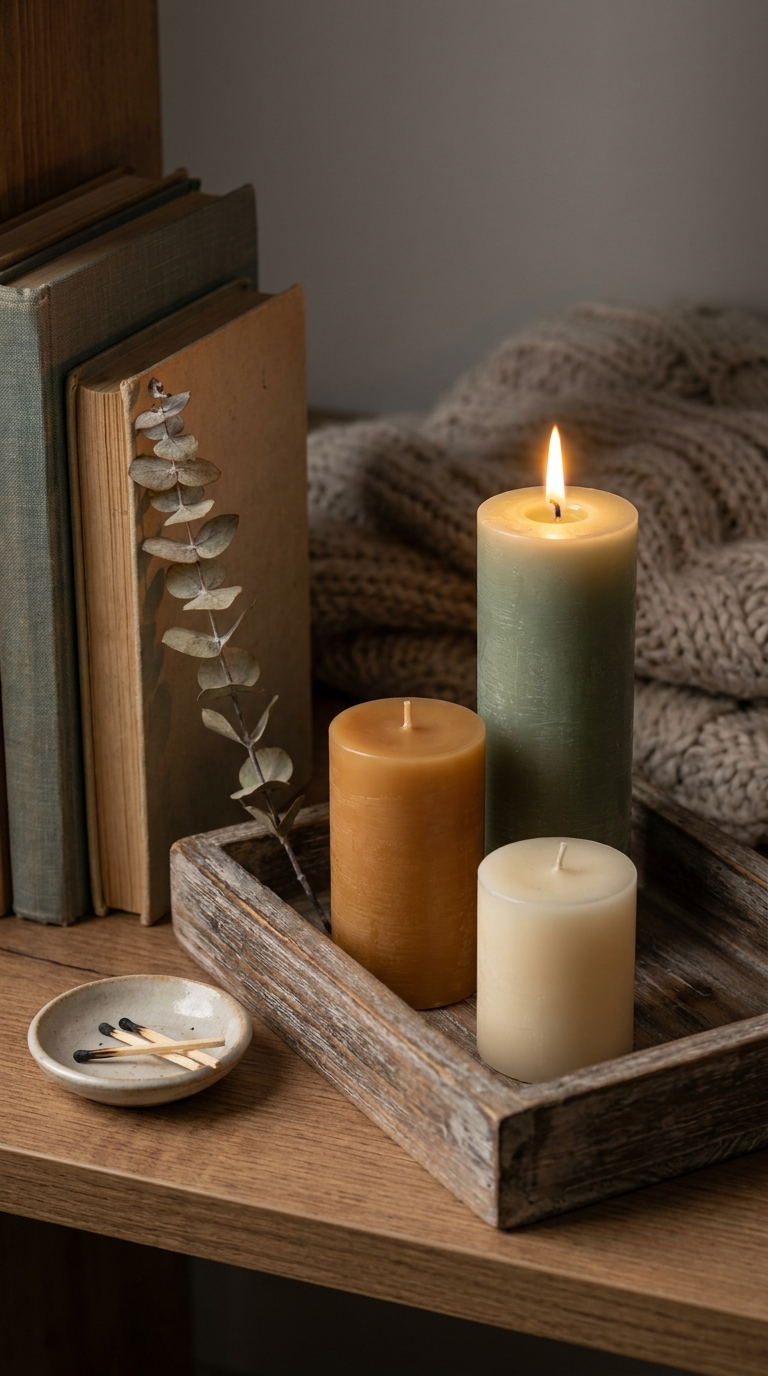
Group three candles of different heights on a tray for an instant centerpiece. Use them as party favors with a tiny “thank you” tag. Or hoard them all for yourself because they smell like a spa and you deserve nice things.
For gifts, pair a candle with a box of matches and a handwritten note. Wrap it in tissue paper and twine. People go nuts for that rustic look.
Safety first: Always trim wicks to a quarter inch before lighting. Never leave a burning candle unattended. Keep them away from curtains and pets. And don’t burn them on a wobbly shelf unless you enjoy chaos.
Troubleshooting Your Candle Disasters
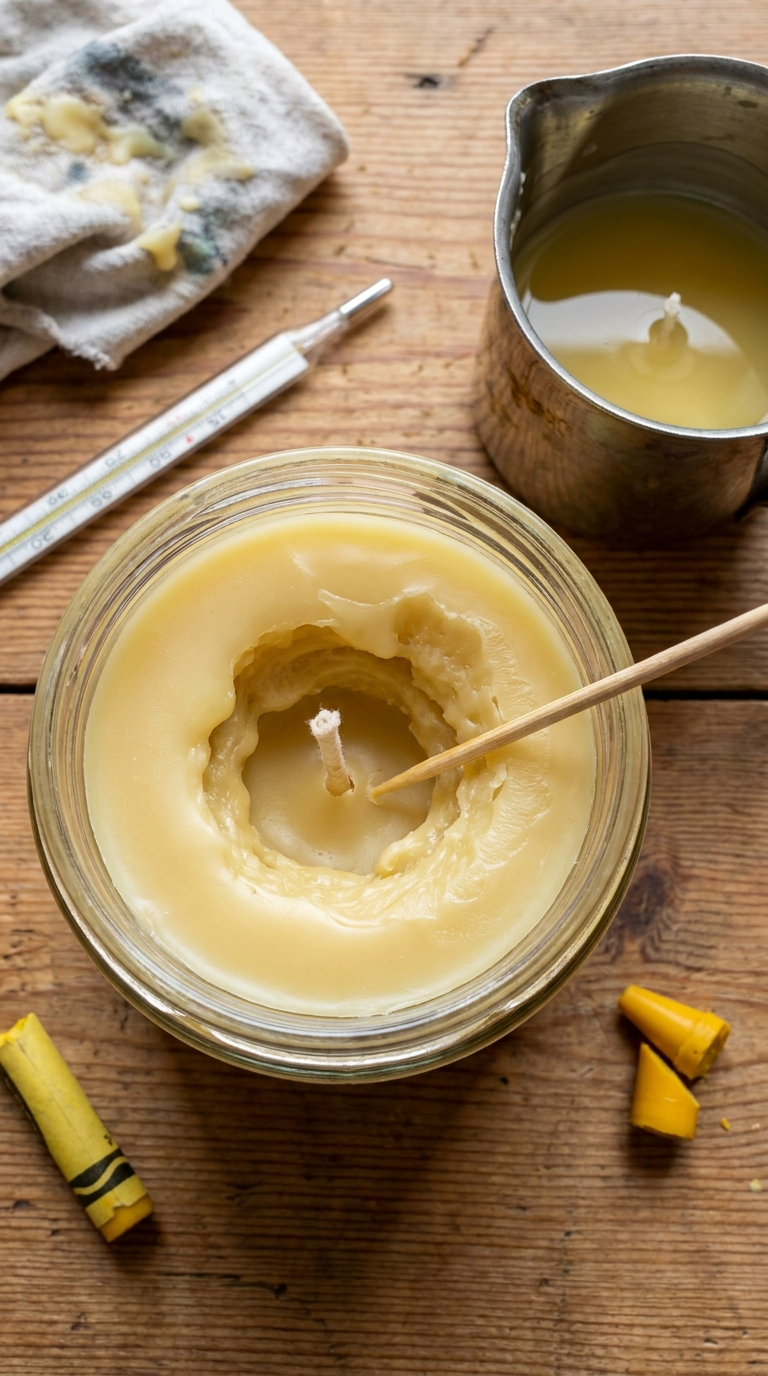
Why does my candle have a weird crater on top?
That’s a sinkhole. It happens when wax cools too fast. Fix it by poking holes and pouring a little more melted wax on top. Next time, pour slower and keep the room at room temperature.
Why is my candle tunneling down the middle?
You didn’t burn it long enough the first time. The first burn should create a full melt pool across the top. If you blow it out after ten minutes, it remembers. Candles have memory, apparently.
My scent is barely there. What went wrong?
You probably added the oil when the wax was too hot. Or you used cheap oil. Or you only added a few drops. Use 1 ounce of fragrance per pound of wax and stir like you mean it.
FAQ’s
Can I use regular crayons for color?
Yes, but use unscented ones and chop them fine. Too much crayon can clog your wick. One crayon per pound of wax is plenty.
How long do homemade candles last?
Stored in a cool, dark place? About six months to a year. The scent fades over time, so use your favorites first.
Do I really need a thermometer?
You don’t need a fancy one, but you do need accuracy. A candy thermometer costs a few bucks and saves you from sad, scentless candles.
What containers are safe?
Glass canning jars, metal tins, ceramic teacups, and anything labeled heat-safe. Avoid thin glass, plastic, or that random vase you never liked.
Can I make candles without soy wax?
Absolutely. Beeswax, paraffin, or even old candle stubs work. Just clean out any old wicks and debris first.
Why did my candle crack?
It cooled too fast. Next time, pour into a warmed container and let it sit on a towel instead of a cold countertop.
Go Melt Some Wax Already
Homemade candle decor is one of those rare crafts that’s cheap, useful, and actually looks good on a shelf. You don’t need a fancy studio or years of practice. You need wax, a wick, and the willingness to ruin one batch before you nail it.
So grab those old candle stubs and that dusty teacup. Your house is about to smell amazing, and your friends are about to be impressed. Just don’t blame me when you become the person who gives candles to everyone for every holiday.