
Want your home to smell like a fancy boutique without the fancy boutique price tag? Making your own decorative candles is easier than you think, and it’s honestly kind of addictive. Grab some wax, a few wicks, and whatever random jars you’ve been hoarding, because we’re about to turn your kitchen into a mini candle factory. Fair warning: once your friends find out you make these, you’ll never buy a gift again.
Why Bother Making Your Own Candles?
Store-bought candles are fine, but they’re pricey and full of mystery ingredients you can’t pronounce. When you DIY it, you control everything: the scent strength, the color, the jar, even how much glitter goes in (spoiler: a lot).
Plus, it’s a genuinely relaxing hobby. There’s something weirdly satisfying about watching wax melt and turn into something pretty. And if you mess up? Congrats, you now have a slightly ugly candle that still works fine. No waste, no drama.
What You’ll Save
A decent scented candle costs anywhere from $15 to $40. Making your own brings that down to a few bucks per candle once you have the basics. The startup cost is real, but your third batch basically pays for itself.
Materials and Tools You’ll Need
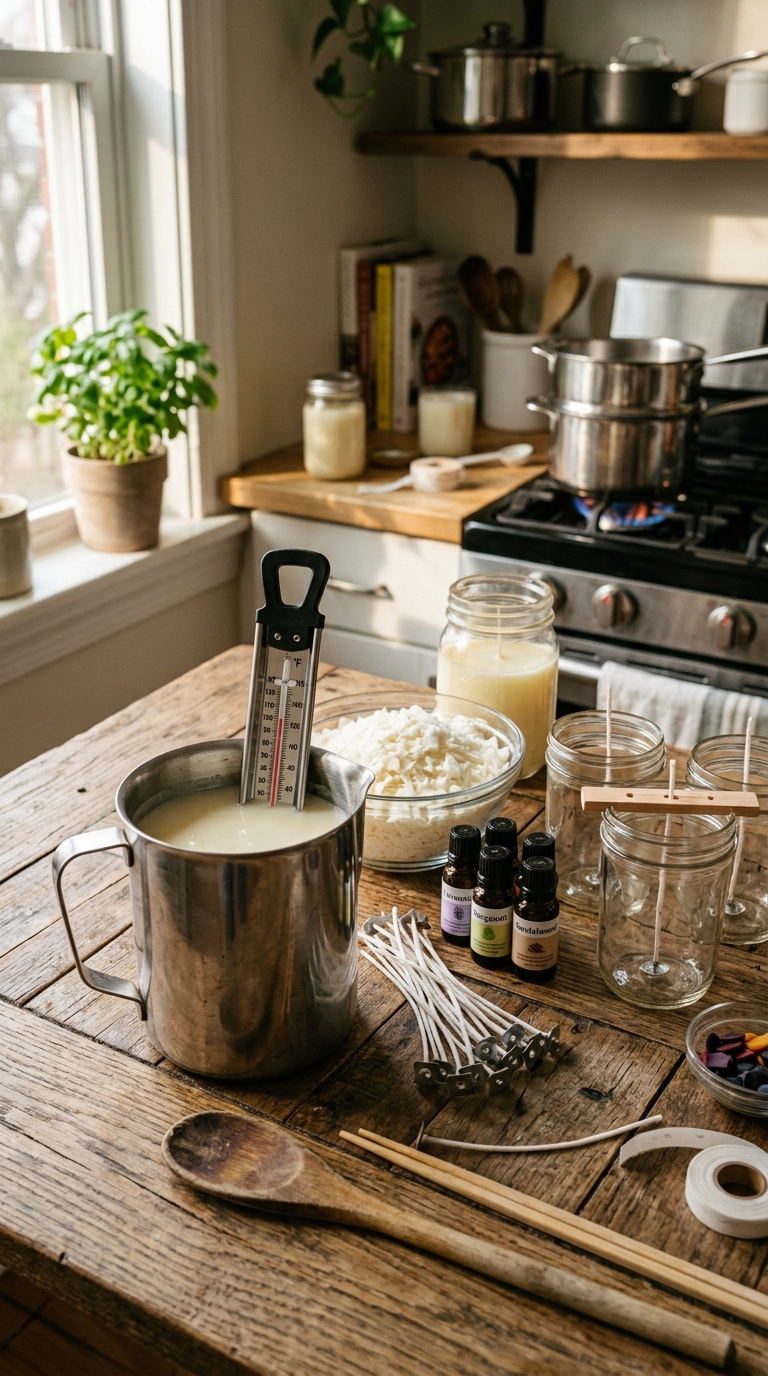
You don’t need a professional setup. A saucepan, a pouring pitcher, and some patience will do. Here’s the full list:
- Soy wax flakes — the easiest wax for beginners. Cheap substitute: paraffin wax, though it burns faster and isn’t as eco-friendly.
- Cotton wicks with metal tabs — get the pre-tabbed kind so you skip the fiddly assembly.
- Heat-safe containers — mason jars, old teacups, tin cans, or actual candle jars.
- Fragrance oil — candle-safe only, please. Regular essential oils often don’t blend well.
- Candle dye chips or liquid dye — a little goes a very long way.
- A double boiler or a heat-safe pitcher — a metal measuring cup works great.
- Thermometer — a cheap candy thermometer is perfect.
- Wick holders or chopsticks — to keep wicks centered while wax sets.
- Stirring sticks — wooden skewers or old spoons.
FYI, you can find most of this at any craft store or online for under $40 total. Skip the fancy kits unless you really love packaging.
Step-by-Step: How to Make Decorative Candles
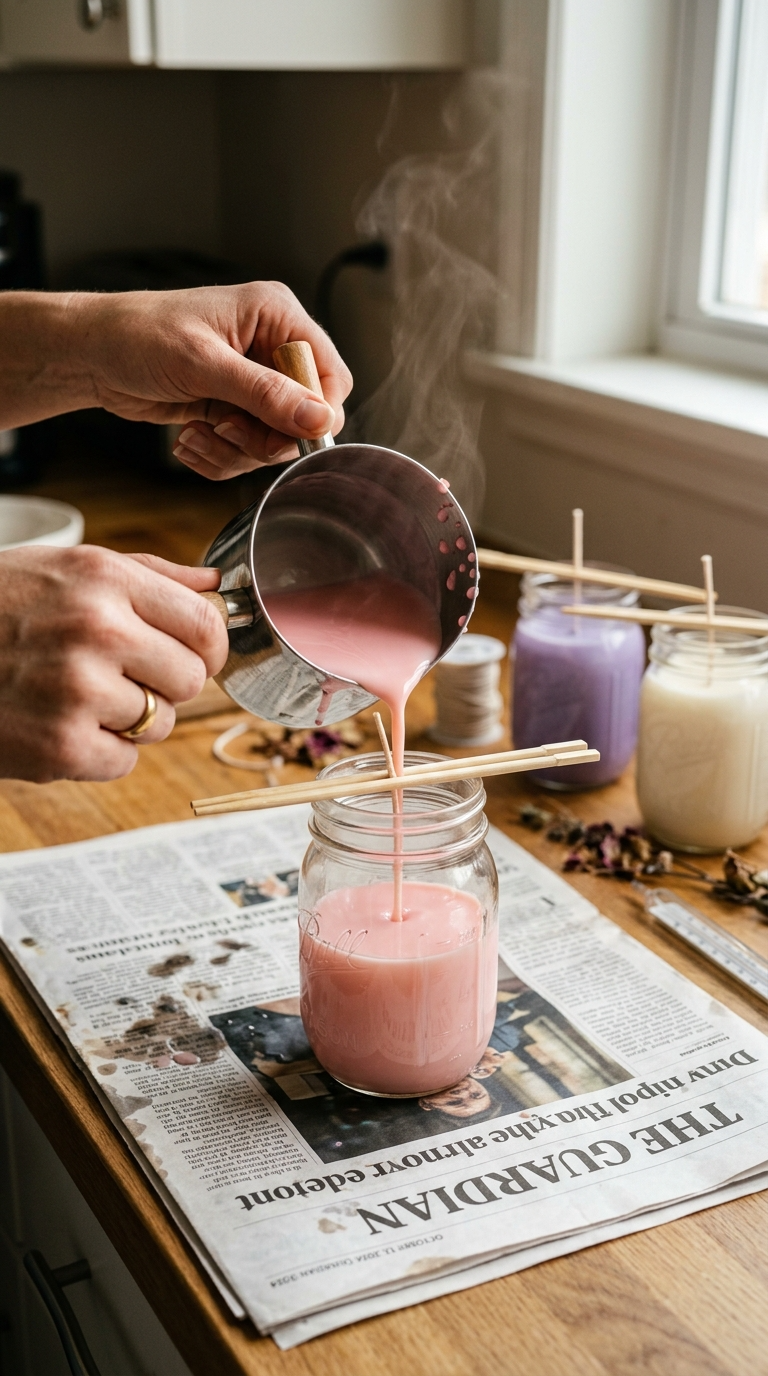
Ready? Here’s the whole process from start to finish. It takes about an hour of active work, plus cooling time.
- Prep your workspace. Cover your table with newspaper or a silicone mat. Wax drips are annoying to clean, and you will drip.
- Set up your containers. Clean and dry them completely. Glue a wick tab to the bottom center of each jar using a dab of hot glue or a sticky dot.
- Melt the wax. Fill your double boiler or pitcher with soy wax flakes. Heat on medium-low, stirring occasionally. Aim for around 170°F to 185°F.
- Add color. Once melted, drop in a tiny piece of dye chip or a few drops of liquid dye. Stir well and check the shade — it looks darker when melted than when set.
- Add fragrance. Let the wax cool to about 135°F, then stir in your fragrance oil. Use roughly 1 ounce of oil per pound of wax for a solid scent throw.
- Pour the wax. Slowly pour into your containers, leaving about half an inch at the top. Pour at around 130°F to 140°F to avoid cracks and sinkholes.
- Secure the wick. Use wick holders or lay chopsticks across the jar to keep the wick upright and centered.
- Let them cool. Leave them undisturbed for 24 hours. Yes, a full day. Patience pays off here.
- Trim the wick. Cut it to about ¼ inch before the first burn. This keeps the flame steady and prevents soot.
That’s it. You just made candles. Feel free to act smug about it.
Decorating Ideas to Make Them Look Expensive
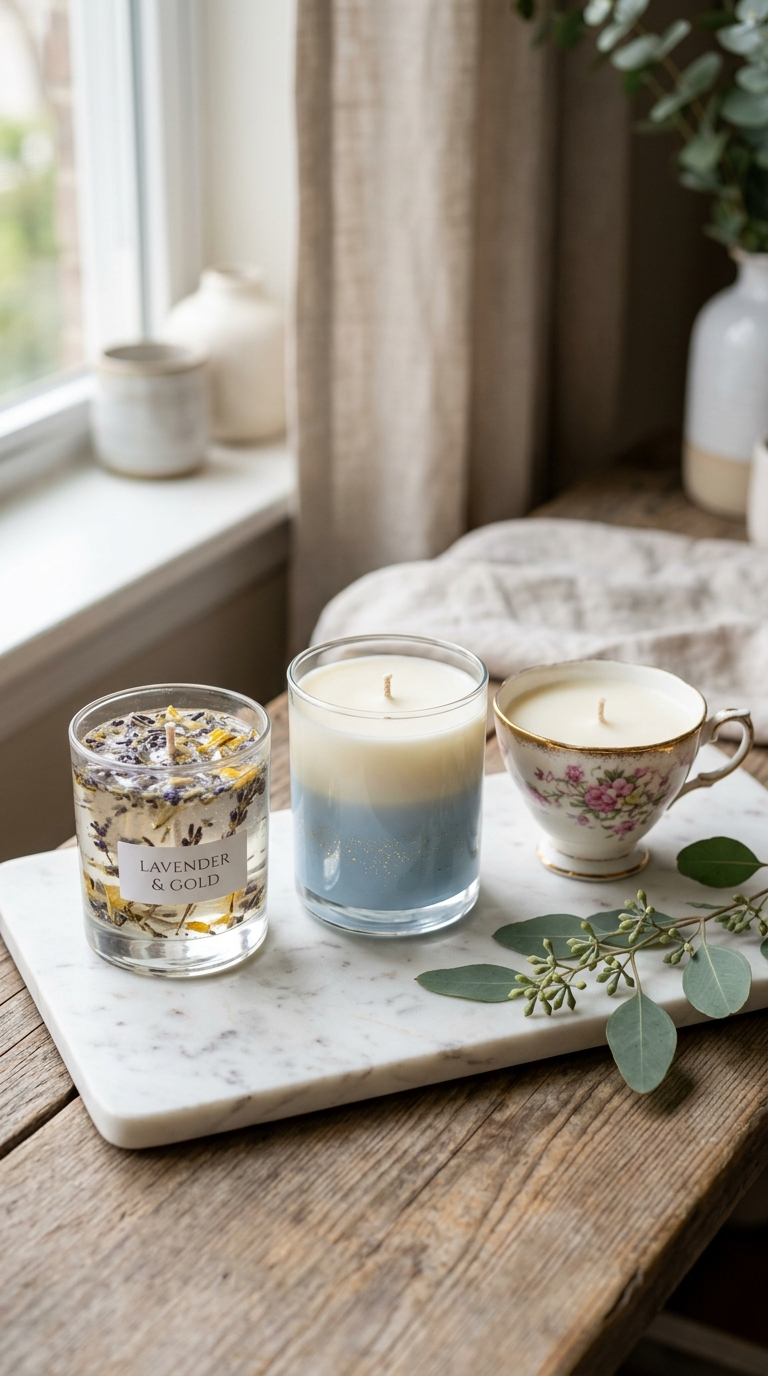
Plain candles are nice, but decorated ones look like you bought them at a market for way too much money. Here are some easy upgrades:
Add Dried Flowers
Press small dried flowers or petals against the inside of a clear jar before pouring. They’ll be suspended in the wax like a little botanical display. Just avoid putting them too close to the wick — they can catch fire.
Layer Colors
Pour a base layer, let it set slightly, then pour a second color on top. You get a cool gradient or striped effect with almost zero extra effort.
Use Unique Containers
Thrift stores are goldmines for this. Teacups, small ceramic bowls, vintage glasses — anything heat-safe goes. Just double-check it’s not cracked.
Sprinkle a Little Glitter
A pinch of fine glitter in the wax adds a subtle shimmer. IMO, less is more here. Too much and your candle looks like a craft project from 2004.
Common Mistakes and How to Avoid Them
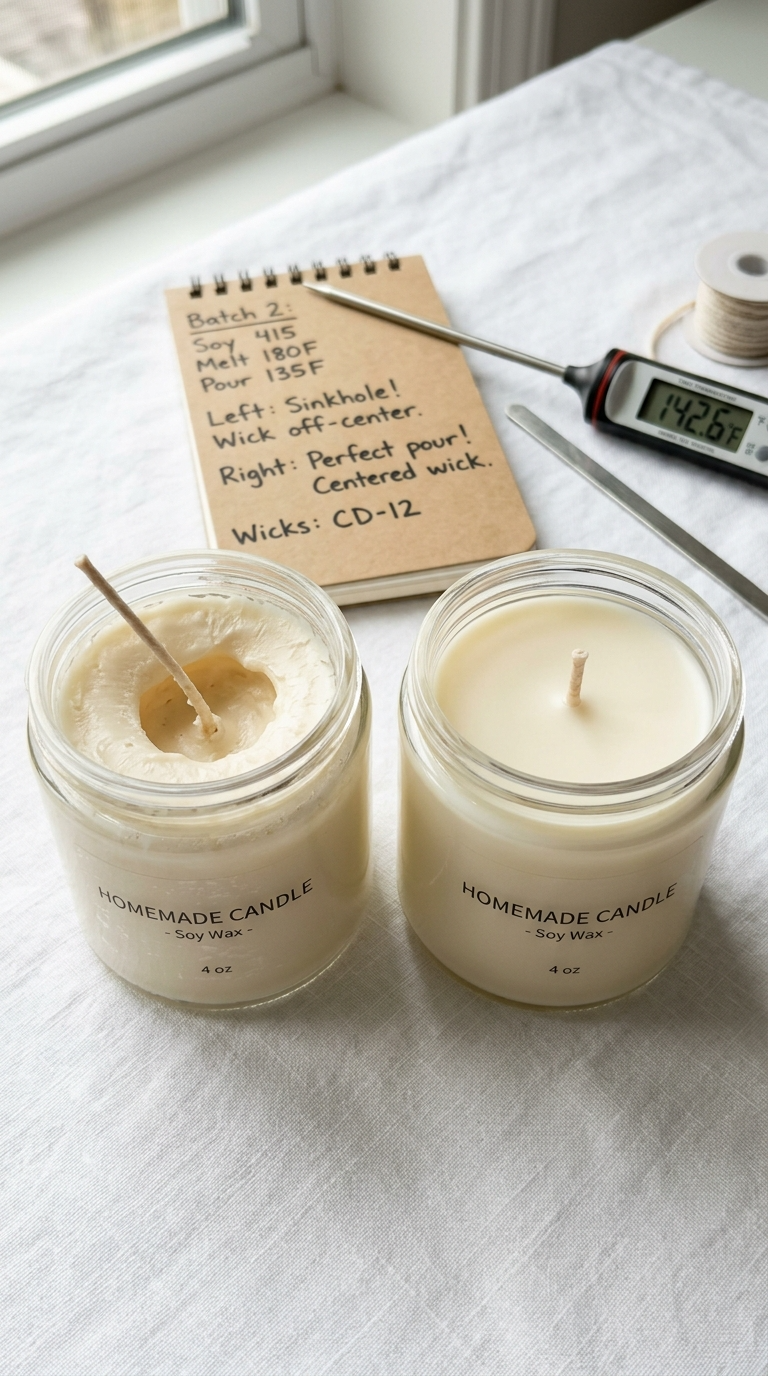
Let’s be honest: your first batch might not be perfect. Here’s what usually goes wrong and how to fix it.
- Sinkholes in the top. This happens when wax cools too fast. Fix: pour at a lower temperature and cool in a warm room.
- Weak scent. You either used too little oil or added it when the wax was too hot. Fragrance burns off above 185°F.
- Tunneling. The candle burns down the middle and wastes wax. This means your wick is too small. Size up next time.
- Cracked tops. Usually from rapid temperature changes. Let candles cool gradually, away from drafts.
- Wick won’t stay lit. Trim it. A long wick curls and drowns in the wax pool.
None of these are dealbreakers. You can remelt and re-pour almost any mistake.
How to Display, Gift, and Use Your Candles
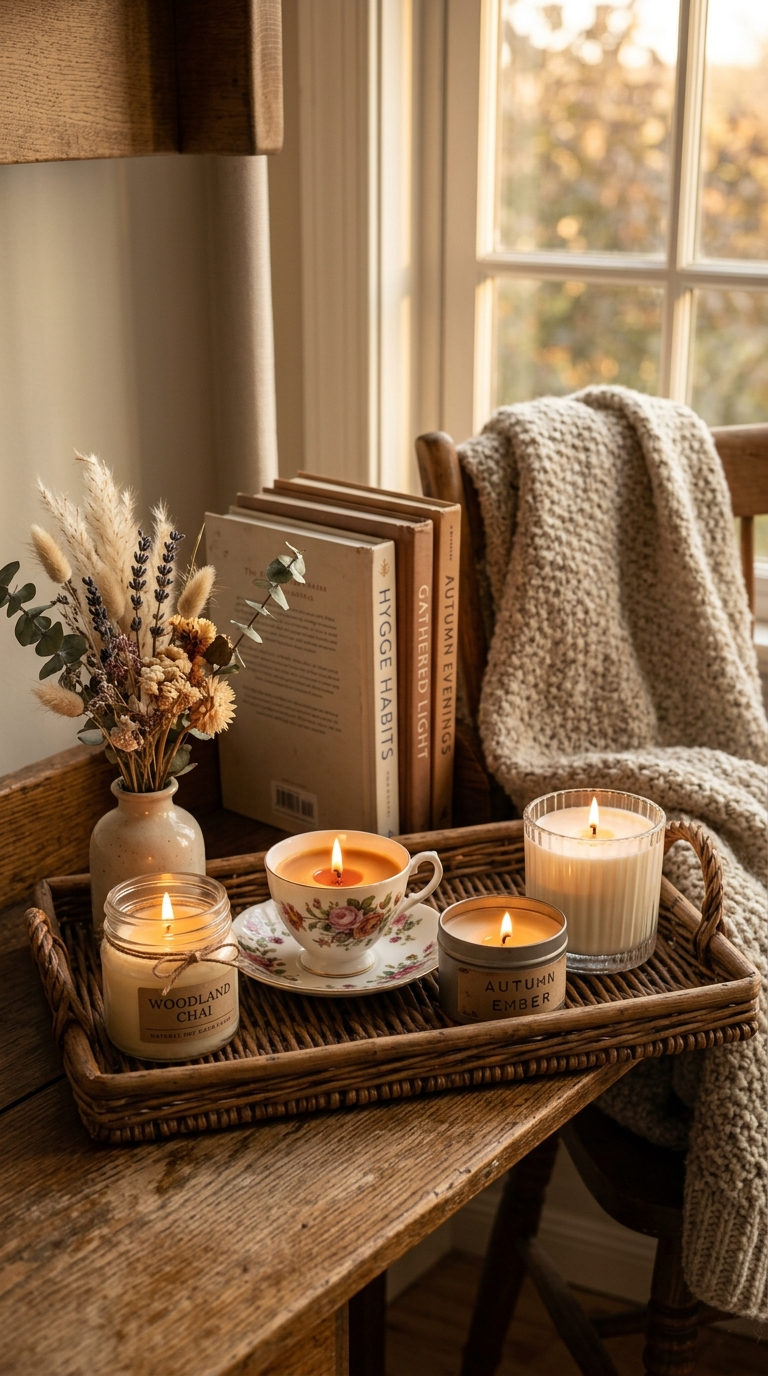
Now for the fun part: showing them off.
Display Ideas
Group candles of different heights on a tray for an instant centerpiece. Line them up on a bathroom shelf for spa vibes. Or place a few on your nightstand for cozy evening energy.
Gifting Tips
Wrap them in tissue paper, tie with twine, and add a tiny tag. Boom — you’re the friend who gives thoughtful handmade gifts. Holiday candles in seasonal scents make especially good presents.
Safety Reminders
Always burn candles on a heat-safe surface. Keep them away from curtains, pets, and clumsy roommates. Never leave a burning candle unattended. And trim that wick every single time. It’s not optional.
FAQ’s
Can I use crayons to color my candles?
You can, but it’s messy. Crayons clog wicks and don’t blend as smoothly as proper dye. Use candle dye chips instead — they’re cheap and last forever.
How long do homemade candles last?
Stored in a cool, dark place, they last about a year. After that, the scent fades and the wax might sweat. They still burn fine, though.
Why does my candle have a weird white film on top?
That’s called frosting, and it’s normal with soy wax. It doesn’t affect how it burns. You can wipe it off or just embrace the rustic look.
What’s the best wax for beginners?
Soy wax, hands down. It’s forgiving, cleans up with soap and water, and gives a nice slow burn. Paraffin is cheaper but fussier.
Can I put essential oils in candles?
You can, but the scent is usually weak and fades fast. Candle-safe fragrance oils are formulated to throw scent properly. Save the essential oils for your diffuser.
How do I clean up wax spills?
Let it harden, then scrape it off with a plastic card. For fabric, put paper towels over the wax and iron on low — the wax lifts right into the paper.
Go Make Some Candles Already
You’ve got the steps, the tips, and the confidence. Now it’s time to raid your kitchen cabinets and make something that smells amazing and looks way more expensive than it was. Start with one simple batch, then experiment with colors and scents once you get the hang of it.
And hey, if your first candle looks a little lumpy? Light it anyway. It’ll still make your room feel cozy, and that’s the whole point.