
Making candles at home is one of those rare crafts that looks impressive but is actually ridiculously simple. You melt wax, add a wick, and wait. That’s it. Whether you want a cozy gift or just a reason to feel crafty on a Sunday afternoon, these beginner candle projects deliver. Grab your wax, and let’s get slightly messy.
Why Candle Making Is the Perfect Beginner Craft
Candle making has a low barrier to entry. You don’t need a pottery wheel or a kiln or any tool that costs more than your weekly grocery run. A basic setup costs less than a nice dinner out, and you can reuse old jars and coffee mugs you already own.
The payoff is immediate. You pour wax, wait an hour, and boom — you have something that looks like it came from a boutique. People will assume you bought it. Let them believe that.
Plus, candles make genuinely great gifts. Nobody turns down a handmade candle. It’s basically the universal “I thought of you” present, and it beats another scented lotion set from the drugstore.
Mason Jar Candles: The Classic Starter Project
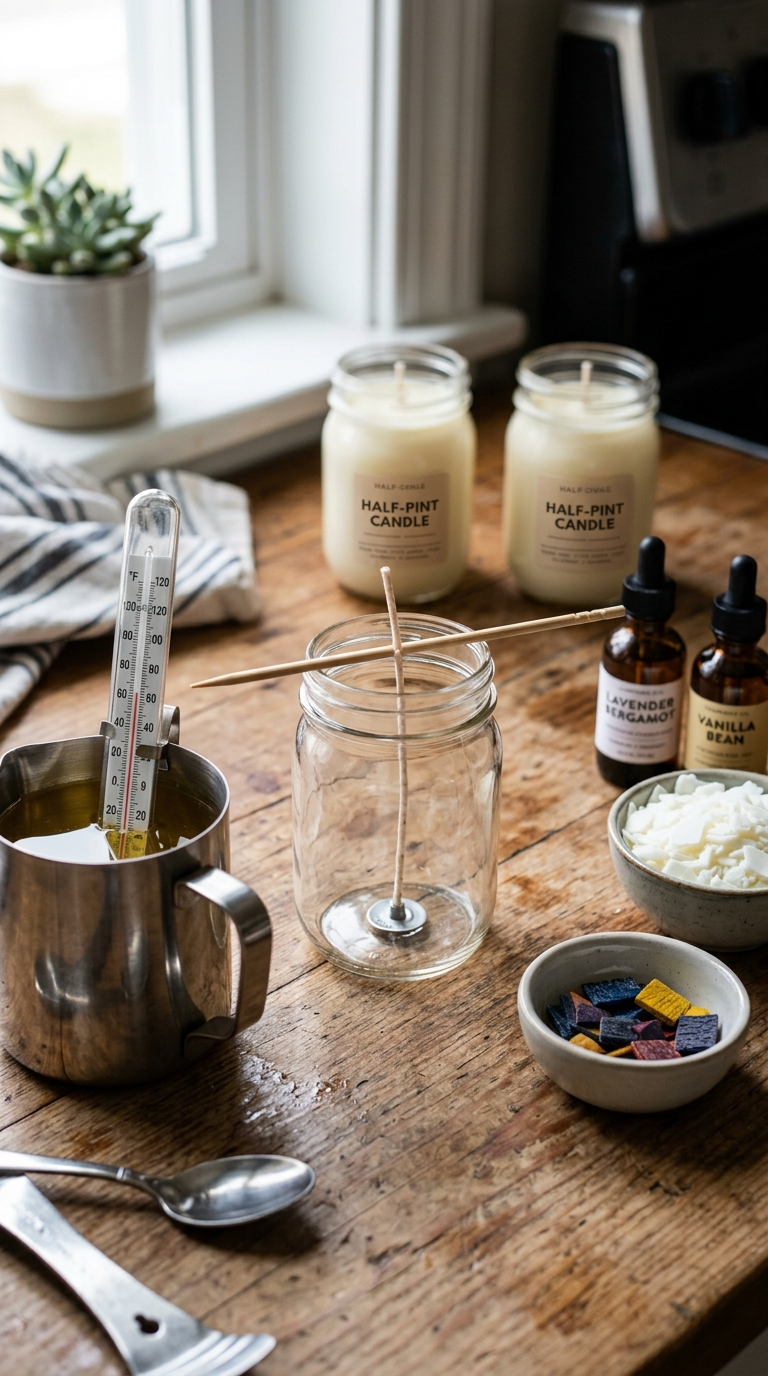
If you’ve never made a candle before, start here. Mason jars are cheap, heat-resistant, and forgiving. They also hide imperfections well, which is great news if your first pour looks a little lumpy.
Materials and Tools
- Mason jars (any size — half-pint to quart works fine)
- Soy wax flakes or paraffin wax (soy is cleaner and burns slower)
- Pre-waxed wicks with metal tabs (or wick stickers)
- A double boiler or a heat-safe pouring pitcher
- A thermometer (candy or infrared — a cheap one is fine)
- Fragrance oil (optional but recommended)
- Candle dye chips (optional)
- Wooden skewers or pencils for holding wicks upright
Budget swap: No double boiler? Use a metal bowl over a pot of simmering water. No pouring pitcher? A clean tin can with a bent handle works in a pinch.
Step-by-Step Instructions
- Wash and dry your mason jars completely. Any moisture will make the wax sputter.
- Use a wick sticker or a dab of hot glue to attach the wick tab to the bottom center of the jar.
- Wrap the top of the wick around a skewer or pencil and rest it across the jar’s rim to keep the wick centered.
- Melt your wax in the double boiler over medium-low heat. Stir gently and don’t walk away — wax can scorch.
- Check the temperature. For soy wax, aim for around 185°F (85°C) before adding fragrance.
- Add fragrance oil at about 1 ounce per pound of wax, plus a few dye chips if you want color. Stir for a minute.
- Let the wax cool to around 135°F (57°C), then pour slowly into your jars.
- Let candles cure undisturbed for 24 to 48 hours before trimming the wick and lighting.
That’s it. You just made a candle. Feel free to act smug about it.
Teacup and Vintage Container Candles
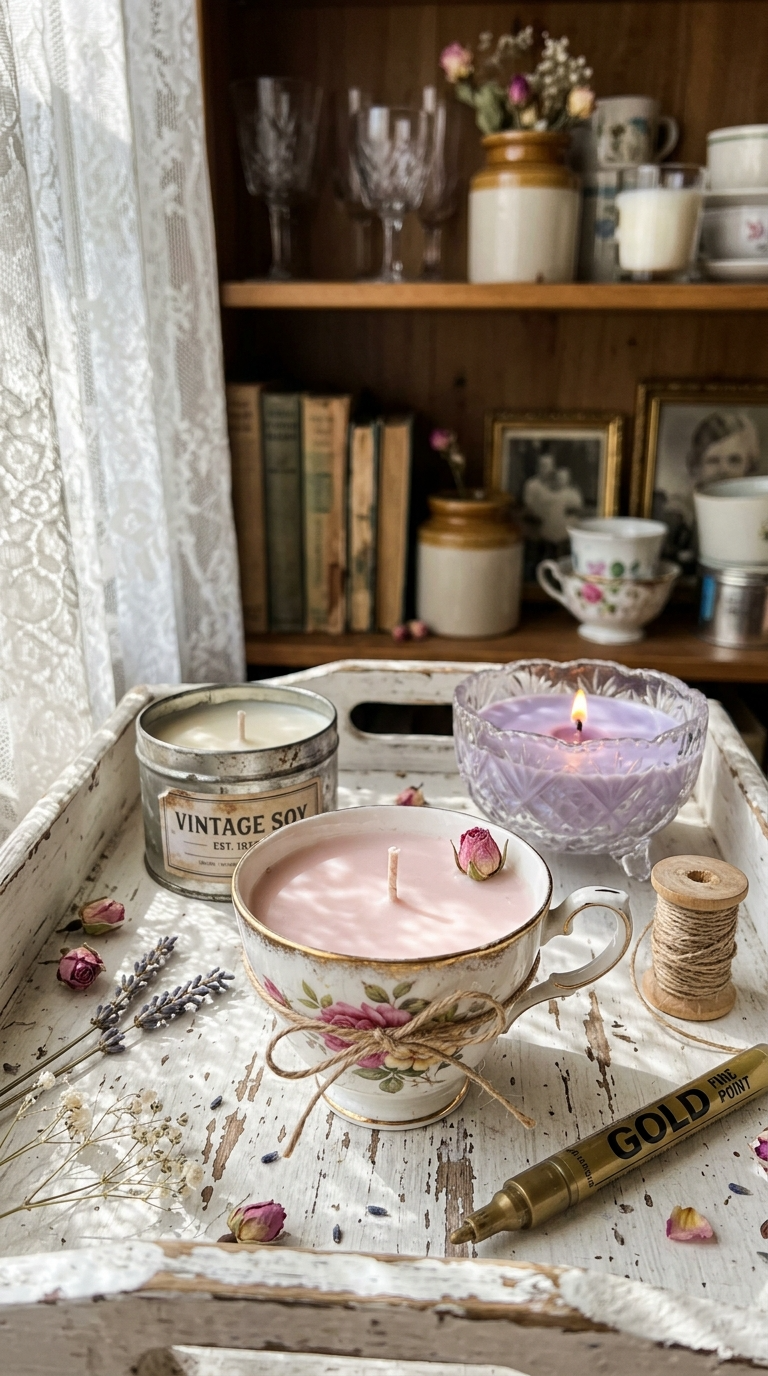
Thrift stores are goldmines for candle containers. Teacups, small bowls, old tins, mismatched glassware — anything heat-safe and slightly charming works. This project is basically the mason jar method with a cuter vessel.
Choosing Safe Containers
Not everything should hold hot wax. Avoid containers with cracks, thin glass, or decorative paint that might peel. If it can’t handle boiling water, it can’t handle candle wax. When in doubt, test with hot water first.
Decorating Ideas
- Tie a ribbon or twine around the handle of a teacup
- Add a small charm or dried flower to the wick before pouring
- Use metallic paint pens to write a name or date on the outside
- Group mismatched candles on a tray for a vintage centerpiece
Layered Color Block Candles
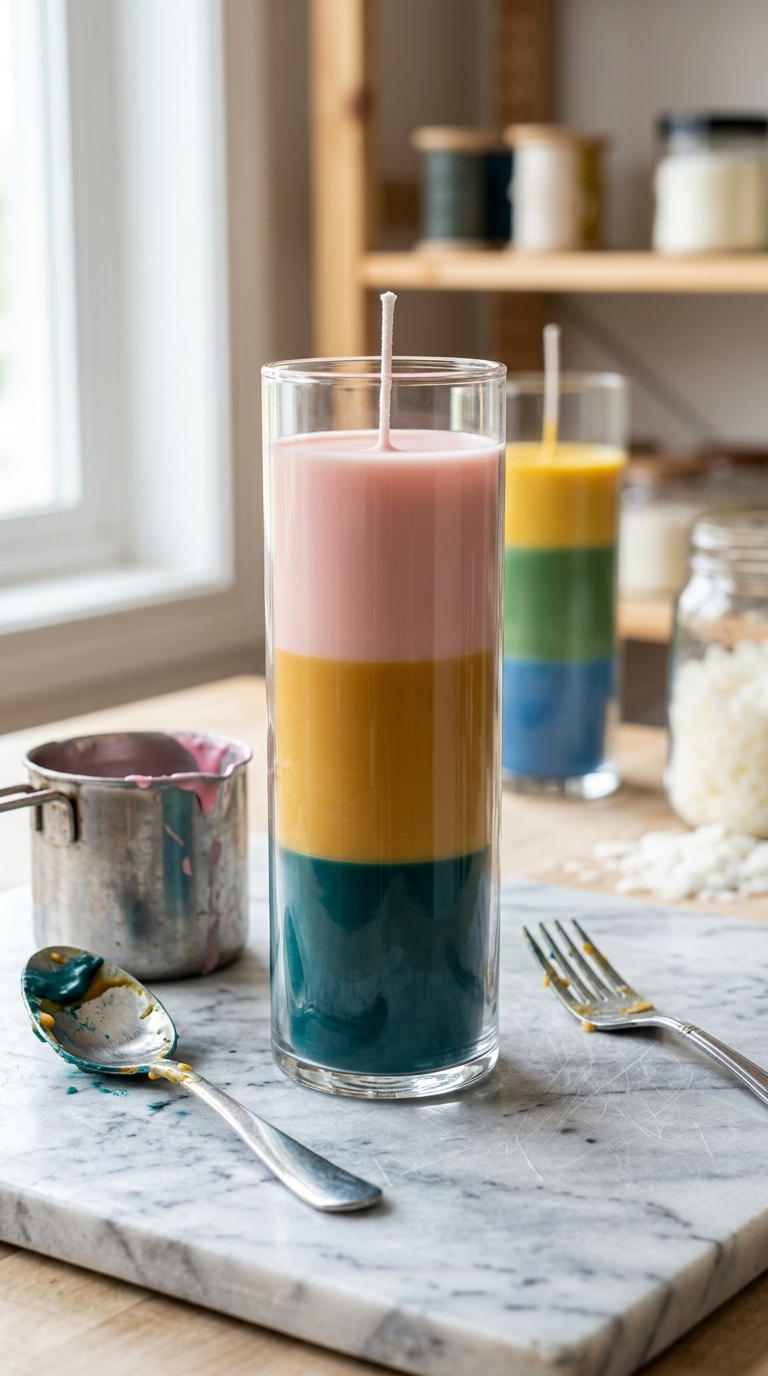
Want a candle that looks like you tried harder than you did? Layer different colors of wax. It’s the same process, just repeated with cooling breaks in between. The result looks fancy and nobody needs to know it took minimal skill.
How to Get Clean Layers
- Pour your first color and let it cool until a firm skin forms on top, about 20 to 30 minutes.
- Scratch the surface lightly with a fork so the next layer grips.
- Melt your second color and let it cool to the same pouring temperature as before.
- Pour slowly over the back of a spoon to avoid disturbing the first layer.
- Repeat for as many layers as you want. Three is usually plenty.
Common mistake: Pouring the second layer while the first is still liquid. You’ll get a muddy swirl instead of clean stripes. Patience wins here.
Citrus Peel and Beeswax Candles
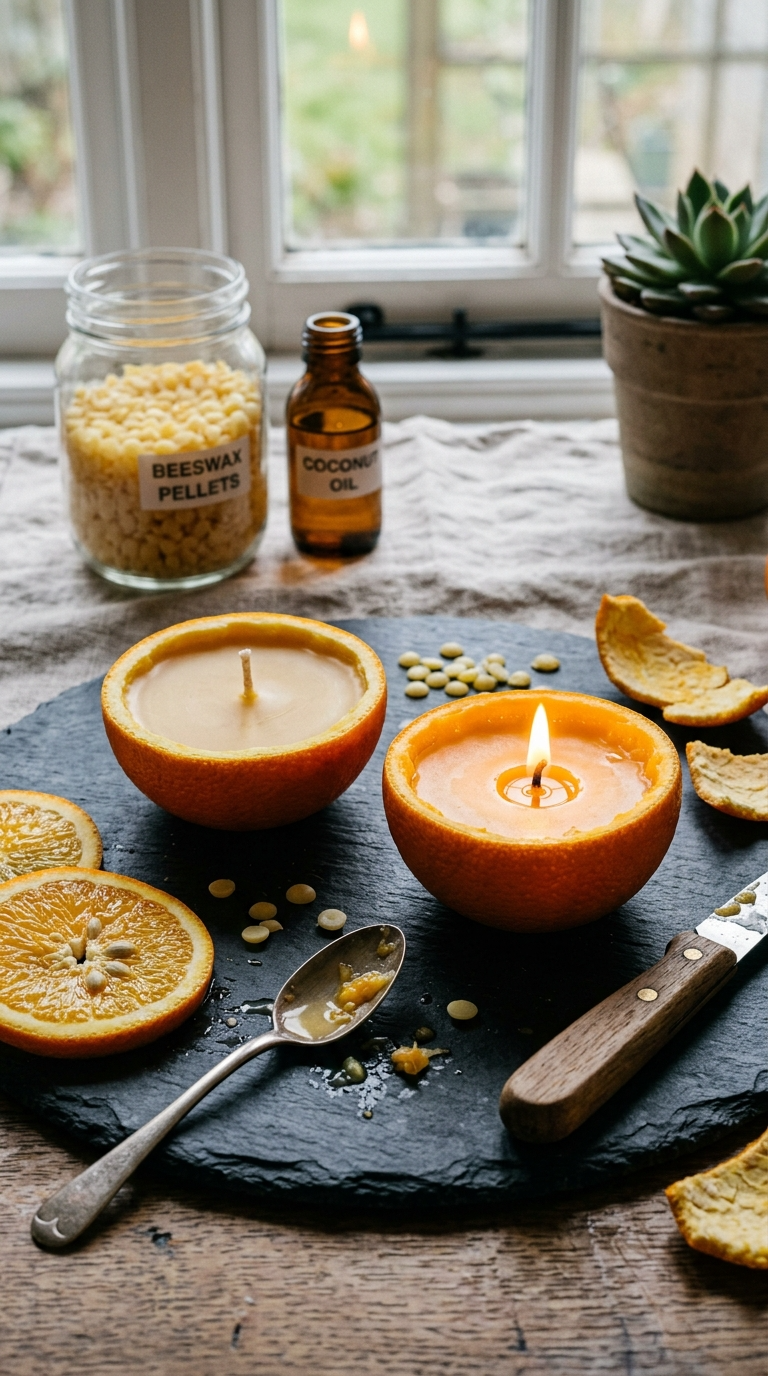
This one is borderline magic. You hollow out an orange or lemon, fill it with melted beeswax, and use the natural peel as the container. It smells amazing and looks like something from a fancy market stall.
Materials
- Oranges, lemons, or grapefruits
- Beeswax pellets
- A wick with a tab
- A small knife and spoon for hollowing
- Coconut oil (optional, for a softer wax blend)
Step-by-Step Instructions
- Cut the citrus fruit in half and scoop out the insides. Save the juice for something else — waste not, right?
- Let the peels dry overnight upside down so they hold their shape.
- Melt beeswax with a spoonful of coconut oil for a smoother burn.
- Place a wick in the center of each peel half.
- Pour the melted wax into the peel, leaving a little room at the top.
- Let it set for a few hours before lighting.
FYI, these burn faster than jar candles because the peel itself is fuel. Enjoy them as short-lived, wonderful little things.
Tips, Mistakes, and Customization Ideas
Practical Tips
- Trim wicks to about ¼ inch before every burn
- Burn candles on a heat-safe surface, never directly on wood
- First burn should last 2 to 3 hours to set an even melt pool
- Store finished candles in a cool, dark place
Common Mistakes to Avoid
- Adding fragrance to wax that’s too hot — the scent burns off
- Pouring too fast, which creates air pockets and cracks
- Using cold jars, which can cause the wax to pull away from the sides
- Forgetting to center the wick, resulting in a lopsided burn
Customization Ideas
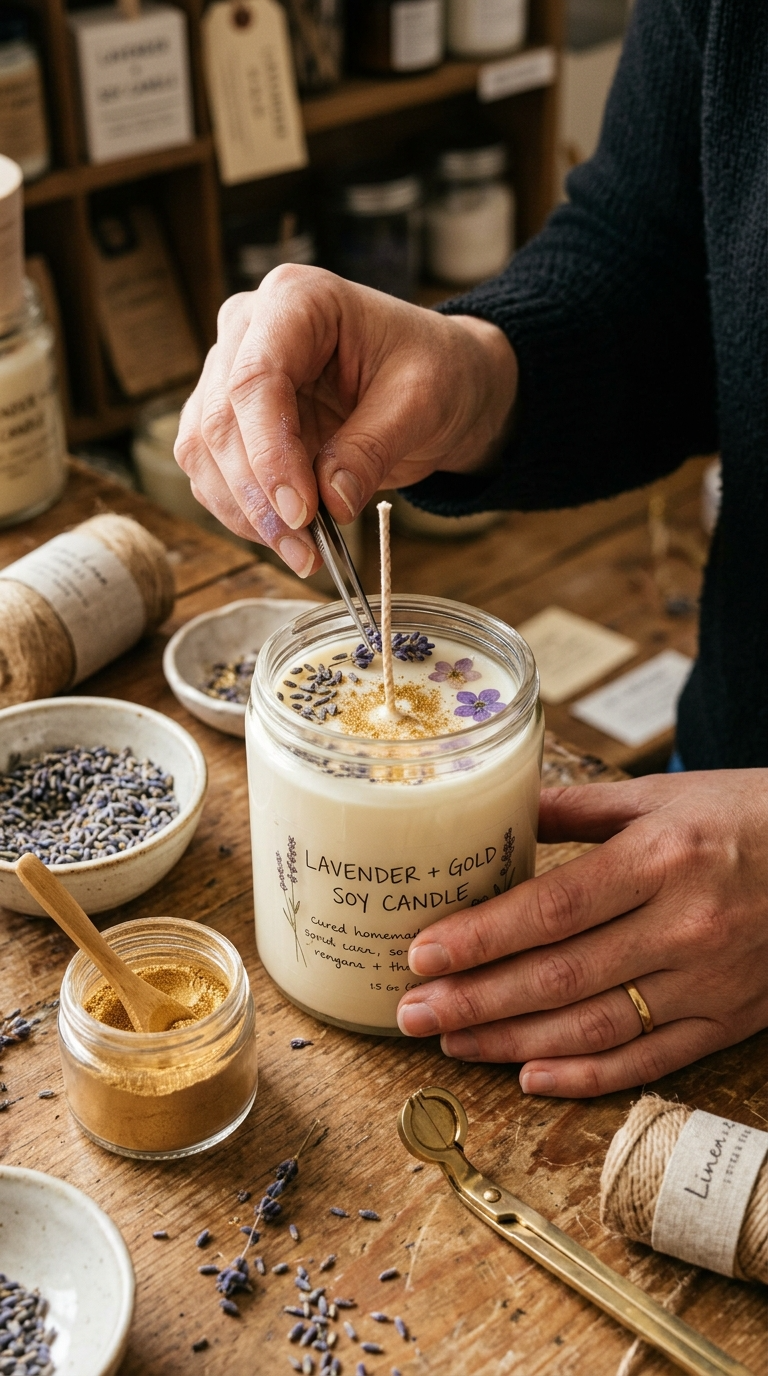
Add dried lavender on top before the wax fully sets. Use essential oils for a subtle scent. Mix in a little shimmer mica powder for a metallic swirl. Make a set of mini candles in tiny tins for party favors.
IMO, the best candles are the ones that match your space. So go ahead and experiment with colors and scents until something feels right.
FAQ’s
How long do homemade candles last?
Stored properly in a cool, dark spot, they keep for about a year. Soy wax may develop a slight frosty look over time, but it still burns fine.
Can I use crayons instead of candle dye?
You can, and plenty of people do. Just know that crayons can clog wicks and sometimes give off a waxy smell. Candle dye chips are cheap and worth the upgrade.
Why did my candle sink in the middle?
That’s called a sinkhole, and it happens when wax cools too fast. Pour at a lower temperature and let it cool slowly at room temperature.
What’s the best wax for beginners?
Soy wax. It’s forgiving, burns clean, and holds fragrance well. Paraffin is cheaper but trickier. Beeswax is lovely but pricey.
Do I really need a thermometer?
Yes, if you want consistent results. Guessing the temperature is how you end up with lumpy candles and faded scents. A basic candy thermometer costs a few dollars.
Can I add flowers or herbs directly into the wax?
Small amounts of dried flowers are fine, but fresh or thick plant material can catch fire. Keep decorations near the top and away from the wick.
Ready to Make Your First Candle?
You don’t need fancy equipment or a dedicated craft room. You need wax, a wick, and about an hour of your time. Start with a mason jar candle, then branch out into citrus peels and color layers once you get the hang of it.
And if your first candle looks a little wonky? Who cares. It still burns, and it still counts as handmade. Now go melt some wax — your future cozy evenings are waiting.