
Ready to ditch the store-bought tinsel and make your tree truly yours? These handmade Christmas decoration ideas are cheap, cheerful, and beginner-friendly. Grab a glue gun and your sense of humor—things might get glittery. By the end, you’ll have ornaments and garlands your guests will actually ask about.
Why Make Your Own Christmas Decorations?
Store decorations look fine, but they’re everywhere. Handmade ones tell a story—your story. Plus, you control the colors, the size, and the budget.
DIY ornaments also make killer gifts. Nothing says “I thought of you” like something you hot-glued at midnight while watching holiday movies. And if you have kids, this is screen-free entertainment that doesn’t require a subscription.
Bonus: handmade decor packs away easily and lasts for years if you store it right. So yes, it’s worth the glue-gun burns. Mostly.
Project 1: Rustic Cinnamon Stick Ornaments
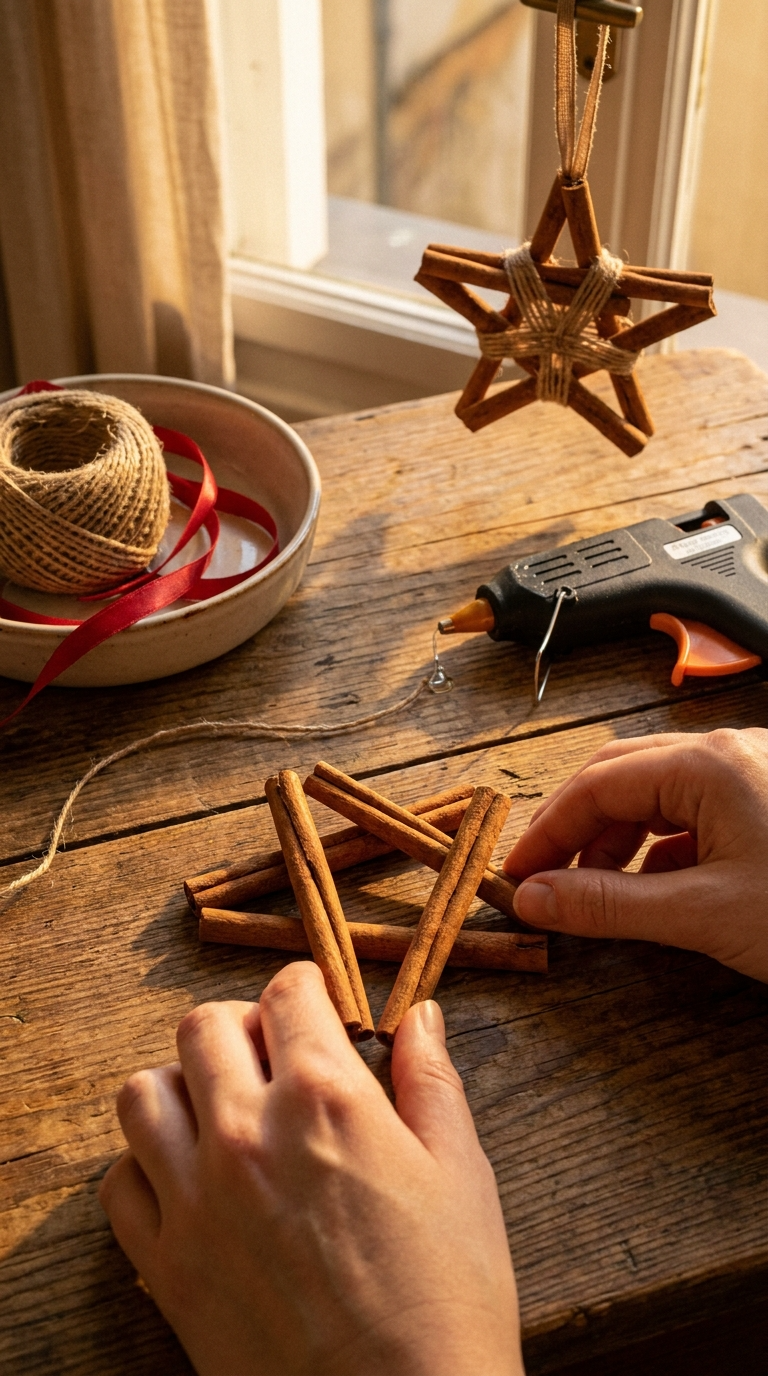
These smell amazing and look like they came from a fancy boutique. Spoiler: they didn’t.
Materials and Tools
- Cinnamon sticks (about 6–8 per ornament)
- Twine or jute string
- Hot glue gun and glue sticks
- Ribbon (any color works)
- Scissors
Affordable swap: skip fancy ribbon and use fabric scraps you already have. No one will know.
Step-by-Step Instructions
- Lay 6–8 cinnamon sticks in a star or square shape on your workspace.
- Apply a dot of hot glue where the sticks meet, then press them together firmly.
- Hold for 10 seconds so the glue sets. Don’t rush this part.
- Wrap twine around the center a few times to reinforce the shape.
- Tie a loop of ribbon at the top for hanging.
- Let everything dry for 10 minutes before hanging on the tree.
Common Mistakes to Avoid
Using too much glue makes a messy blob. Less is more. Also, don’t skip the twine wrap—it keeps the sticks from popping apart later.
If your ornament feels wobbly, add a second glue dot on the back. Problem solved.
Project 2: Salt Dough Handprint Ornaments
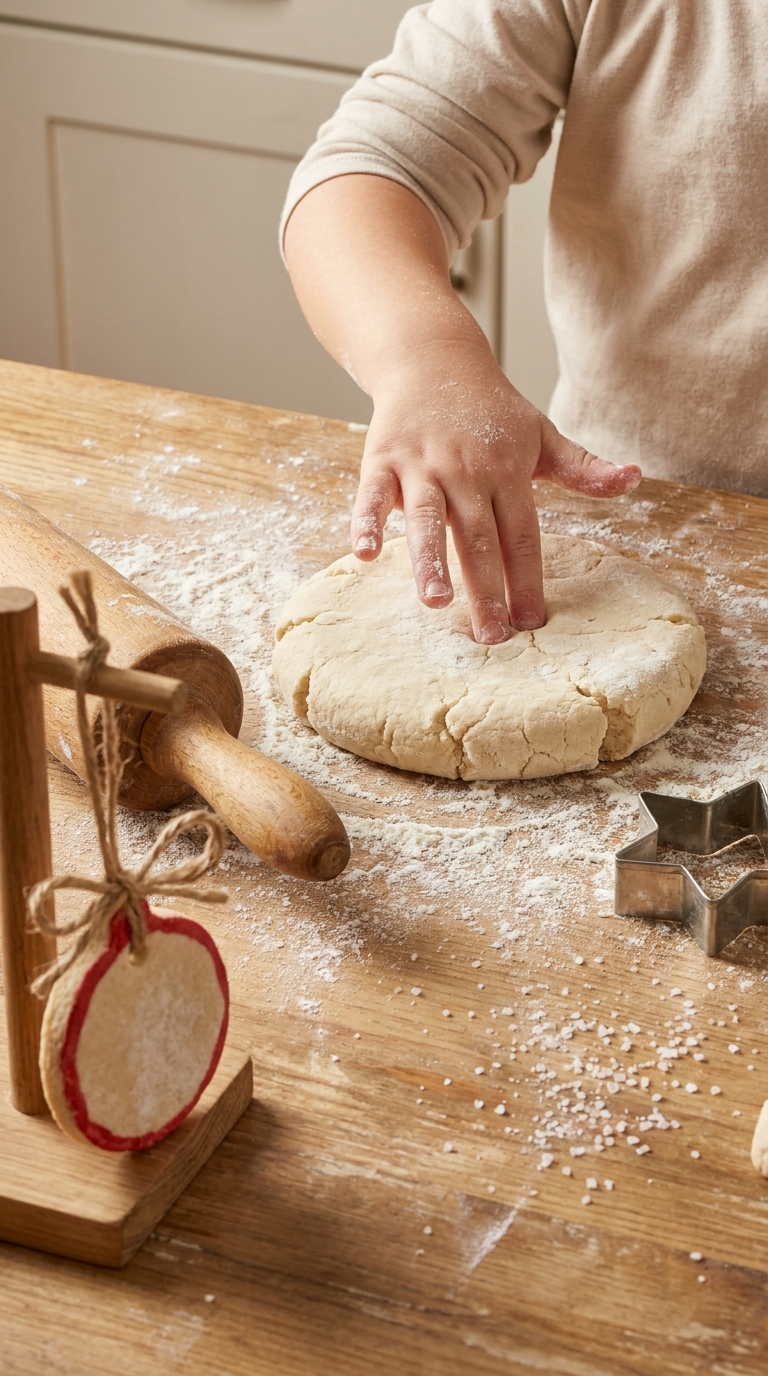
These are the ones you’ll still have in 20 years. They’re timeless, personal, and almost impossible to mess up.
Materials and Tools
- 1 cup all-purpose flour
- 1/2 cup salt
- 1/2 cup warm water
- Rolling pin
- Cookie cutters or a drinking glass
- Straw (for the hanging hole)
- Acrylic paint and paintbrushes
- Ribbon or twine
Affordable swap: no rolling pin? A clean glass bottle works just fine.
Step-by-Step Instructions
- Mix flour, salt, and water in a bowl until a dough forms.
- Knead for 2–3 minutes until smooth.
- Roll the dough to about 1/4 inch thick.
- Press your hand (or your kid’s hand) firmly into the dough.
- Cut around the handprint with a knife or use a cookie cutter for a circle shape.
- Poke a hole near the top with a straw.
- Bake at 200°F (95°C) for 2–3 hours, flipping halfway.
- Let cool, then paint and thread with ribbon.
Troubleshooting Tips
If the dough cracks while baking, your oven is too hot. Lower the temp and bake longer. If the handprint fades, press deeper next time.
Pro tip: write the year on the back with a permanent marker before baking. Future you will thank you.
Project 3: Paper Snowflake Garland
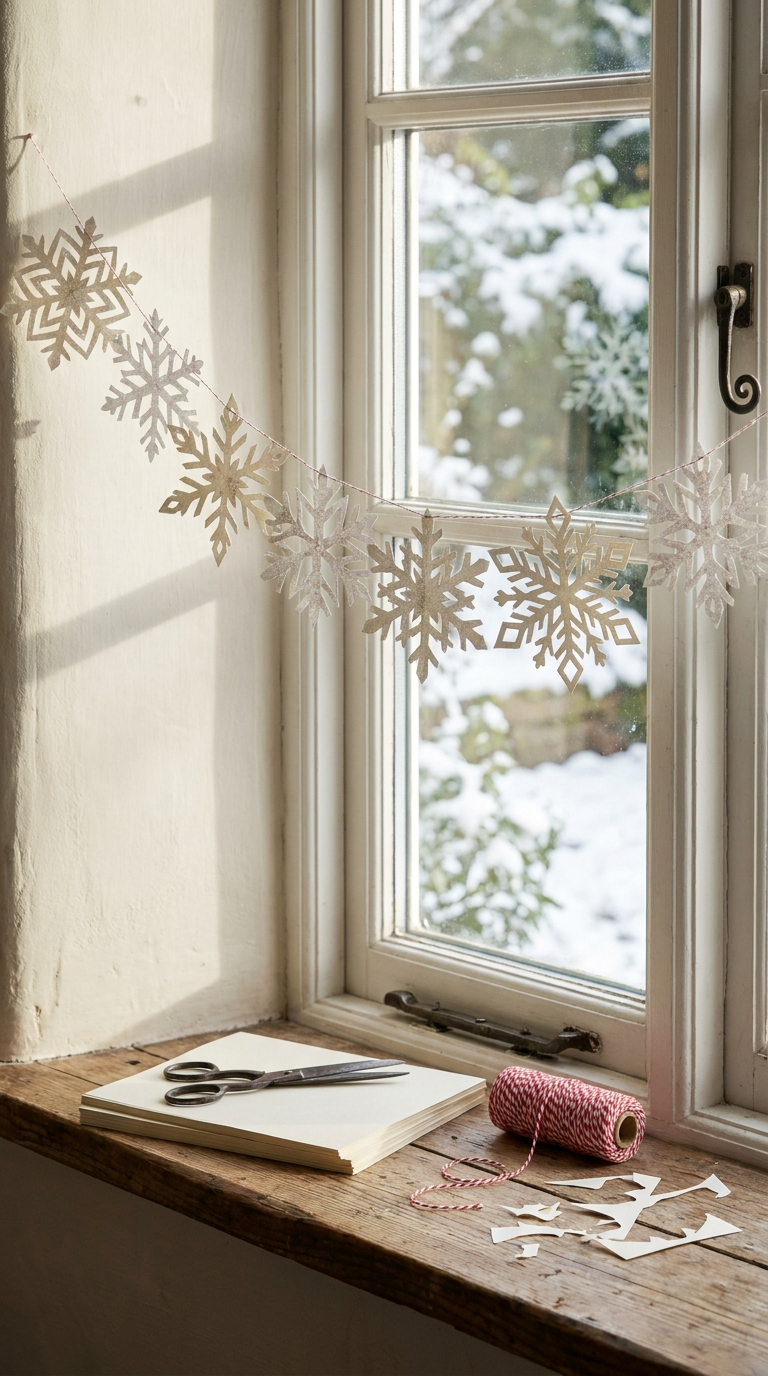
This one costs almost nothing and fills a whole wall. It’s also weirdly relaxing once you get going.
Materials and Tools
- White printer paper or coffee filters
- Scissors
- String or baker’s twine
- Tape or glue dots
- Iron (optional, for flattening)
Affordable swap: coffee filters make round snowflakes that look way fancier than they are.
Step-by-Step Instructions
- Fold a square piece of paper in half diagonally, then in half again.
- Fold into thirds to create a wedge shape.
- Cut small shapes along the edges—triangles, curves, notches.
- Unfold carefully to reveal your snowflake.
- Repeat until you have 10–15 snowflakes.
- Attach each snowflake to a long piece of string with tape.
- Hang the garland across a wall, window, or mantel.
Design Variations
Use metallic paper for a glam look. Or dip the edges in glue and sprinkle with glitter—just accept that glitter will live in your carpet forever.
You can also string them vertically for a floating effect. IMO, that’s the prettiest option.
Project 4: Mason Jar Snow Globes
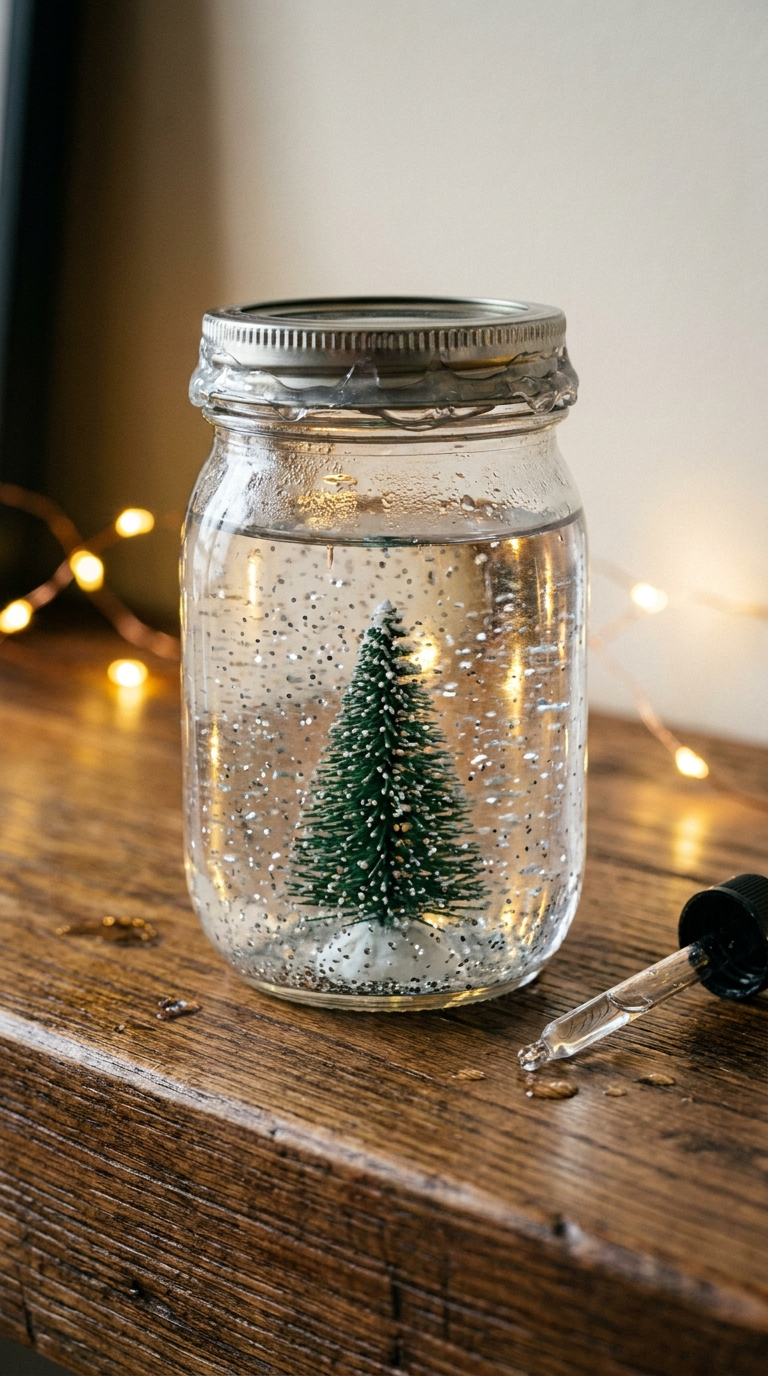
These look store-bought but take about 15 minutes. Kids love shaking them. Adults love that they don’t require batteries.
Materials and Tools
- Clean mason jar with lid
- Distilled water
- Glycerin (a few drops)
- Fine glitter
- Small plastic figurine or tree
- Waterproof glue
Affordable swap: use baby oil instead of glycerin. It makes the glitter fall slower.
Step-by-Step Instructions
- Glue your figurine to the inside of the jar lid. Let it dry completely.
- Fill the jar almost to the top with distilled water.
- Add 3–4 drops of glycerin and a pinch of glitter.
- Apply waterproof glue around the rim of the lid.
- Screw the lid on tightly.
- Flip the jar over and give it a shake.
Safety Tips
Don’t use glass jars with cracks. Also, keep these away from curious pets—glitter water is not a snack.
If the lid leaks, add more glue and let it cure for 24 hours. Patience, friend.
Project 5: Wine Cork Reindeer Ornaments

Finally, a use for all those corks you’ve been hoarding. You’re welcome.
Materials and Tools
- Wine corks
- Twigs (for antlers)
- Googly eyes
- Small red pom-poms (for noses)
- Hot glue gun
- Ribbon for hanging
Affordable swap: use dried pasta shapes for antlers if you can’t find twigs.
Step-by-Step Instructions
- Glue two small twigs to the top of the cork for antlers.
- Glue two googly eyes near the top front.
- Add a red pom-pom below the eyes for the nose.
- Attach a ribbon loop to the back with glue.
- Let dry for 15 minutes before hanging.
Customization Ideas
Paint the corks white for a snowy look. Add a tiny scarf made from felt. Or skip the reindeer and make snowmen instead—same idea, different vibe.
Ways to Display and Gift Your Handmade Decorations
Don’t just toss these on the tree. Get creative with how you show them off.
- Fill a clear bowl with ornaments and use it as a centerpiece.
- Hang garlands across windows or doorways.
- Attach ornaments to gift wrapping instead of bows.
- Package a set in a small box with tissue paper for a homemade gift.
- Use snow globes as place card holders at your holiday table.
Gifting tip: add a handwritten note about why you made it. That’s the part people keep.
FAQ’s
How long do salt dough ornaments last?
Years, if you bake them fully and store them in a dry place. Moisture is the enemy here.
Can I make these projects with kids?
Absolutely. Salt dough and paper snowflakes are perfect for little hands. Just handle the hot glue gun yourself.
What if I don’t have a hot glue gun?
Use craft glue or double-sided tape for lighter projects. For heavier ones, a low-temp glue gun is worth the small investment.
How do I store handmade decorations?
Wrap each one in tissue paper and store in a labeled box. Avoid stacking heavy items on top.
Can I use these ideas for other holidays?
Sure. Swap the colors and shapes—snowflakes become flowers, reindeer become bunnies. Same skills, different season.
Conclusion: Get Crafting This Christmas
You don’t need a craft room or a big budget to make beautiful holiday decorations. You need a few supplies, a free afternoon, and a willingness to get a little glue on your fingers.
Pick one project, try it, and see how it goes. If it turns out wonky, call it “rustic” and move on. That’s the DIY spirit.
So, which one are you making first? Grab your supplies and get started—your tree is waiting.