
Your walls look a little bare, don’t they? The tree is up, the stockings are hung, but that big space above the couch is just sitting there, judging you. Let’s fix that with some DIY Christmas wall decor that costs less than a fancy candle and looks way better. Grab your glue gun and your questionable crafting confidence — we’re making your place feel like a holiday movie set.
Why DIY Christmas Wall Decor Beats Store-Bought Stuff
Store decorations all look the same after a while. You walk into three homes and see the same glittery snowman from the big-box store. Making your own wall art means your space looks like you, not a catalog page.
It’s also cheaper. A lot cheaper. Most of these projects use dollar-store finds, cardboard, and leftover wrapping paper. And here’s the real bonus: when guests ask where you bought that cute wreath, you get to say “I made it” with a smug little smile. Worth it.
Project 1: Giant Paper Snowflake Wall Cluster
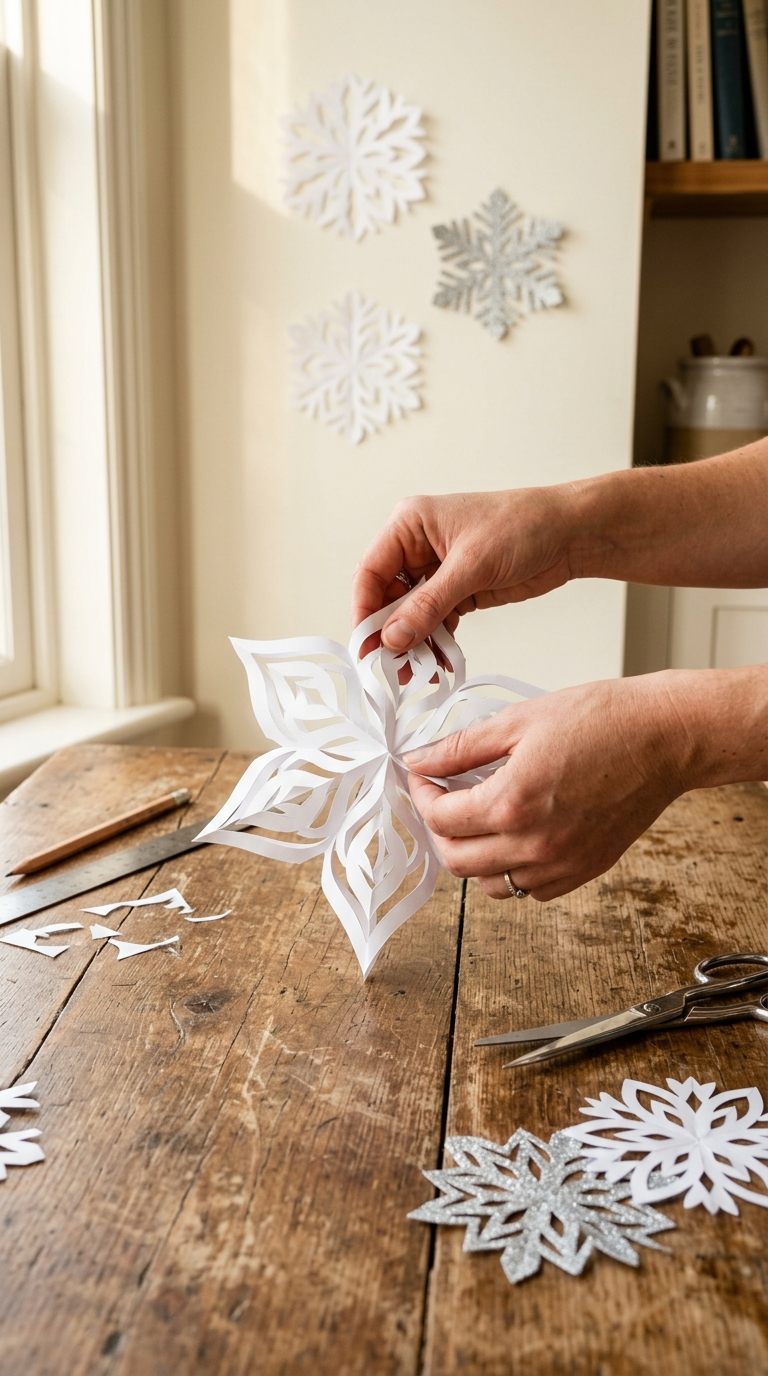
This one is my favorite because it looks impressive and takes almost no skill. If you can fold paper and use scissors, you’re qualified. Make five or six in different sizes, then arrange them on the wall like they’re floating.
Materials and Tools
- White or silver cardstock (printer paper works, but cardstock holds shape better)
- Scissors or a craft knife
- Pencil
- Clear tape or double-sided adhesive dots
- Ruler
- Optional: glitter spray or a glue stick with loose glitter
Step-by-Step Instructions
- Fold a square piece of paper in half diagonally to make a triangle.
- Fold it in half again, then once more, until you have a narrow wedge.
- Draw your cut pattern on the wedge with a pencil. Keep the outer edge intact so the snowflake stays connected.
- Cut along your lines. Unfold slowly — this is the moment of truth.
- Press the snowflake flat under a heavy book for a few minutes.
- Repeat in smaller sizes. Three sizes per cluster looks best.
- Attach to the wall with adhesive dots. Start with the biggest in the center and build outward.
Common mistake: cutting too close to the folded edge. Leave at least half an inch or your snowflake falls apart into sad paper confetti.
Project 2: Rustic Twig and Ornament Wall Tree
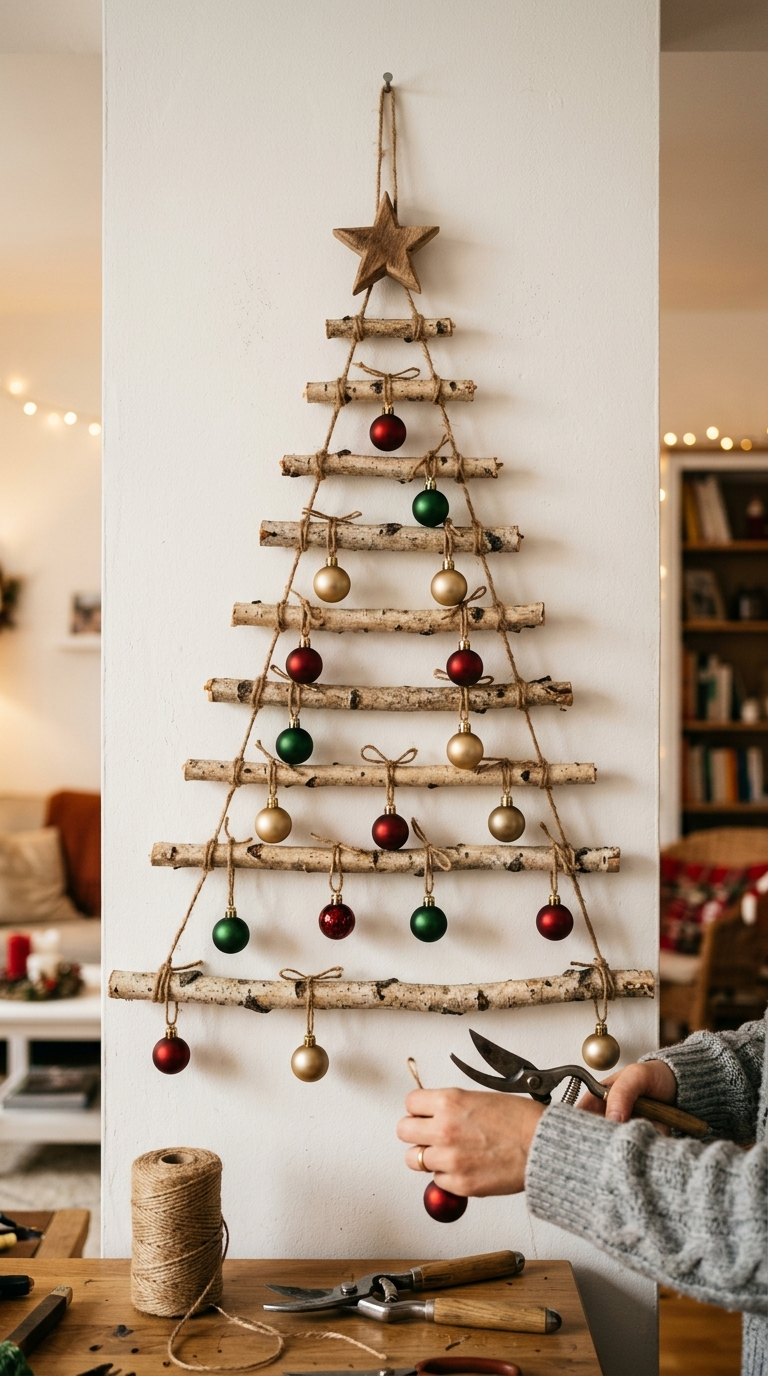
No floor space for a second tree? Same. This flat wall tree gives you the holiday look without losing an inch of your living room. It’s basically a tree for people with tiny apartments and big holiday energy.
Materials and Tools
- Thin birch branches or dowels (hardware store, or free from your backyard)
- Twine or jute string
- Mini ornaments, preferably shatterproof
- Small command hooks
- Pruning shears
- Hot glue gun
Affordable substitute: skip the branches and use paint stir sticks from the hardware store. They’re free and already flat.
Step-by-Step Instructions
- Lay your branches on the floor in a triangle shape, longest at the bottom.
- Trim the ends so they’re roughly even on both sides.
- Tie the branches together at the top with twine. Wrap tightly and knot twice.
- Add a small horizontal branch across the middle for stability.
- Hang the frame on a command hook and check that it sits level.
- Tie ornaments on with twine, spacing them out as you go.
- Add a star or bow at the top. Done.
Safety tip: keep the total weight light. Heavy ornaments plus weak branches equals a dramatic midnight crash. Ask me how I know.
Project 3: Christmas Card Display Wall
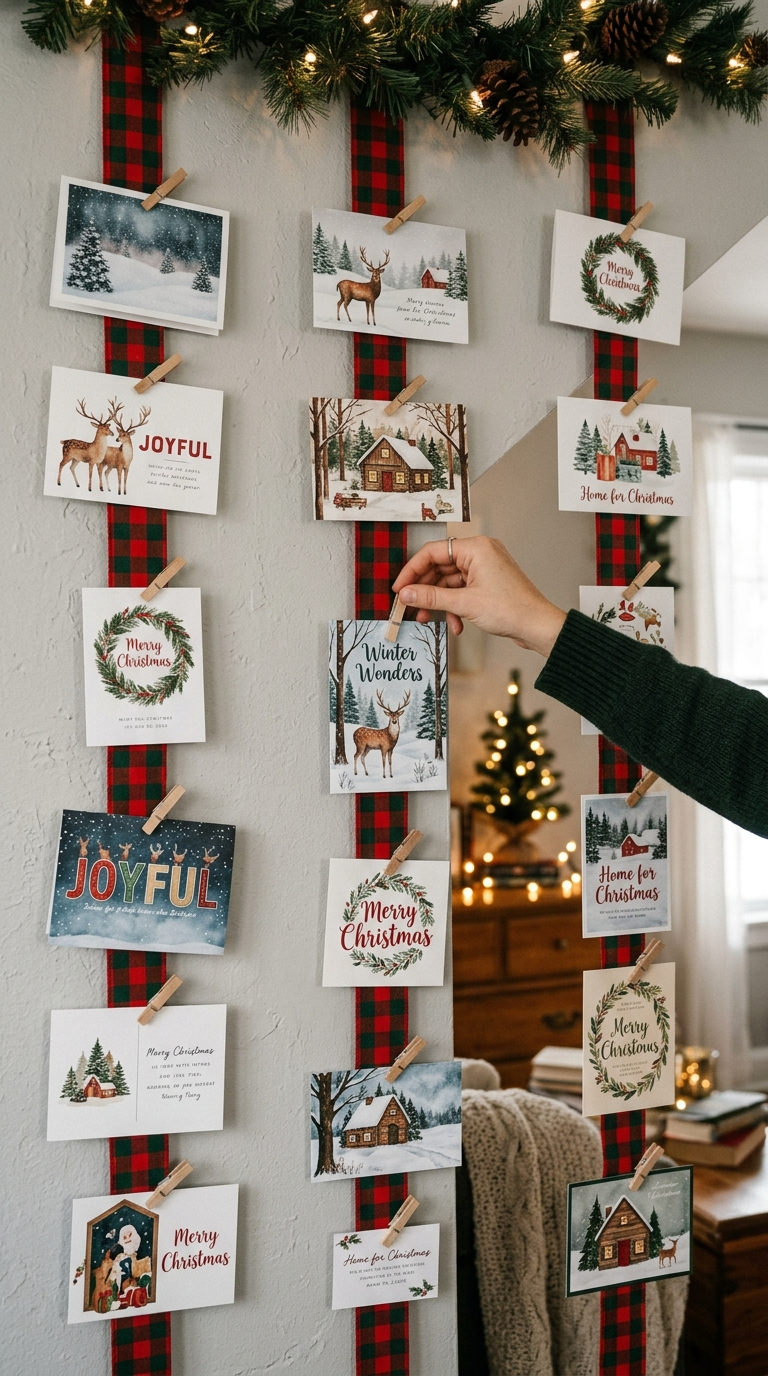
Cards pile up on the counter every December and then get thrown out in January. Rude, honestly. This display turns them into wall decor instead.
Materials and Tools
- Ribbon or thin twine
- Mini clothespins
- Thumbtacks or command hooks
- Cards from friends and family
Step-by-Step Instructions
- Measure your wall space and cut two or three lengths of ribbon.
- Attach each ribbon to the wall with a hook at both ends. Keep them slightly loose so they drape.
- Clip cards onto the ribbon with mini clothespins.
- Layer cards front and back for a fuller look.
- Swap in new cards as they arrive throughout the month.
Customization idea: use red and green ribbon for a classic look, or go with buffalo check for that cozy farmhouse vibe.
Project 4: Upcycled Wreath From Wrapping Paper Scraps
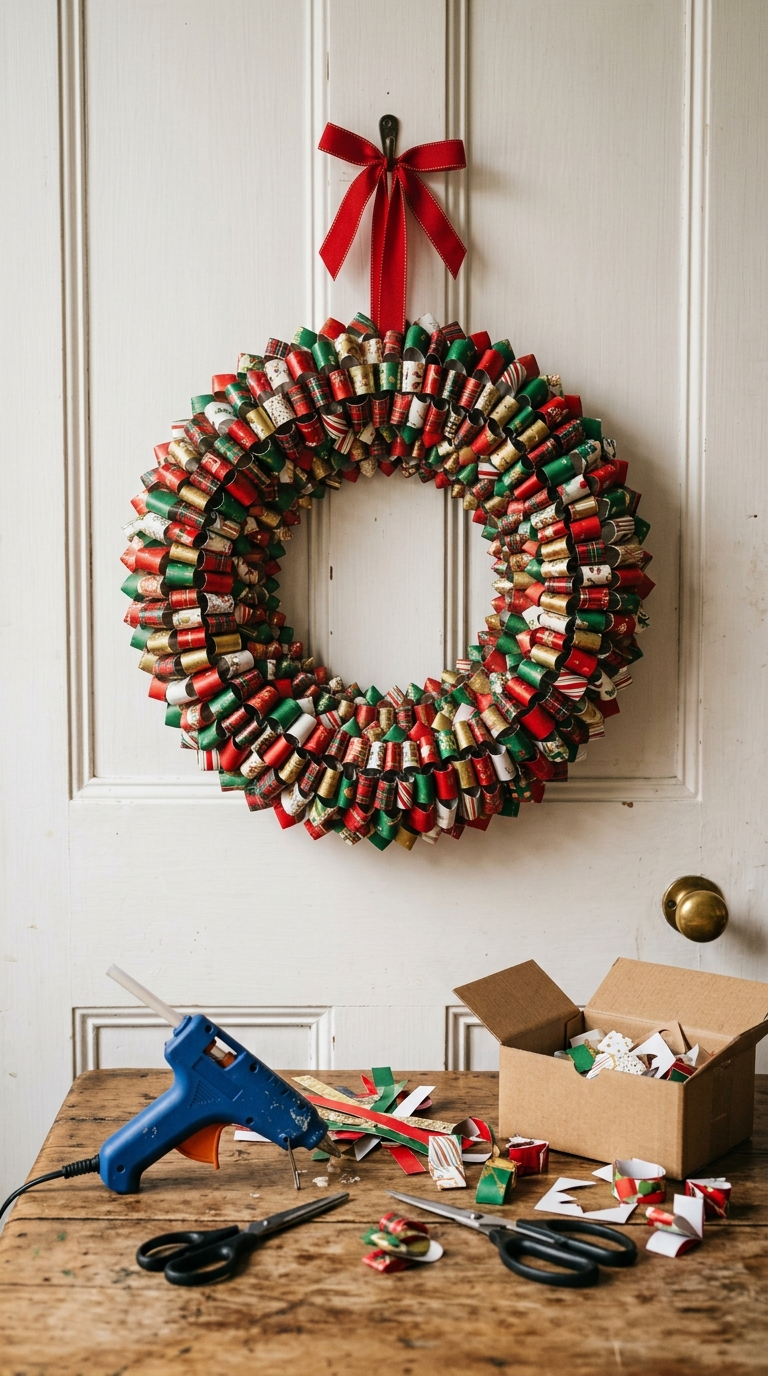
You know that pile of wrapping paper scraps you can’t bring yourself to throw away? Turn it into a wreath. This project is basically free, which is my favorite price point.
Materials and Tools
- Cardboard (an old shipping box works great)
- Wrapping paper scraps
- Hot glue gun
- Scissors
- Ribbon for hanging
Step-by-Step Instructions
- Cut a cardboard ring. Trace a bowl for the outside and a cup for the inside.
- Cut wrapping paper into strips about two inches wide and four inches long.
- Fold each strip into a loose loop and pinch the bottom.
- Glue loops around the ring, working in one direction.
- Add a second layer on top for fullness.
- Glue a ribbon loop to the back for hanging.
Troubleshooting: If your loops keep popping off, you’re probably using too much glue in one spot. A small dot holds better than a giant blob.
Project 5: Faux Snowy Window Frame
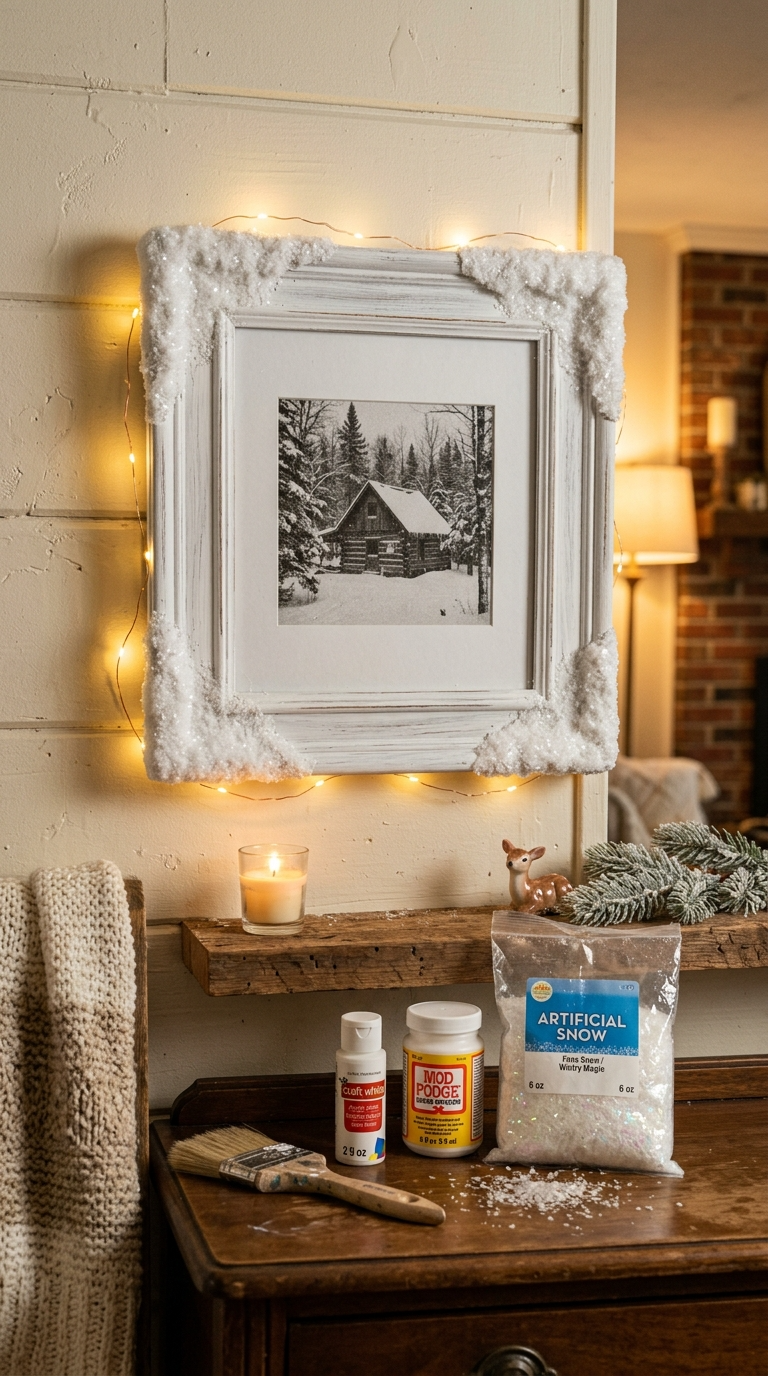
Want that cozy cabin look without the cabin? Grab a thrifted picture frame and some fake snow. This one takes about twenty minutes and looks way more expensive than it is.
Materials and Tools
- Old wooden picture frame (thrift stores are goldmines)
- White acrylic paint
- Fake snow spray or loose artificial snow
- Mod podge
- Small paintbrush
- Twine for hanging
Step-by-Step Instructions
- Wipe the frame clean and let it dry completely.
- Paint the frame white. One coat is fine if you want a rustic look.
- Brush Mod Podge along the top and corners of the frame.
- Sprinkle artificial snow over the wet glue.
- Shake off the excess and let it dry for an hour.
- Attach twine to the back and hang it above a console table or mantel.
Display idea: Hang three frames in a row at different heights for a gallery-wall effect. Add a small battery-powered fairy light behind each one for a soft glow.
Tips to Avoid a DIY Disaster
- Test adhesive first. Stick a small piece of tape or a hook on your wall for an hour before committing. Some paints and wallpaper hate adhesive.
- Work on a protected surface. Glitter travels. It will find your carpet, your clothes, and somehow your coffee.
- Keep it lightweight. Wall decor that falls at 2 a.m. ruins the holiday mood fast.
- Measure twice, especially for clustered arrangements. Eyeballing works until it absolutely doesn’t.
- Let glue fully cure. Patience now saves you from re-gluing everything later.
Ways to Use or Gift Your Finished Decor
These projects aren’t just for your own walls. A handmade wreath makes a genuinely thoughtful gift for a neighbor, teacher, or coworker. Wrap it in tissue paper with a big bow, and you’re done shopping for that person.
You can also rotate your decor by room. Snowflakes in the bedroom, the wall tree in the living room, and the card display in the hallway. Or host a craft night and let friends make their own versions. FYI, that’s a cheap party idea that people actually remember.
FAQ’s
How do I hang decor without damaging my walls?
Command hooks and adhesive dots are your best friends. For heavier pieces, use a small nail and patch it later with spackle. Always clean the wall with rubbing alcohol before sticking anything on it.
What if I don’t have a hot glue gun?
Double-sided tape works for paper projects. For heavier items, try craft glue or even a glue stick in a pinch. Just give it more drying time.
Can I make these with kids?
Yes, the snowflakes and card display are perfect for kids. Skip the hot glue and craft knife for little ones and use safety scissors and tape instead.
How long do these decorations last?
Paper projects last one season if stored flat. Branch and frame projects can last years if you wrap them carefully. Store everything in a labeled box so next December is easy.
Where can I find cheap materials?
Dollar stores, thrift shops, and your own recycling bin. Cardboard, jars, and paper scraps cover half of these projects already. IMO, the free stuff looks better anyway.
Do I need special tools for these projects?
Nope. Scissors, glue, and tape handle almost everything here. A hot glue gun helps, but it’s not required.
Go Make Your Walls Festive
Pick one project, gather your supplies, and give it a shot this weekend. None of these take more than an afternoon, and even the messy ones look charming in a handmade way. Your walls are ready for a glow-up, and honestly, so is your holiday spirit. Grab the glue gun and get started.