
Your tree is looking a little sad, and your mantel is basically naked. Store-bought decorations cost a fortune and look exactly like your neighbor’s. Let’s fix that with homemade Christmas decorations you can actually make without a craft degree.
I’ve rounded up five beginner-friendly projects that use cheap materials and take an afternoon or less. Grab a glue gun, put on a holiday movie, and let’s make your place look festive.
Why Make Your Own Christmas Decorations?
Homemade decorations save money, sure. But the real win is that your house won’t look like a big-box store exploded in your living room.
Handmade pieces carry stories. That lopsided salt dough ornament your kid painted? It beats a perfectly uniform bauble every single time. Plus, you can customize colors to match your existing decor instead of settling for whatever red and green the store had left.
FYI, most of these projects cost under $15 total and use supplies you may already own. Not bad for a cozy, custom holiday look.
Project 1: Salt Dough Ornaments

This is the classic starter project, and for good reason. It’s cheap, it’s forgiving, and it keeps kids busy for an entire afternoon.
Materials and Tools
- 2 cups all-purpose flour
- 1 cup salt
- 1 cup warm water (add more if dough feels crumbly)
- Rolling pin
- Cookie cutters in holiday shapes
- Drinking straw or skewer for the hanging hole
- Acrylic paint, markers, or glitter
- Ribbon or twine
- Baking sheet and parchment paper
Affordable substitute: No cookie cutters? Use the rim of a glass for circles or shape the dough by hand.
Step-by-Step Instructions
- Mix the flour and salt in a large bowl.
- Pour in the water slowly and stir until a dough ball forms.
- Knead the dough on a floured surface for about 5 minutes until smooth.
- Roll it out to about 1/4 inch thick.
- Cut out your shapes and move them to a parchment-lined baking sheet.
- Poke a hole near the top of each ornament with your straw. Don’t skip this, or you’ll be drilling later. Trust me.
- Bake at 200°F (95°C) for 2 to 3 hours, flipping halfway. They should feel hard and dry, not soft.
- Let them cool completely, then paint, decorate, and thread with ribbon.
Common Mistakes to Avoid
Rolling the dough too thin makes brittle ornaments that snap when you hang them. Keep it at 1/4 inch or thicker.
Also, don’t crank up the oven temperature to speed things along. High heat causes cracking and puffing. Low and slow is the way.
Project 2: Mason Jar Snow Globes
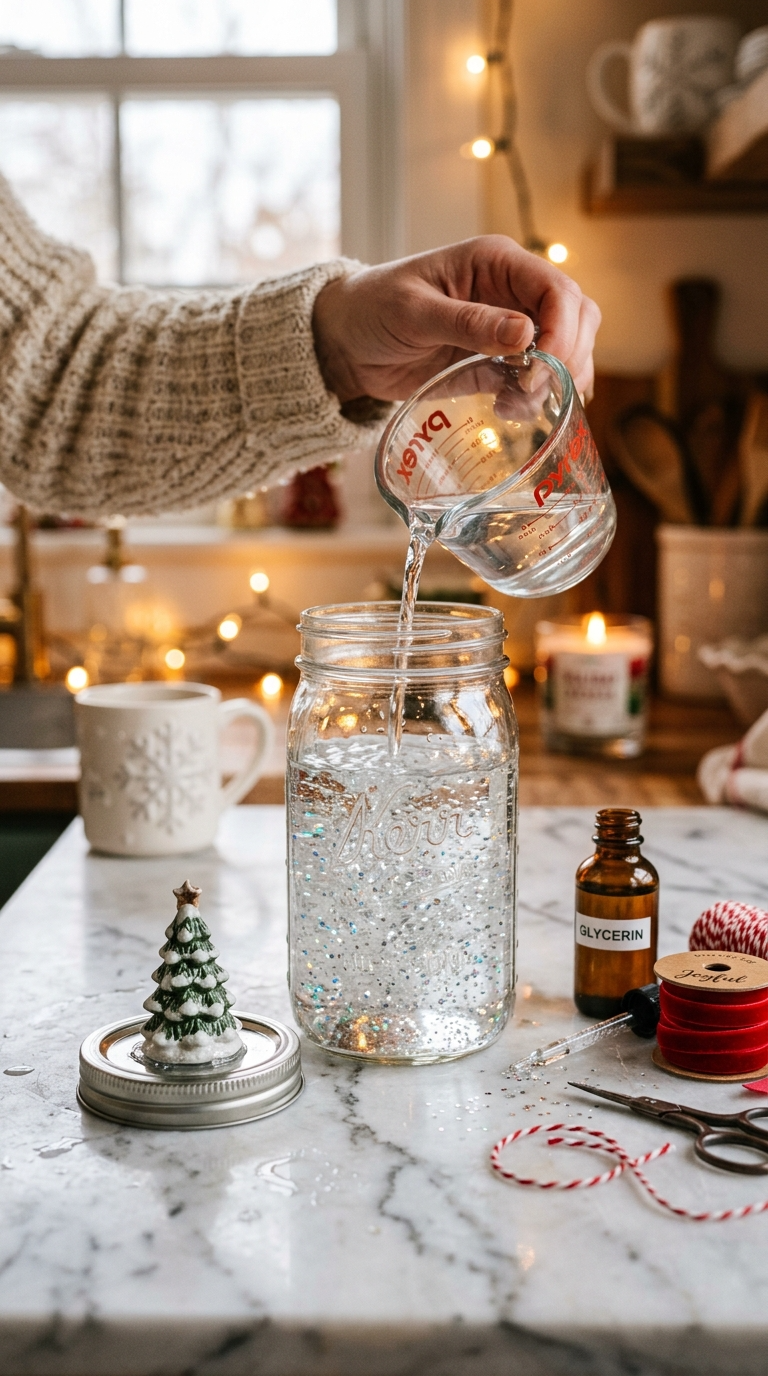
These look fancy but take about 15 minutes. Nobody needs to know how easy they were.
Materials and Tools
- Clean mason jar with lid
- Distilled water
- Glycerin (a few drops, keeps glitter from sinking too fast)
- Fine glitter or faux snow
- Small figurine or miniature tree
- Waterproof glue or hot glue
- Ribbon for the lid
Affordable substitute: Baby oil works in place of glycerin if you’re in a pinch.
Step-by-Step Instructions
- Glue your figurine to the inside of the jar lid. Let it dry fully.
- Fill the jar almost to the top with distilled water.
- Add a few drops of glycerin and a spoonful of glitter.
- Run a bead of waterproof glue around the lid’s inner rim.
- Screw the lid on tightly and let it set for 24 hours before flipping.
- Tie ribbon around the lid and shake gently to test.
Troubleshooting
If your glitter clumps, you added too much glycerin. If it sinks instantly, add a drop more.
Cloudy water usually means you used tap water. Distilled keeps things clear.
Project 3: Pinecone Garland
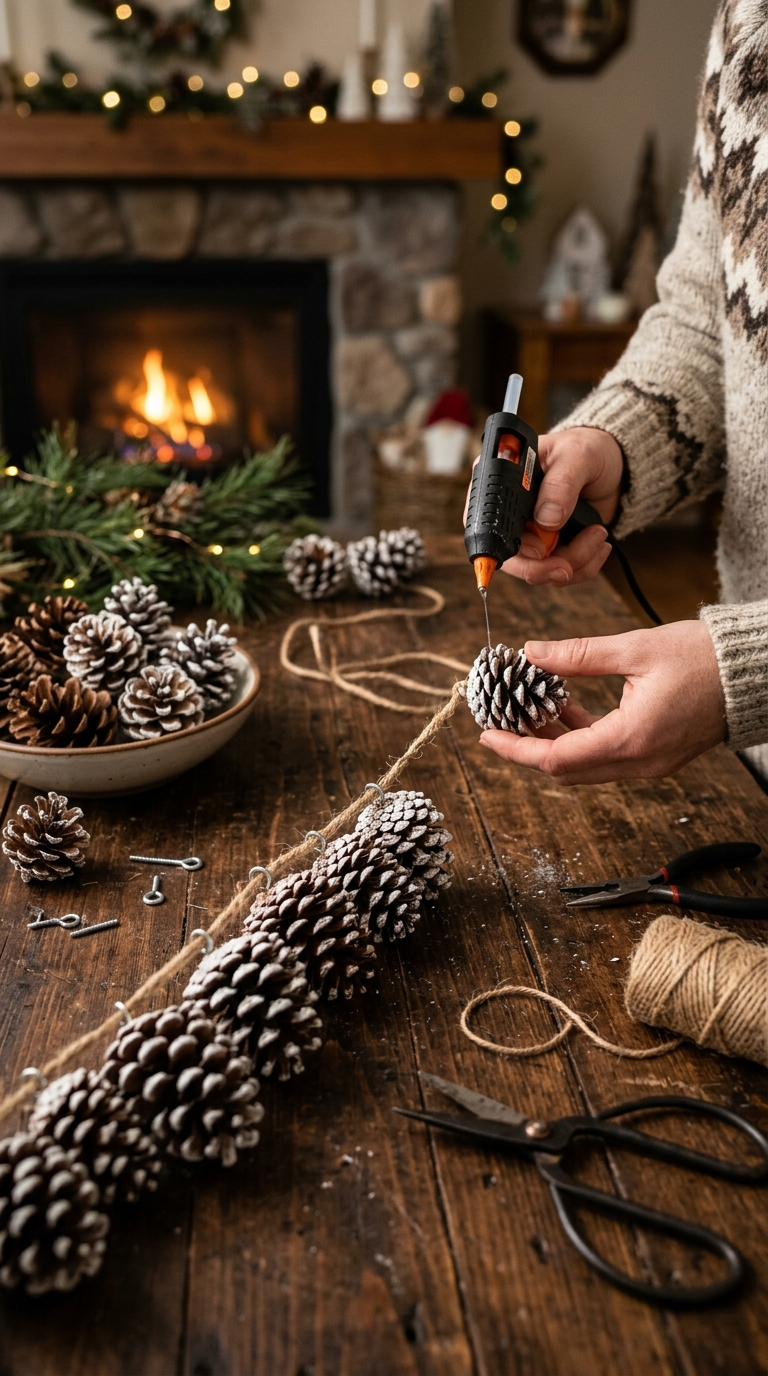
Nature gives you free craft supplies. Take advantage of it.
Materials and Tools
- 20 to 30 pinecones
- Twine or jute rope
- Hot glue gun
- White paint or fake snow spray (optional)
- Small screw eyes or a strong needle
Step-by-Step Instructions
- Clean your pinecones and bake them at 200°F for 30 minutes to kill any bugs. Yes, really.
- If you want a frosted look, dip the tips in white paint or spray lightly with fake snow.
- Attach a small screw eye to the top of each pinecone, or thread twine through with a needle.
- Tie each pinecone to your main rope, spacing them 4 to 6 inches apart.
- Hang across your mantel, staircase, or doorway.
Safety Tips
Never skip the baking step if you gathered pinecones outdoors. Sap and tiny critters are not the holiday vibe you want.
Project 4: Paper Snowflake Window Display
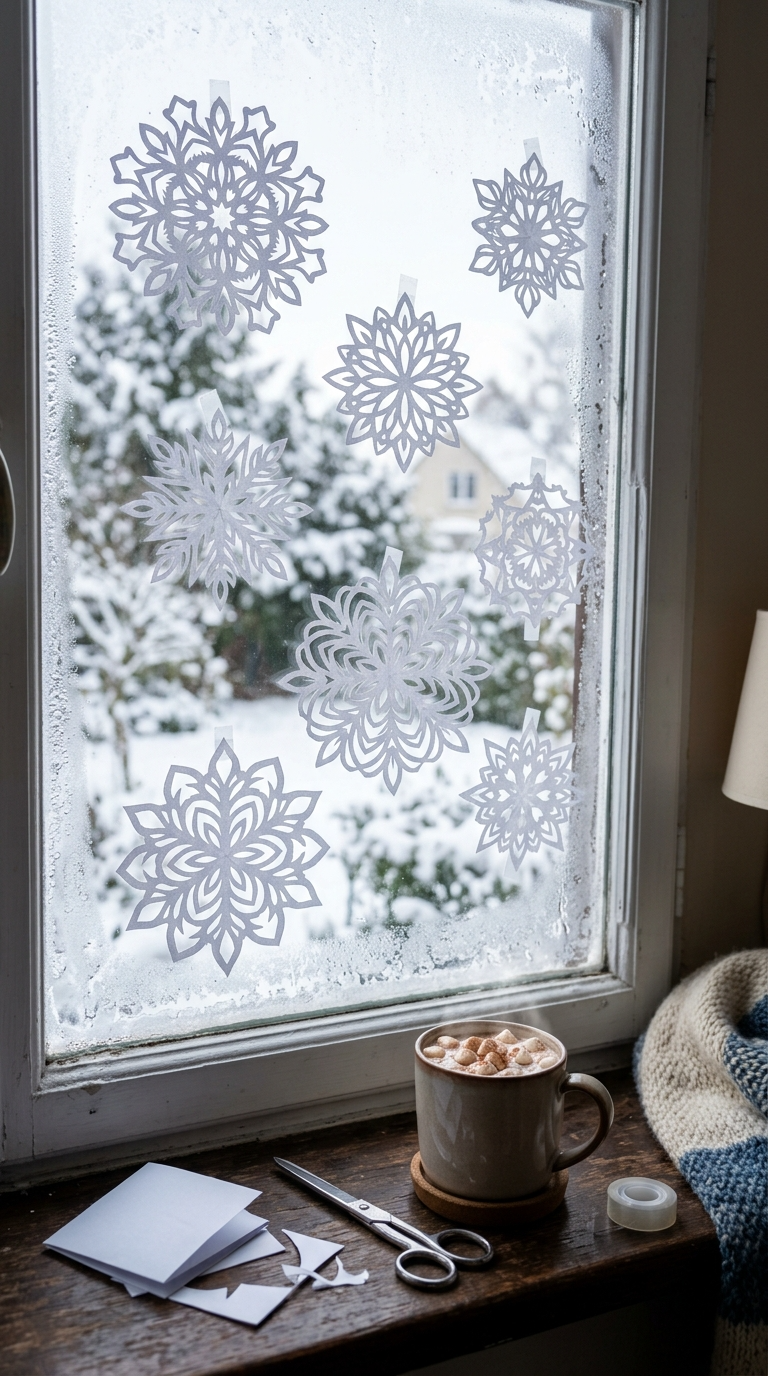
Remember making these in elementary school? They still look great, and they cost basically nothing.
Materials and Tools
- White printer paper or coffee filters
- Scissors
- Tape or removable adhesive dots
- Optional: fishing line for hanging
Step-by-Step Instructions
- Fold a square piece of paper in half diagonally, then in half again.
- Fold it into thirds to create a wedge shape.
- Cut small shapes along the folded edges. Keep some connections intact.
- Unfold carefully to reveal your snowflake.
- Press flat under a heavy book for an hour if it curls.
- Tape to windows or hang from the ceiling with fishing line.
Design Variations
Coffee filters make soft, lacy snowflakes that look delicate. Try metallic paper for a modern twist, or dip edges in glitter glue for sparkle.
Project 5: Cinnamon Stick Candle Holders

These smell amazing and take about 10 minutes. They also make great gifts.
Materials and Tools
- Cinnamon sticks (about 20 per holder)
- Glass votive or small jar
- Hot glue gun
- Twine
- Tea light or votive candle
Step-by-Step Instructions
- Glue cinnamon sticks vertically around the outside of the glass.
- Keep them tight so no glass shows through.
- Wrap twine around the middle and tie a bow.
- Drop in a candle and light it.
Safety Tips
Never leave a burning candle unattended. Also, keep the cinnamon sticks clear of the flame itself. Hot glue and open fire don’t mix, so check that everything is secure before lighting.
Ways to Display and Gift Your Creations
Group salt dough ornaments in a decorative bowl as a centerpiece. String snow globes along a shelf. Drape your pinecone garland over a mirror for instant cozy vibes.
For gifting, tuck a few ornaments into a small box with tissue paper. Add a handwritten tag explaining the materials. IMO, that personal touch means more than anything store-bought.
FAQ’s
How long do salt dough ornaments last?
They last for years if stored in a dry place. Seal them with a coat of clear acrylic spray or Mod Podge to protect against moisture and crumbling.
Can I use tap water in my snow globe?
You can, but it may turn cloudy over time. Distilled water keeps things crystal clear, which is worth the extra dollar.
What if my pinecones are still sticky?
Bake them a bit longer at low heat. The sap hardens as it cools. You can also dust them with a little flour to reduce stickiness.
Are these projects safe for young kids?
Salt dough and paper snowflakes are perfect for kids. Skip the hot glue and candle projects for little ones, or handle those steps yourself.
How do I store homemade decorations for next year?
Wrap fragile items in bubble wrap or tissue. Store salt dough in an airtight container with a silica packet to prevent moisture damage.
Can I paint salt dough with watercolors?
Yes, but watercolors look faded once dry. Acrylic paint gives richer, longer-lasting color.
Get Crafting This Holiday Season
Pick one project, gather your supplies, and give it a shot. Even if your first snow globe looks a little wonky, it’s yours, and that’s what makes it special.
So which one are you trying first? Grab the glue gun and find out. Happy crafting, and happy holidays.