
Want your home to feel more like fall without spending a fortune? Grab a few simple supplies and turn them into warm, cozy decorations you’ll actually want to display. These easy fall home decor crafts use inexpensive materials, natural textures, and classic autumn colors. Best of all, you don’t need to be a crafting genius—promise.
Why These Easy Fall Crafts Are Worth Making
Fall decorating has a special charm because it doesn’t have to be perfect. A little burlap, some dried leaves, warm colors, and a few pumpkins can completely change the mood of a room.
The main project in this guide is a DIY fall table centerpiece made with a simple wooden tray, small pumpkins, faux leaves, pinecones, and candles. You can make it for your dining table, coffee table, entryway, or even a kitchen counter.
And why stop there? Once you understand the basic arrangement, you can swap materials and create several different versions without starting from scratch.
Materials and Tools You’ll Need
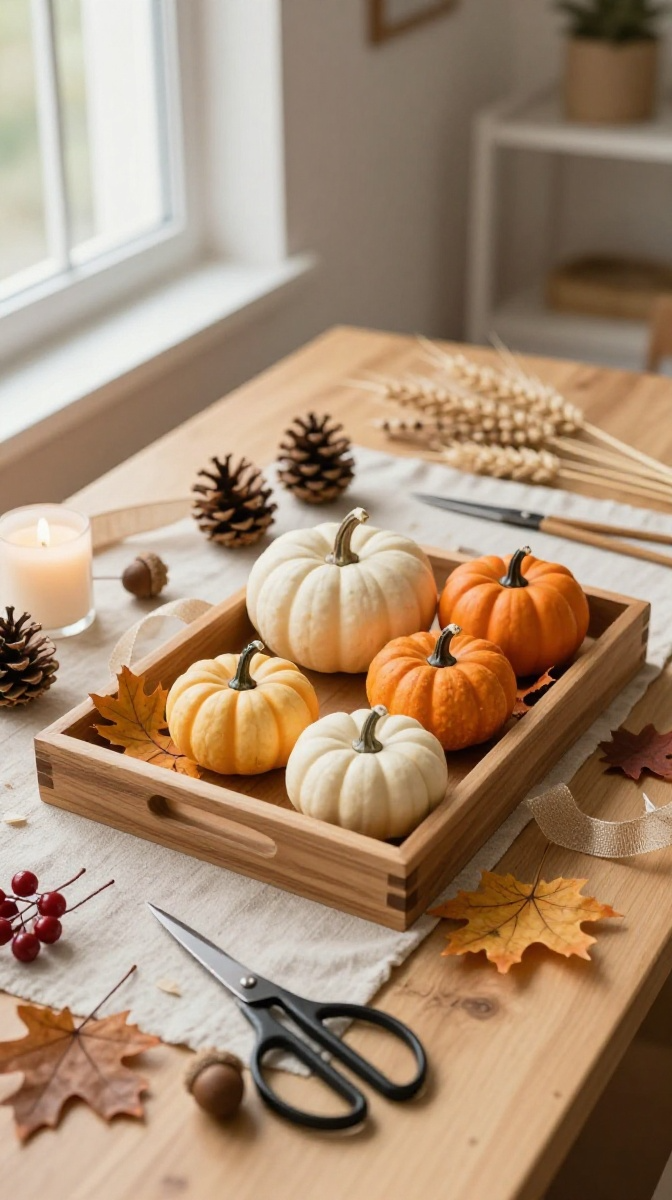
The best part of this project is that most supplies are inexpensive and easy to find. You may even have several of them sitting around the house already.
- 1 wooden tray: Use an old serving tray, shallow box, or sturdy basket as an affordable substitute.
- 3–5 small pumpkins: Real mini pumpkins work beautifully, but faux pumpkins last longer.
- Faux or dried autumn leaves: Look for maple, oak, or mixed fall foliage.
- 4–6 pinecones: Collect clean, dry ones outdoors or use craft-store versions.
- 2–3 small candles: Battery-operated LED candles are a safer alternative.
- Burlap ribbon or neutral fabric: An old linen napkin can work too.
- Small twigs or decorative branches: These add height and texture.
- Scissors: For trimming ribbon and foliage.
- Floral wire or craft glue: Optional, depending on how permanent you want the arrangement to be.
- Small decorative filler: Acorns, faux berries, cinnamon sticks, or dried flowers can add extra detail.
Choosing the Right Colors
For a classic autumn look, combine burnt orange, cream, brown, muted green, and warm beige. You don’t need every fall color at once. In fact, using too many colors can make the centerpiece look more like a craft-store explosion.
IMO, two or three main colors plus natural wood tones usually look the most polished.
How to Make the Easy Fall Table Centerpiece
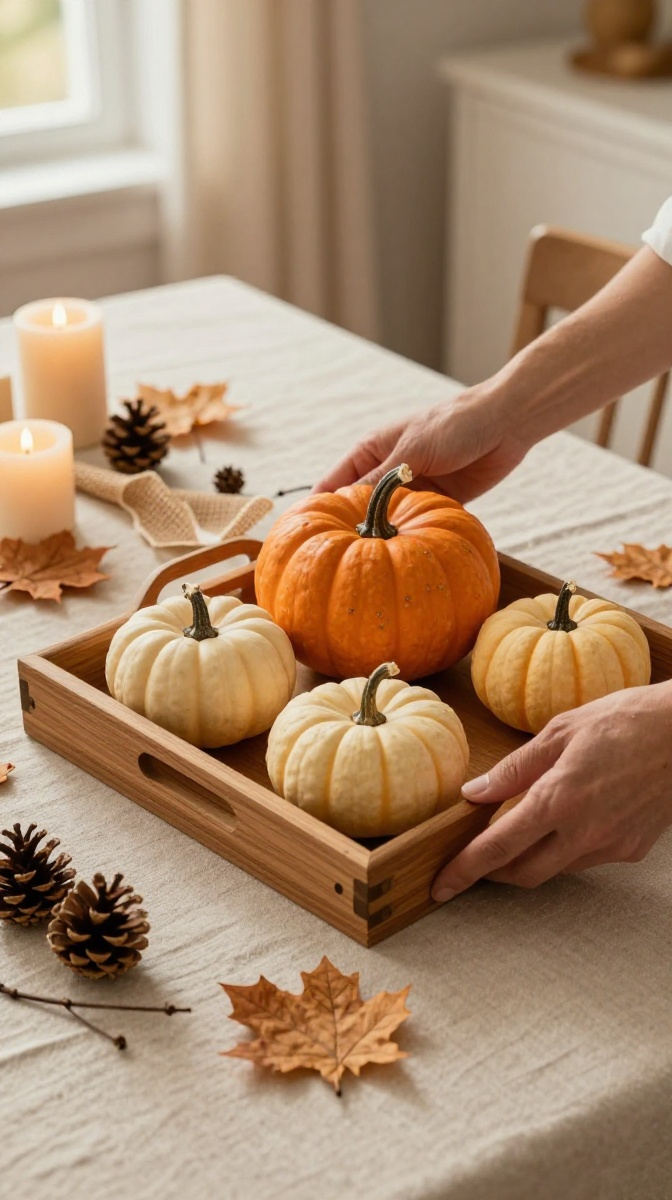
Before you start gluing anything, place all your supplies on the table. This lets you experiment with the arrangement without committing to anything.
Step 1: Prepare the Base
Start with your wooden tray and give it a quick wipe. If the tray is very plain, add a strip of burlap or neutral fabric along the bottom.
You don’t need to cover the entire surface. Leaving some wood visible gives the arrangement a more natural, relaxed appearance.
Step 2: Add the Largest Pumpkins
- Place your largest pumpkin slightly off-center. Avoid putting everything directly in the middle because the arrangement can look stiff.
- Add one or two smaller pumpkins beside it. Turn them at slightly different angles so they don’t look lined up.
- Leave small gaps between the pumpkins. These spaces will later be filled with leaves, pinecones, and other decorations.
Think of the pumpkins as your main characters. Everything else is supporting the cast.
Step 3: Layer in the Autumn Leaves
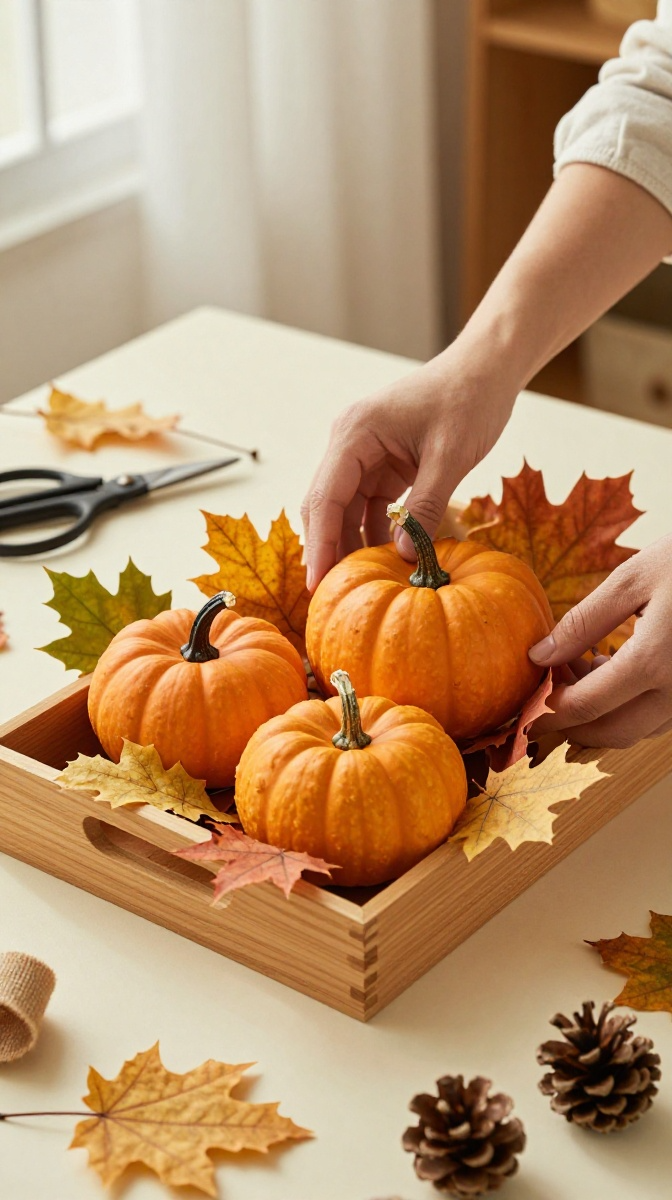
- Trim long stems from your faux foliage. Keep some pieces longer for height and cut others shorter for filling gaps.
- Tuck leaves around the pumpkins. Let a few extend over the edge of the tray.
- Mix leaf shapes and sizes. Large leaves create visual impact, while smaller ones help fill empty areas.
Don’t arrange every leaf perfectly. A slightly messy, natural placement usually looks much more realistic.
Step 4: Add Pinecones and Natural Texture
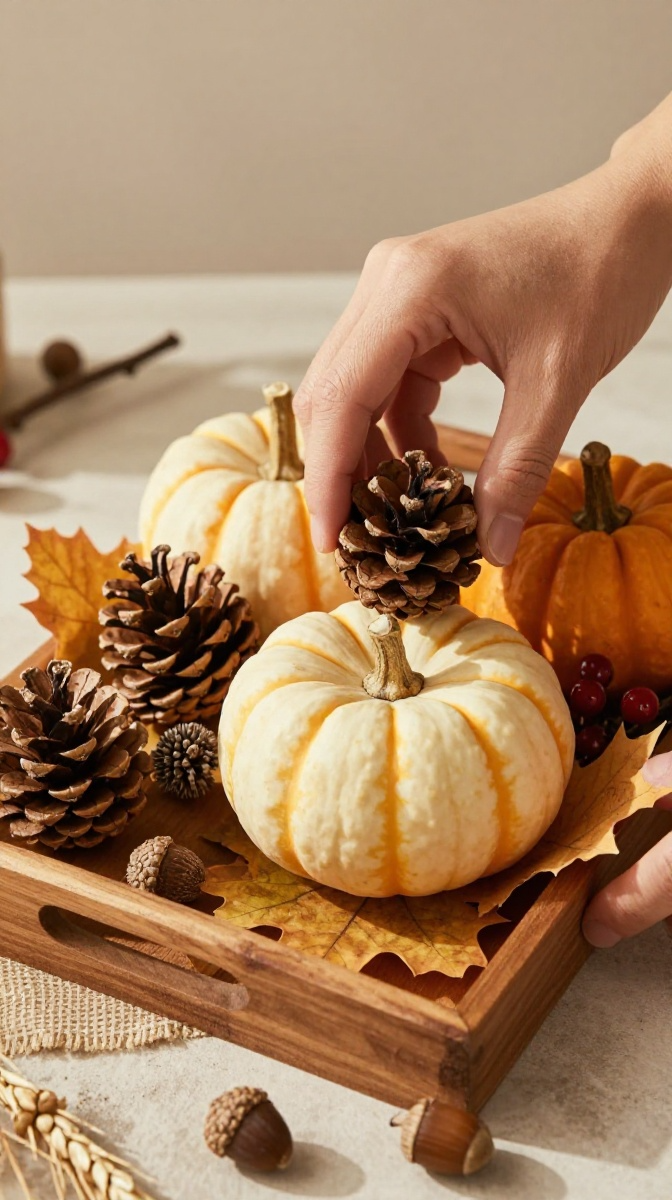
- Place pinecones into the open spaces. Position some horizontally and others at a slight angle.
- Add small twigs between the pumpkins and leaves. This creates height and keeps the centerpiece from looking flat.
- Scatter a few acorns or faux berries around the base. Keep them grouped rather than spreading them everywhere.
This is where the centerpiece starts looking properly autumnal. Pinecones are basically the unpaid interns of fall decorating—they make everything look more seasonal with almost no effort.
Step 5: Add the Candles
Place two or three small candles around the arrangement. Use different heights if possible, but keep them stable and away from loose leaves or fabric.
Battery-operated candles are the easiest option because you can tuck them into the arrangement without worrying about an open flame. They also make the centerpiece much easier to use during dinner.
Step 6: Finish With Small Details
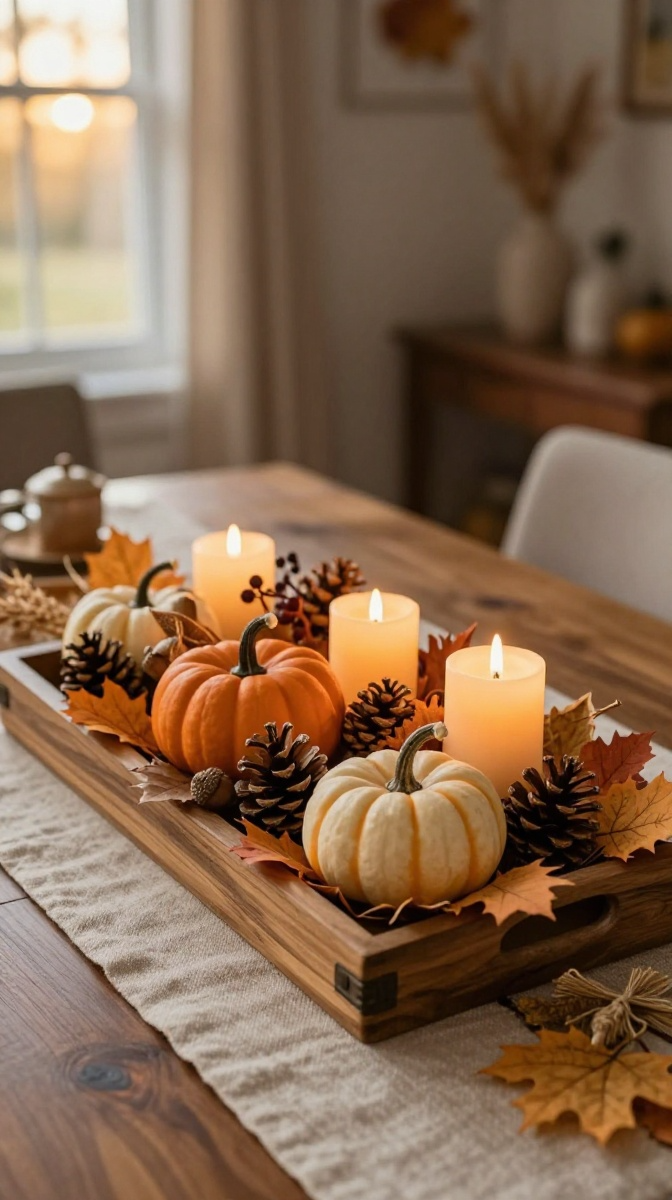
Look at the arrangement from several angles. Is one side too empty? Add a leaf or pinecone. Does one area feel crowded? Remove something.
Finally, add a small burlap bow, cinnamon sticks, dried flowers, or a few faux berries. Stop before you feel tempted to add “just one more thing.” That is how clutter happens.
Easy Ways to Customize Your Fall Decor
The same basic centerpiece can look completely different depending on your decorating style.
For a Modern Fall Look
Use cream pumpkins, white candles, light wood, and muted greenery. Keep the foliage simple and avoid too many decorative extras.
This version works especially well with neutral furniture and minimalist interiors.
For a Rustic Farmhouse Look
Choose orange pumpkins, burlap, pinecones, distressed wood, and warm brown accents. Add a few dried wheat stems for an extra cozy touch.
For a More Elegant Look
Try cream and champagne-colored pumpkins with eucalyptus-style foliage and metallic gold accents. Keep the arrangement symmetrical and use candles of similar heights.
For a Kid-Friendly Version
Skip glass decorations and real candles. Let children paint small pumpkins, make paper leaves, or add colorful craft-store acorns to the tray.
It won’t look like something from a luxury catalog—and that’s perfectly fine. The goal is to have fun.
Common Mistakes to Avoid
Even simple crafts can go sideways. Fortunately, most fall-decorating mistakes are easy to fix.
- Using too many decorations: Leave some space so the centerpiece can breathe.
- Making everything the same height: Mix tall, medium, and low elements for better visual balance.
- Using too many colors: Stick with a simple fall palette.
- Making everything perfectly symmetrical: Natural arrangements usually look better when they are slightly uneven.
- Ignoring the viewing angle: Check the centerpiece from both sides if people will sit around the table.
- Using real flames near fabric: Keep candles safely separated from flammable materials, or use LED candles instead.
What If Your Arrangement Looks Too Flat?
Add height. A few tall branches, wheat stems, or longer pieces of foliage can instantly improve the shape.
Another trick is to place one pumpkin or decorative object on a small hidden block inside the tray. This raises it slightly without making the support visible.
Where to Display Your Finished Fall Craft
Although this project is designed as a table centerpiece, you’re definitely not limited to the dining table.
- Entryway: Place the tray on a console table to create an instant seasonal welcome.
- Coffee table: Use a smaller tray and fewer decorations.
- Kitchen counter: Keep the arrangement compact so it doesn’t interfere with food preparation.
- Fireplace mantel: Remove the tray and arrange the pumpkins and foliage directly along the mantel.
- Dining table: Keep the centerpiece low enough that people can still see across the table.
You can also make smaller versions as fall gifts. Fill a little basket with mini pumpkins, pinecones, dried flowers, and a battery candle. Wrap it with ribbon, and you’ve got a thoughtful handmade gift without spending a ridiculous amount.
Simple Fall Craft Tips for Better Results
Use odd numbers whenever possible. Three pumpkins usually look more natural than two, and five small decorative pieces often look better than four.
Mix textures too. Smooth pumpkins next to rough pinecones, soft fabric, and wooden surfaces create visual interest without requiring complicated crafting techniques.
Also, don’t rush the final arrangement. Step back every few minutes and look at the whole piece instead of staring at one tiny section. Your centerpiece doesn’t need a PhD in autumn decorating.
FYI: If you use real pumpkins, check them regularly for soft spots or moisture. Faux pumpkins are a great choice if you want to reuse the decoration throughout the entire fall season.
FAQ’s
What is the easiest fall decoration to make?
A simple tray centerpiece is one of the easiest options because you only need a base, pumpkins, foliage, and a few decorative accents. You can rearrange everything without permanently attaching the pieces.
Can I make this fall centerpiece without a wooden tray?
Absolutely. Try a shallow basket, serving platter, cardboard box covered with fabric, or even a large cutting board. The base simply keeps everything visually connected.
Can I use real autumn leaves?
Yes, but allow them to dry completely first. Fresh leaves can become limp and messy indoors. Pressed or preserved leaves will usually last longer.
How can I make fall decorations look expensive?
Keep the color palette simple, mix natural textures, and avoid overcrowding the arrangement. Neutral colors, warm lighting, and a little space can make inexpensive materials look surprisingly elegant.
How long will this DIY fall centerpiece last?
A faux version can last for several years if you store it carefully. A centerpiece made with fresh pumpkins and leaves will have a shorter lifespan, so replace individual pieces whenever they start looking tired.
Are LED candles better for fall crafts?
For arrangements containing fabric, dried leaves, or other flammable materials, LED candles are the safer choice. They provide a warm glow without the risk of an open flame.
Give Your Home a Little Fall Makeover
You don’t need expensive decorations or complicated supplies to make your home feel ready for fall. A wooden tray, a few pumpkins, autumn leaves, pinecones, and some warm details can create a centerpiece that feels cozy and handmade.
Start with the basic version, then change the colors and textures to match your space. And if the first arrangement looks slightly wonky? Move a pumpkin, remove a leaf, add a pinecone, and pretend that was the plan all along.
That’s the beauty of easy DIY fall decor: it doesn’t have to be perfect to feel special.