
Got a plain candle sitting around looking boring? Let’s fix that. You don’t need a fancy studio or a craft degree to make candles look like they came from a boutique. With a few cheap supplies and about an hour, you can turn basic wax into something people will actually ask about. Grab your glue gun and let’s get slightly messy.
Why Decorate Candles Instead of Buying Them?
Store-bought candles are pricey, and honestly, half of them smell like a department store air freshener exploded. Decorating your own lets you match your vibe, your colors, and your budget.
It’s also stupidly forgiving. If you mess up, you scrape it off and try again. Try that with a $40 artisan candle.
What You’ll Need Before You Start
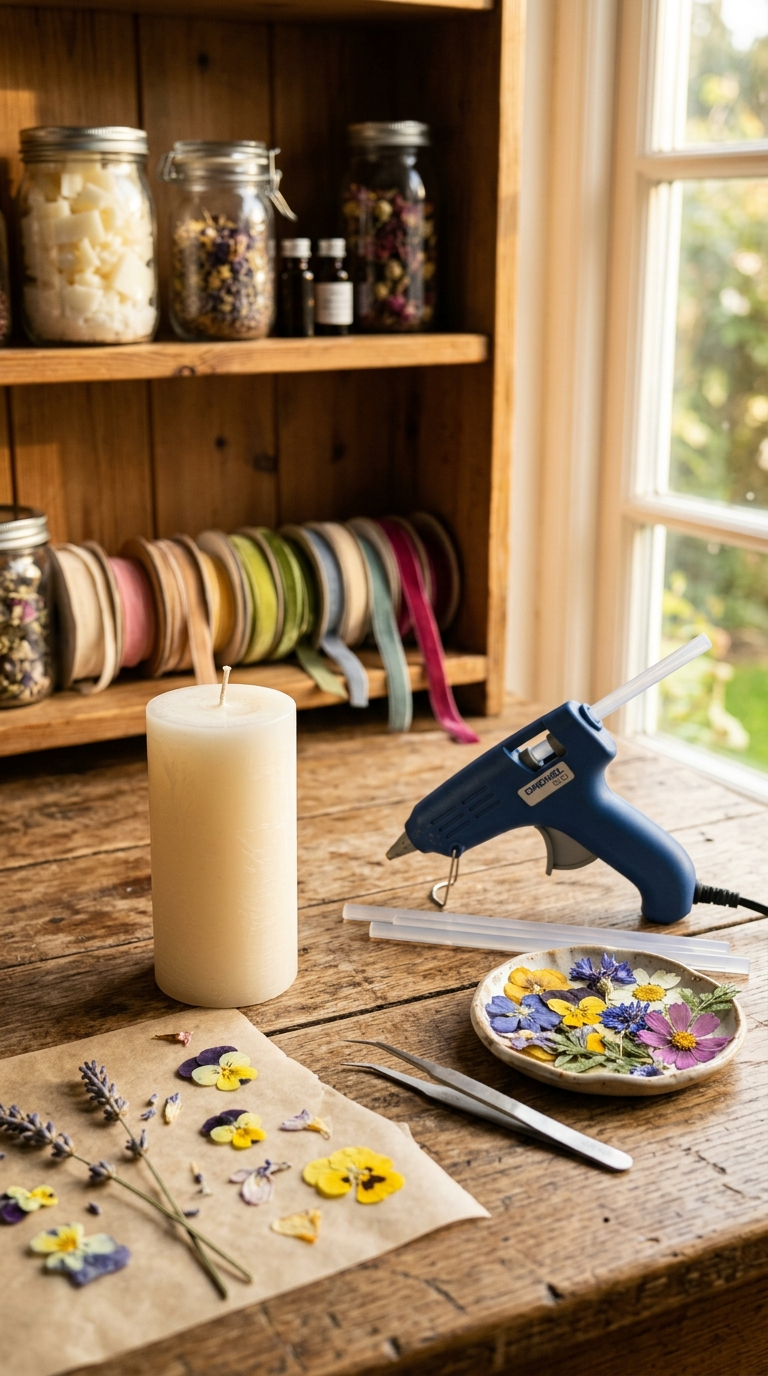
Here’s your shopping list. Most of this is already in your junk drawer.
- Plain pillar or taper candles — white or cream works best as a base
- Old candles or wax scraps — for melting and embedding (a cheap alternative to buying new wax)
- Double boiler or a heat-safe bowl over a pot — a metal can works in a pinch
- Wax paper or parchment — for your work surface
- Tweezers — for placing tiny decorations without burning your fingers
- Glue gun and clear glue sticks — the cheap substitute for wax adhesive
- Dried flowers, herbs, or citrus slices — dollar store finds are perfect
- Gold leaf sheets or metallic paint — optional, but they make everything look expensive
- Twine, lace, or ribbon — for wrapping
- Scissors and a craft knife
FYI, you can skip the double boiler entirely if you’re using the glue gun method. It’s faster and way less stressful.
Method 1: Pressed Flower Candles
This is the one that makes people think you have your life together. You don’t, but they don’t need to know that.
Choosing Your Flowers
Thin, flat flowers work best. Think pansies, daisies, lavender, or small rose petals. Chunky flowers just fall off and leave you sad.
Dry them flat between two sheets of parchment under a heavy book for about a week. Or cheat and buy pre-pressed ones online. No judgment.
Step-by-Step Instructions
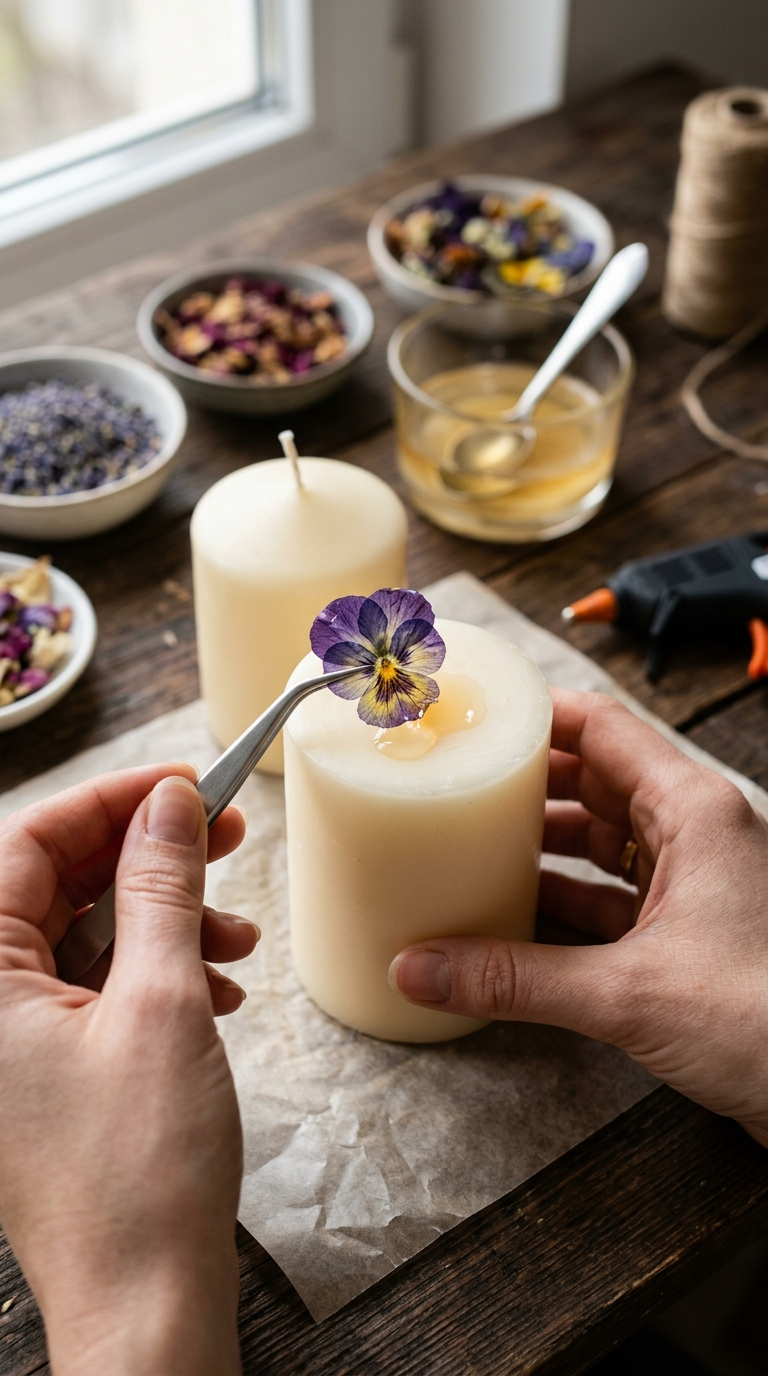
- Wipe your candle clean so the glue actually sticks. Dust is the enemy here.
- Warm a small amount of clear wax or use a glue gun to add tiny dots where you want your flowers.
- Press each dried flower onto the glue dot using tweezers. Hold for a few seconds.
- Brush a thin layer of melted clear wax over the flower to seal it. This stops it from catching fire later — important, obviously.
- Let it cool completely before touching it. Patience, friend.
Never leave a decorated candle burning unattended, and always trim the wick so the flame stays small and away from your decorations.
Method 2: Gold Leaf and Metallic Accents
Want that fancy hotel lobby look? Gold leaf is your shortcut. It’s messy, it’s fiddly, and it looks incredible.
Materials for This One
- Gold or copper leaf sheets
- Metal leaf adhesive (or a thin layer of glue gun wax)
- A soft brush
- Masking tape for clean lines
No gold leaf? Metallic acrylic paint and a sponge give a similar effect for way less cash.
How to Apply It
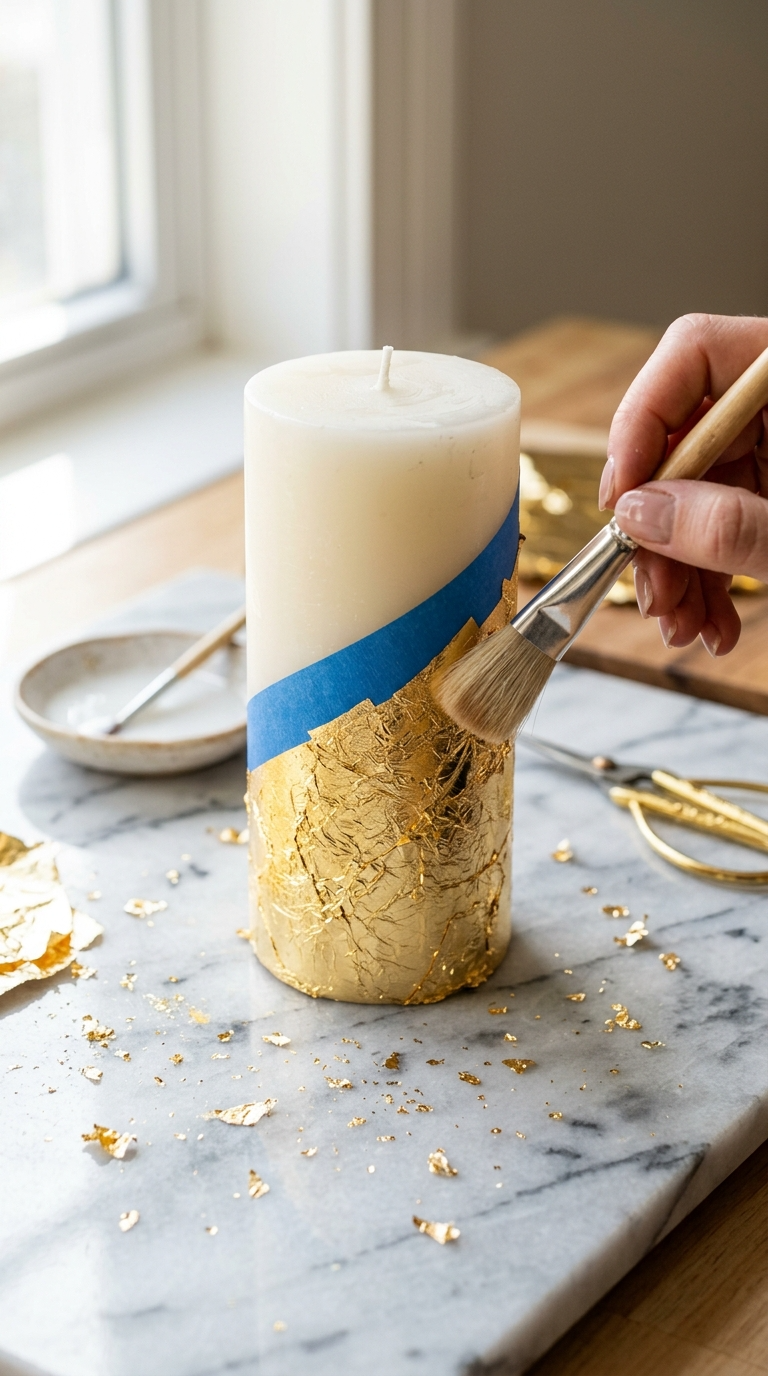
- Tape off the section of the candle you want to keep plain.
- Brush on a thin layer of adhesive and wait until it turns tacky.
- Press the gold leaf on with your fingers or a soft brush. Don’t worry about wrinkles — they add texture.
- Peel the tape off slowly and brush away the loose flakes.
IMO, a half-dipped look works better than covering the whole candle. Less is more, always.
Method 3: Citrus and Spice Embedded Candles
This one smells amazing even before you light it. Dried orange slices and cinnamon sticks turn a plain pillar into a cozy fall centerpiece.
Prepping Your Add-Ins
Dry your orange slices in the oven at 200°F for about three hours, flipping halfway. They should be leathery, not burnt. Cinnamon sticks and star anise can go on raw.
Embedding Them Safely
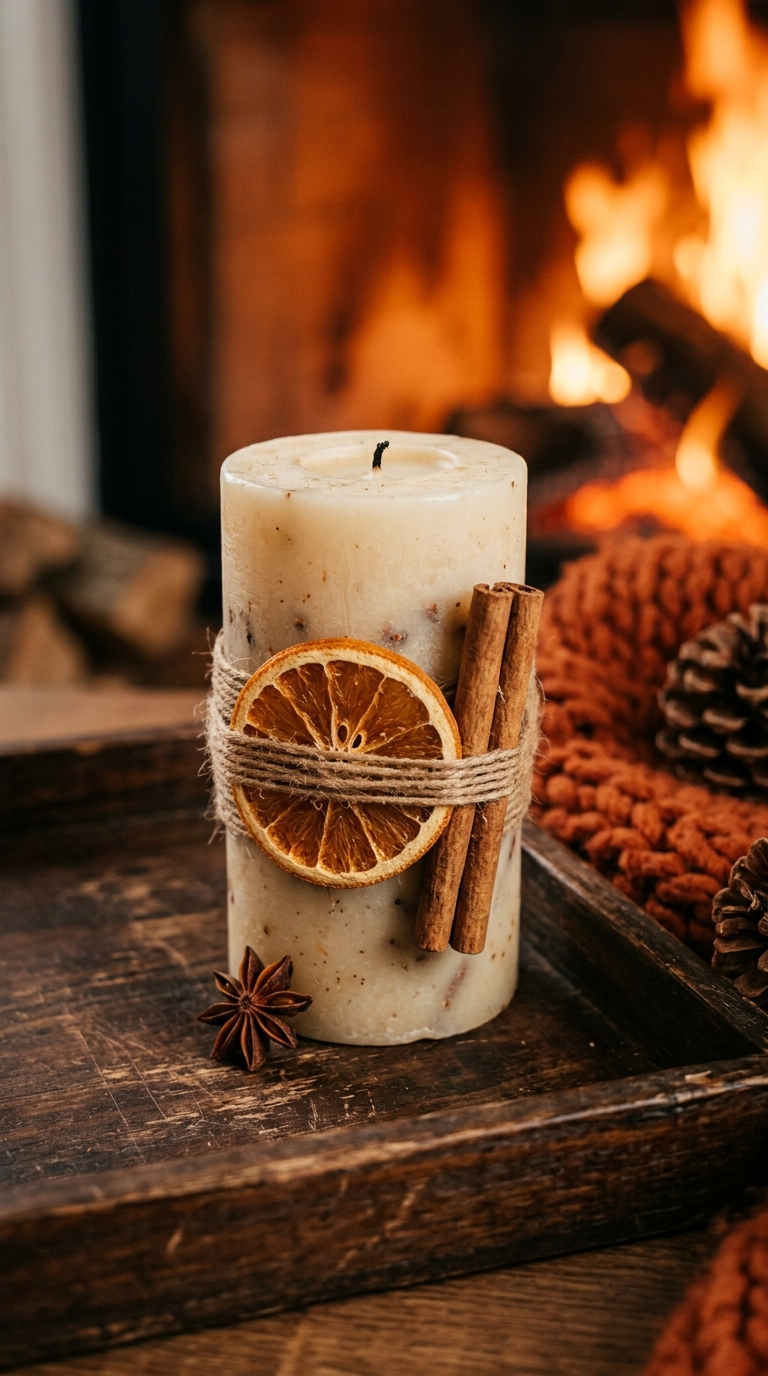
- Heat a metal spoon over a candle flame or use a glue gun to warm the candle surface.
- Press the cinnamon stick or orange slice into the softened wax.
- Hold for ten seconds, then let it set.
- Wrap twine around the middle to hide any messy edges and add rustic charm.
Keep all decorations at least one inch away from the wick so they don’t become a tiny fire hazard.
Method 4: Lace and Fabric Wraps
This is the laziest method, and I mean that as a compliment. No melting, no glue gun burns.
What to Use
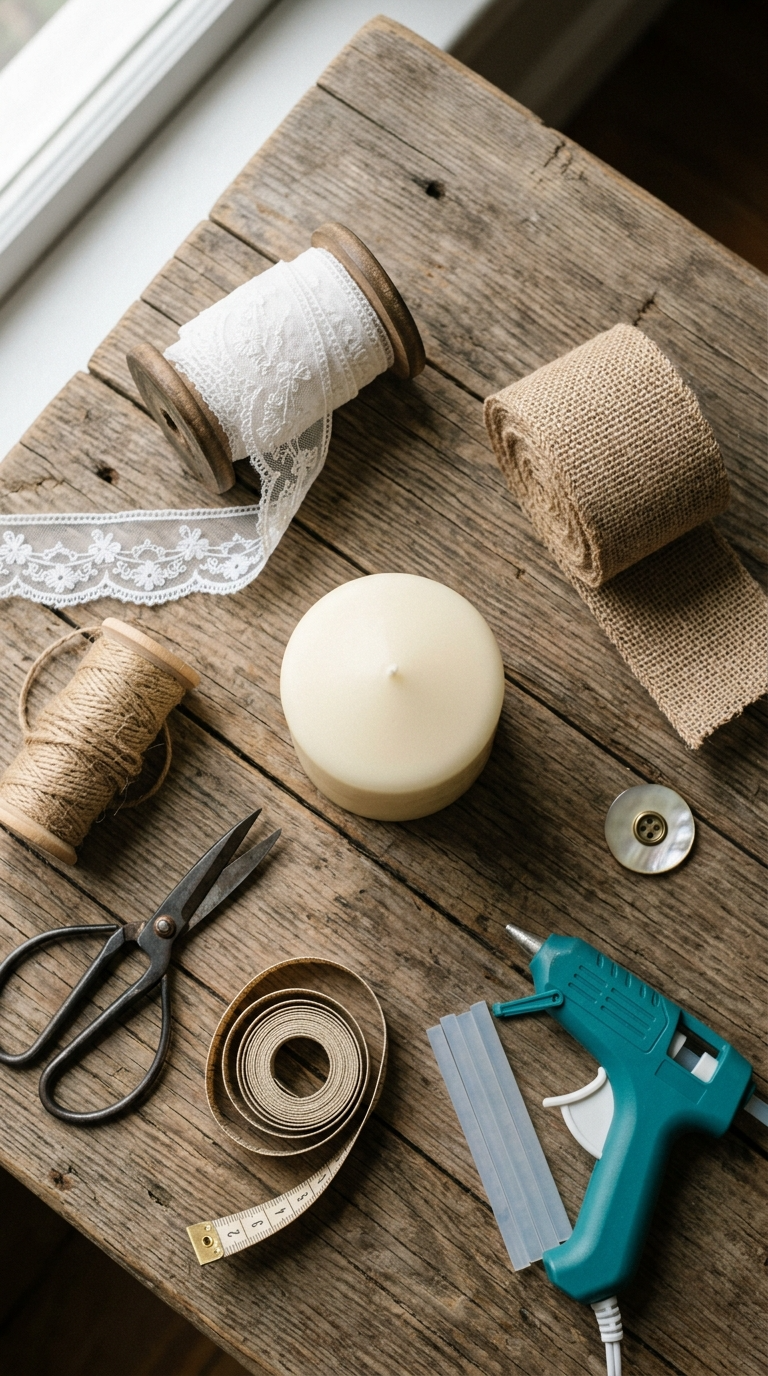
- Lace ribbon or strips of old fabric
- Hot glue or double-sided tape
- Buttons, pearls, or small charms
Thrift store lace curtains are a goldmine here. Cut them into strips and you’ve got cheap, gorgeous trim.
Quick Instructions
- Wrap the lace around the candle and trim to fit with a small overlap.
- Secure the back with a thin line of hot glue or tape.
- Glue a button or pearl over the seam to hide it.
- Add a second layer of ribbon for contrast if you’re feeling fancy.
That’s it. Three minutes, zero mess.
Common Mistakes to Avoid
Learn from my many, many failures.
- Using thick decorations near the wick — they can catch fire. Keep it clear.
- Skipping the sealing wax layer — dried flowers without a seal get brittle and flake off.
- Overloading the design — a candle covered in twelve flowers looks like a craft bin exploded.
- Using superglue on wax — it eats through the surface and leaves craters. Stick to hot glue or wax.
- Forgetting to test-burn — always light it once outside or in a sink before displaying it.
How to Display, Gift, or Use Your Candles
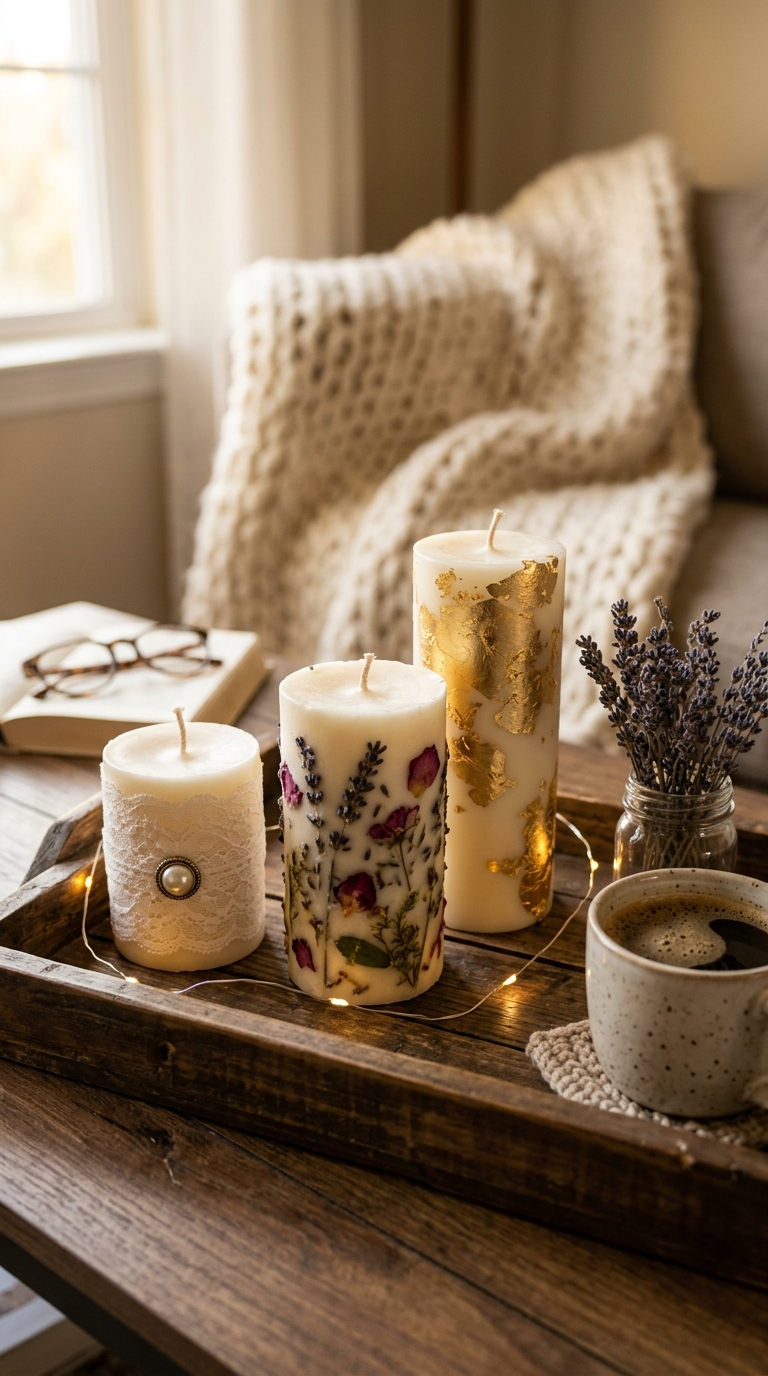
These make ridiculously good gifts. Pop one in a clear cellophane bag with a ribbon and people think you spent real money.
For display, cluster three different heights on a wooden tray. Add a few loose dried flowers around the base. Instant coffee table glow-up.
You can also use them as wedding favors, holiday place settings, or just a reason to feel crafty on a Tuesday night. No rules here.
Customization Ideas to Make Them Yours
- Match flower colors to your room’s palette
- Add a few drops of essential oil to the melted sealing wax for scent
- Use metallic Sharpies to write names or dates on plain candles
- Wrap with jute twine and a tiny tag for a farmhouse look
FAQ’s
Are decorated candles safe to burn?
Yes, if you keep decorations away from the wick and seal any dried flowers with wax. Never leave them burning unattended, and trim the wick before every use.
Can I use fresh flowers instead of dried ones?
No. Fresh flowers hold moisture, which makes the wax sputter and the petals rot. Always dry them first.
What’s the cheapest way to decorate candles?
Glue gun, dried herbs from your kitchen, and twine. That combo costs almost nothing and looks great.
How do I stop dried flowers from falling off?
Seal them with a thin coat of melted clear wax or brush on a little mod podge. It locks everything in place.
Can I decorate candles that already have a scent?
Absolutely. Just avoid adding essential oils on top, or the scents will clash and smell like a candle aisle had a fight.
How long do decorated candles last?
Stored in a cool, dark place, they’ll look good for months. Heat and sunlight fade the colors and soften the wax, so keep them out of windows.
Go Make Something Slightly Messy
You’ve got the methods, the materials, and the warning list. Now pick a candle, raid your junk drawer, and make something that looks way harder than it actually was.
Start with the lace wrap if you’re nervous. Graduate to gold leaf when you’re feeling brave. Either way, you’ll end up with a candle nobody believes you made yourself. Have fun, and don’t glue your fingers together. Again.