
Paper flowers are the perfect craft when you want something pretty, cheap, and impossible to kill. No watering, no sunlight, no guilt when you forget they exist. Grab some paper, scissors, and glue, and let’s make a bouquet that lasts forever.
Why Paper Flowers Are the Best Craft Project
Real flowers are lovely until they drop petals all over your table and die in four days. Paper flowers stick around as long as you want them to.
They’re also ridiculously affordable. You probably already own everything you need. If not, a few dollars at a craft store covers you for dozens of blooms.
Plus, you can customize colors to match any room, party, or gift. Want black roses? Go for it. Neon pink daisies? Nobody’s stopping you.
Materials and Tools You’ll Need
Keep it simple. You don’t need a fancy craft room to pull this off.
- Paper — cardstock, tissue paper, or even old book pages work great
- Scissors — sharp ones, because dull scissors are the enemy
- Glue — a glue stick for light paper, craft glue for heavier stuff
- Floral wire or pipe cleaners — for stems. Skewers work too
- Pencil — for tracing petal shapes
- Ruler — optional, but handy for neat folds
Affordable Substitutes
No floral wire? Bend some paper clips or use thin twigs from the yard. No cardstock? Cereal boxes painted over work surprisingly well. FYI, coffee filters make gorgeous tissue-style flowers.
Easy Paper Flower #1: The Classic Paper Rose
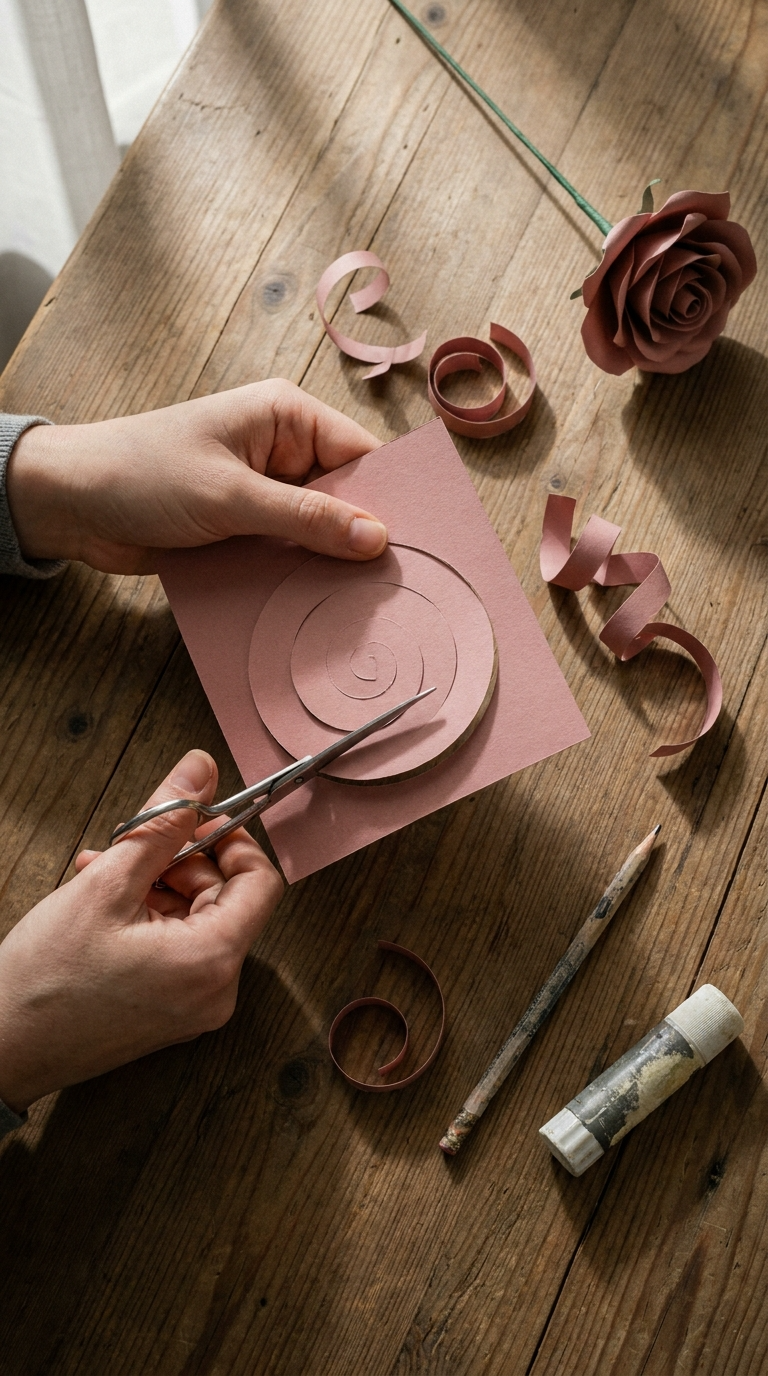
Roses look fancy but come together fast once you get the spiral trick.
- Draw a spiral on your paper, starting from the center and working outward.
- Cut along the spiral line until you reach the end.
- Starting from the outer edge, roll the paper inward tightly.
- Let the roll loosen slightly so petals fan out naturally.
- Glue the base to hold the shape, then attach a wire stem.
Design Variations
Use two shades of pink layered together for depth. Or go bold with red and gold edges. Smaller spirals make tiny buds; larger ones make statement blooms.
Easy Paper Flower #2: Tissue Paper Pom-Poms
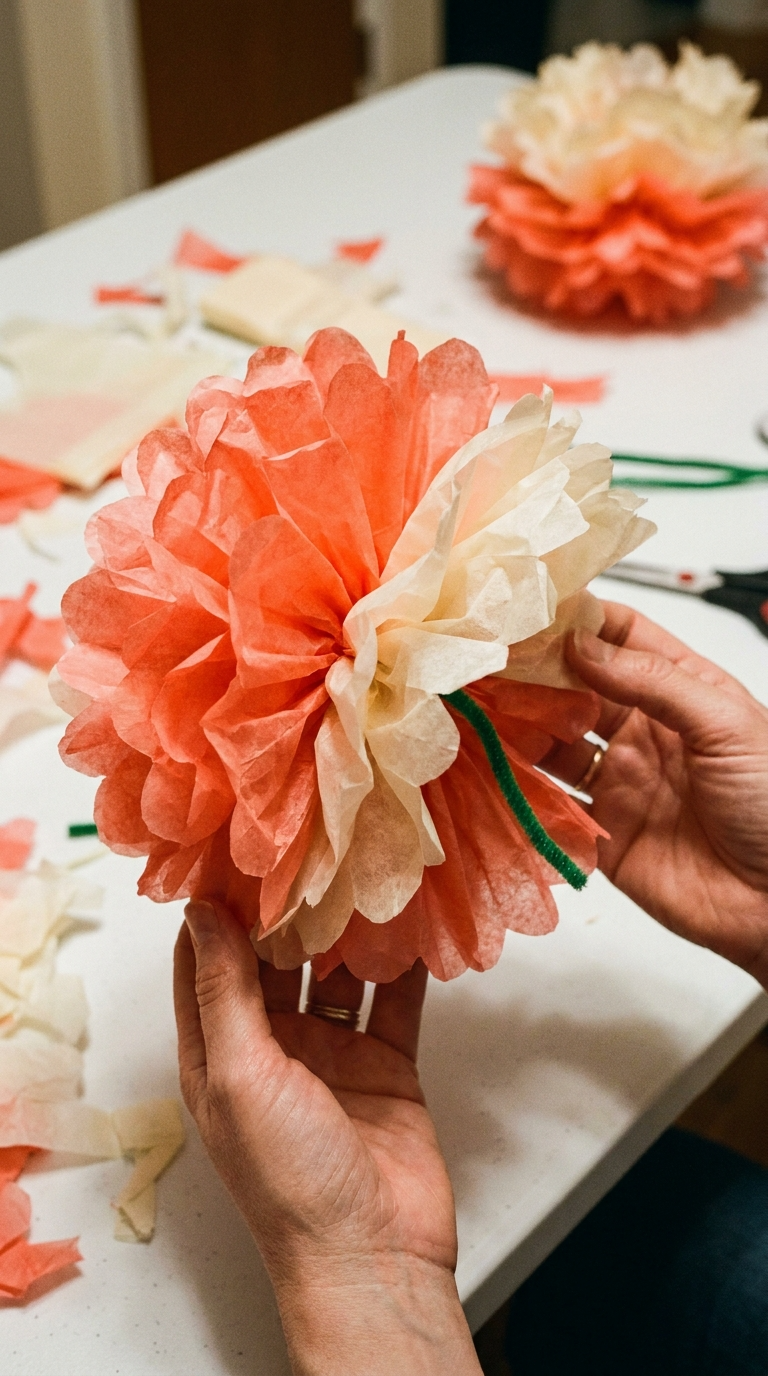
These fluffy balls look like flowers from a distance and take about five minutes each.
- Stack 6–8 sheets of tissue paper and fold them accordion-style.
- Wrap a pipe cleaner around the middle to secure it.
- Trim the ends into rounded or pointed shapes.
- Gently pull each layer apart, fluffing toward the center.
Troubleshooting Tips
If your pom-pom looks flat, you’re not separating the layers enough. If it tears, slow down. Tissue paper is delicate, and rushing ruins the fun.
Easy Paper Flower #3: Simple Folded Tulips
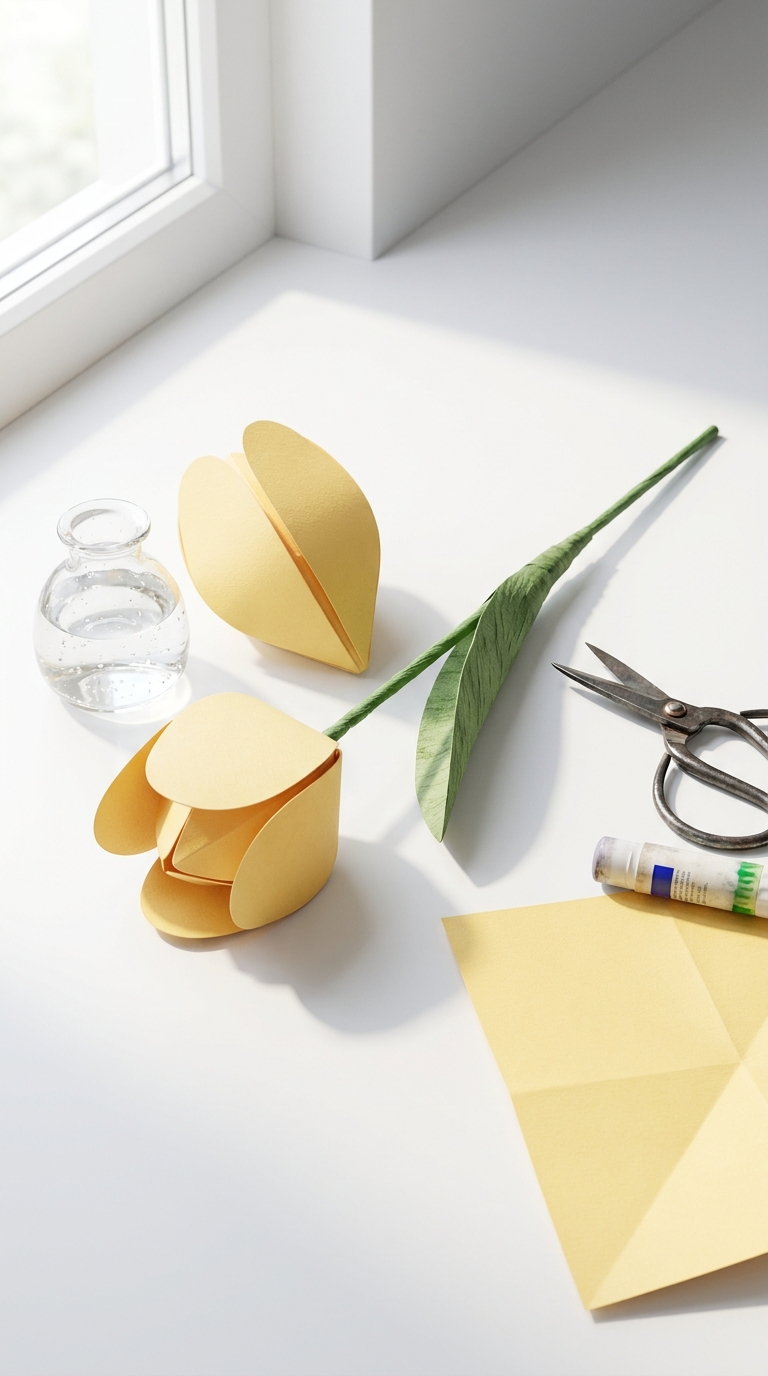
Tulips are perfect for beginners because they only need a few folds and one cut.
- Fold a square piece of paper in half diagonally to form a triangle.
- Fold the two bottom corners up to meet the top point.
- Round the top edges with scissors for a petal shape.
- Open the folds slightly and glue a stem into the base.
Decorating Ideas
Add a tiny dot of glitter glue to the center for sparkle. Or draw thin lines with a marker to mimic real tulip veins. IMO, pastel colors look best for spring arrangements.
Easy Paper Flower #4: Layered Daisy Chain
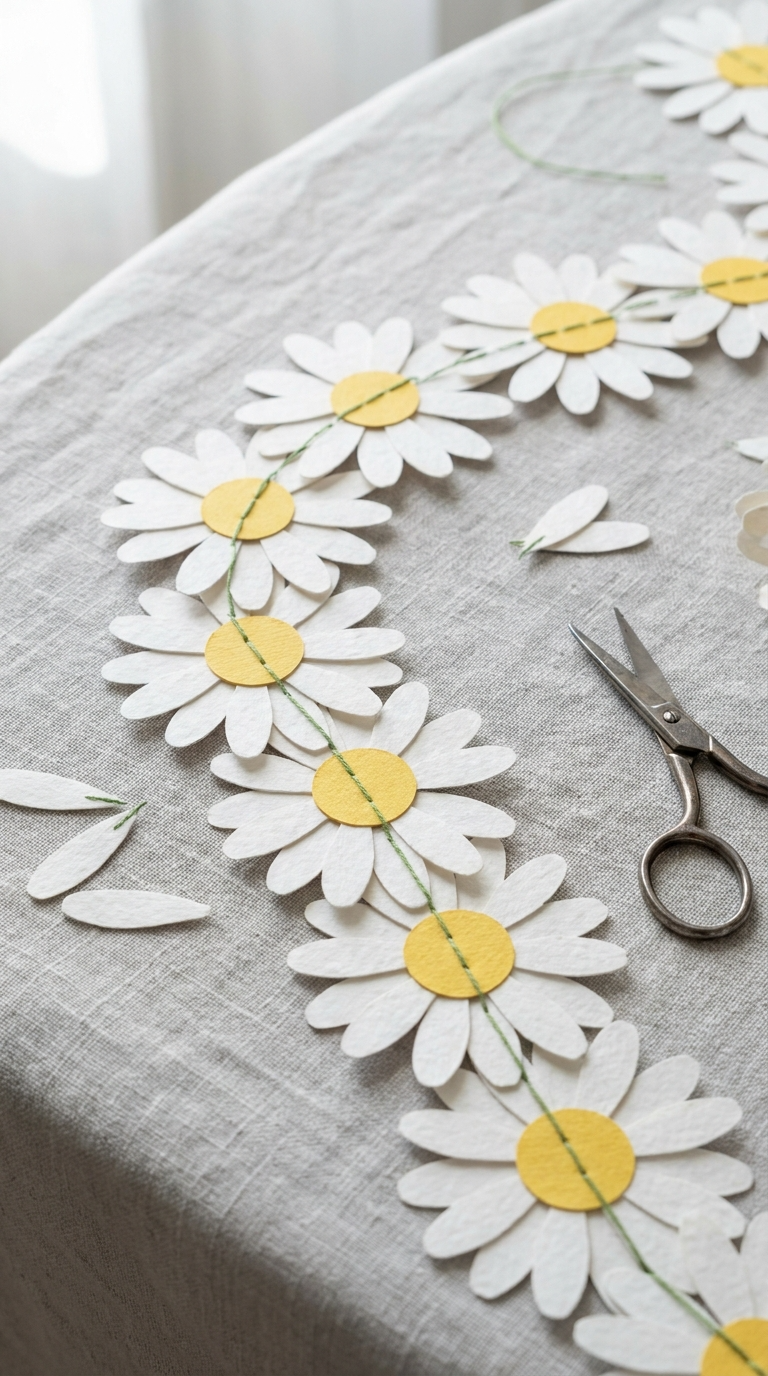
Daisies are cheerful and stack beautifully into garlands or napkin rings.
- Cut five to seven petal shapes from white paper.
- Cut a small yellow circle for the center.
- Glue petals around the circle, overlapping slightly.
- Attach a wire stem or thread through the back for a chain.
Safety Tips
Hot glue guns are fast but unforgiving. Keep a bowl of cold water nearby just in case. For kids, stick to white glue or glue sticks.
Common Mistakes to Avoid
Using too much glue is the number one paper flower killer. A little goes a long way, and globs show through thin paper.
Don’t skip the stem reinforcement. Flimsy stems make flowers droop like sad sunflowers.
Also, don’t stress about perfection. Paper flowers are supposed to look handmade. Wonky petals have charm.
Ways to Display, Gift, or Use Your Paper Flowers
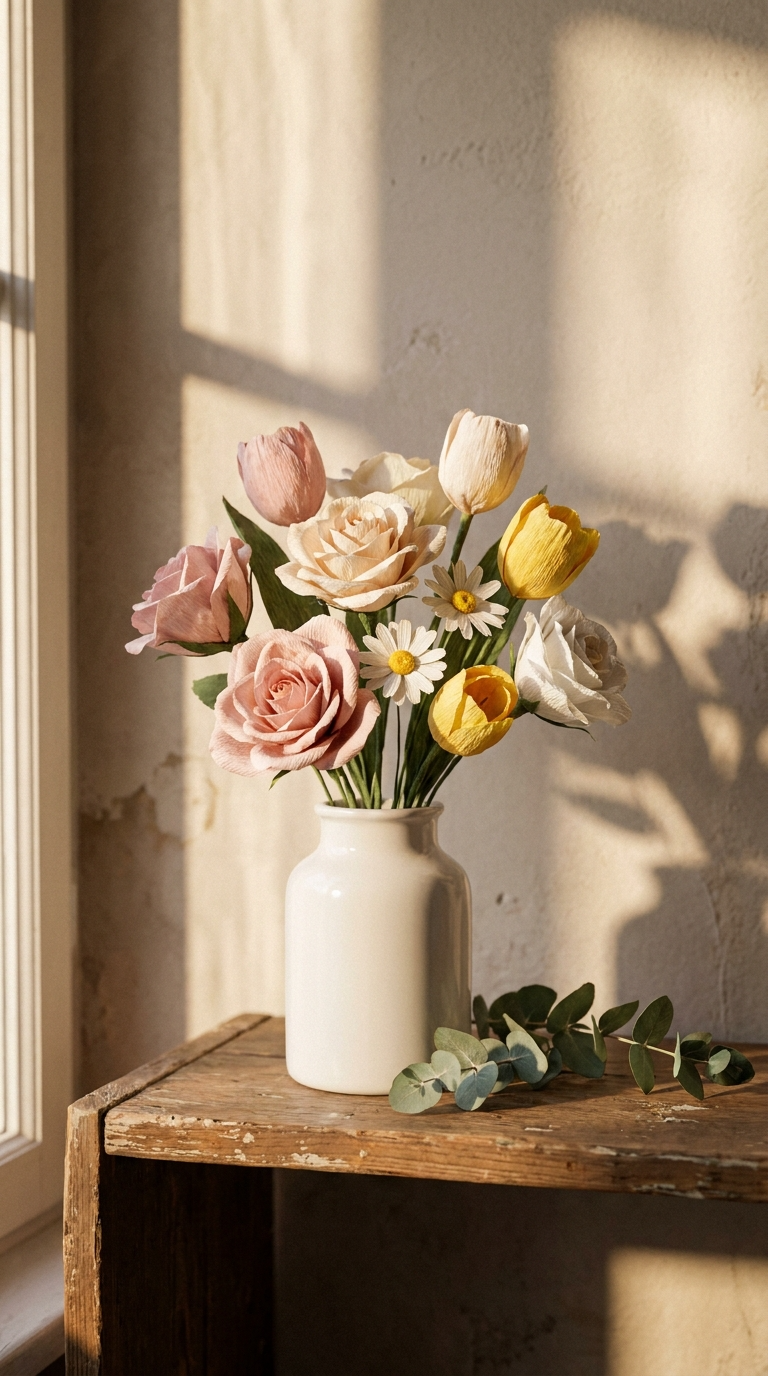
Pop them in a vase for instant shelf decor. Tape small ones to gift boxes. String them into garlands for parties.
You can also glue them onto picture frames, greeting cards, or headbands. A single rose on a wrapped present looks surprisingly elegant.
For gifts, bundle a few stems with twine and a handwritten note. People love handmade stuff, even if it’s slightly crooked.
FAQ’s
What’s the best paper for beginners?
Cardstock is sturdy and forgiving. Tissue paper is cheaper but tears easily. Start with cardstock if you’re new.
How do I make stems stay in place?
Wrap floral wire with green tape, or glue the flower base directly onto a pipe cleaner. Let it dry fully before moving it.
Can kids make these flowers?
Absolutely. Skip the hot glue and use safety scissors. Pom-poms and tulips are the easiest for little hands.
How long do paper flowers last?
Forever, if you keep them dry and away from direct sunlight. Dust them gently with a soft brush.
Can I use recycled paper?
Yes! Old magazines, newspaper, and book pages make beautiful, textured flowers. Just avoid anything too glossy for gluing.
What if my flower looks nothing like the picture?
Welcome to crafting. Adjust the petals, trim the edges, or call it a “new species.” Nobody’s grading you.
Go Make Some Paper Flowers Already
You’ve got the steps, the tips, and zero excuses left. Grab whatever paper is within arm’s reach and make one flower. Then make five more. Before you know it, you’ll have a whole bouquet and a new favorite hobby.