
Want to make your space feel cozy without spending a fortune? DIY candle holders are the answer. They’re cheap, quick, and surprisingly fun to make. Plus, you probably already have most of the supplies hiding in your junk drawer. Let’s turn that random stuff into something cute.
Why DIY Candle Holders Are Worth Your Time
Store-bought candle holders are fine. But they’re often overpriced for what they are—basically a fancy cup. When you make your own, you control the style, size, and color. You also get that little hit of pride every time you light a candle. Trust me, it never gets old.
Another bonus? DIY candle holders make awesome gifts. Handmade presents feel personal, even when they took ten minutes to make. Your friends don’t need to know that, though.
Materials and Tools You’ll Need
Here’s the good news: you don’t need fancy equipment. Most of these items are affordable, and many can be swapped for something you already own.
- Small glass jars or votive cups — clean out old jam or baby food jars. Free is best.
- Air-dry clay — or polymer clay if you want to bake it. Air-dry is easier for beginners.
- Twine, jute rope, or yarn — dollar store finds work great.
- Mod Podge or white glue — Mod Podge dries clearer, but glue works just as well.
- Paint and paintbrushes — acrylic craft paint is cheap and covers well.
- Gold leaf or metallic marker — optional, but adds a fancy touch.
- Tea lights or small pillar candles — make sure they fit your holder.
- Scissors, hot glue gun, and sandpaper — basic craft kit staples.
- Newspaper or a craft mat — because glitter gets everywhere. Always.
Affordable Substitutes
No clay? Use salt dough instead—flour, salt, and water. No twine? Cut up an old cotton shirt into strips. No Mod Podge? Mix equal parts white glue and water. See? You’re already halfway there.
Project 1: Twine-Wrapped Jar Holders
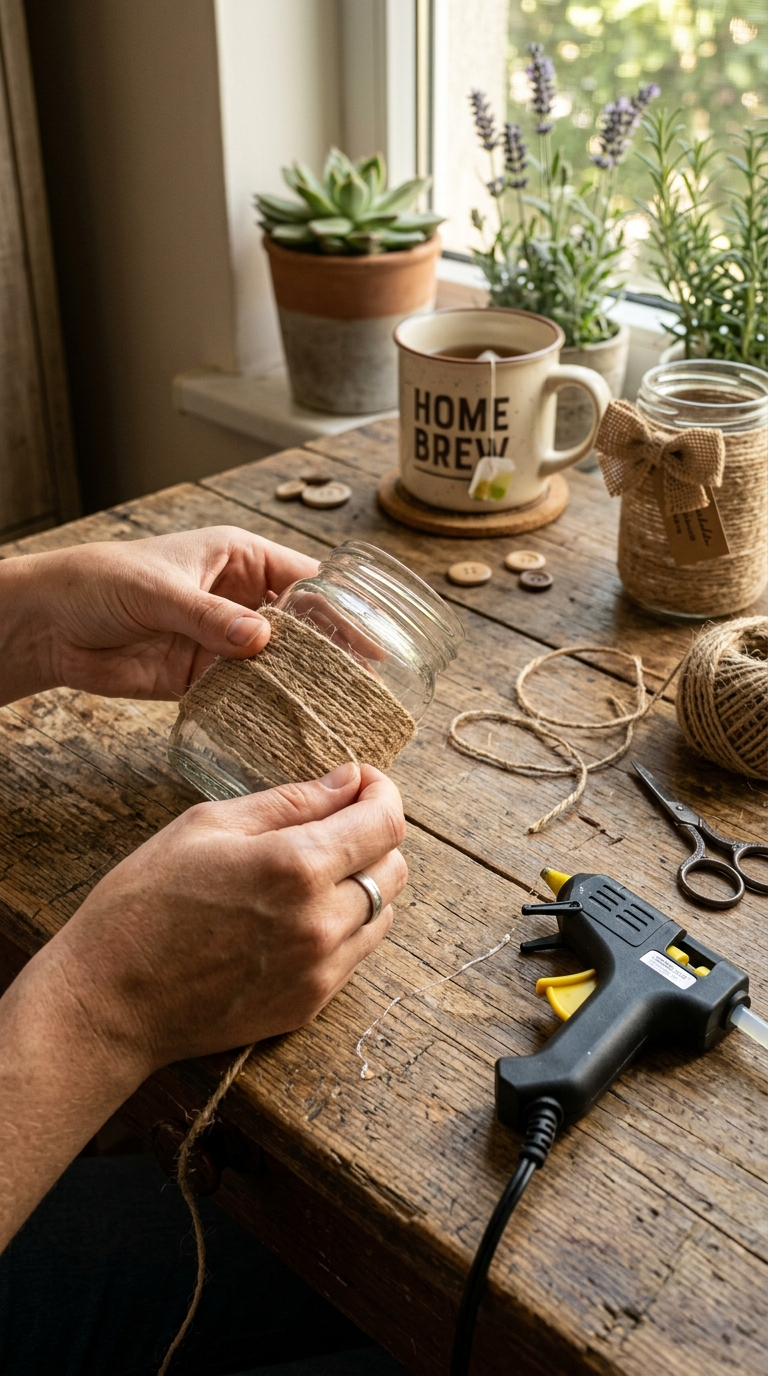
This is the easiest project on the list. If you can wrap a gift, you can do this. It takes about 15 minutes per holder.
- Clean your glass jar thoroughly. Remove any labels and sticky residue. Dry it completely.
- Apply a line of hot glue around the bottom edge of the jar.
- Press the end of your twine into the glue. Hold for a few seconds.
- Wrap the twine tightly around the jar, pushing each row close to the last.
- Add a small dot of glue every few rows to keep things secure.
- Stop wrapping about an inch from the top. Cut the twine and glue the end down.
- Add a decorative touch—a small bow, a button, or a fake flower.
Pro tip: Don’t wrap too fast. Twine likes to slide around like it’s trying to escape. Slow and steady wins here.
Design Variations
Try two colors of twine for a striped look. Or wrap only the middle section and leave the top and bottom bare. You can also paint the jar first, then wrap. Go wild.
Project 2: Clay Tea Light Holders
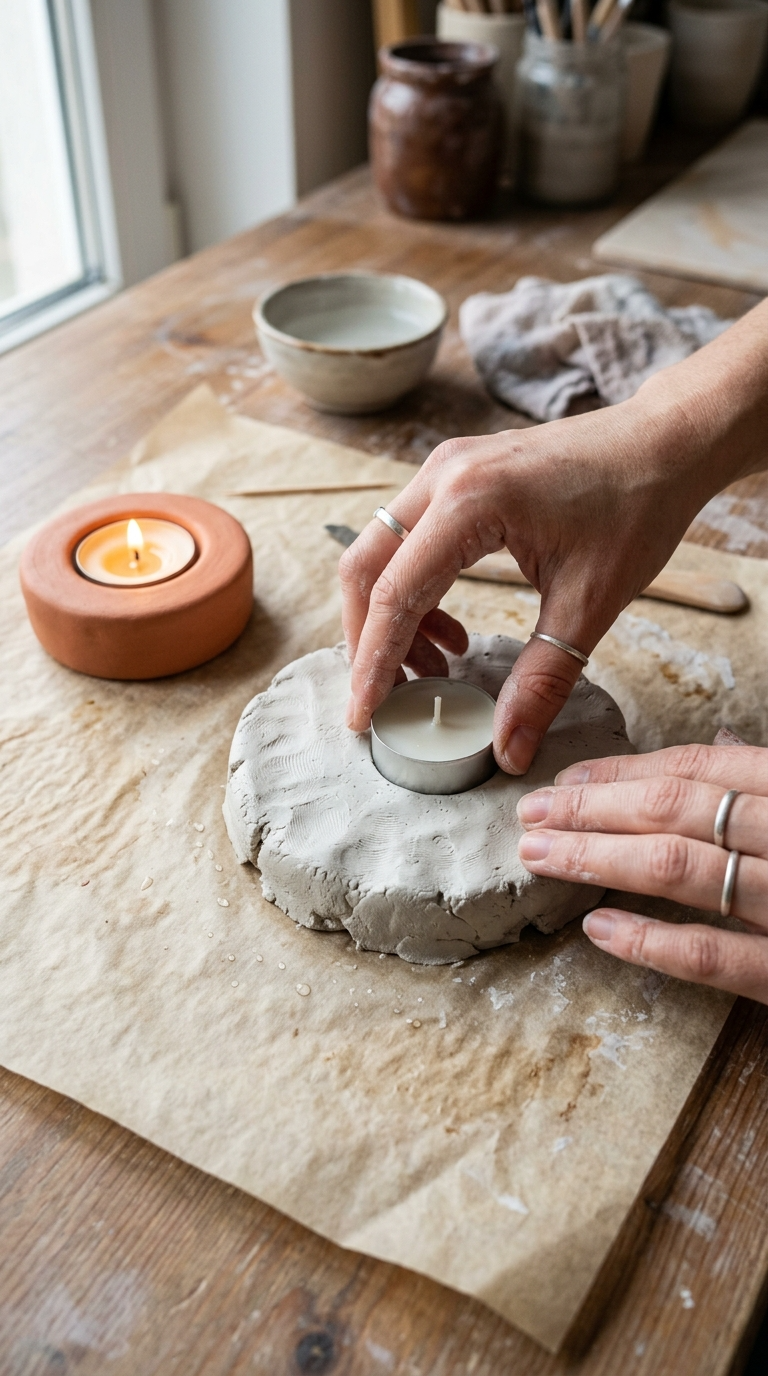
Clay holders look handmade in the best way. They’re rustic, organic, and forgiving. Even if your shaping skills are questionable, they still turn out cute.
- Roll a ball of air-dry clay about the size of a golf ball.
- Flatten it into a thick disc—about half an inch thick.
- Press a tea light into the center to create a shallow well.
- Remove the tea light. Smooth the edges with your fingers or a damp cloth.
- Add texture with a fork, toothpick, or leaf stamp.
- Let the clay dry for 24 hours. Flip it halfway through so the bottom dries too.
- Paint it once dry. Seal with a clear spray if you want extra durability.
Important: Never put a real flame directly on unsealed clay. Always use a tea light in a metal cup, and keep the flame away from the clay edges.
Troubleshooting Clay Issues
Cracks appearing? That’s normal with air-dry clay. Smooth them with a wet finger before drying. If the holder feels fragile, make it thicker next time. Thin clay snaps like a potato chip.
Project 3: Painted Glass Votive Holders
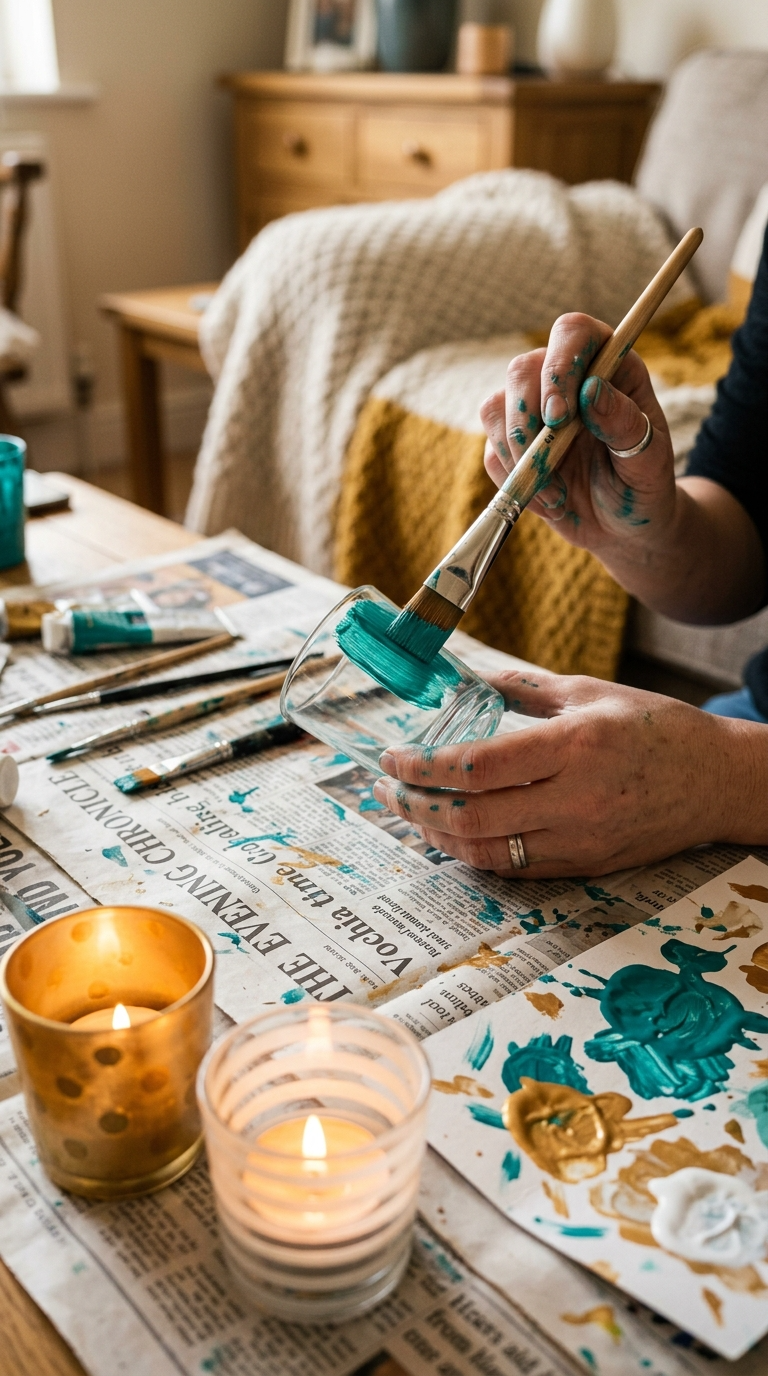
This one is for my fellow paint lovers. It’s messy, colorful, and totally customizable. You can’t really mess it up—unless you drop the glass. Please don’t drop the glass.
- Wash and dry small glass votive cups.
- Paint the outside with acrylic paint. Use two thin coats instead of one thick one.
- Let each coat dry for about 20 minutes.
- Add dots, stripes, or swirls with a contrasting color.
- Once fully dry, brush on a thin layer of Mod Podge to seal.
- Let it cure for 24 hours before using.
- Drop in a tea light and admire your work.
FYI: Painting the outside keeps the inside clean and safe. Paint fumes and flames don’t mix.
Project 4: Safety Tips You Shouldn’t Ignore
Candles are fire. Fire is hot. You get the idea. Here are the basics to keep your craft from becoming a cautionary tale.
- Never leave burning candles unattended. Not even for a quick bathroom break.
- Keep holders away from curtains, paper, and pets. Fluffy tails and flames are enemies.
- Use a heat-safe base. If your holder gets hot, put a cork or felt pad underneath.
- Test with a tea light first. Make sure the holder doesn’t tip or overheat.
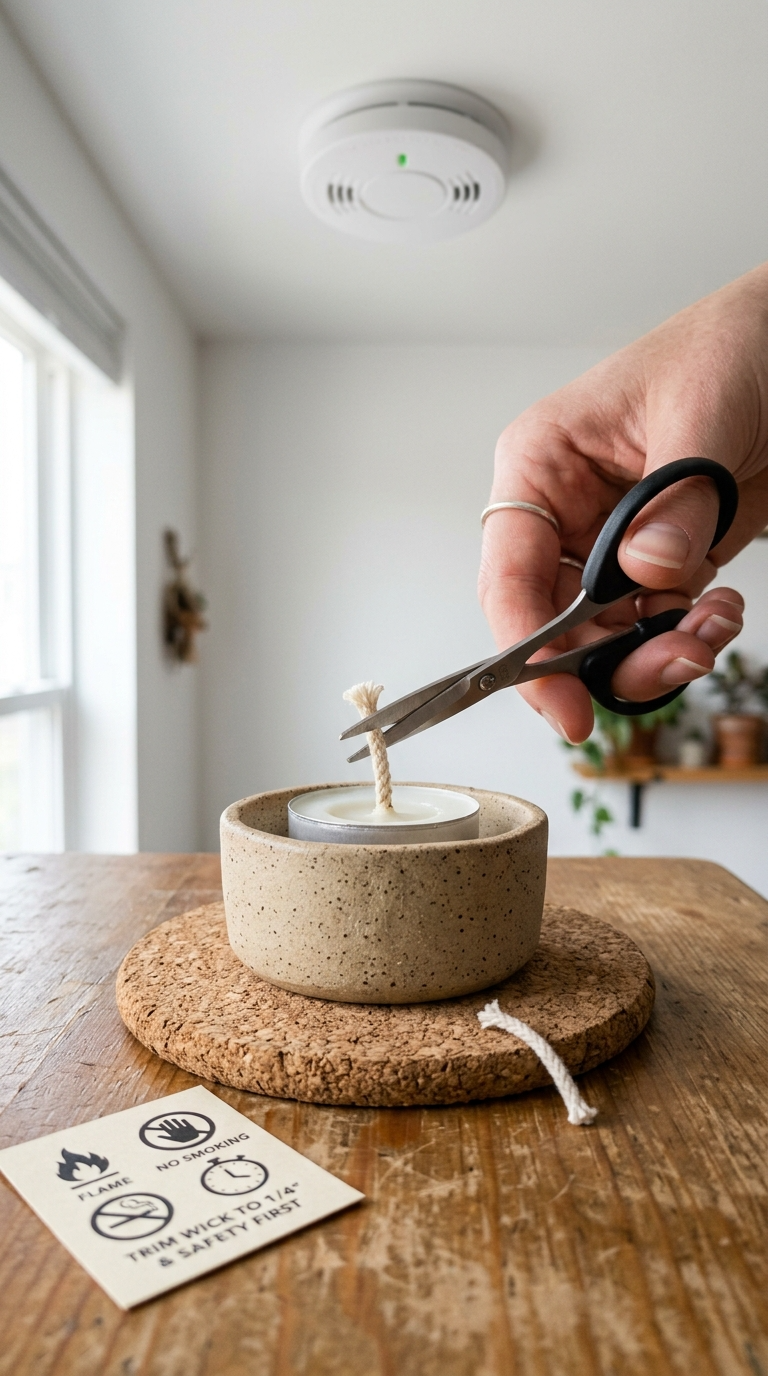
- Trim wicks to 1/4 inch. Long wicks cause big flames and soot.
IMO, battery-operated tea lights are a smart swap for homes with kids or clumsy roommates. Same cozy vibe, zero fire risk.
Common Mistakes to Avoid
I’ve made all of these so you don’t have to. Learn from my crafting fails.
- Rushing the drying time. Wet clay and tacky glue ruin everything. Wait it out.
- Using too much glue. More glue doesn’t mean stronger. It means messy drips.
- Skipping the sealant. Paint chips. Seal your work if you want it to last.
- Ignoring candle size. A tiny holder with a big pillar candle is a disaster waiting to happen.
- Forgetting to clean the glass. Dirt and oil make paint peel. Wash first.
Ways to Display, Gift, or Use Your Holders
Now that you’ve made a small army of candle holders, what do you do with them?
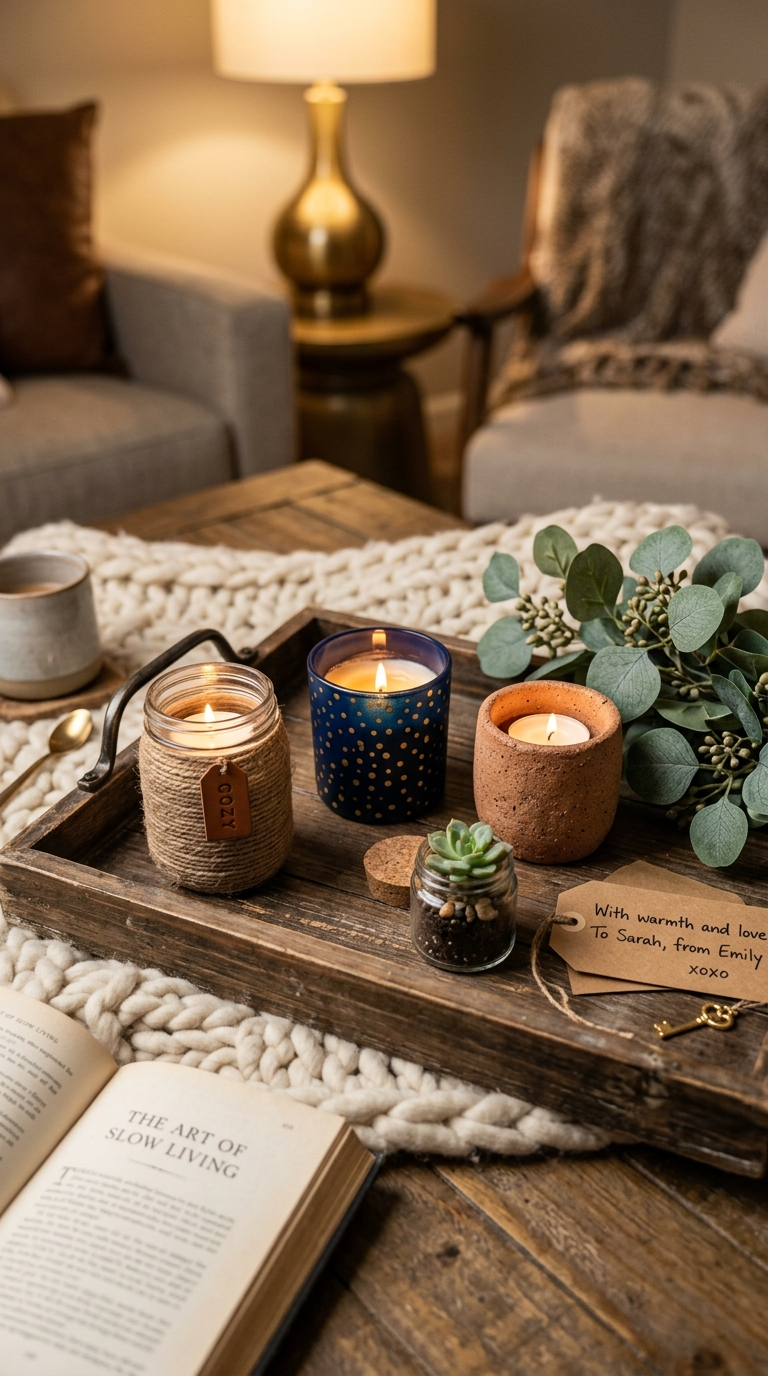
- Create a centerpiece. Group three different heights on a tray with some fake greenery.
- Make a spa basket. Pair a holder with a face mask, bath salts, and a candle—instant gift.
- Use them as organizers. Small jars can hold paper clips, hair ties, or tiny succulents.
- Holiday gifts. Add a ribbon and a tag. Teachers and neighbors love this stuff.
- Outdoor dinners. Line a patio table with clay holders. Just keep them out of the wind.
FAQ’s
Can I use real candles with clay holders?
Yes, but only if the holder is fully dry and sealed. Always use a tea light in a metal cup. Never let the flame touch the clay directly.
How long do air-dry clay holders take to dry?
Usually 24 to 48 hours, depending on thickness and humidity. Flip them halfway so both sides dry evenly.
What if my twine won’t stick?
Your glue probably isn’t hot enough, or you’re using too little. Hot glue works best. Fabric glue is a decent backup.
Can I paint glass jars without primer?
You can, but the paint may scratch off. For best results, use a glass paint or seal with Mod Podge after painting.
Are these projects kid-friendly?
Mostly yes. Skip the hot glue gun for young kids and use school glue instead. Battery tea lights are a safe swap for real flames.
How do I clean DIY candle holders?
Wipe with a dry or slightly damp cloth. Don’t soak clay or wrapped jars in water—it ruins the finish and loosens glue.
Go Make Something Cozy
You don’t need a craft room full of supplies to make something beautiful. A jar, some twine, and a little patience go a long way. So grab your glue gun and raid the recycling bin. Your cozy corner is waiting.
And hey, if your first holder looks a little wonky? That’s called character. Light a candle, admire your work, and make another one.